Reviews
XBEE SR - Build Log & Review
Posted on May 25, 2017 • 10 min read • 2,078 words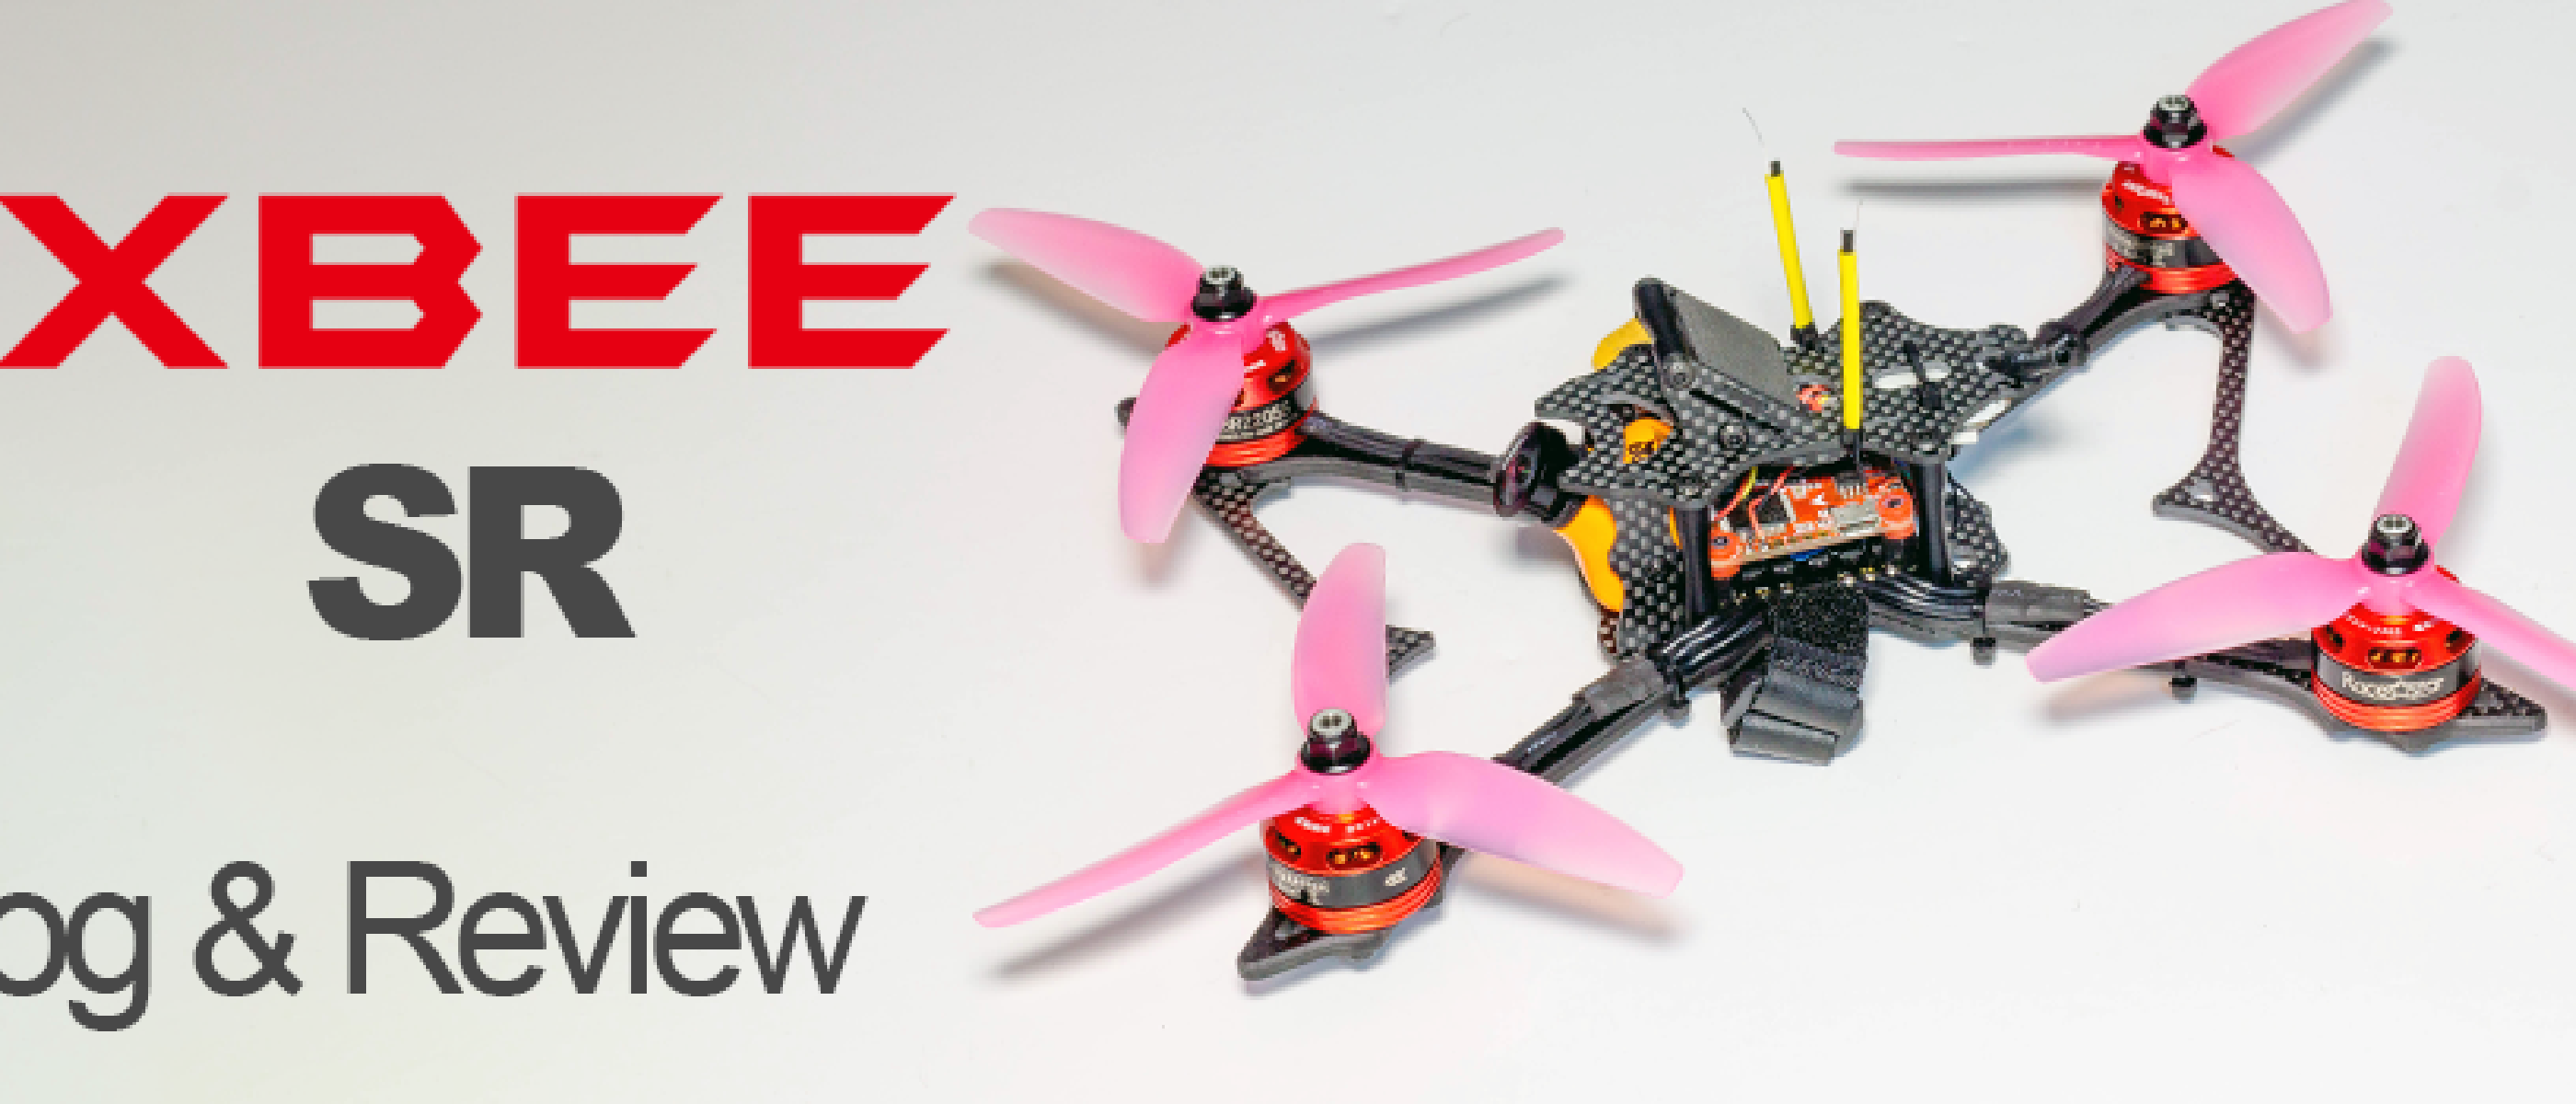
The XBEE SR is available here.
Eric was kind enough to contact me in regards to reviewing a couple of his frames, and having heard a litte buzz about them from friends recently so I decided to take him up on that offer :)
The first one up is the XBEE_SR - pegged as a 5" stretch inch that follows the pattern of some of his other frames with his signature GoPro mounting system and being Korean based we’re presented with some of that luxury carbon that is familiar from that part of the world (we’re talking about other manufacturers I’ve already dealt with such as AstroX for those in the know). I’ve been quite critical of stretch frames recently, having never personally ‘gelled’ with them, but hey I am open to trying it again. This review however is of course more of a focus on the frame itself so aside from the flying characteristics which I personally do not prefer, it will detail the quality of the carbon, ease of build and that kind of thing. I know Stretch X is hugely popular in the US so don’t let my opinion of them sway you :).
Specs
Lets see what the manufacturer has to say about the frame direct from their site:
- Size Guide: Wheelbase 220mm
Features
- Full Carbon Fiber.
- 2mm Bottom Plate, 2mm Top Plate and 4mm arms
- Matek PDB include(PDB-XPW W/ CURRENT SENSOR 140A & DUAL BEC)
- Black steel screws(option titanium screws)
- Weight : 75g(With titanium screws 71.5g)
Parts List
- 4 x 4mm 5inch ARMs
- 2 x 2mm 5inch ARM Brace
- 1 x 1.5mm Arm Upper Plate
- 1 x 2mm Top Plate
- 1 x 2mm Bottom Plate
- 1 x 1.5mm Cam mount Plate
- 1 x 1.5mm Cam mount(Side)
- 2 x 1.5mm Camera mount Sidewall width 28mm
- 2 x 1.5mm Camera mount Sidewall width 29mm
- 1 x 1.5mm Battery Protector
- 6 x Matt black standoff (4 x 28mm, 2 x 22mm)
- 8 x 3*5mm Metalbolt
- 4 x 3*12mm Metalbolt
- 4 x 3*15mm Metalbolt
- 4 x M3 rubber damper o ring
- 4 x M3*5 Nylon post
- 8 x M3 Nylon nut
- 1 x PDB-XPW W/ CURRENT SENSOR 140A & DUAL BEC
- 1 x XT60
They also do an optional upgrade that contains Titanium hardware which is 79 for the frame. Considering the standard model is priced at $79 it seems like a great deal, so let’s see what we get for our money.
Whats in the Box
Let’s get on with the unboxing!
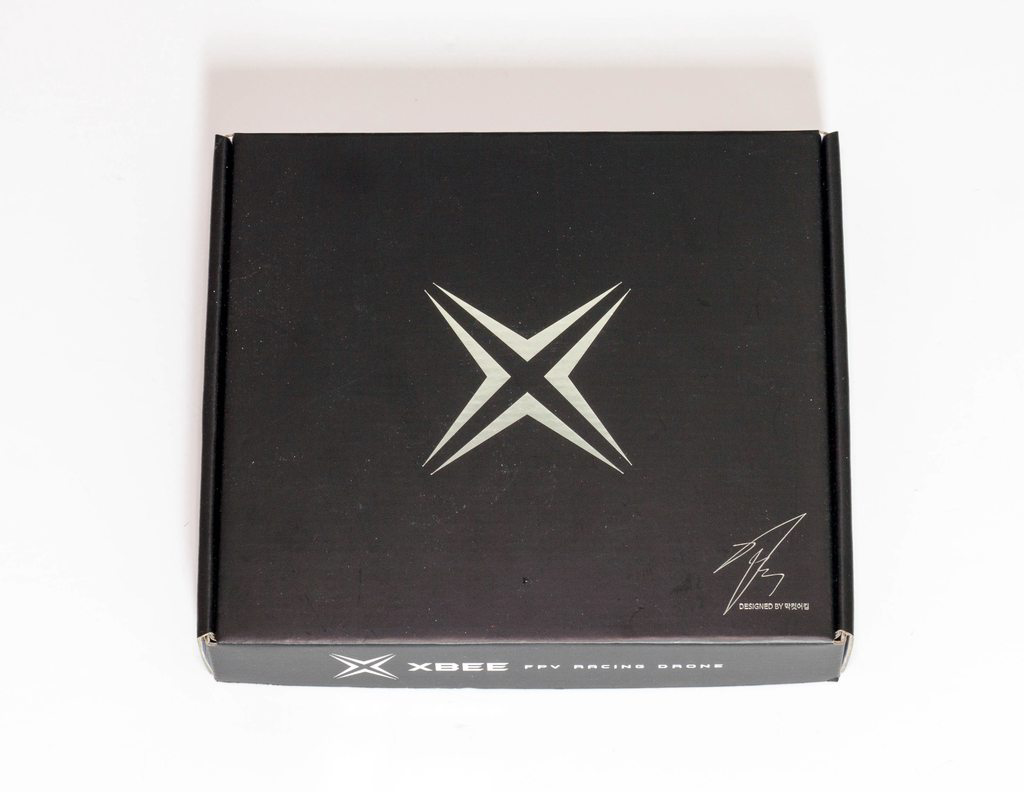
As I said previously, in Korea style Xbee are no strangers to good quality packaging, we’ve got a decent box that will do a great job at protecting your new shiny frame no matter where in the world you are.
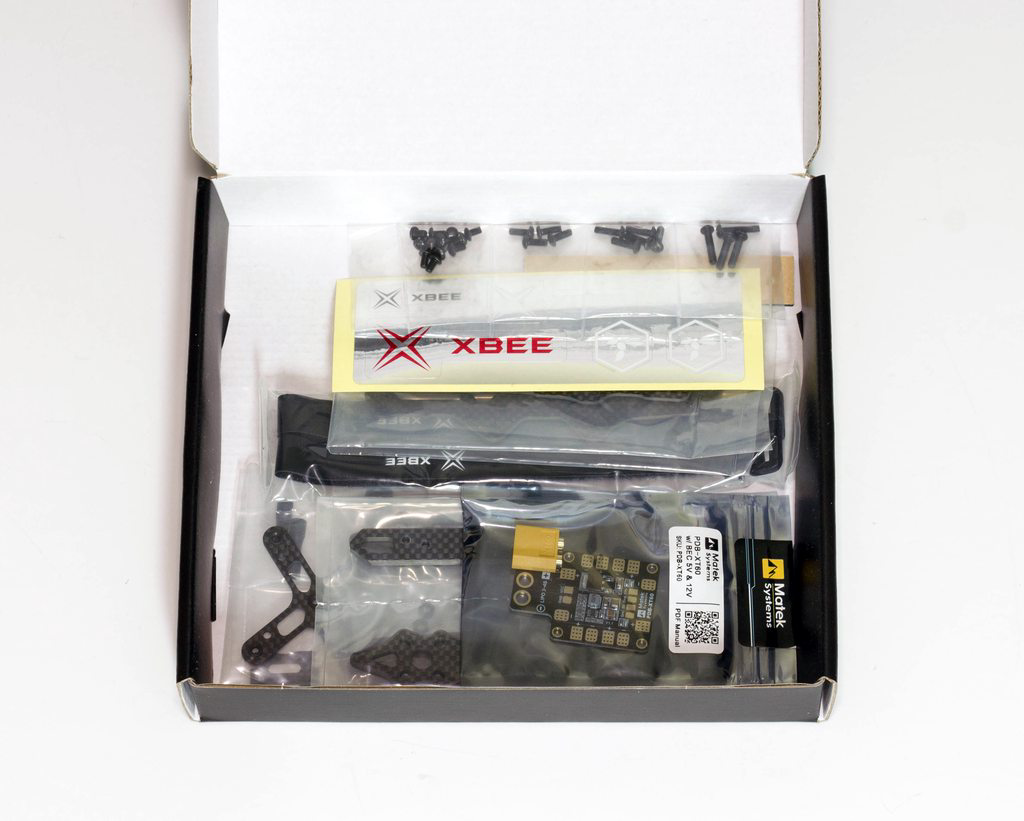
Inside the box everything is individually wrapped to prevent any scratches or damage. We’ve got a nice selection of stickers as well as some high quality battery straps and the Matek PDB as advertised in the description. This is probably the best of the Matek PDB’s, it has a current sensor without the OSD, the OSD has been hugely unreliable in a lot of circumstances so focusing on pure power output is a great bonus, while still giving the option of current information via an extra wire to your flight controller or OSD.
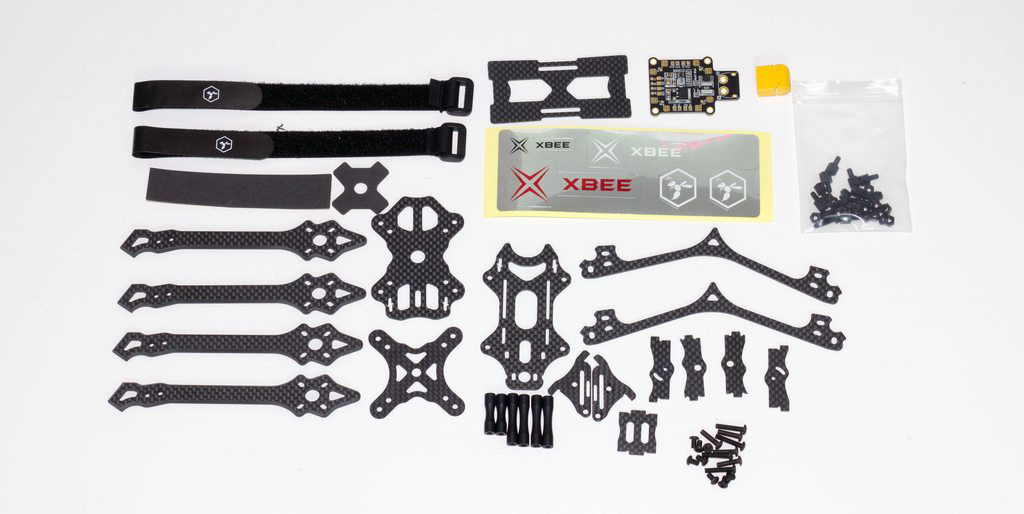
With all the parts unpacked here’s the frame in all its glory! The first thing I immediately notice which again stands out against all frames in the world is the quality of Korean carbon. It’s super rigid, CNC’d perfectly with no marks and of course has the chamfered edges that are not on that many frames.
The Build
For the build itself I’m going to be using pretty much all new parts to get the most out of the build.
- Raceflight Revolt
- Raceflight Bolt 4-in-1 ESC
- Eachine VTX03 VTX
- TBS Stubby Triumph
- Runcam Owl Plus
- FrSky XM+ Receiver
- Racerstar 2205S 2300kv - these motors lack a little power, but they were cheap and should have wires long enough for the build for the 4-in-1 esc. All my other motors are pre-cut and no good for a light weight build like this without soldering on the wires :)
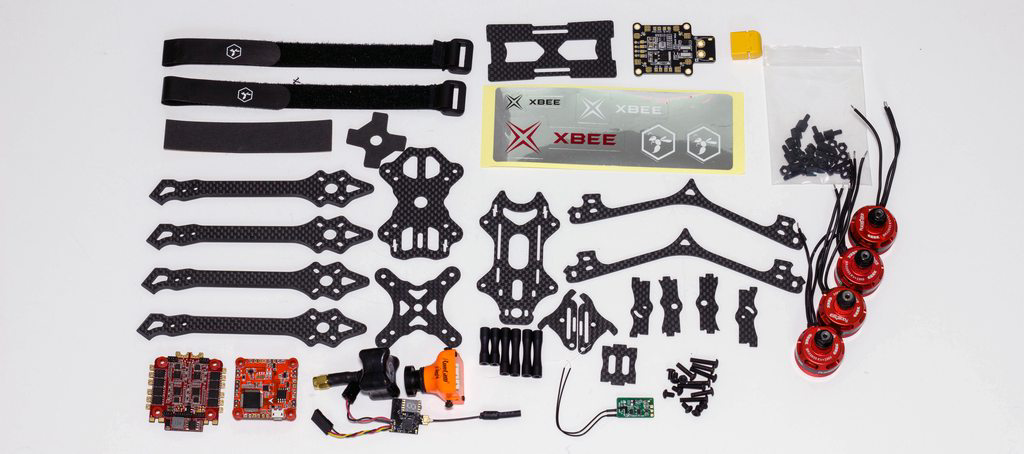
The frame itself is pretty simple so I’ll be skipping the individual build process again but if you are confused by anything just follow these build steps and it should be self-explanatory :)
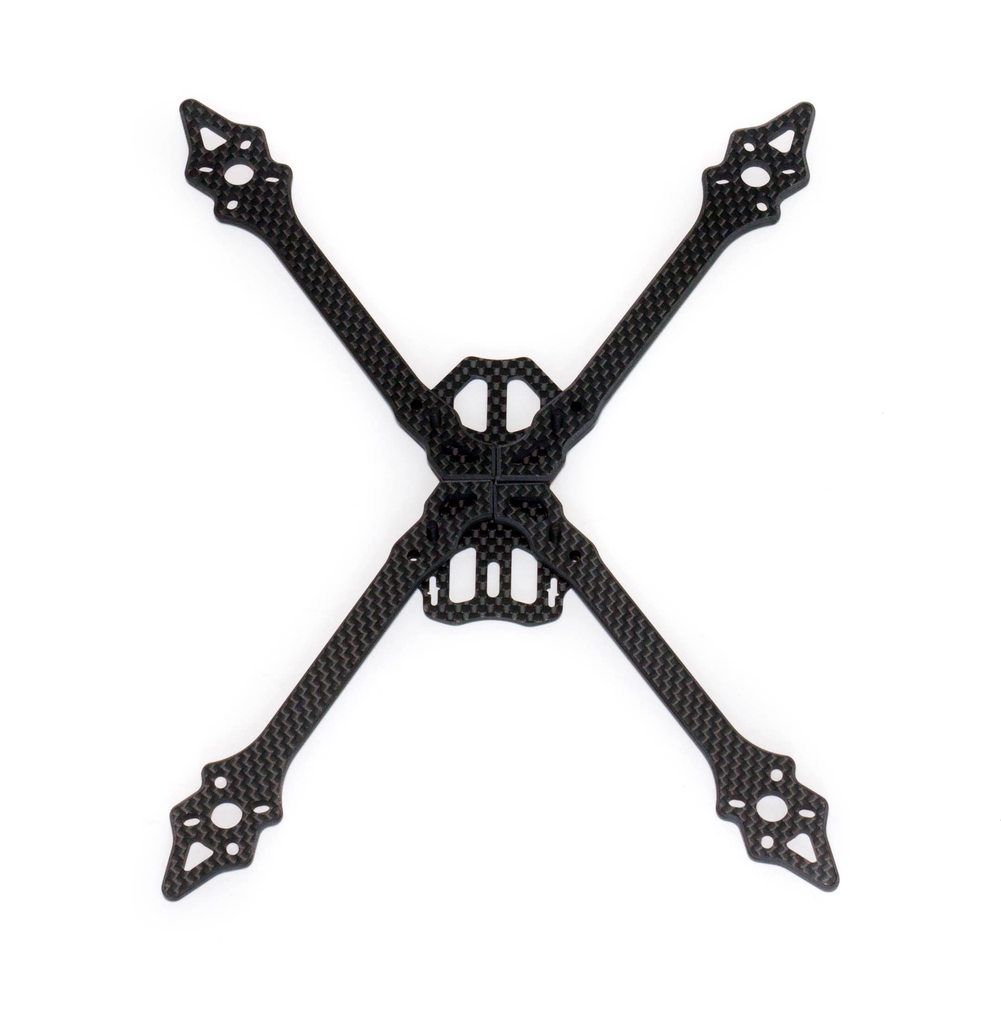
First off we need to take the bottom plate! We’ll be adding in the screws required for the arms, the longer screws being the ones that go on the inside.
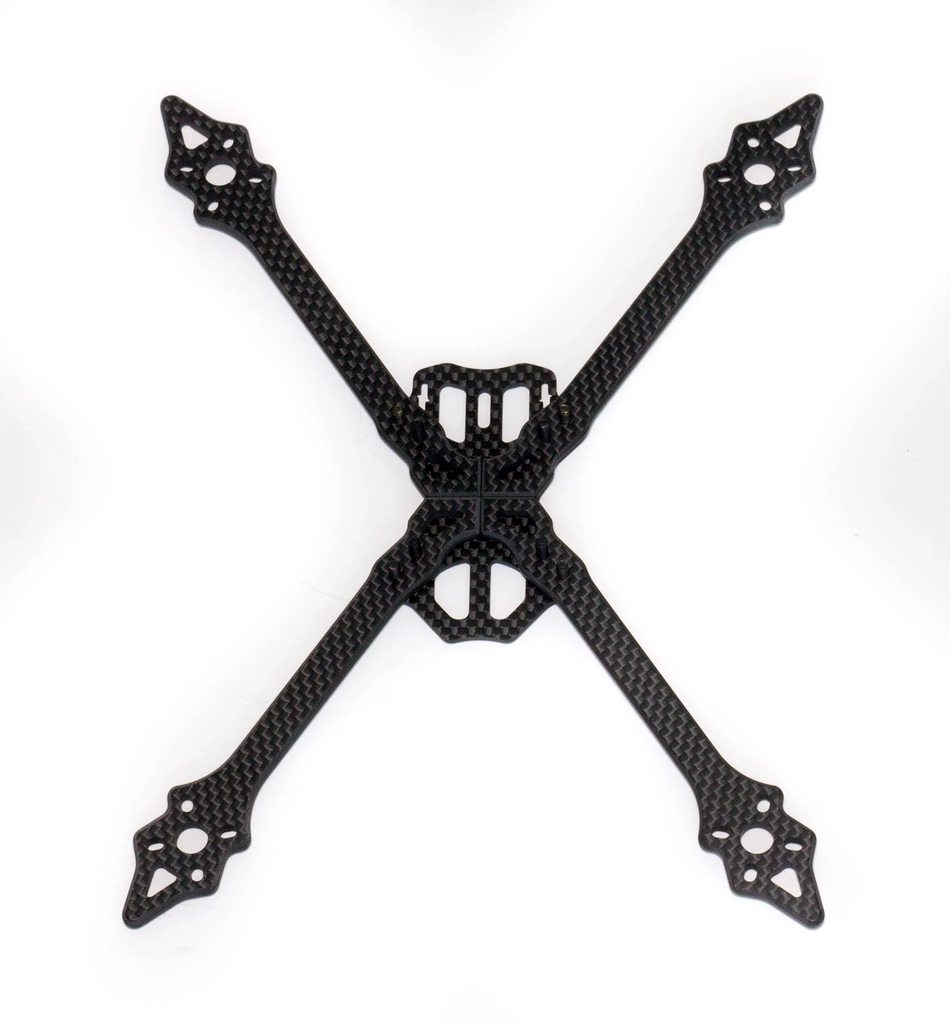
Next step is to slide the arms over and into place. Already I can see the carbon is milled very well - the screw holes are nice and tight but not too tight they will not go in. Also the join for the arms is near perfect even without the top plate on. This means you will very likely have little to no play in the arms during flight or a crash which is ideal.
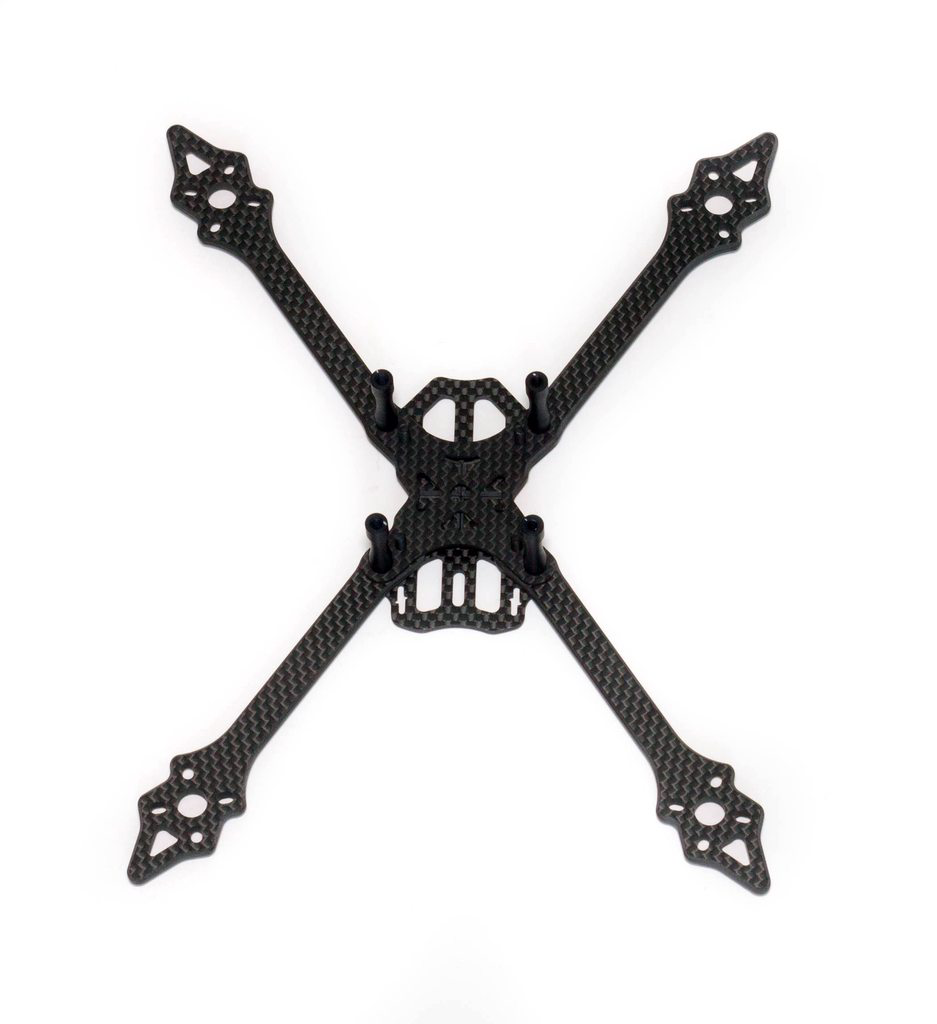
Next up we can add in the outer standoffs. A nice touch by this frame is the fact the outsider screws are used for the standoffs, not the inners. This means soft mounting is super easy and is ideal for the Raceflight Revolt and the Bolt which mount to each other and both have gummies.
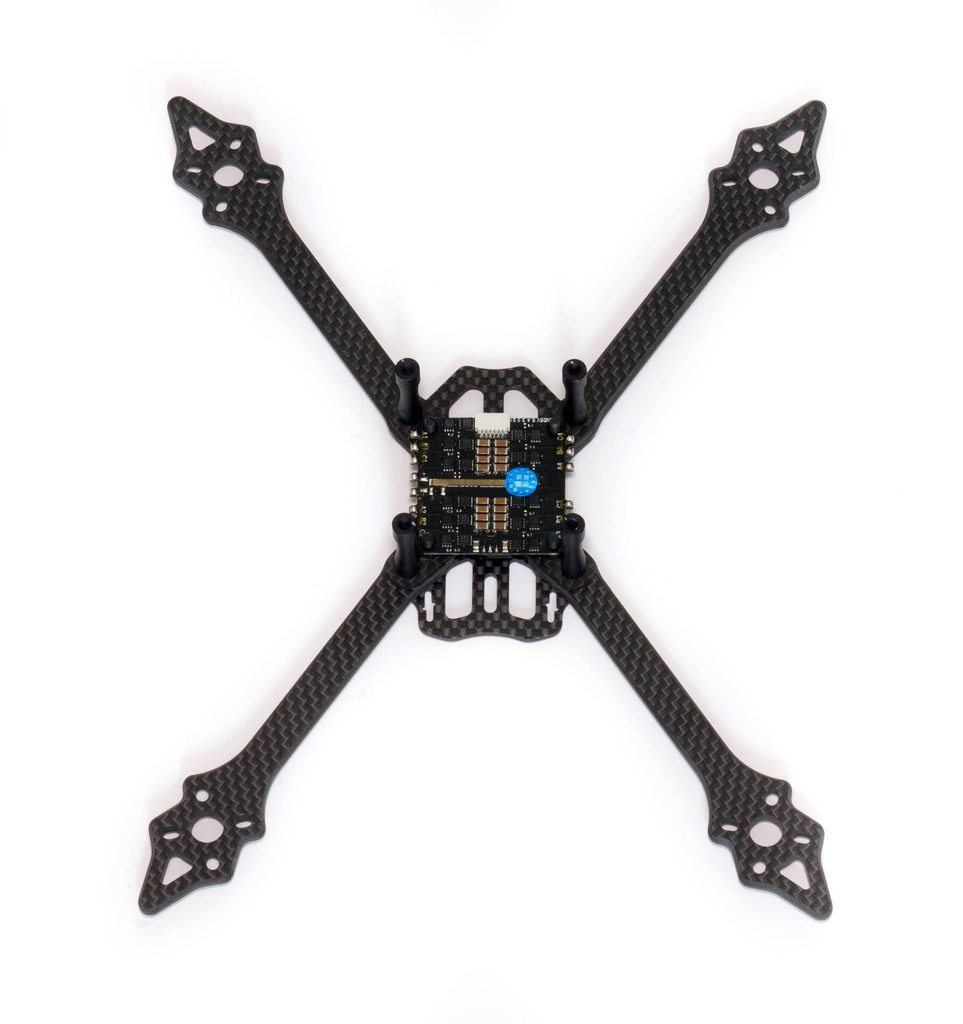
Next up we can add in the ESC’s. Annoyingly you’ll see this isn’t a red PCB, and it of course is not the Raceflight Revolt. I could not fit the ESC in without modifying the PDB tabs that feature by the standoff holes. No matter which way you rotate the board it would foul the outer standoffs. Rather than modifying it I stripped down another build I have to use another style 4-in-1 esc.
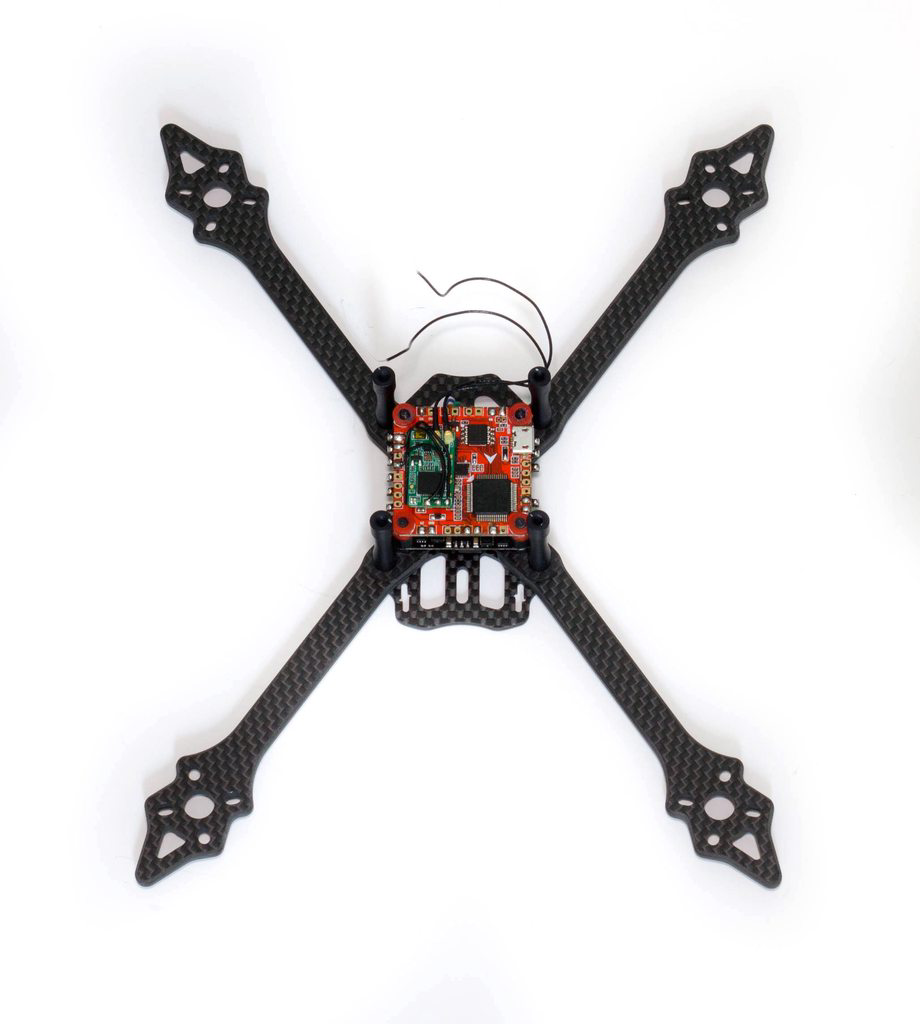
Next up we can add the nylon hardware and slide the Revolt over. It’s a perfect fit for the gummies which does not require the nuts to be used on top of the FC, it stays in place just fine without them. I’ve also soldered the RX and mounted it onto the FC as it’s super small and keeps the build compact. All we have left on this build for the stack is the FPV camera and VTX.
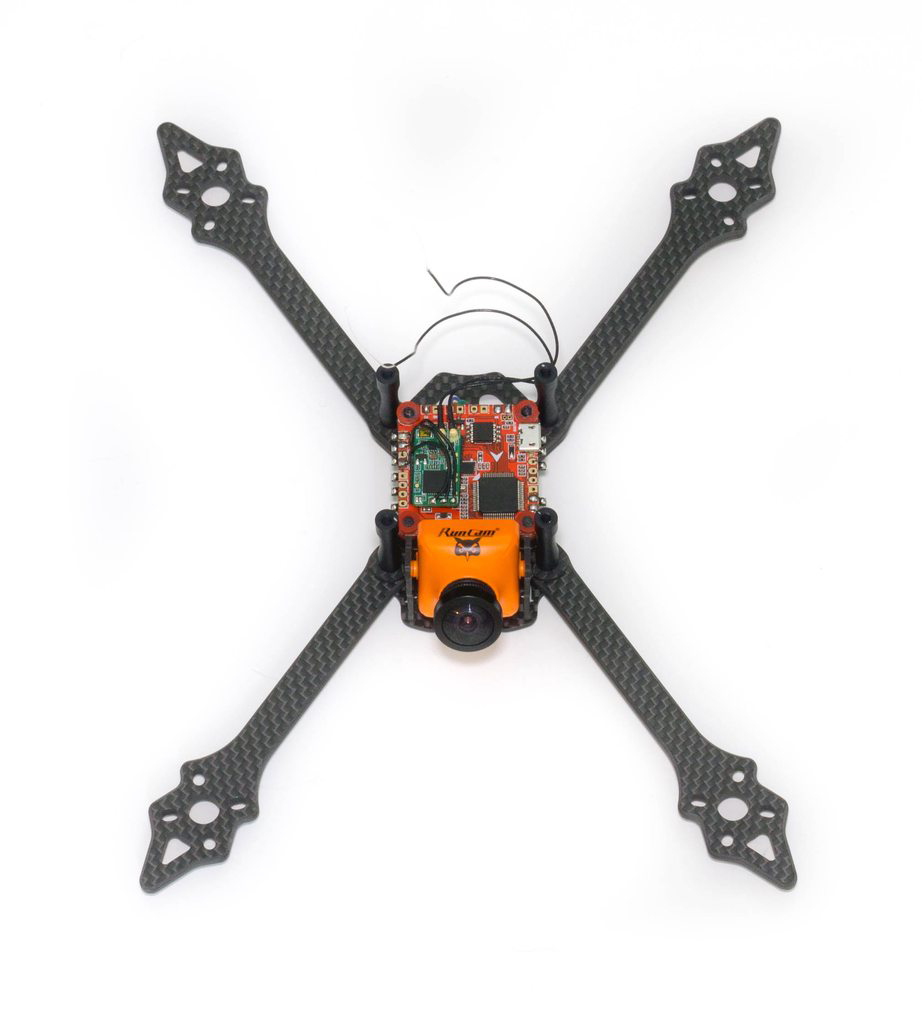
Next up we can add in the FPV camera - the choice of the build is a Runcam Owl Plus. The plates fit perfectly for the screw holes using the standard Runcam screws.
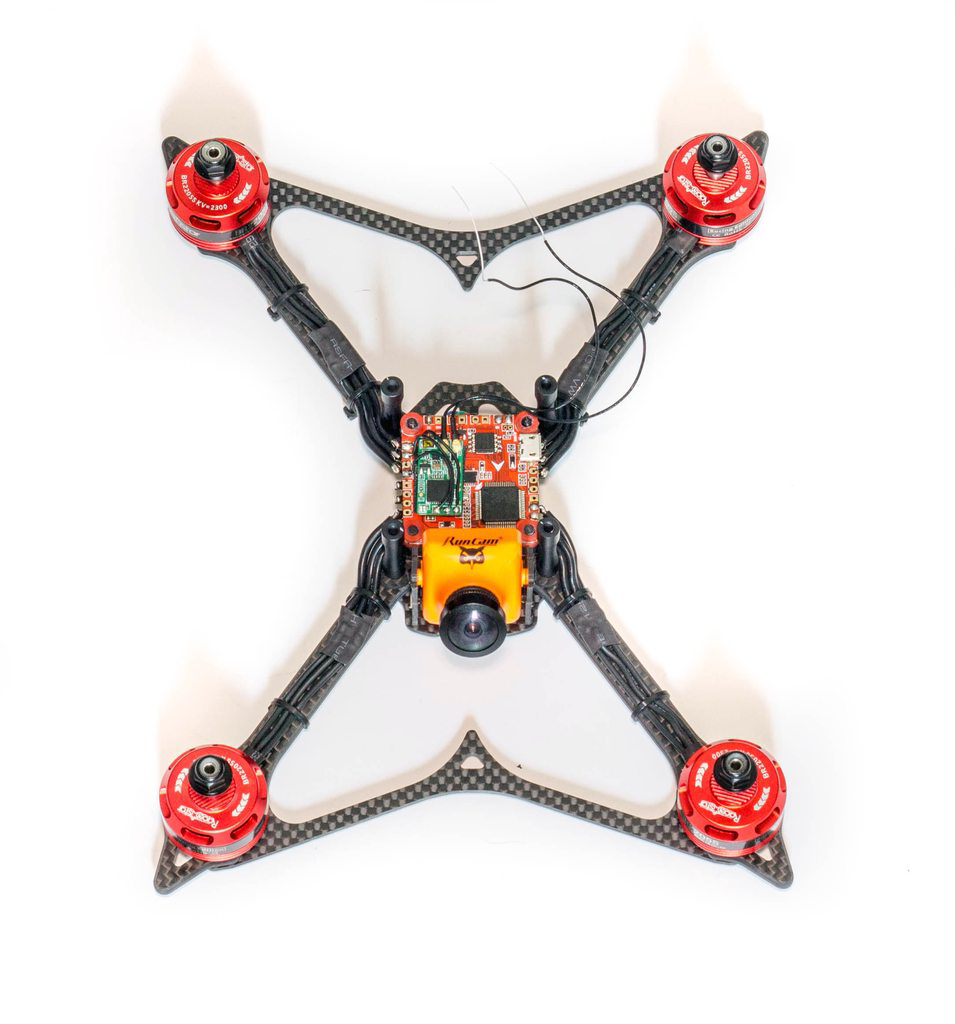
With that done we can now add in the motors! Normally I do these first but I’d spent so long messing around with the ESC that I forgot to do them in this order, and also noticed the motor wires were not long enough to fit directly onto the ESC! Because of this I cut them slightly shorter so the joins are not on the bend, and extended them using some spare wiring. This will keep the build nice and light.
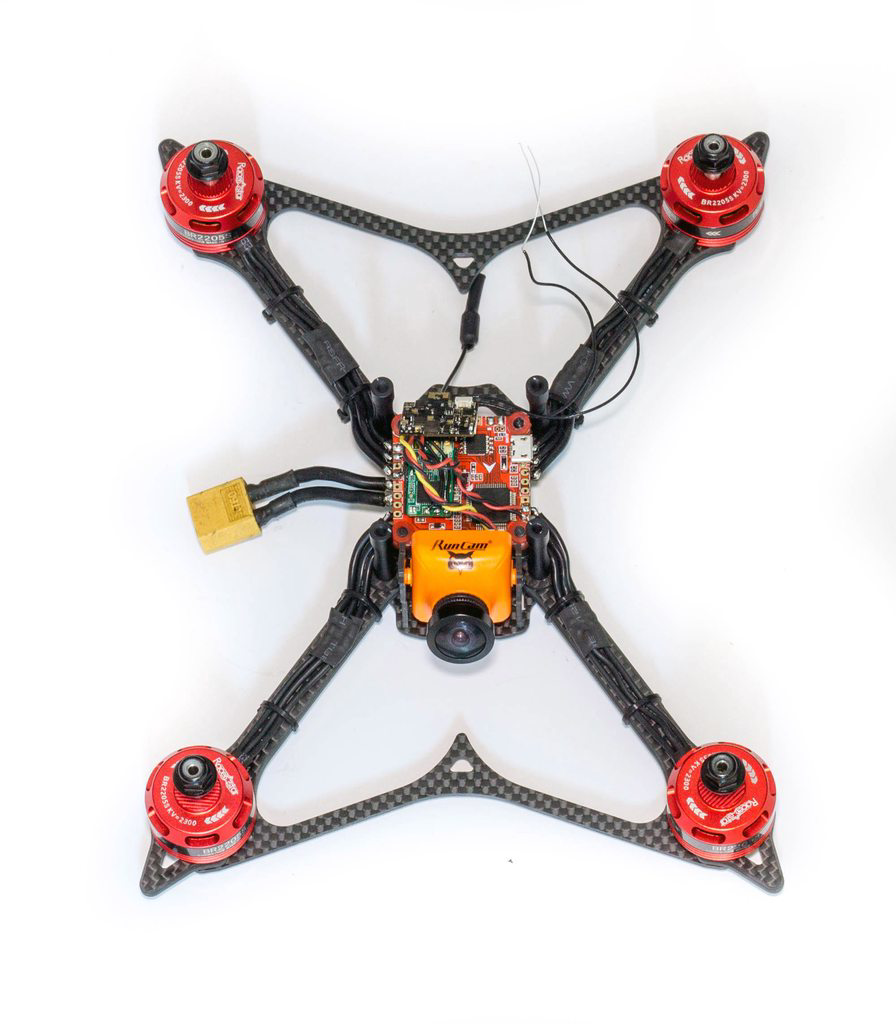
Next up I’ve added in the XT60 to the 4-in-1 ESC and the VTX/camera wire combination. I’ve soldered this directly to the FC due to the VTX being 5v, and hopefully the 5v on the ESC will be enough current for all 4 components (camera, vtx, receiver, fc).I plan to mount the vtx on the top plate so for now it is just free-floating until that section is done.
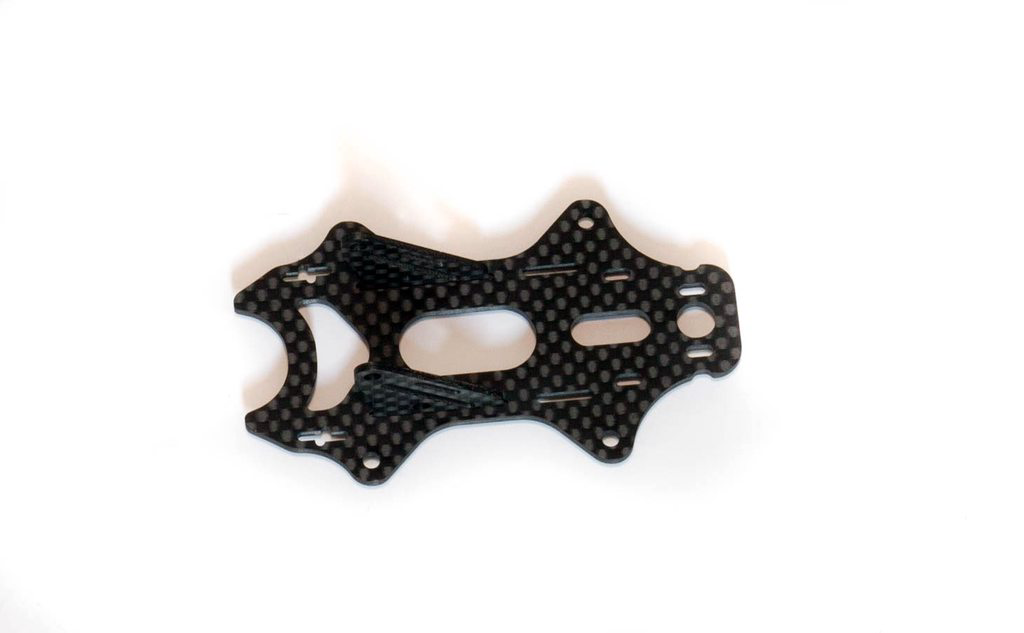
With that done the only section left is the top plate and the section here. First up is a case of sliding the carbon plates from the underside to the top.
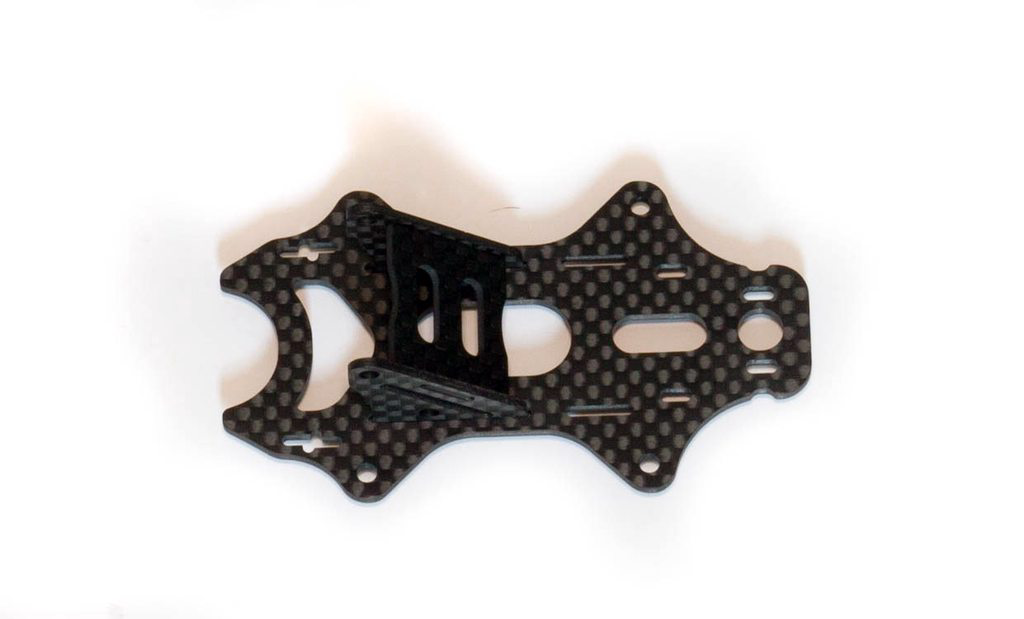
Next up we need to slide the GoPro mount plate between the 2 side plates.
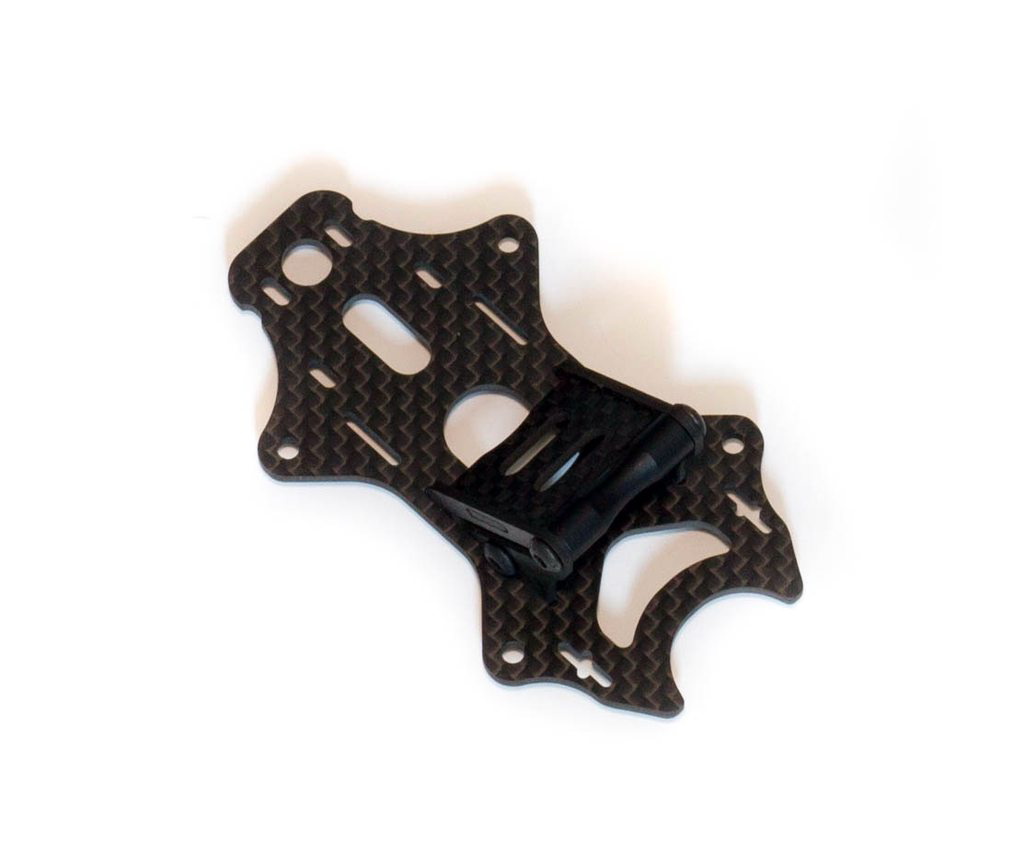
And finally for the last part of this section we slide the 2 standoffs between the 2 plates and screw via the remaining screws. I must admit this section while it looks cool is a little disappoint. Without being flown yet there is already a little bit of vertical play between the carbon slots on the underside and the standoffs on the top meaning any HD camera attached is going to have more vibrations than it should have. I expect this to worsen once you crash also so I think a new HD camera solution, or some sort of reinforcement is required.
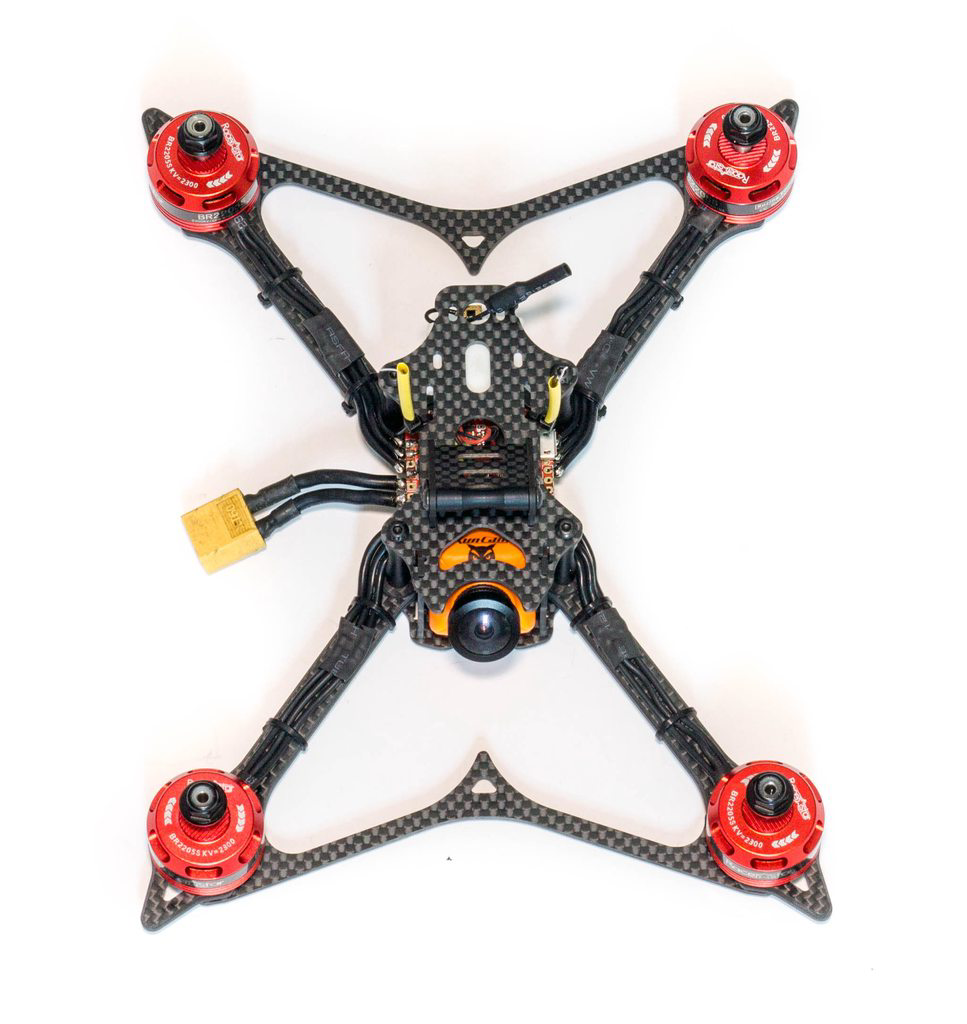
Once that is in place the only thing left to do is screw on the top plate, and secure the VTX! A very simple and nice build that has similar build steps to most frames, with the added bonus of all-black hardware and standoffs as well as great quality carbon :).
Final Pics
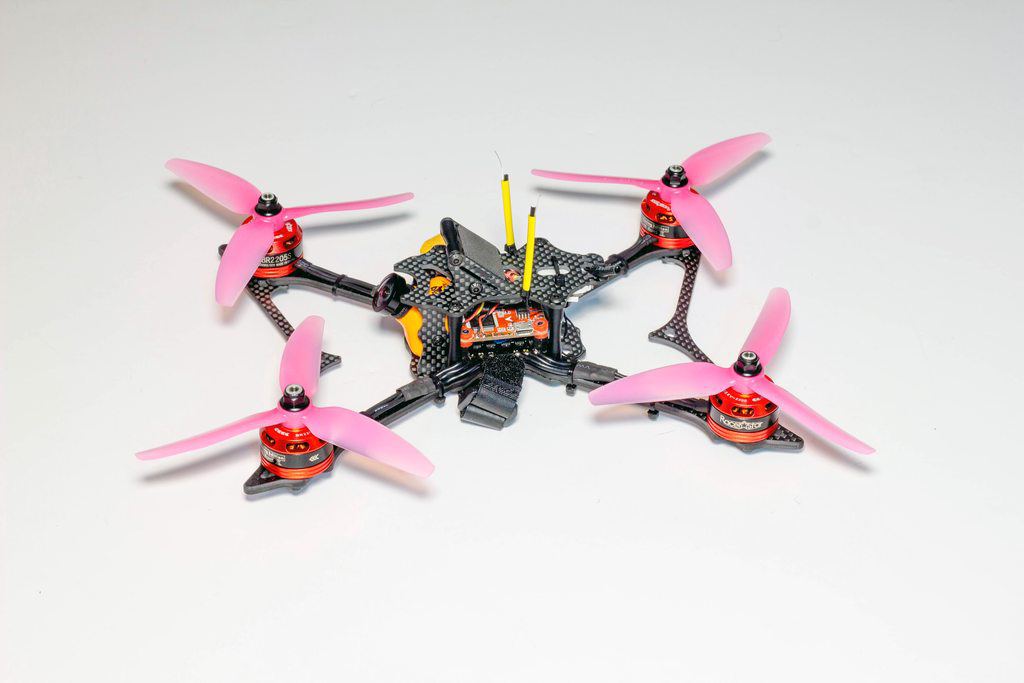
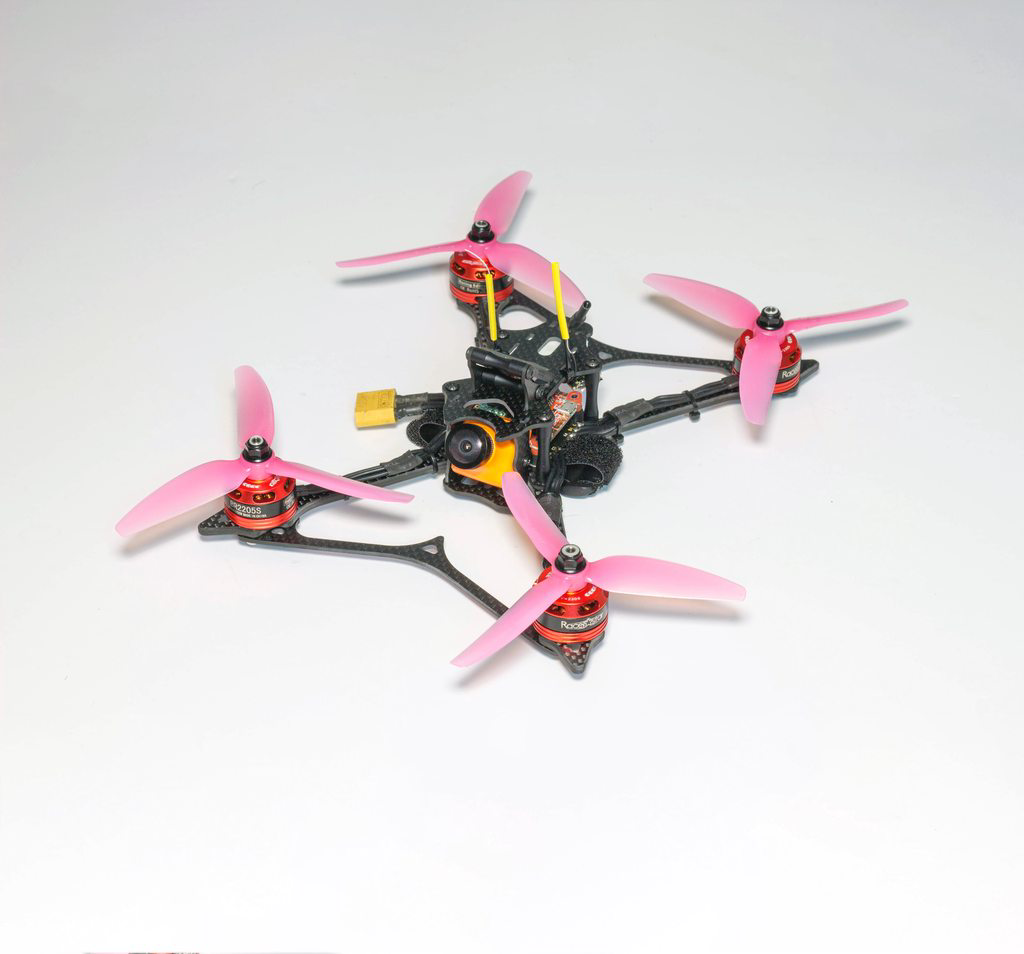
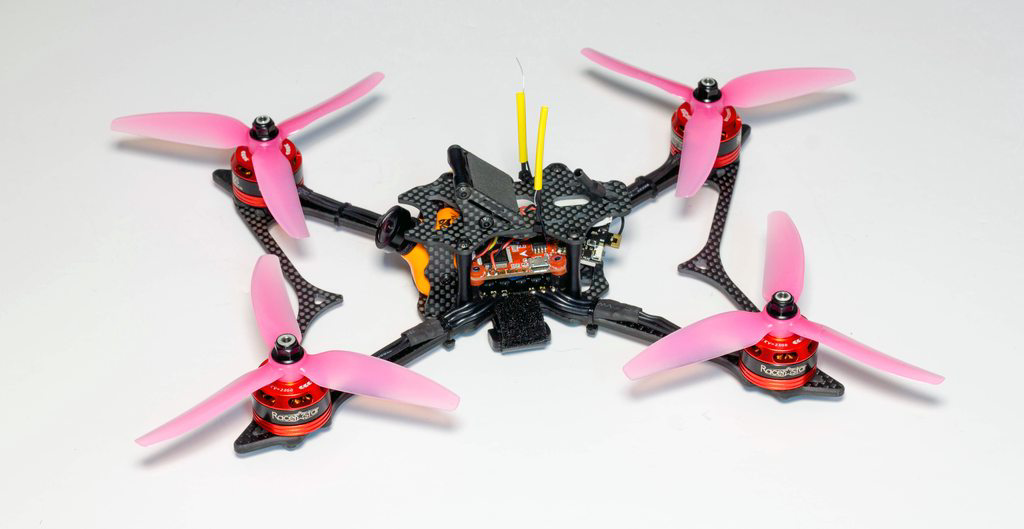
Now, time for some pictures of the frame fully complete with electronics!
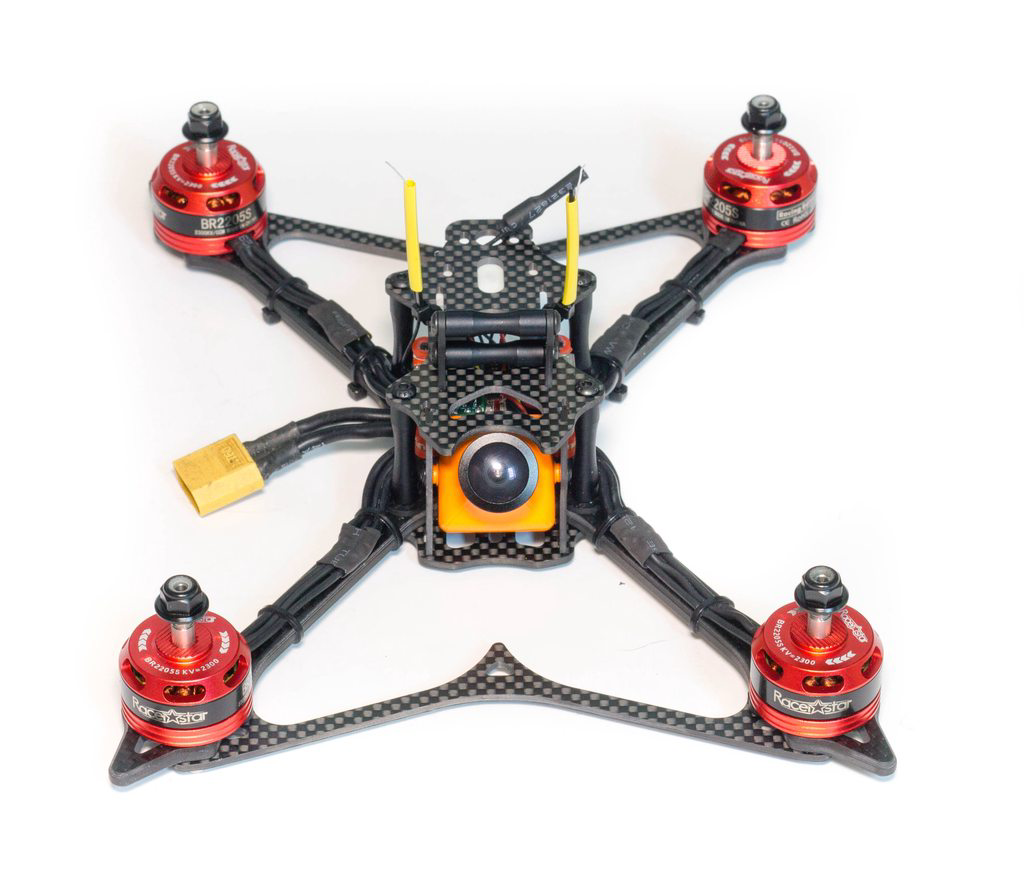
From the front to back we can see the profile of the stretch, having quite a large stretch angle compared to most. In this picture it almost looks like a 3" build, but no 5" props do fit on it!
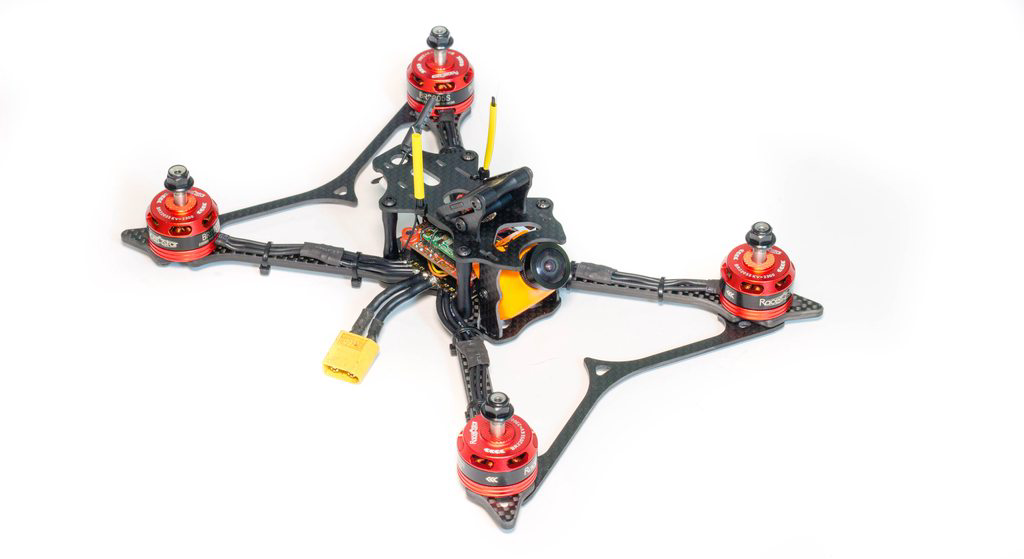
From the side the build looks super tidy, the final weight of the quad will be listed at the end but for a quad that does everything (HD camera and freestyle are possible), it’s looking great.
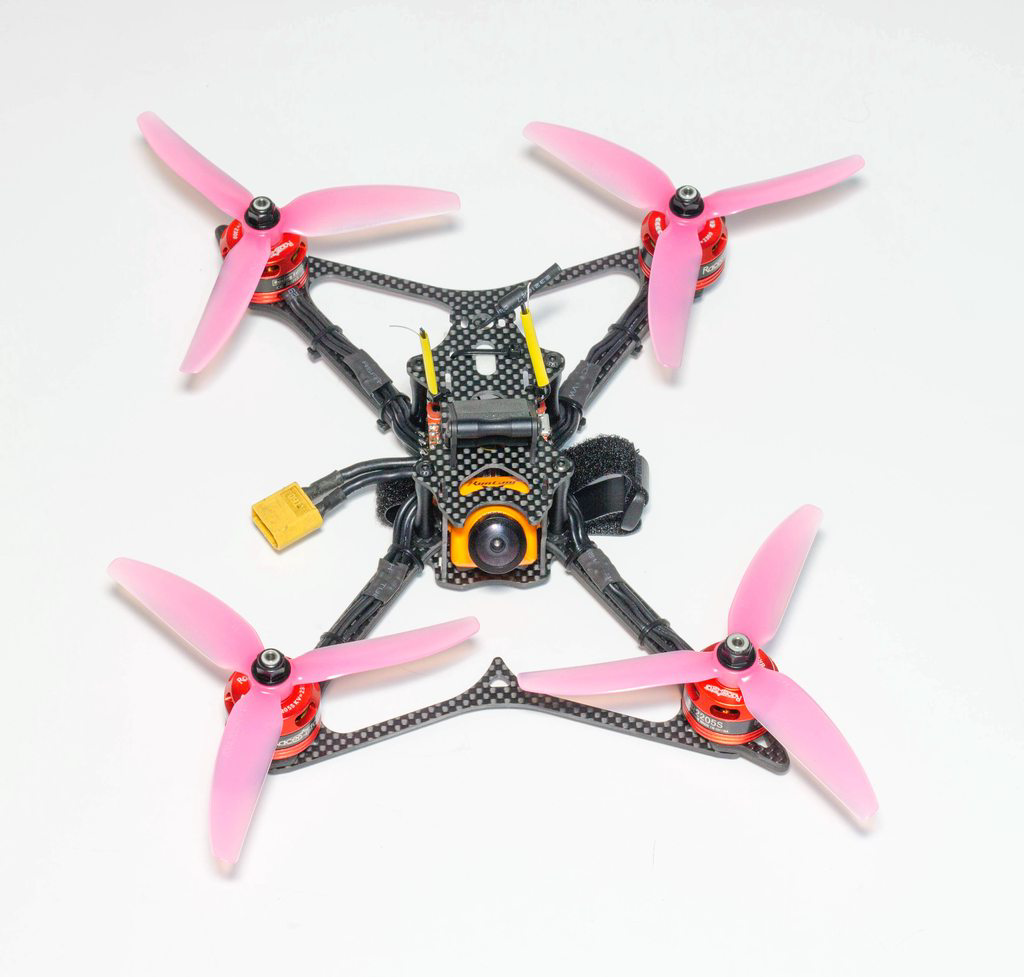
With props we can see a similar story as early with the frame looking super small, but now the 5x4.3x3 propellers give it some perspective :)
Flying
So without anymore delay here’s some flying footage of the frame! This is one of my many packs of flying this frame on the day, with good progression of speed from start to finish as I learnt the track.
So we can see towards the end it has no issue with keeping up with other quads in the air. You can see the typical stretch X behaviour of the quad just being pulled around the corners without any wash out, and that is no different here!
Final Thoughts
So having built the quad and flown it at a race day as well as some freestyle (no videos though I’m afraid), here’s my final thoughts in terms of positives and negatives:
Positives
- Great price for a stretch X 5" frame
- Korean quality packaging and carbon
- Simple build allowing soft mounting and easy repairs - both important things on a modern racing quad.
- Antenna mount on the top plate likely to never be damaged due to increase arm length of the Stretch X profile.
Negatives
- Cross-brace not thick enough to avoid breaking in crashes - by not using the cross brace I’d be worried about breaking arms as they are quite thin considering they’re 4mm thickness. I’d rather personally see wider arms in favour of the brace.
- GoPro mount tolerances are too low (which was surprising considering the rest of it) - it wobbles around before it has even been flown which will create jello footage. I think the design of this part itself is pretty weak and crashing will create slop pretty quickly as it’s only held in by tiny carbon tabs on the underside.
For me I think there are still more positives than negatives despite some of the issues found. You could likely run the frame without the brace and have absolutely no issues in your crashes, I think it will all depend how you crash :)
Overall I think it’s a nice frame that works pretty nicely for racing, I’m not sure the brace does what it is designed to do, but you could always run without - in racing shaving weight is a benefit and as long as you can finish the race then it doesn’t matter. It would naturally be a little weaker without it, but that would be the risk you take on raceday.
The XBEE SR is available here.