Reviews
X-Labs Shrike Build
Posted on November 11, 2015 • 6 min read • 1,248 words
Now, I’d heard of this new frame in #cleanflight IRC a few months back, created by A_Nub and aimed at the pure racer, or for people who want that straight out speed with no compromise at all. For me, I instantly loved it, and I am quite hard to please when it comes to quad frames!
Proposed Specs
For once I was actually running low on spare parts after having a clear out to fund some Dominator HD V2’s, so I decided to give this quad a fresh start with every part being new (except for the flight controller). I decided to go with the following:
- RCX H2205 2350kv motors
- RCX LittleBee 20A speed controllers
- HQProp 5040 (recommended by BanniUK) / HQProp 5040x3 / HQProp 5045BN
- DragonFly32 Flight Controller
- X4R-SB receiver
- HS1177 CCD FPV Camera
- TS5823 200mW video transmitter
- FatShark Circular Polarized Antennas
I’ll let some of the pictures do the talking, and go over some of the features I like.
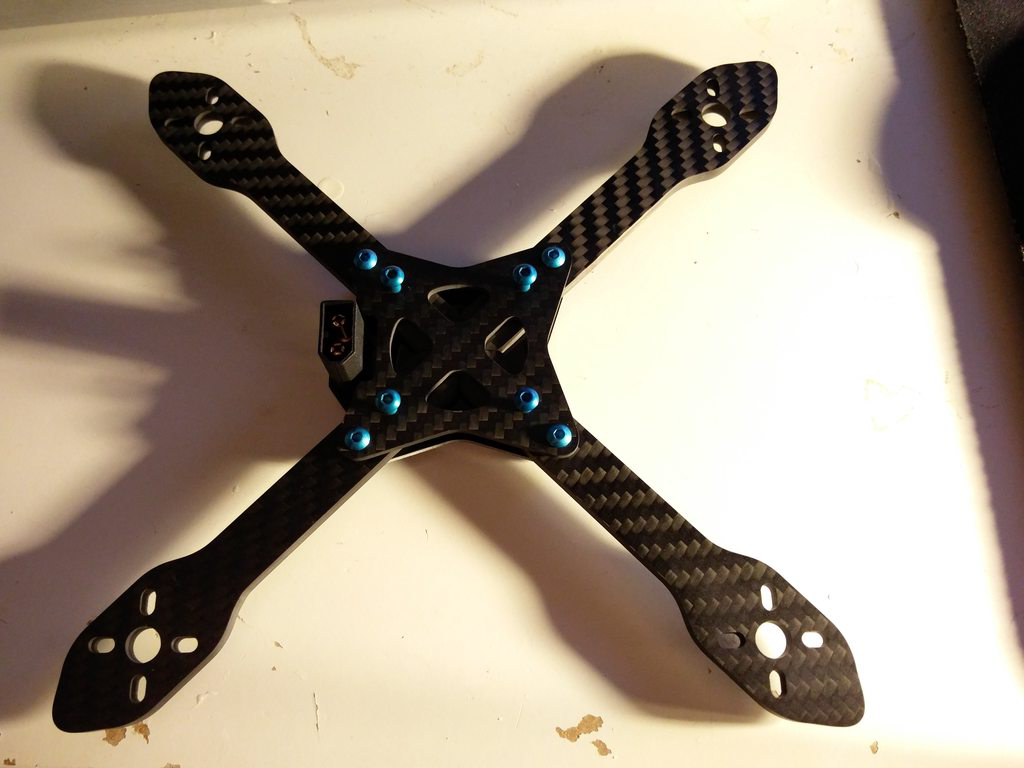
I realise the contrast is quite off here, making a bit of the picture too dark, but if you look at the arms, you can see they join at the center forming a square (or X in this case). I really, REALLY, like this. This will add so much strength it’s insane. It’s hard to gauge from this picture, but the 4mm arms feel absolutely solid, I have no fears about them being up to the task, despite their width being roughly half that of your traditional ZMR arm.
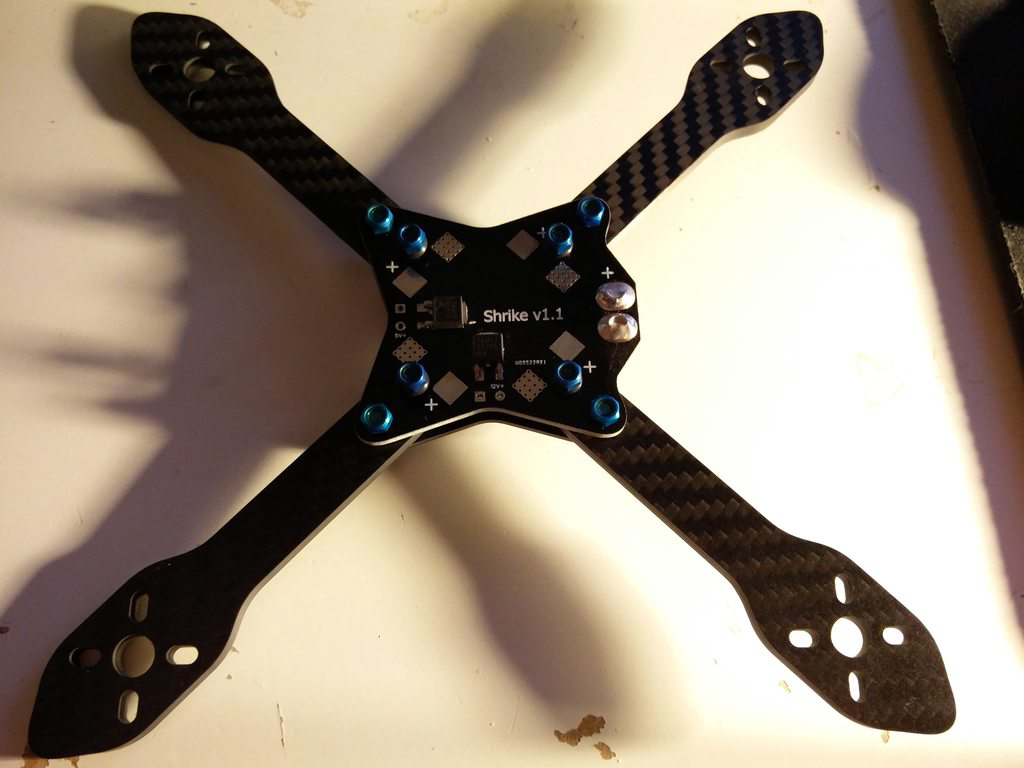
From the top side we can see adequate solder pads for any setup, 12v and 5v Linear regulators and the ability to surface mount an XT60 connector. Not much more to say here really :)
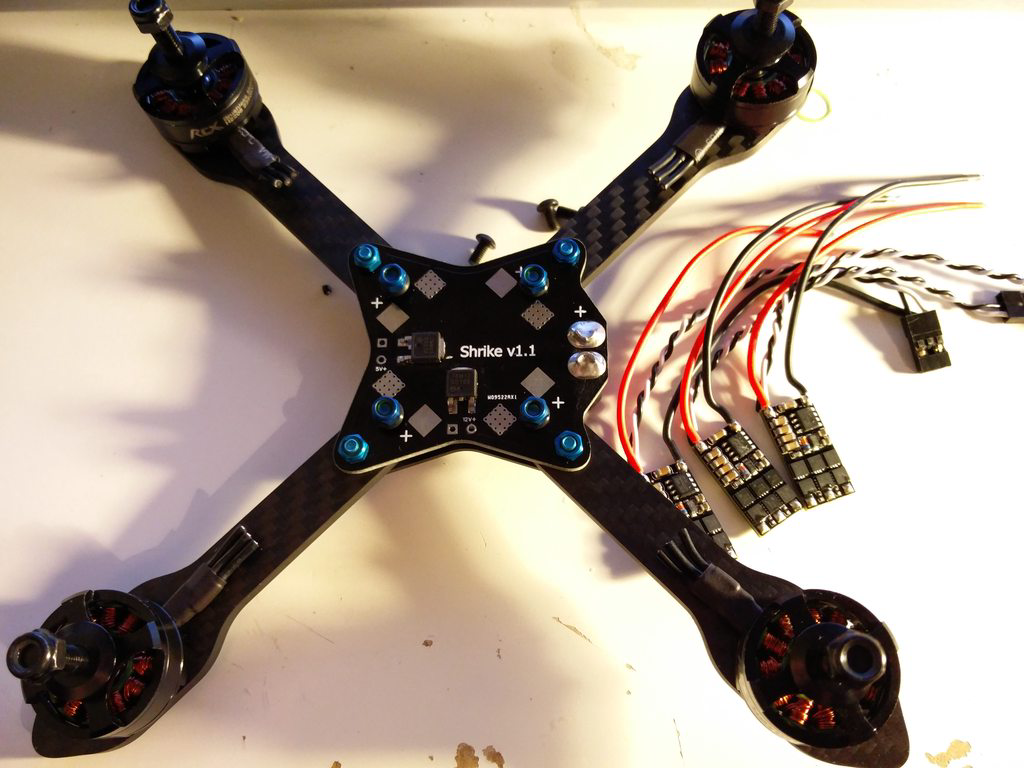
I removed the ESC motor-side wires and heatshrink in preparation for direct soldering to the motors, and cut the motor wires accordingly. It feels bad cutting the motor wires so short, and you always wonder if you are doing the right thing, but I can tell you it hasn’t been an issue so far, and now I trim them down and put the ESC’s on the arms on every build.
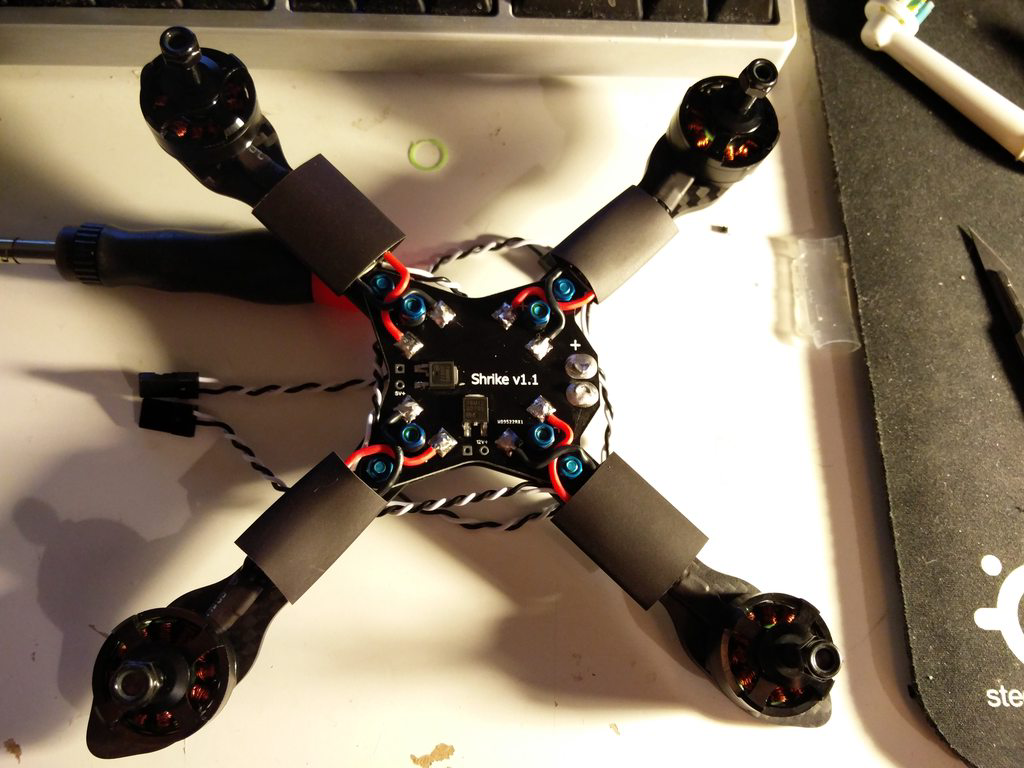
ESC’s now fully wired up with the power and signal side being cut to length, ready to be heatshrinked after a quick power test.
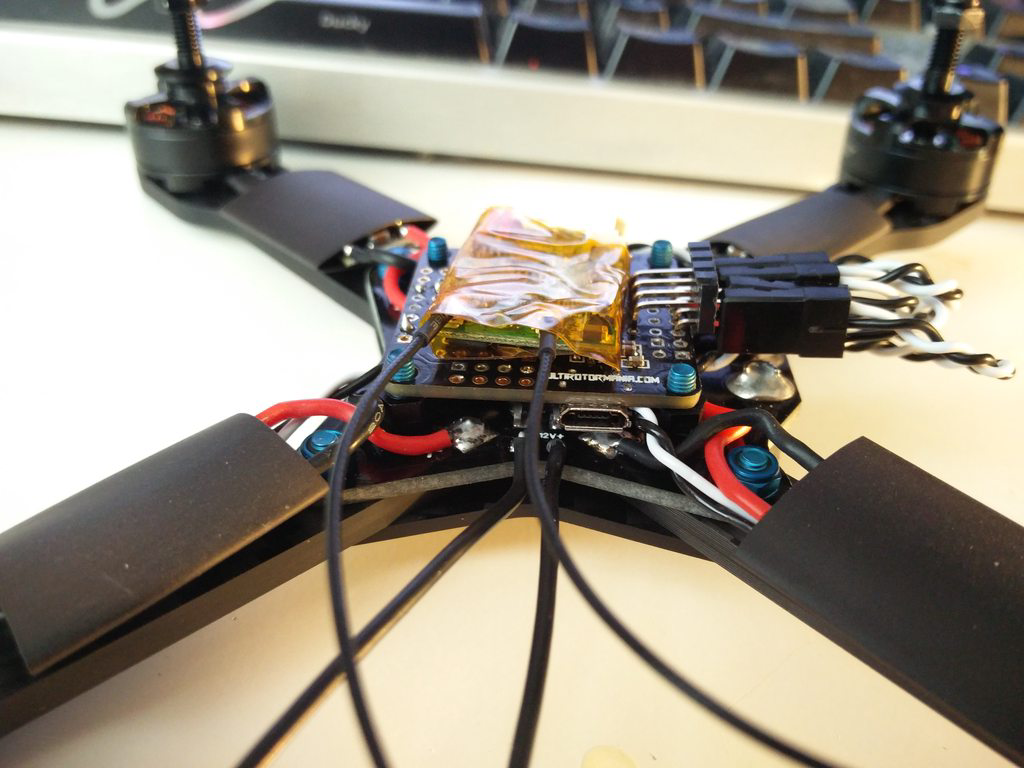
Much deliberation was taken to work out the best way to mount the receiver, flight controller, and subsequently the camera. I had flipped items over, rotated boards, and re-adjusted screws until the cows came home before deciding on this layout. It is worth noting it is VERY tight between the RX and the Camera once you mount it on top of the flight controller, but there is room. Depending on what flight controller you choose will also determine how you mount stuff, as you have to take into account the regulators protruding from the PDB.
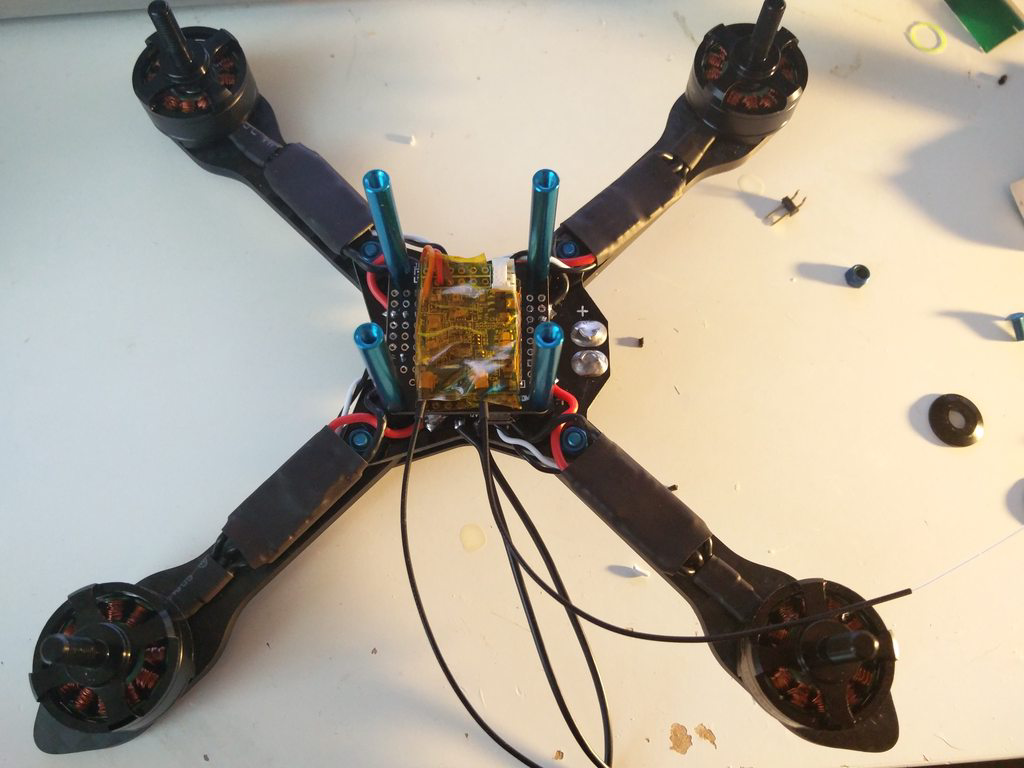
After finally deciding, everything is now soldered in place and go to go. I’ve hardwired everything for both weight saving and due to the reduced space.
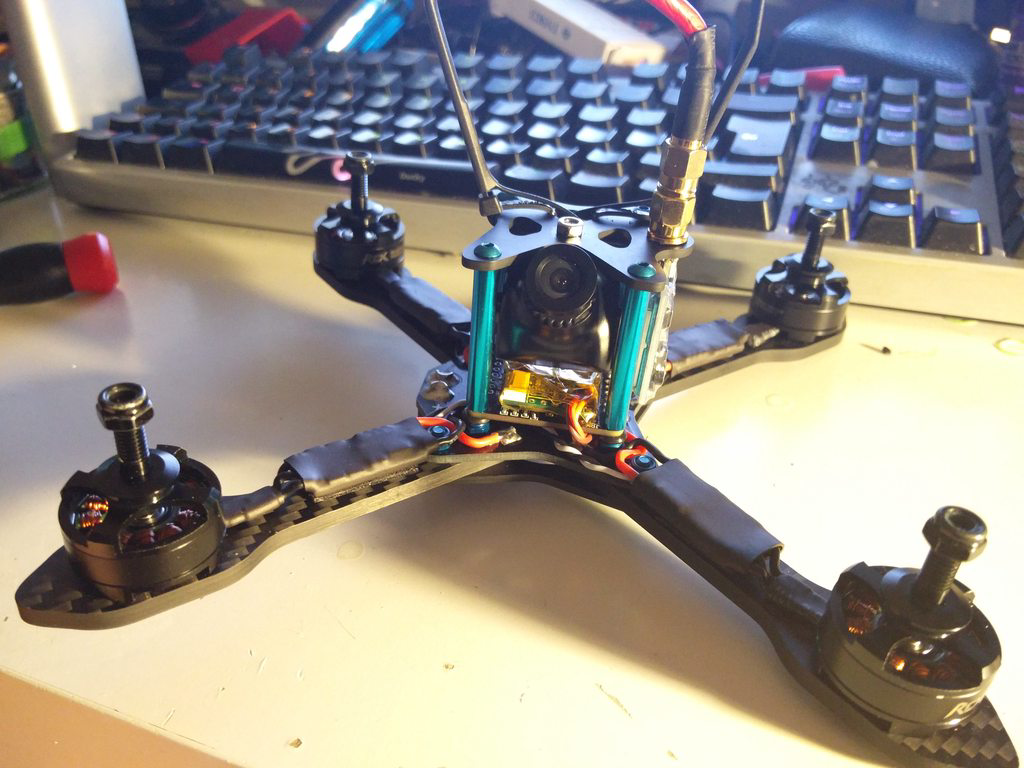
I skipped a few steps here, but they were relatively straight forward. The standoffs went on, the bracket got loctite’d to the top plate and the camera went in. Once I had changed the TS5823 from an RP-SMA to an SMA connector it then went in and ready to be used. Wiring it up was nice and simple. I had not needed the 12v regulator until now, and decided it was wise to run both of these items off of it - it should help in providing a stable voltage, but also filter a little bit too (which it does).
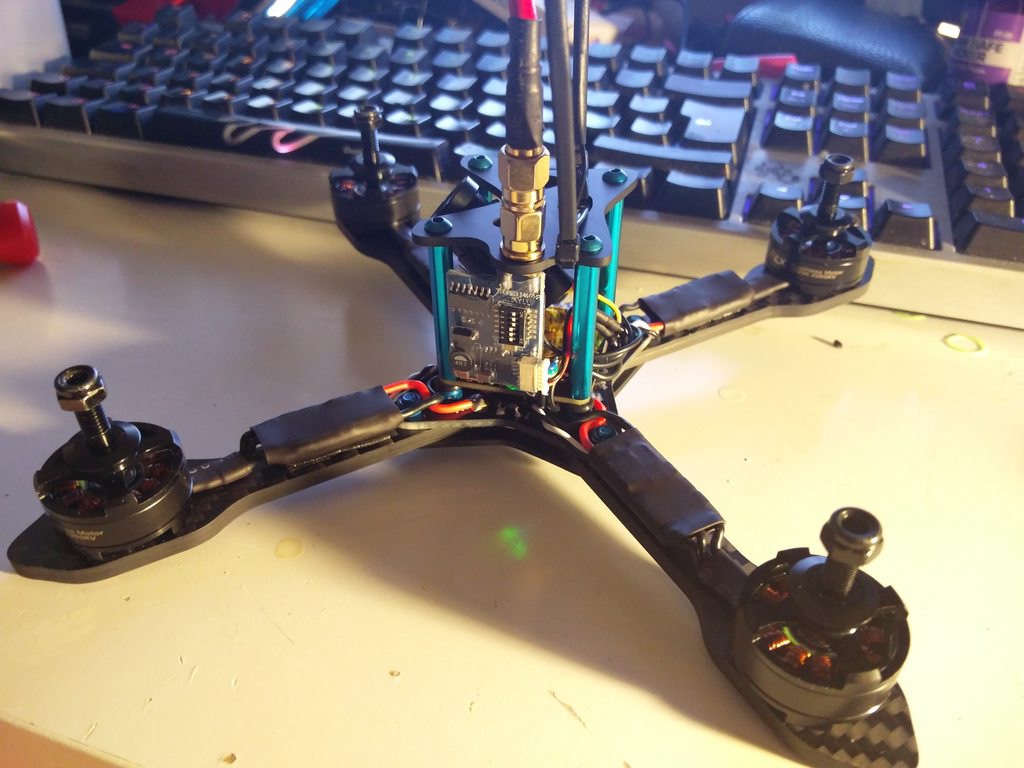
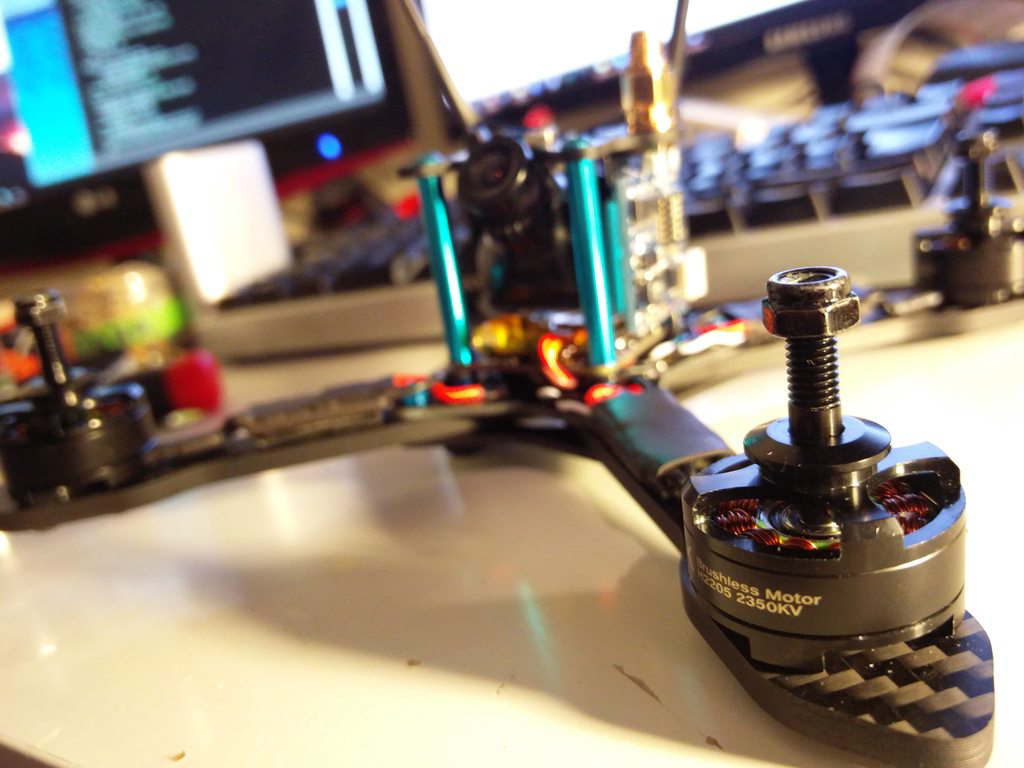
A bit of bokeh for you - I really like this shot. Cannot wait to fly it at this point, everything is in, ready, and good to go. Oh, except I forgot one thing - the battery strap! This actually caused more of an issue that you would have thought, I had rotated my flight controller as mentioned earlier so that it had perfectly fitted, but I also had the USB connector in the orientation I desired. This was going to be a bit of an issue as the battery strap actually sits in between the flight controller and PDB, of which there was now no room - at least not enough I was comfortable with using, without risking of damage some of the surface mounted components on my flight controller!
Due to the above, I actually ordered some longer screws that go through the frame (and connect to the standoffs), and used a 5mm nylon spacer to give me some clearance, nice and clear of the battery strap just in case there is any force put on it during a crash (unlikely but this thing is built to race, so it has to be robust!).
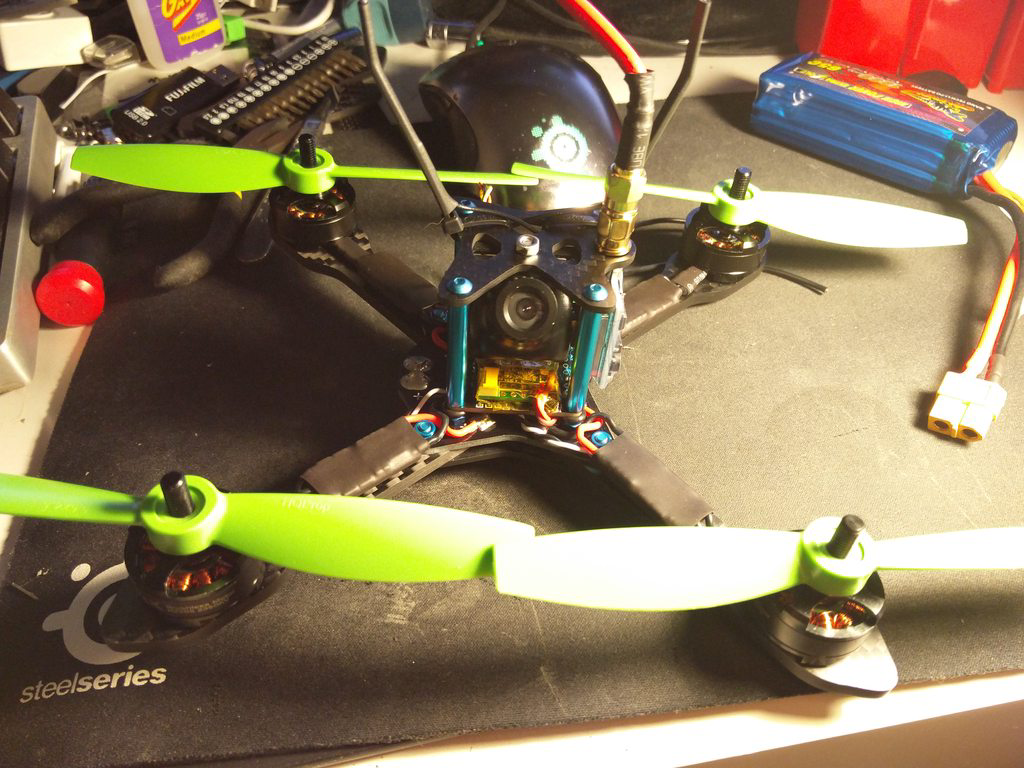
I decided to see how tight it is, I realised the frame was small but it’s hard to gauge until you put some props on it. At the current time I did not actually have any 5" props, but I did have some HQProp 5.5x4.5 I was meaning to test. Sadly, as you can see, they did not fit - and without cutting them down and balancing, it was frankly not worth the effort to do so, so I will get some more props along the way.
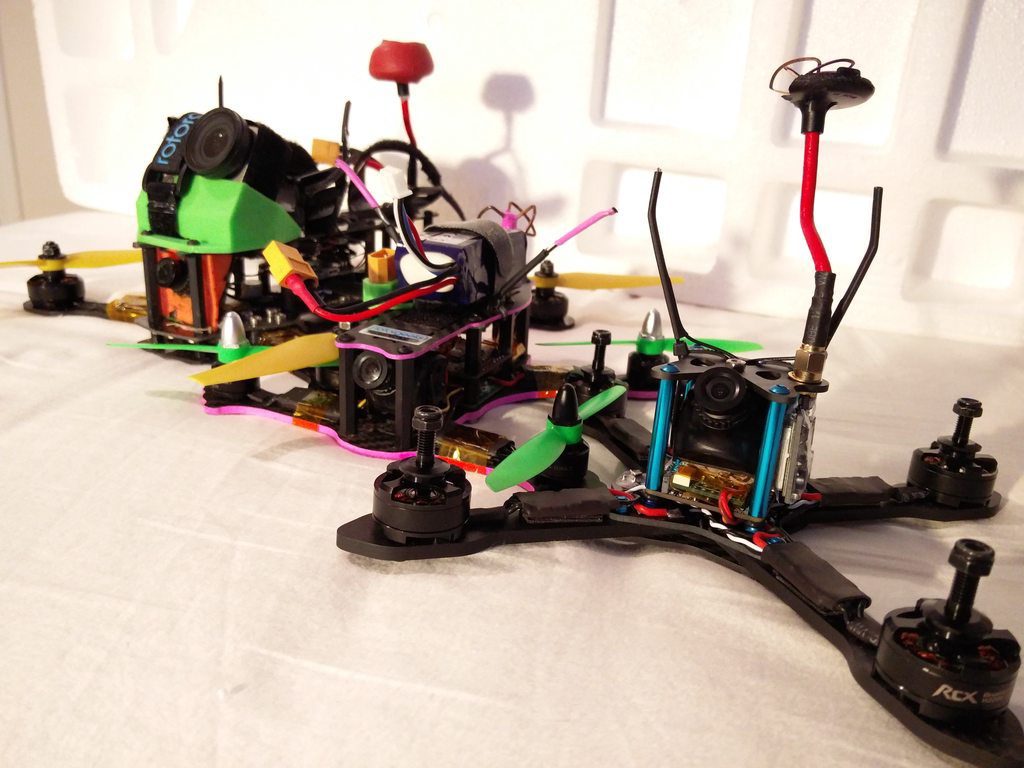
Here’s the Shrike at the front of the line, posing with my Kermit and ZMR250.
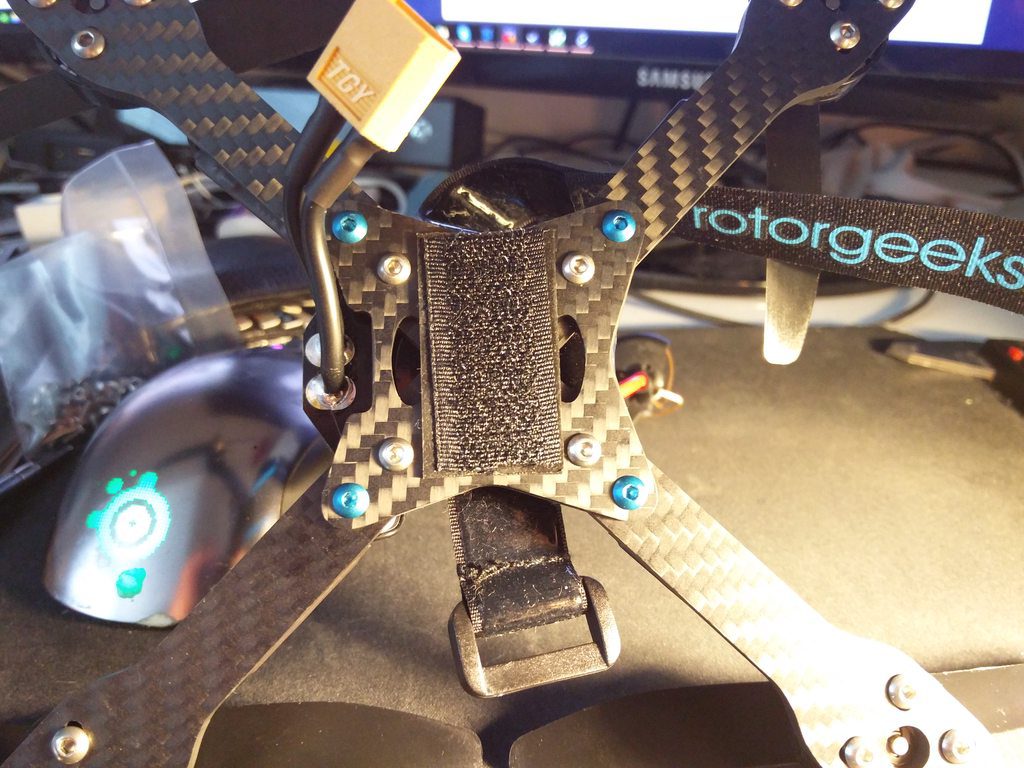
Finally, after playing around with batteries, and connectors, and doing a test hover, I soon realised that the XT-60 I had surface mounted was causing the quad to topple over. Basically, because the wires on the Lipo coming out of the XT-60 are rigid, they do not bend, and they were sticking out past the base of the Lipo, meaning it was leaning sideways - this is not ideal in a race scenario, so figured the easiest solution is to just create a pigtail for it. This should actually help down the line as I think a crash could lead to solder fractures, which having it on a pigtail will help reduce the strain on the PDB.
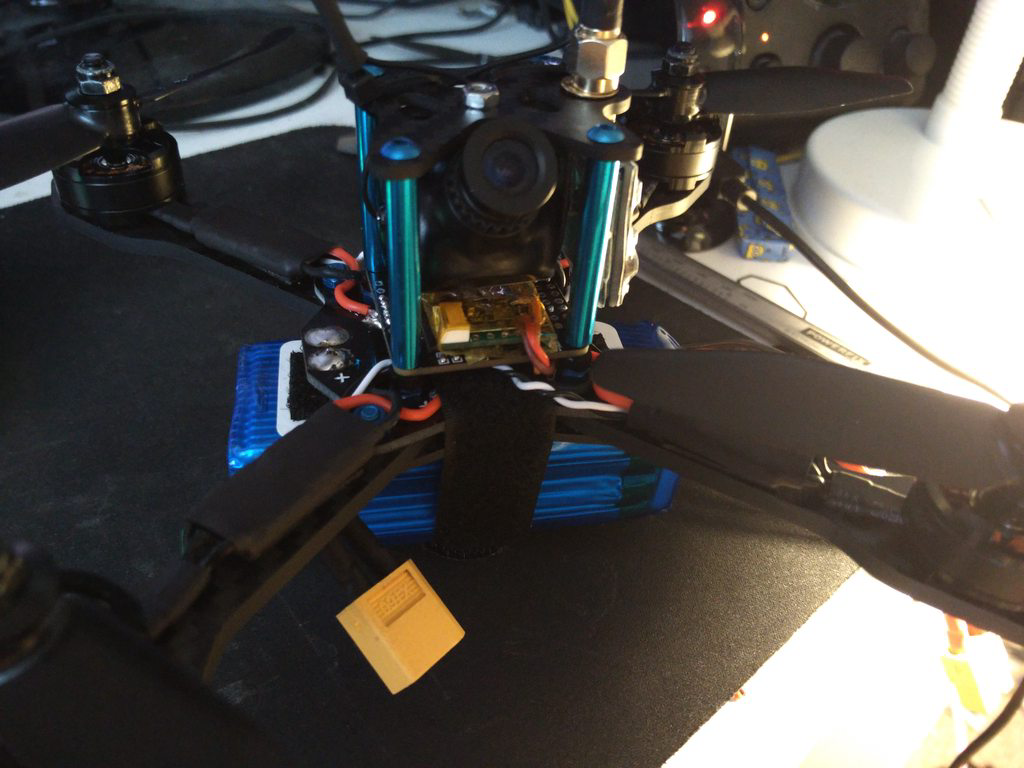
Here it is in all it’s glory with some actual working, and fitting propellers on!
Sadly, the weather is really bad at the moment, I managed to maiden it at a local event over the weekend. We had 35mph winds, with 45mph gusts, but it flew!! It needs a slight PID tune, but otherwise its absolutely epic, more on that when I can get a video for it, which is long overdue for various reasons (also explained in the next post… but it’s EXCITING STUFF!!!).
To conclude, as Mr Steele himself would say, this absolutely rips balls. It is just insane power, I’ve not actually seen anything like it.
You can catch the rest of the photos on my imgur Gallery here.
And of course most importantly, if you want to get your hands on one, you can do so here - I really can’t recommend it enough, and the price is fantastic too (the carbon is super high quality).