Reviews
Vector VX-05X Build Log & Review
Posted on January 29, 2018 • 12 min read • 2,508 words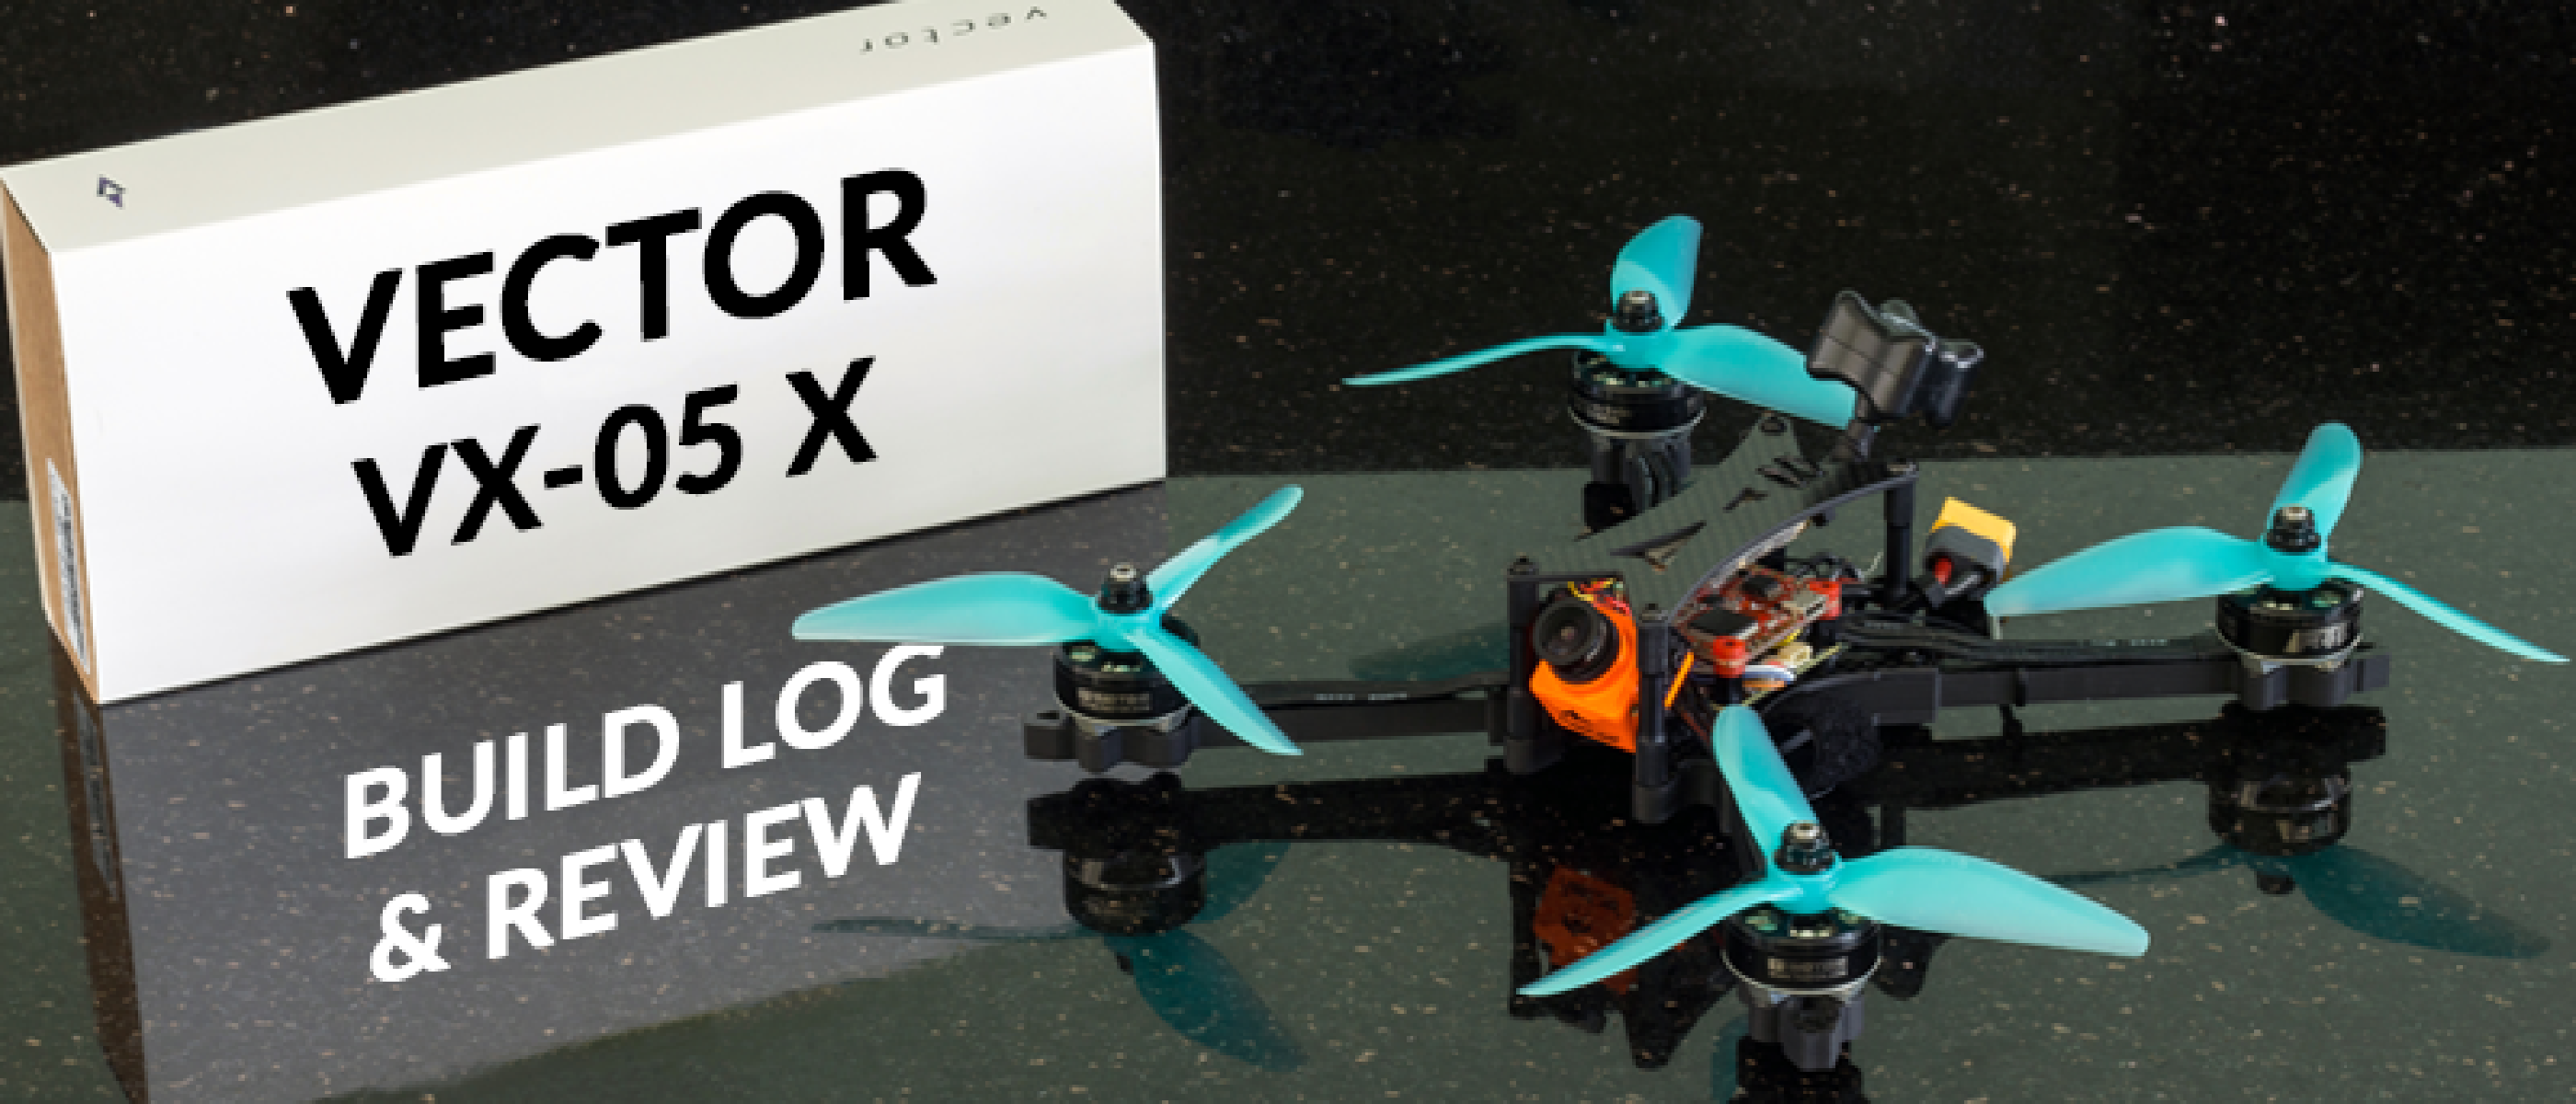
Kim from Vector FPV kindly got in touch to see if I’d be interested in doing a review, and after a quick look over the frame design I knew this would be a very interesting frame to take a look at. Debuted as the VX-05X (or VX-05S for the Stretch variant), it’s a frame that matches other frames in terms of ‘style’, but has some unique takes on parts of the frame design which I think make it stand out. I’ll go over these as we go through the build. Vector have been around since some of the very early days of FPV and dominate many of the South Korean races. I’d view the frame(s) as the ‘Floss’ of the US market, or the TSX200 of the UK market. South Korea in general seems to have taken a strong interest into drone racing, and this will in fact be the third company now I have dealt with for frame reviews, both of the previous frames oozed with quality in both the frame and packaging, but were priced accordingly too. I suspect this will be a similar fashion, but let’s find out!
The Vector VX-05X and the Vector VX-05S are both available direct from VectorFPV, and at the time of writing are both priced at $86.90.
Product Info
Straight from the website we can see some key specs:
- Stretched type(225mm)
- Top / Upper 2.0T
- Lower 2.5T
- Arm 7.5T (6mm wide)
- Landing Plate 1.5T
- Standoff Alu6061
- mini cam use only(Foxeer,Runcam,etc)
- Suitable 5-inch Prop.
Interestingly this is one of the few new frames coming out that supports Mini cameras “only” - I say “only” because I’ve adapted many of my own frames to run the Mini by using the Hyperlite Floss Micro camera mounts available on Thingiverse here. These will essentially allow you to wrap the camera around standoffs that are usually located at the front of the frame, and as long as they are roughly 30.5mm apart (the same dimensions as a flight controller), then they will work just fine. The same can be applied here, if you wanted to run a Micro camera you could just run without the camera mounts. Nevertheless, I like the fact they have added Mini support because for me personally right now, I’m not sure if the picture quality of the Micro is actually worth it to switch over to.
Whats In The Box
So without further ado let’s get this package open and see what we’re dealing with!
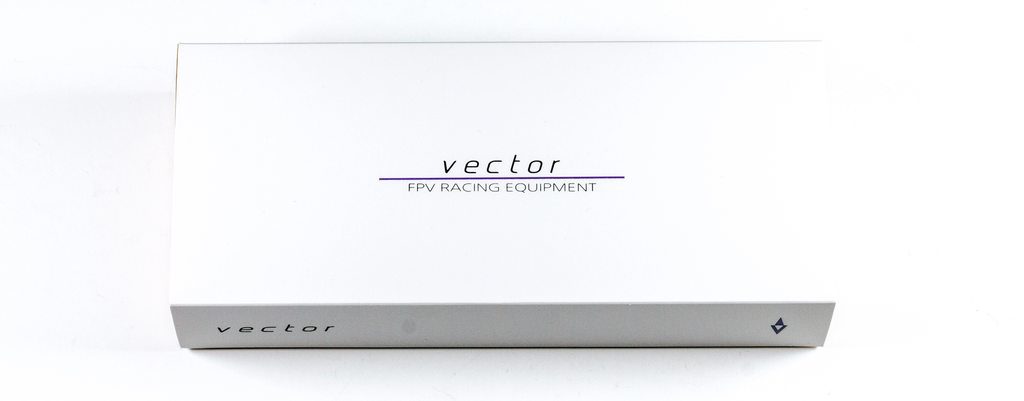
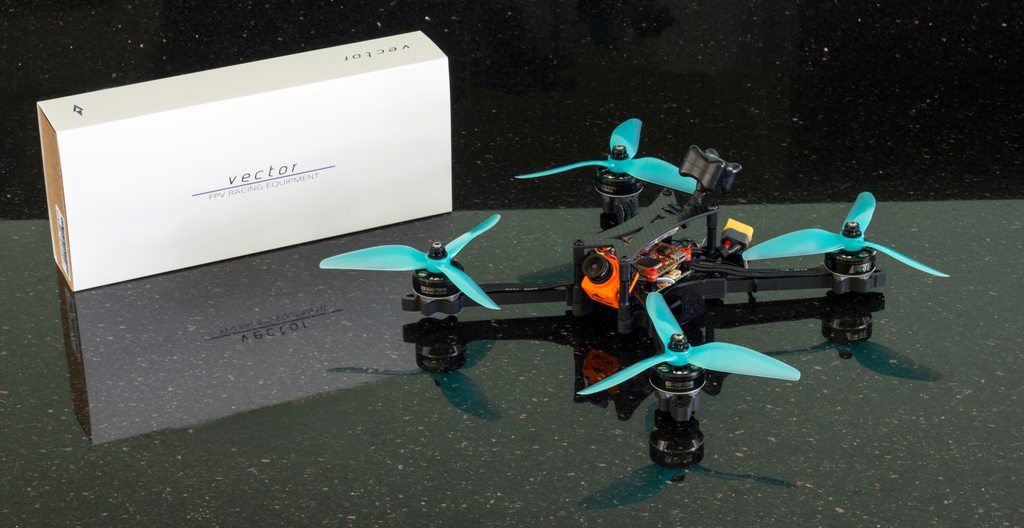
Like the other manufacturers coming out of South Korea, the initial views based just on the packaging make it feel like the frame is worth the money. The logo on the front of the box is embossed which is a nice effect.
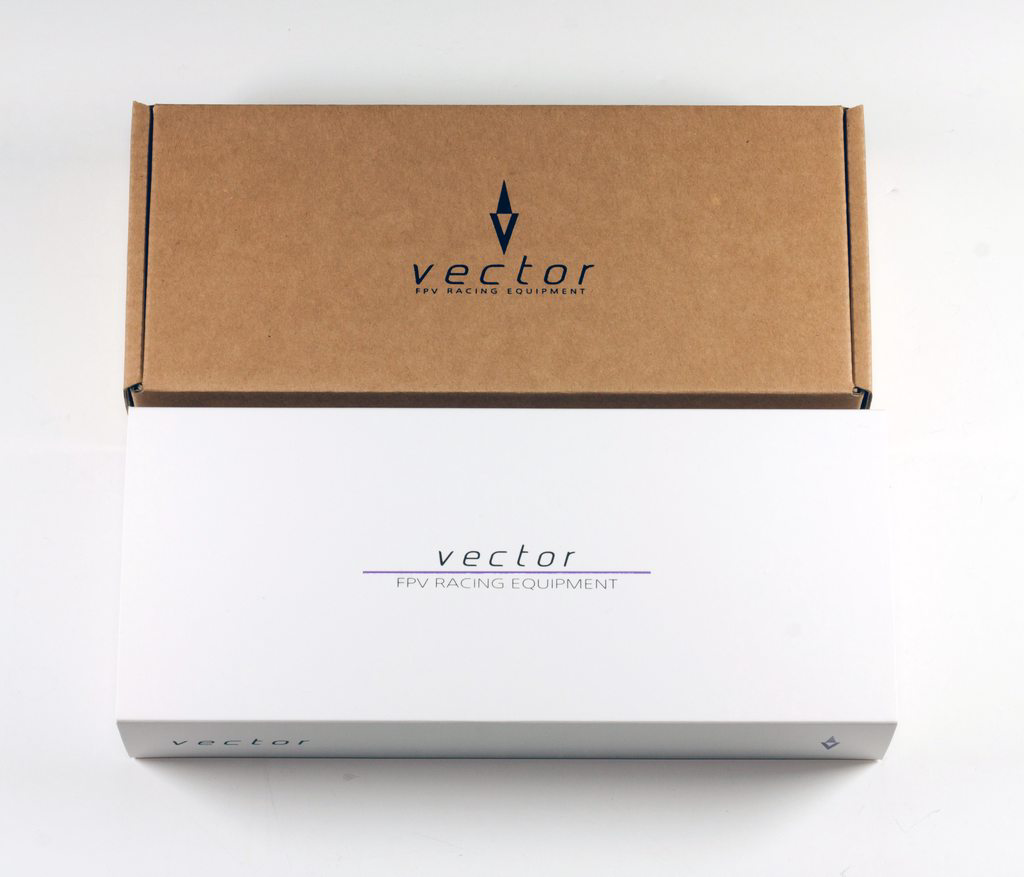
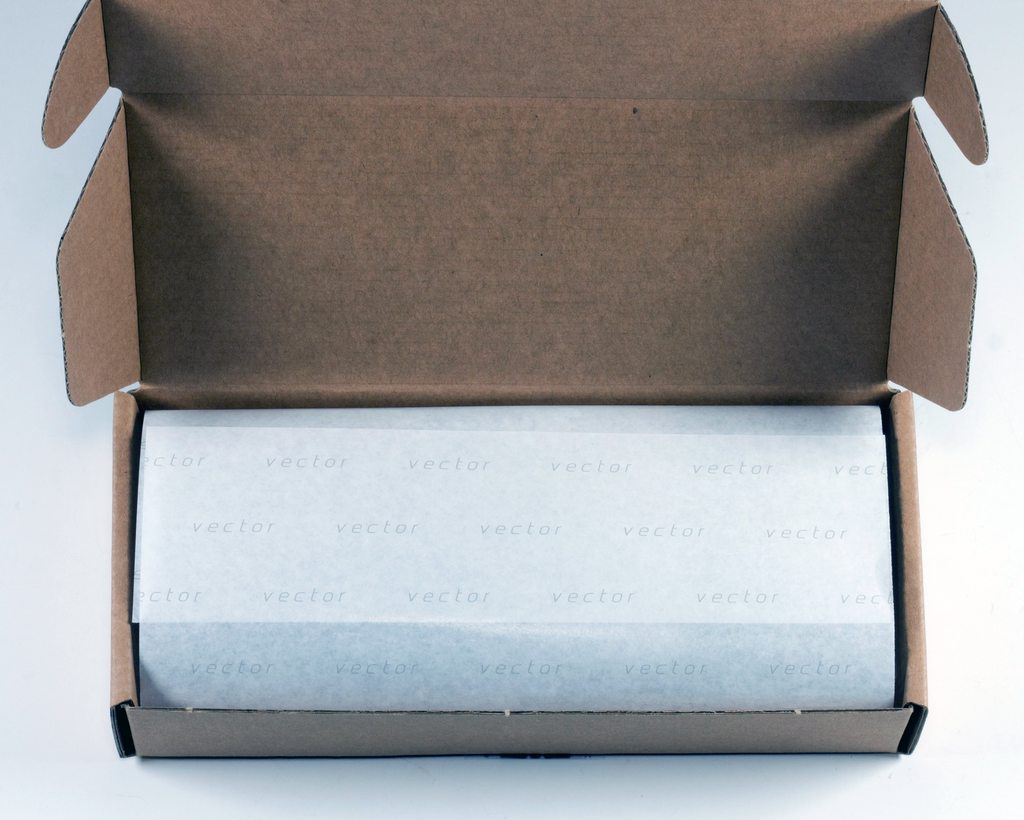
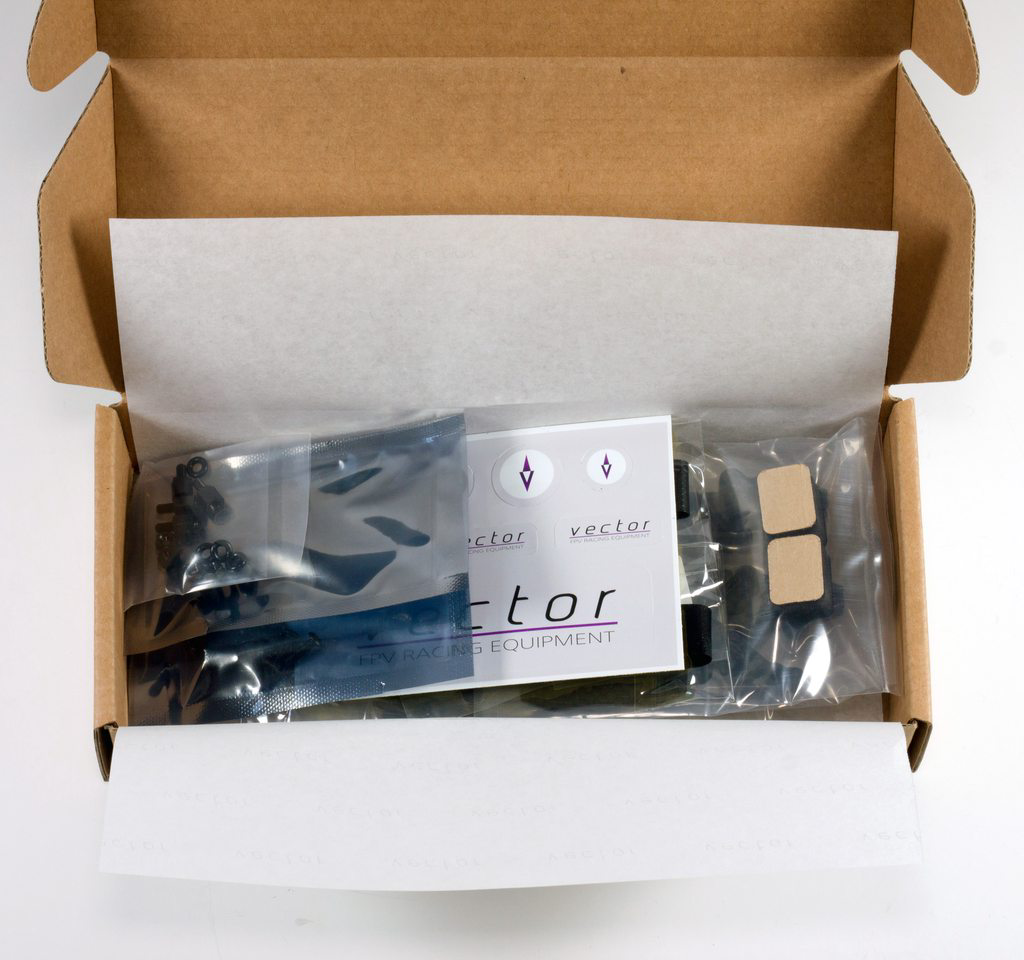
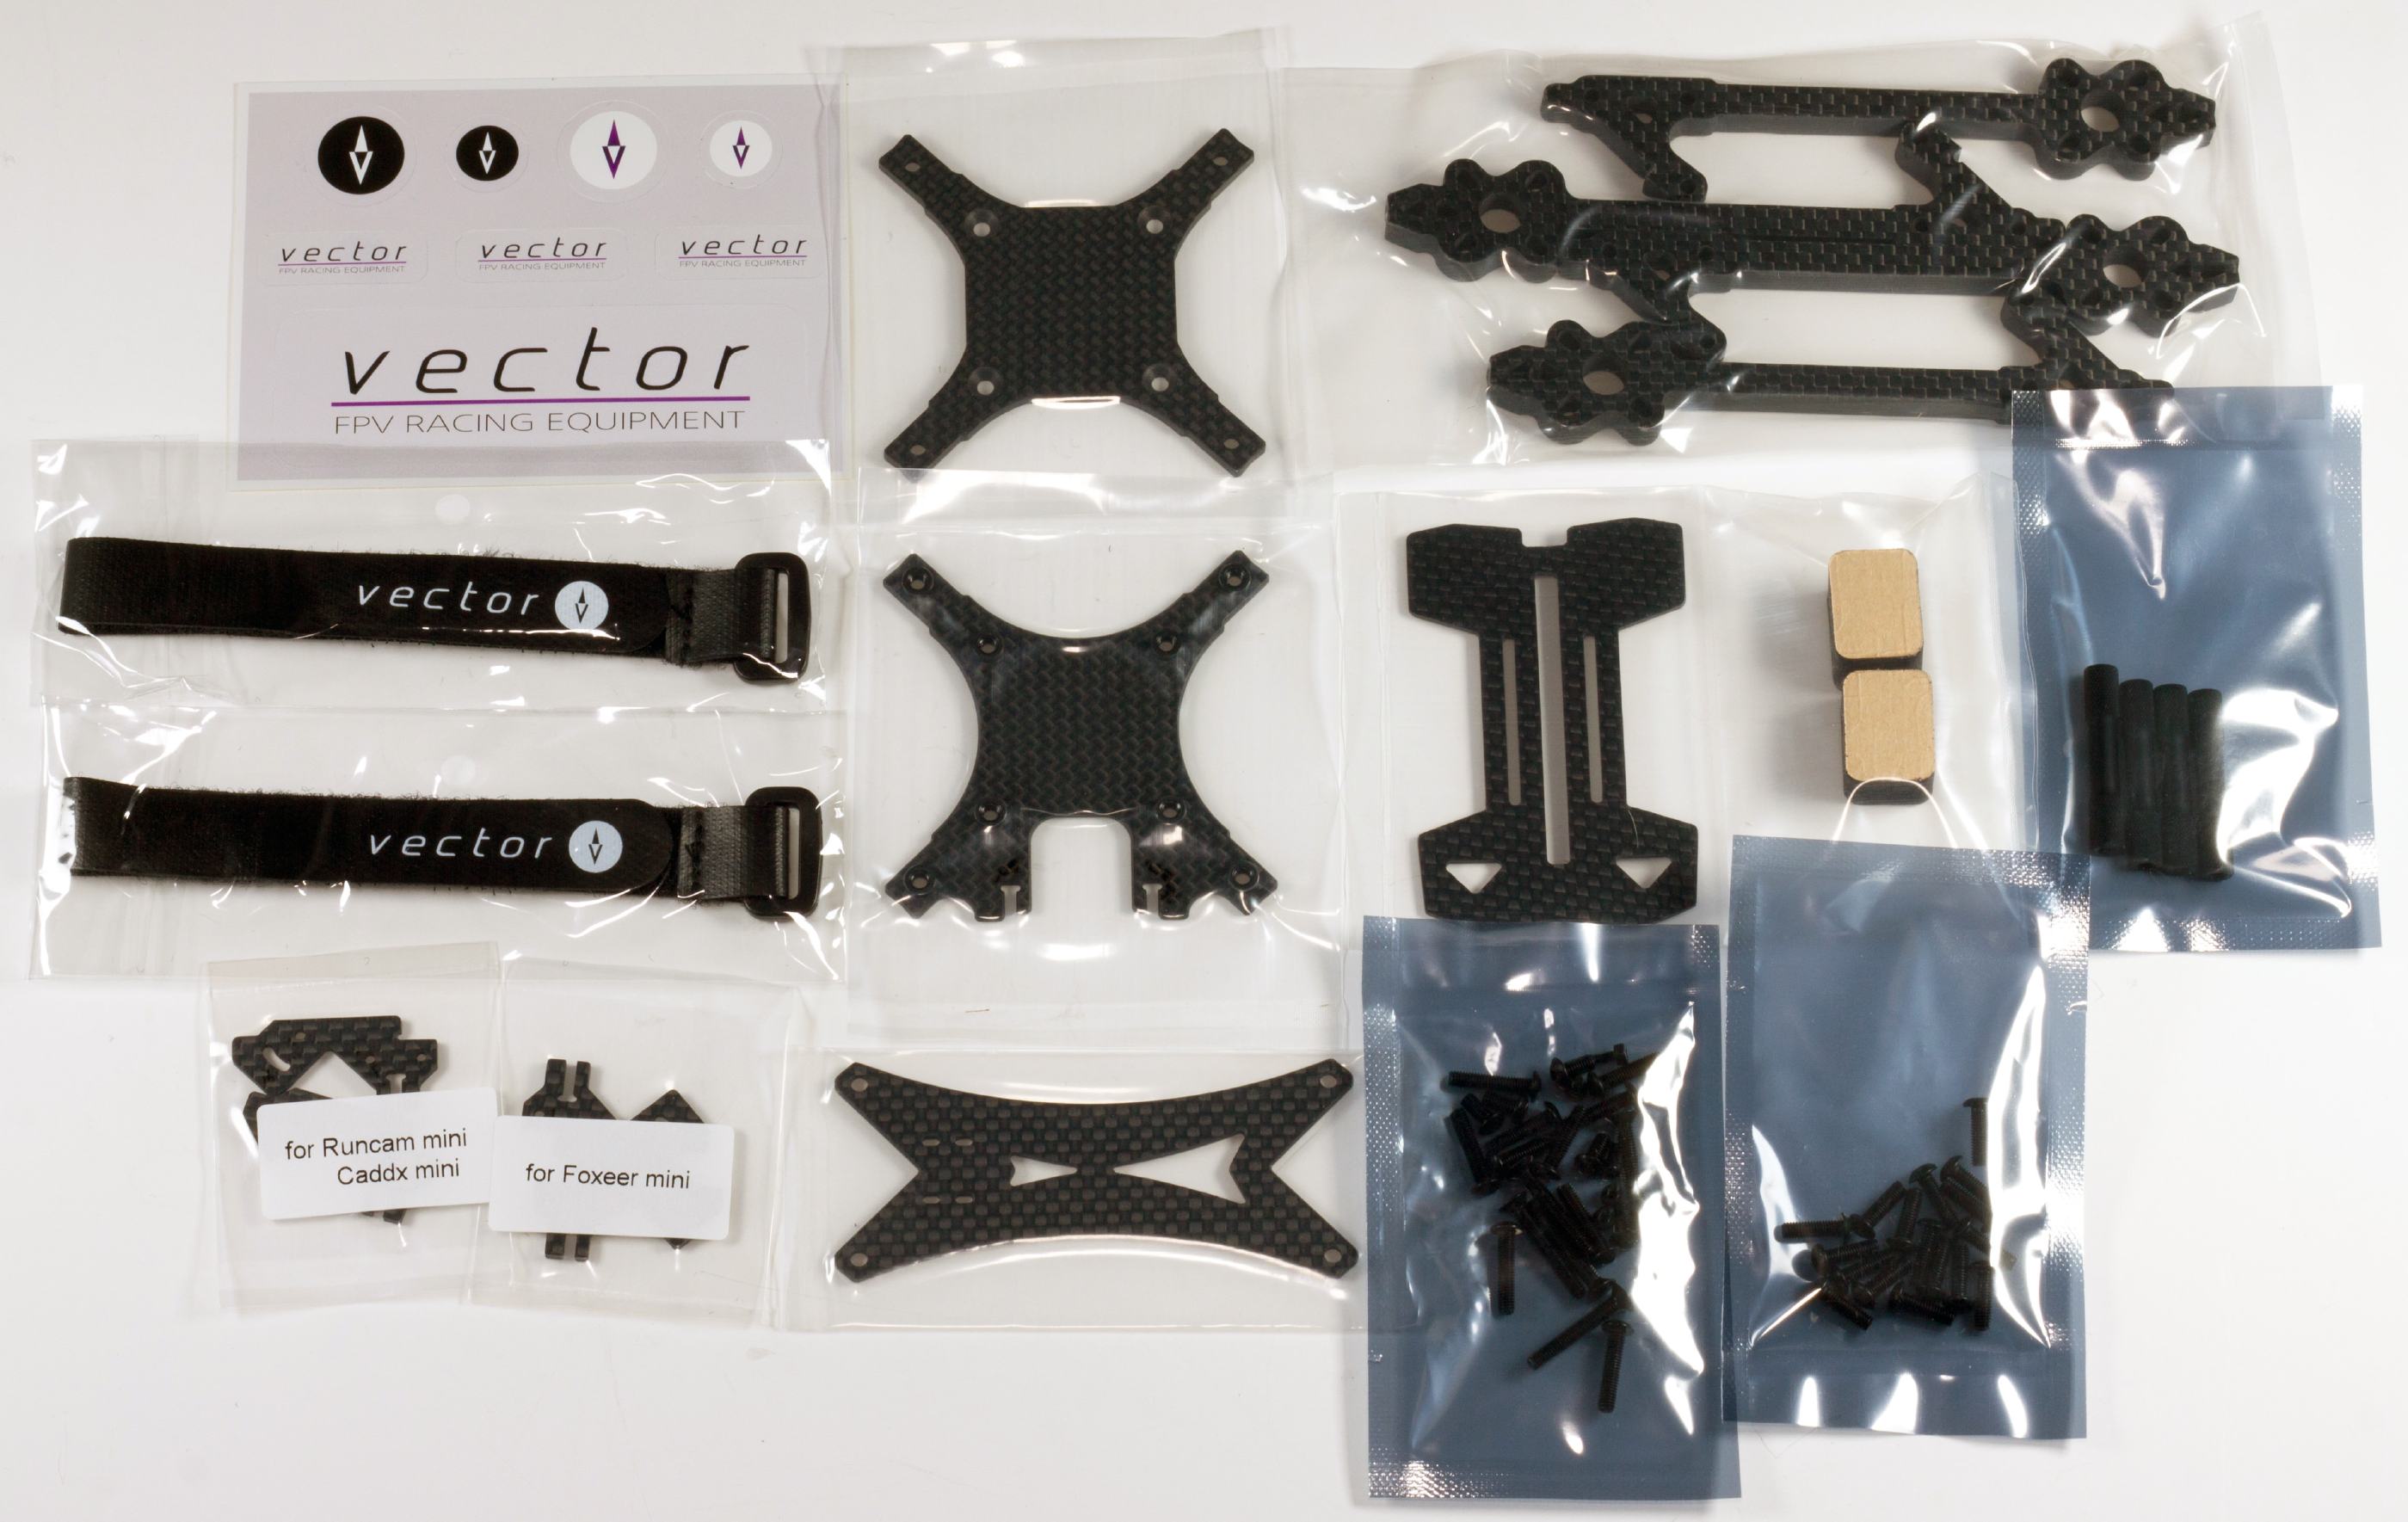
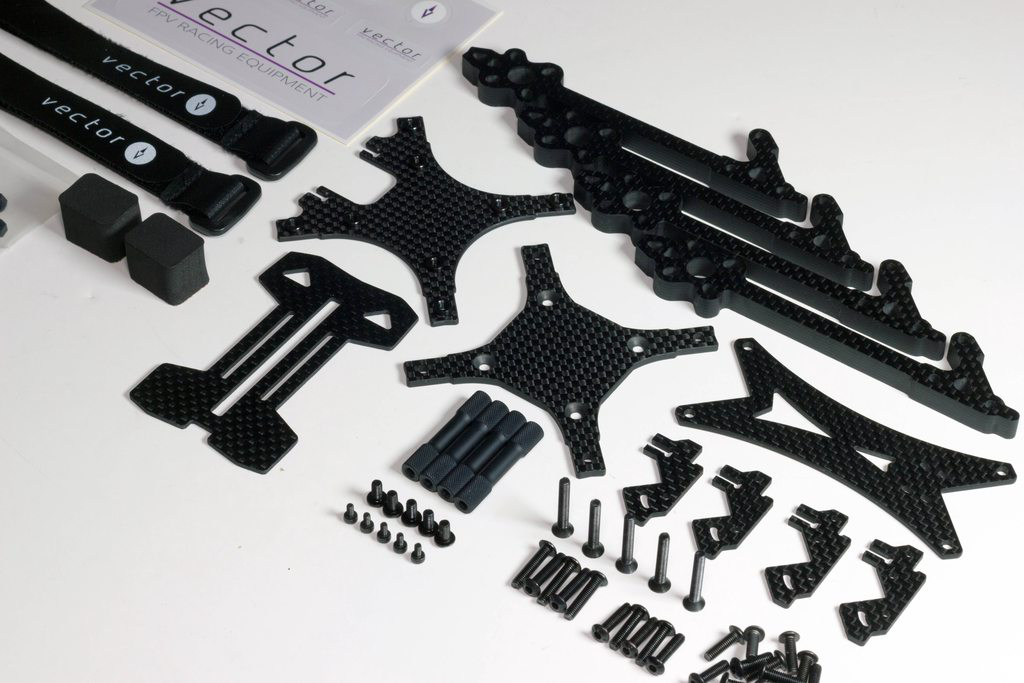
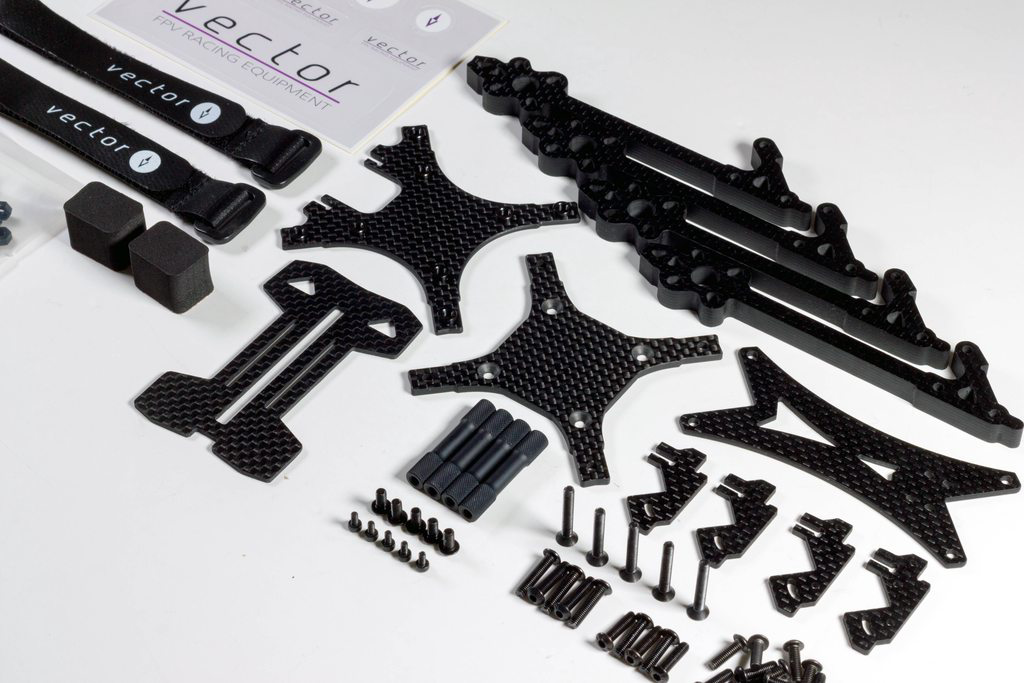
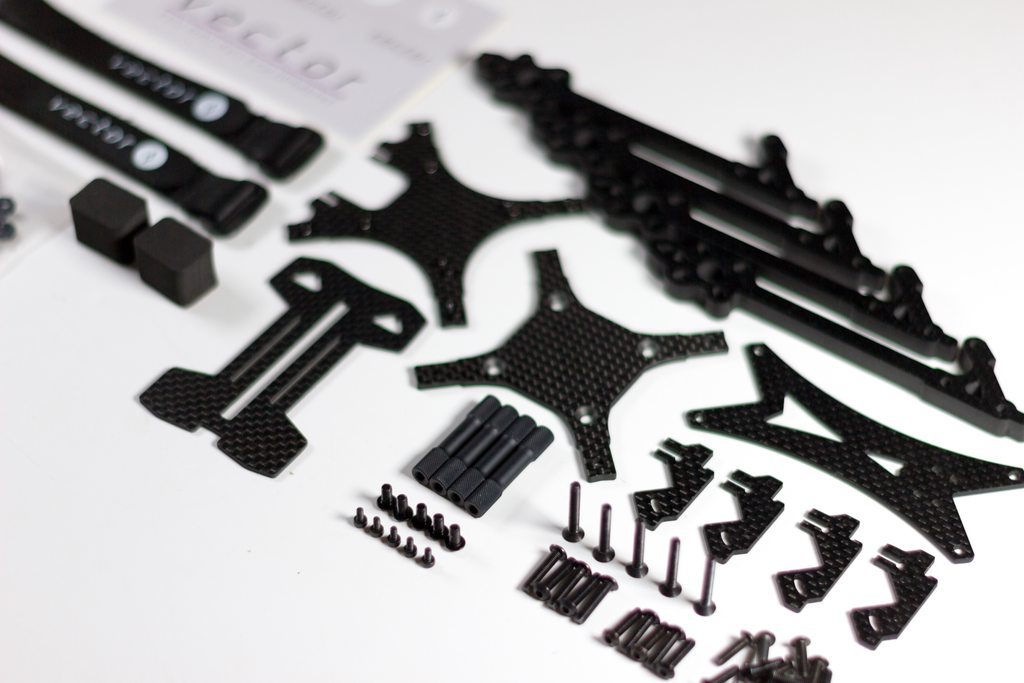
Next we’ll unwrap all of the packages, I’ve added a fair few photos here so you can inspect it as much or as little as you wish.
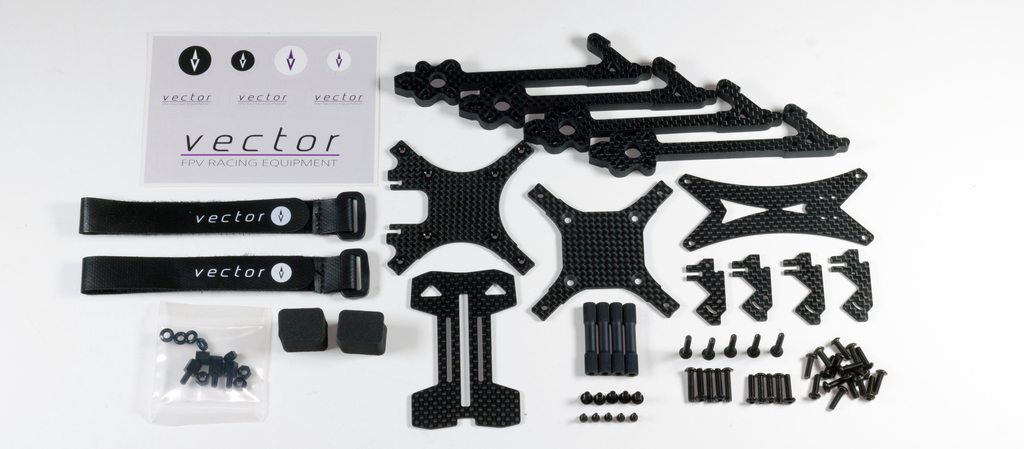
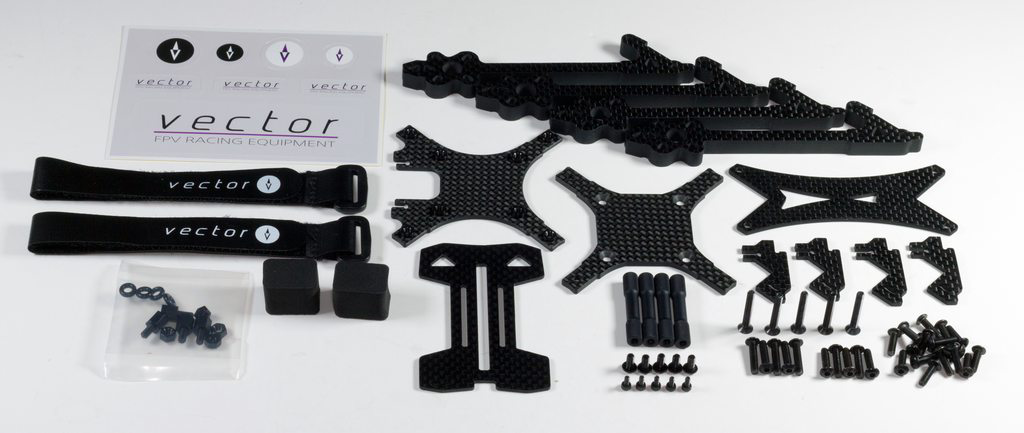
Frame Configurations
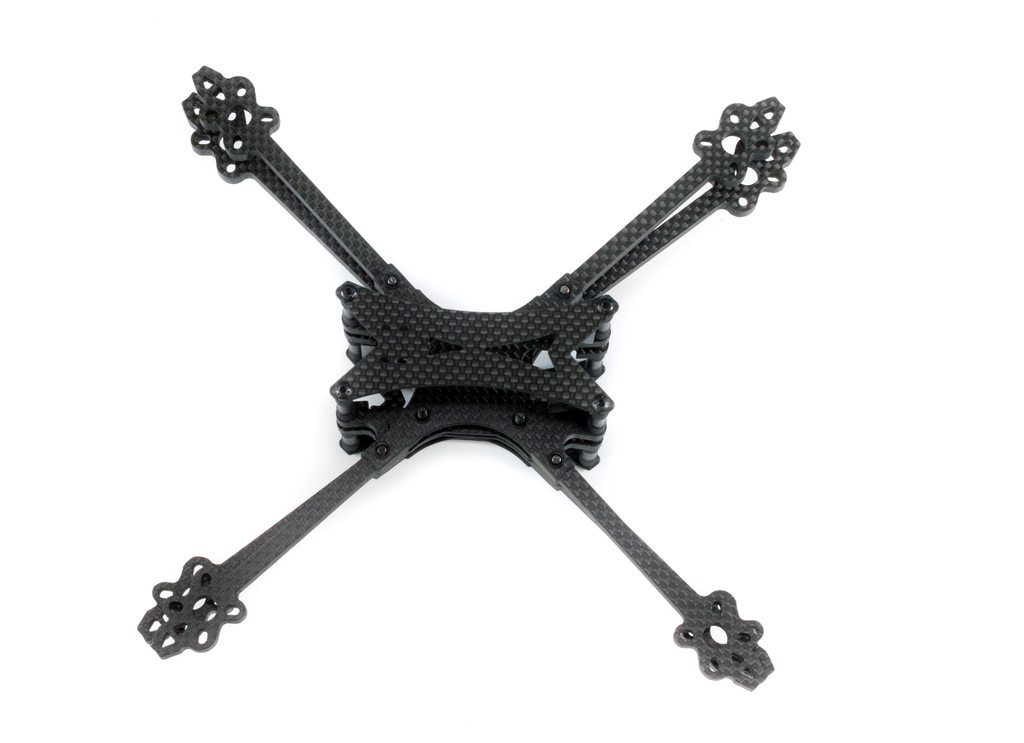
While the review only covers the VX-05-X, it’s important to note Kim was kind enough to send over the Stretch version as well, so I’ve put them both together and sat them on top of each other to see just how much stretch is available on this frame.
Dry Build
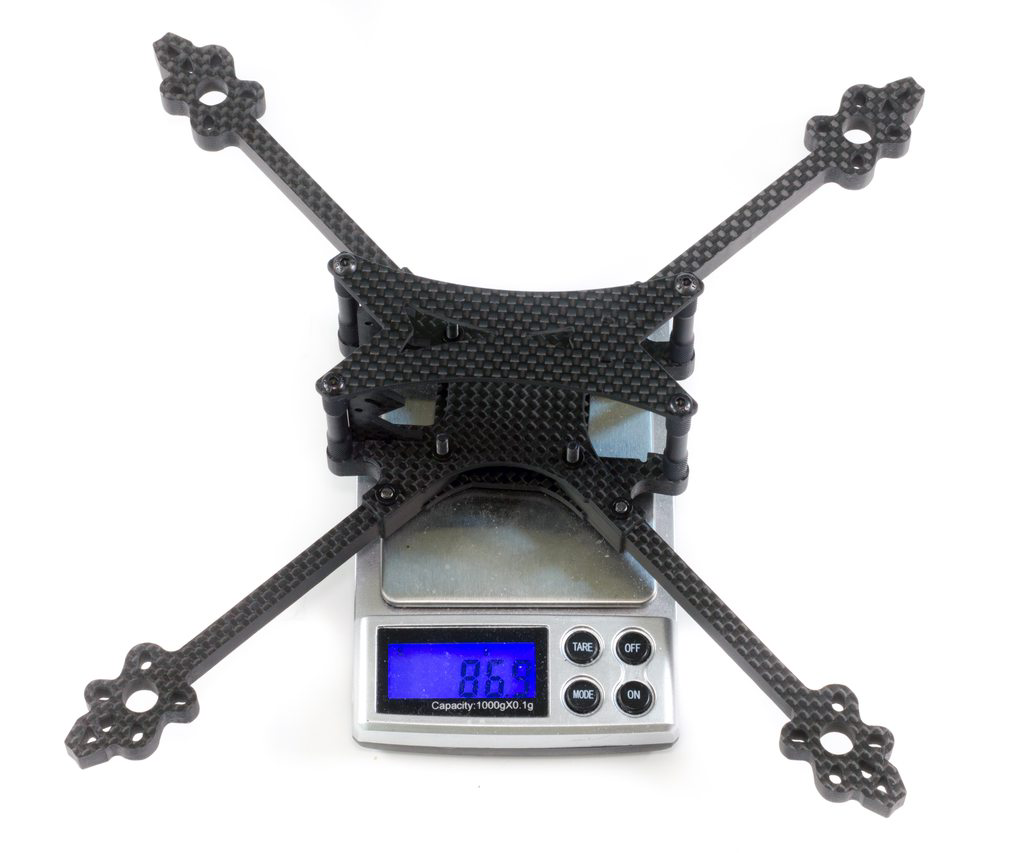
Let’s build this frame up to see how it all goes together and check the dry weights :)
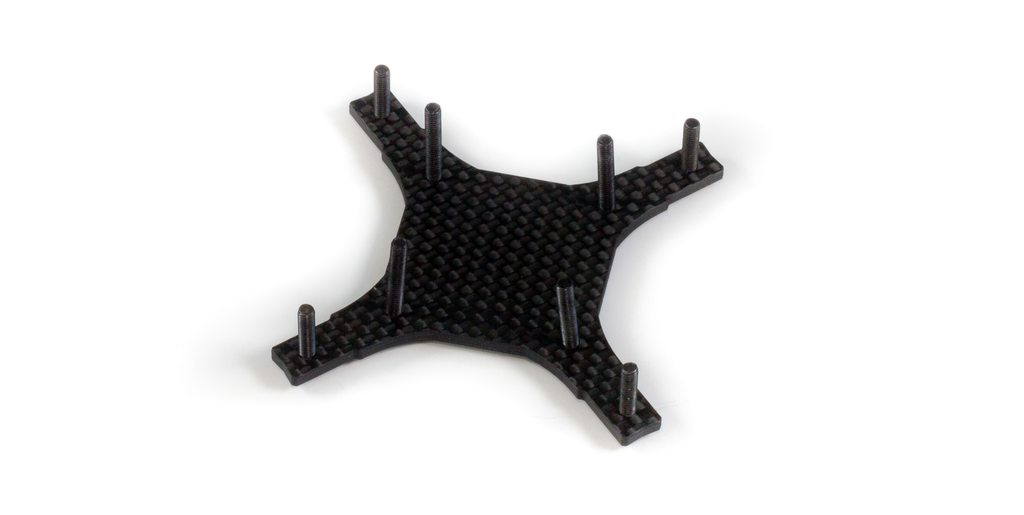
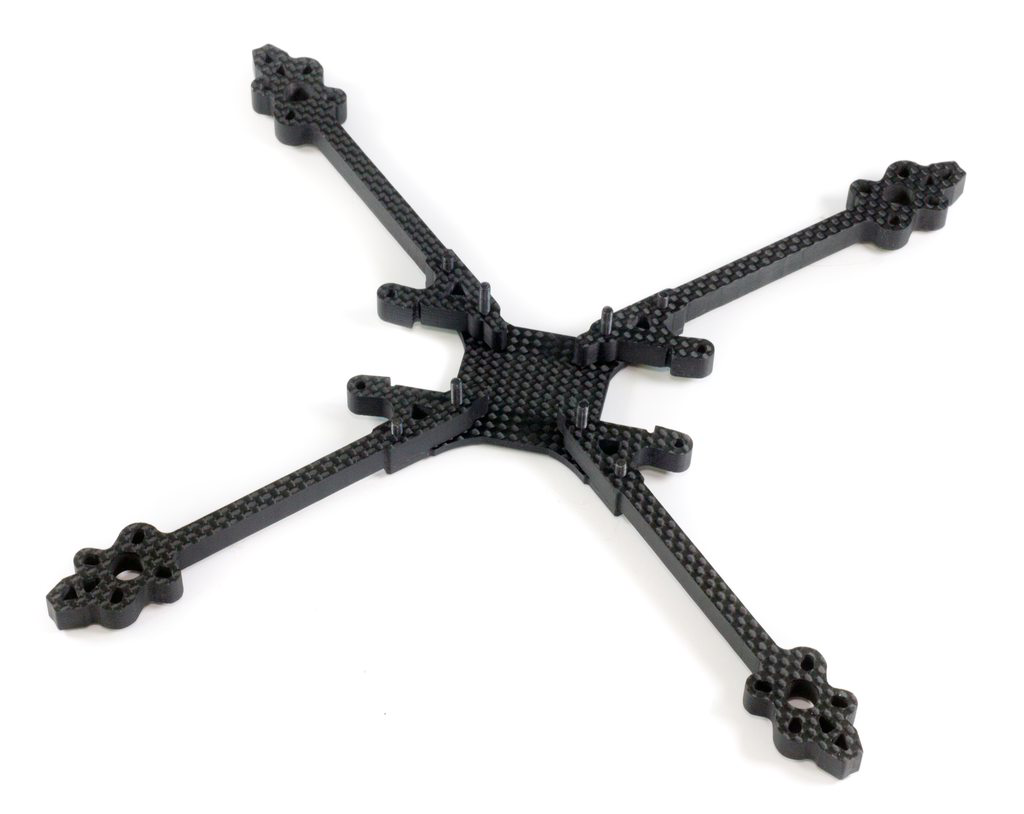
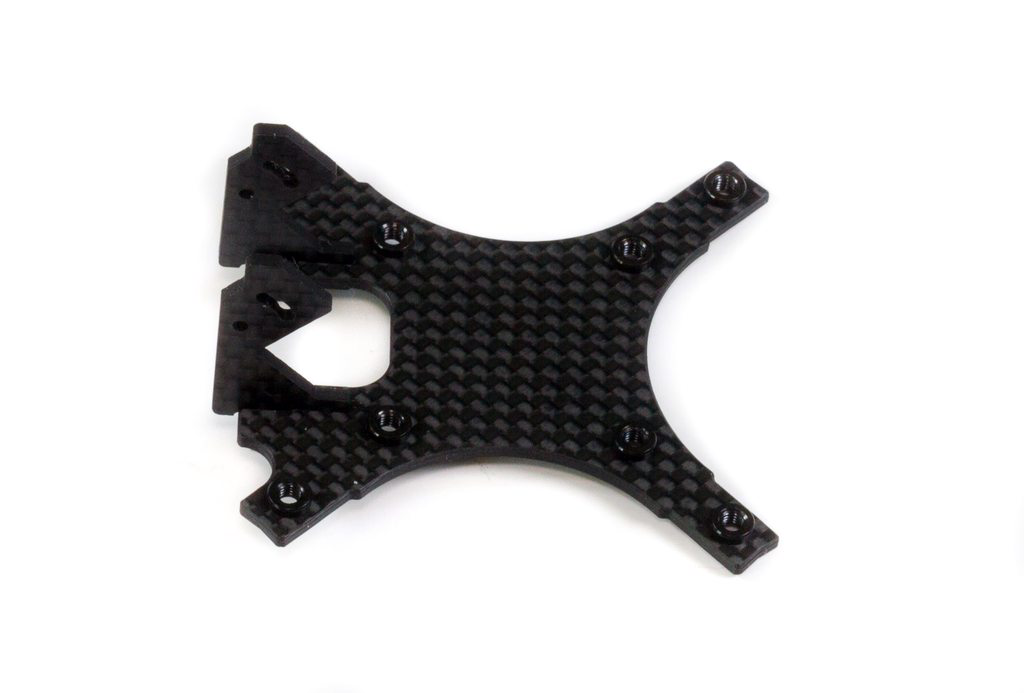
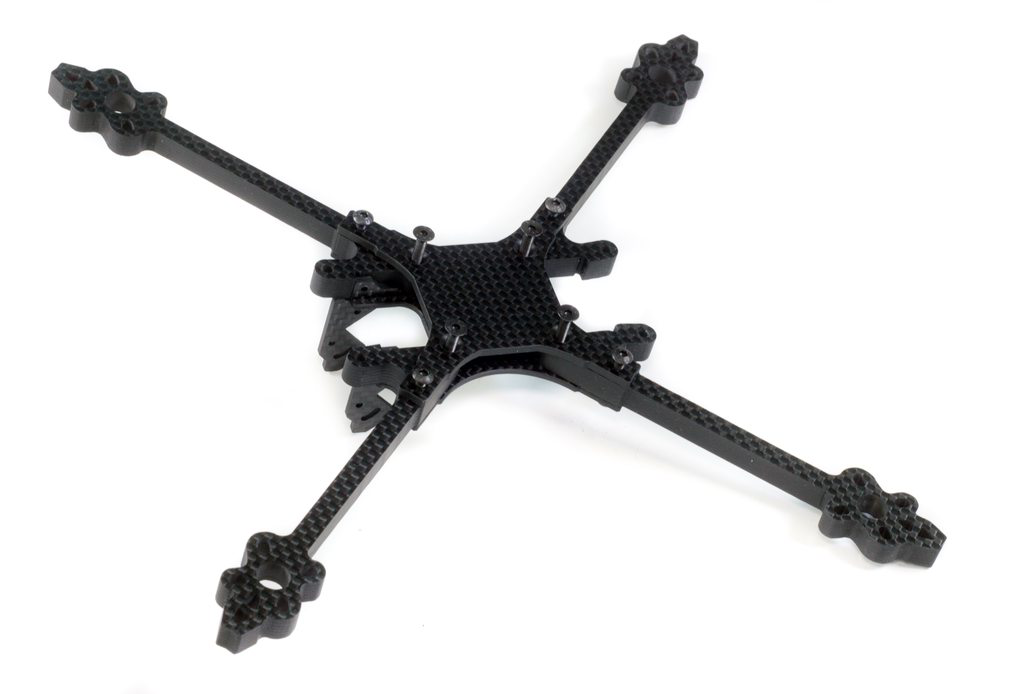
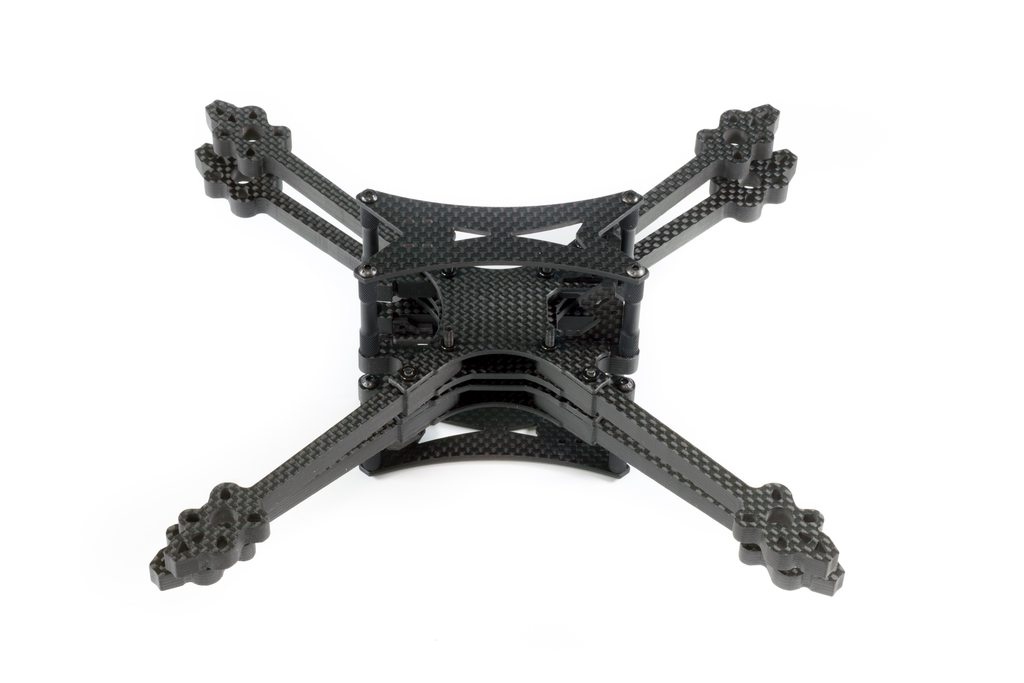
Adding this next plate can be a little tricky as you have the counter-sunks nuts which mean all of the screws will lift up when you push it over. Take a little care here - we’ve installed the screws first to make it easier to line up the arms. If you seat the frame upside down on your lap it should all stay together while you start tightening the screws up.
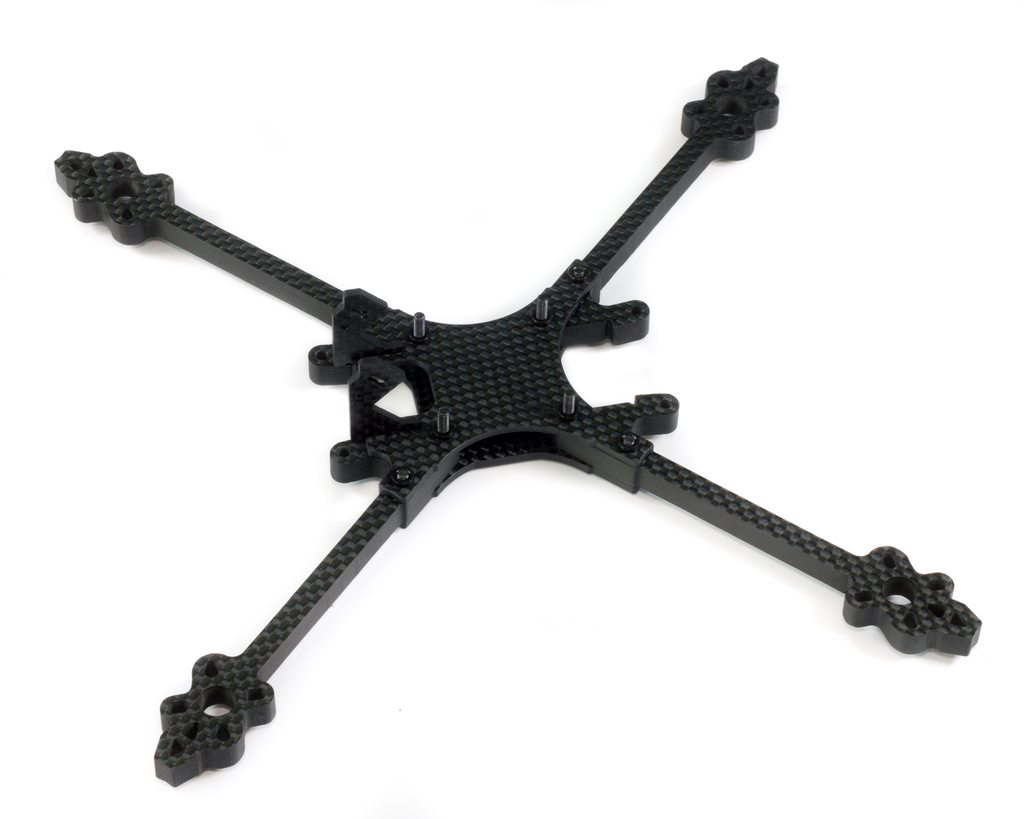
With that done you can turn the frame back around and you can see it really taking shape. It looks super clean here with the all-black colour scheme and all of the well-refined edges of the frame.
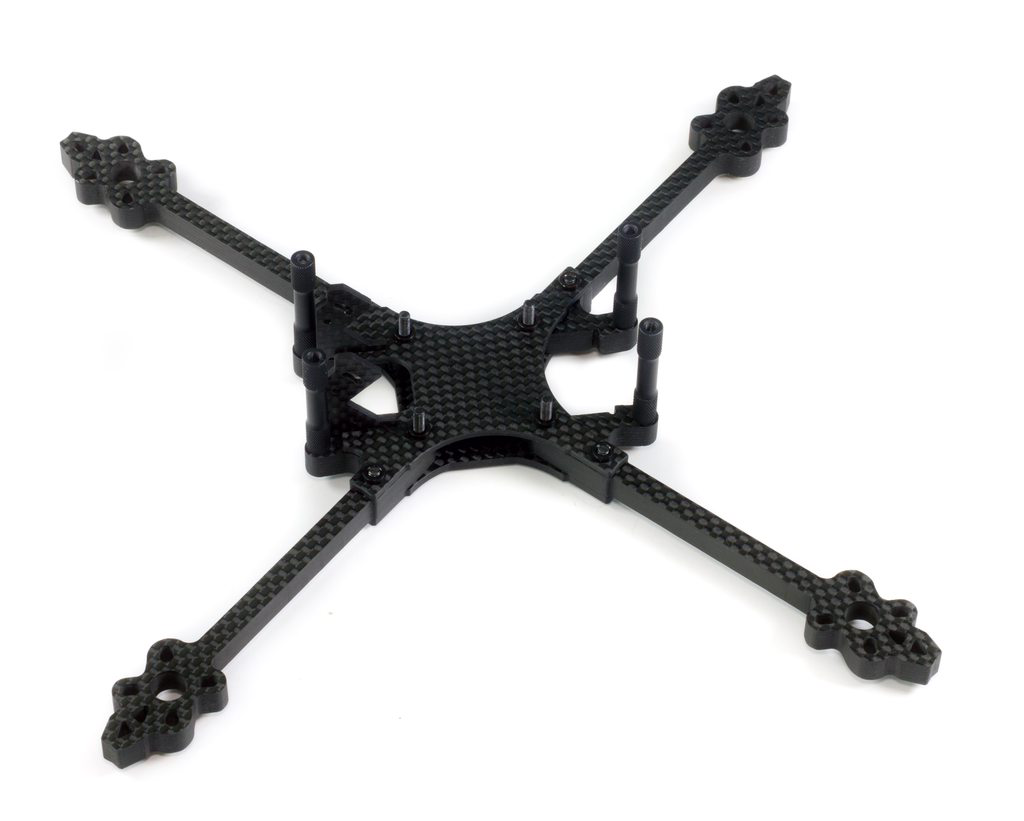
Next up we can add in the standoffs using the remaining longer screws. I tend to always use blue loctite just to stop them from coming loose, but spare screws are provided if you manage to lose or snap any.
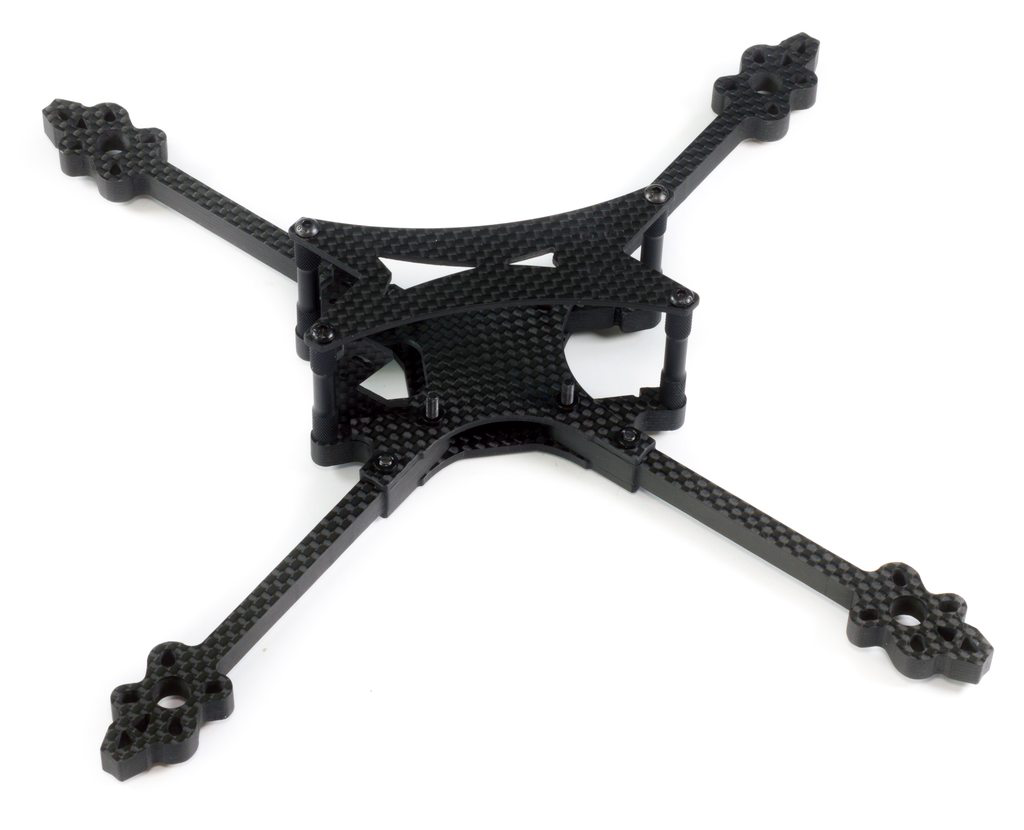
Adding in the final screws to the top of the frame completes the build, a very simple frame that should be great for field repairs (and general building).
Build Log
So with the dry build complete, let’s put some electronics into it and get this thing ripping around a track!
I don’t like compromising on review builds in any shape or form, and I always spec them up how I would intend to fly them, so here’s the spec I’ve chosen:
- T-Motor F40 Pro 2400kv motors
- Hobbywing 40A 4in1 ESC
- Raceflight Revolt FC
- FrSky XM+ Receiver
- Runcam Micro Swift
- TBS Unify HV Race video transmitter
- TBS Triumph Stubby antenna
- HQProp 5x5x3 V1S propellers
Aside from ESC’s and camera size this has been my goto racing setup for 2017 and has done me well, it’s given me great reliability and offered a ton of performance at the same time, so I think this should go nicely with the frame.
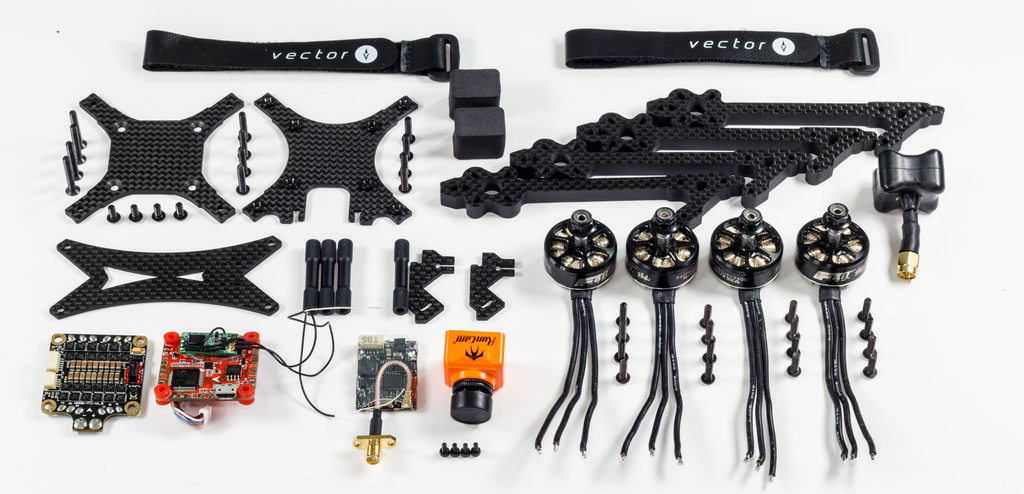
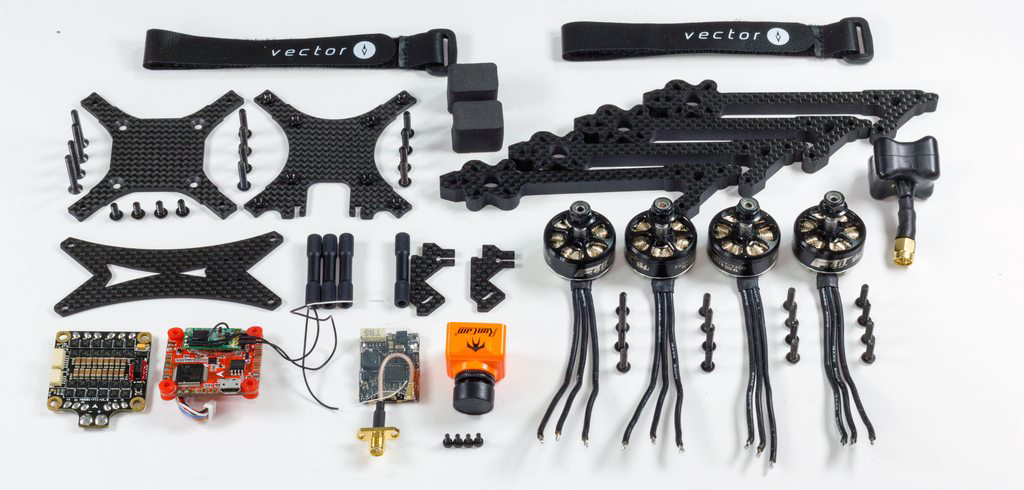
Here’s a couple of shots of all of the parts needed for the build. And yes, I noticed the standoff too once I had taken the photo and built it all up. To say I was a little disappointed it had rolled out of place is an understatement! :)
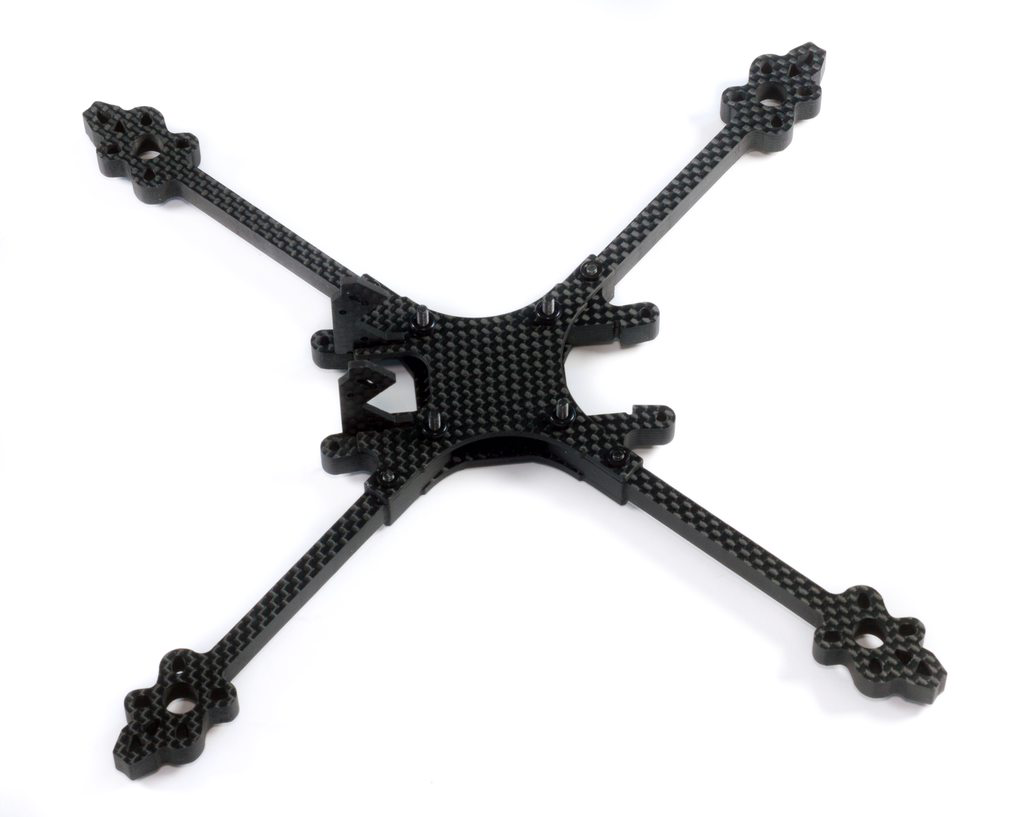
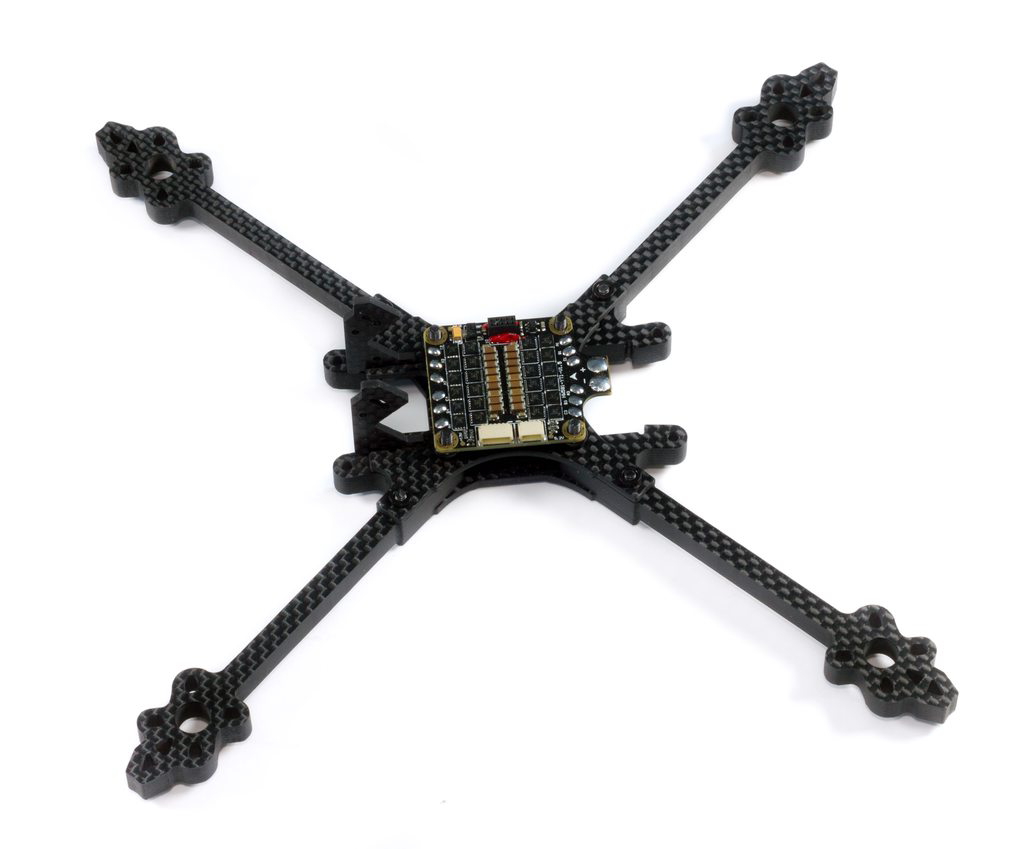
First up we’re adding in the ESC. I’ve added some of the nylon washers provided with the frame to offset it upwards slightly as some of the components were touching the carbon below and would have shorted.
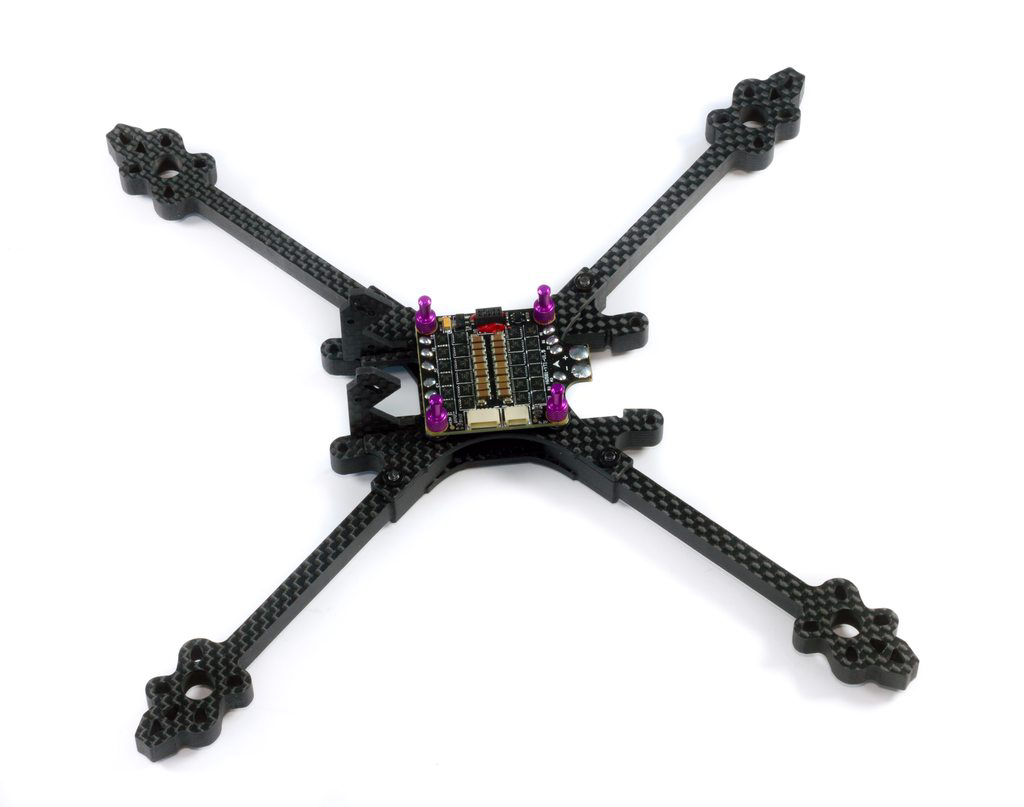
Next up we’ve got a great addition VectorFPV were kind enough to send over. Available for both the
Revolt style and
Normal flight controllers, Kim has designed some purpose-built standoffs that sit any flight controller that has gummies (for the Revolt kit). And for the flight controllers that are not new or special enough to have gummies, there is a ‘Normal’ kit which comes with ‘micro’ gummies that fit into a normal M3 hole, and as such the standoffs provided are also much thinner. This is a really cool concept and allows effectively any flight controller to be soft mounted without ANY modifications at all.
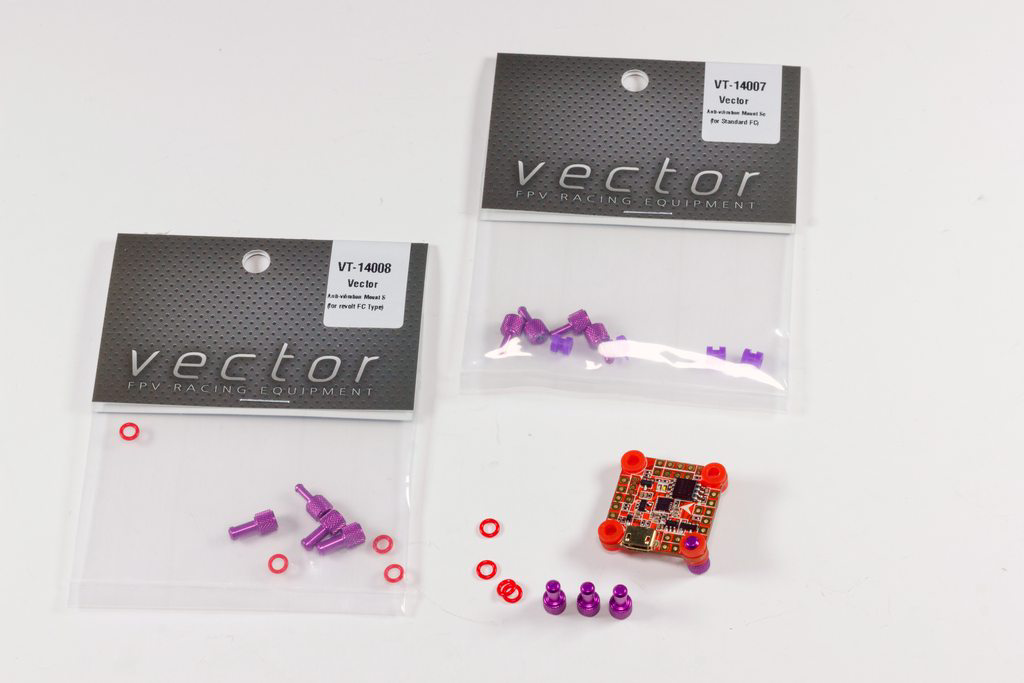
Here’s said anti-vibration mounts, in both flavours :)
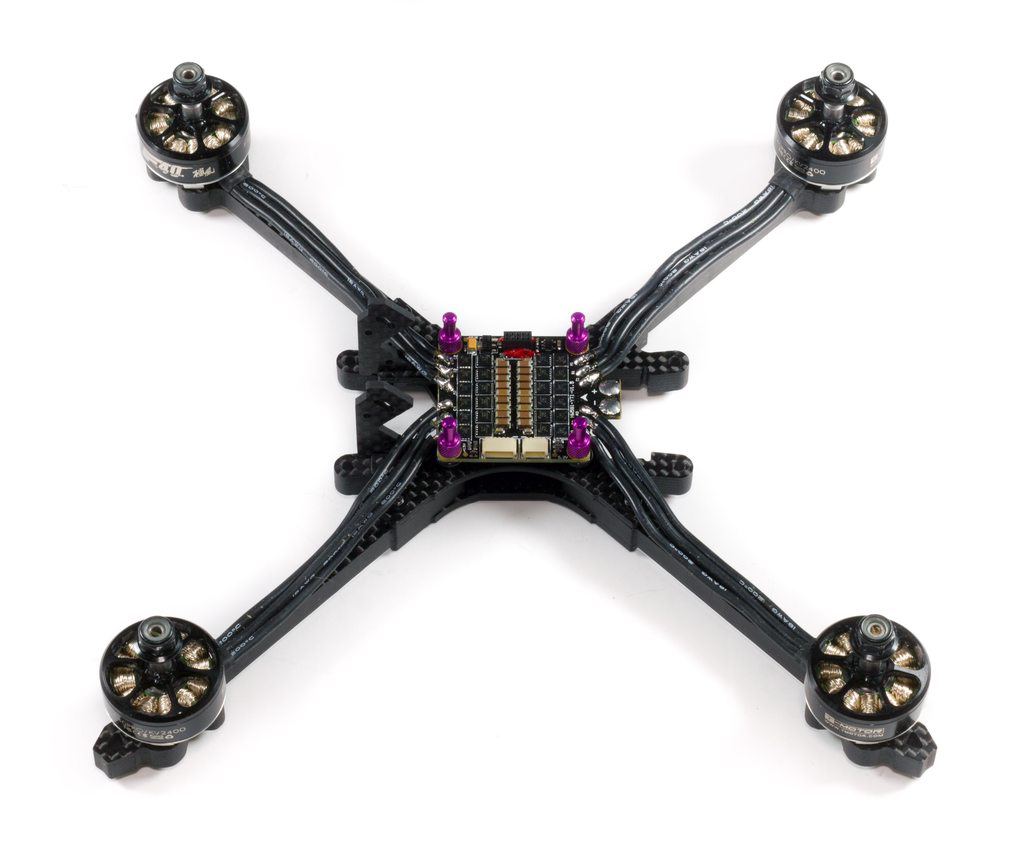
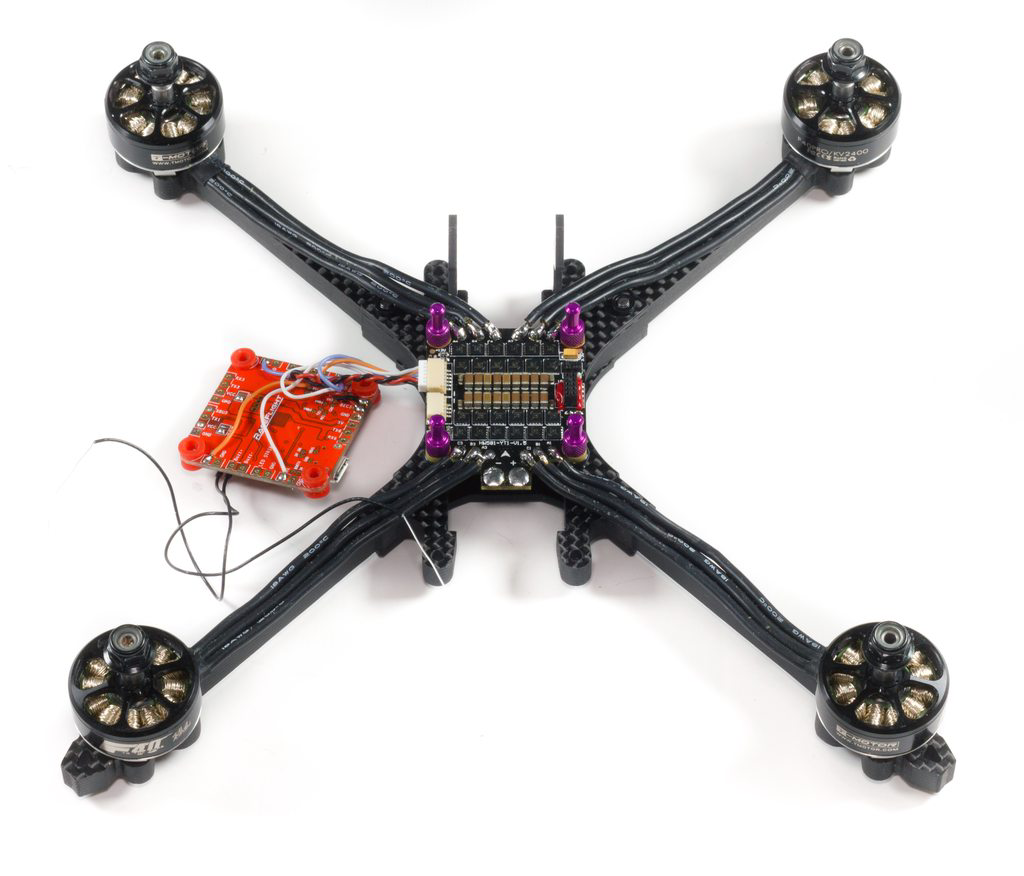
Next up we’ve got the Revolt flight controller ready to go on, I’ve soldered all of the wires from the HobbyWing ESC which allows simple FC or ESC swaps if something was to fail, and due to the simplistic nature of the Raceflight setup, the motor order is not an important thing here, so I’ve just soldered to whichever I saw fit.
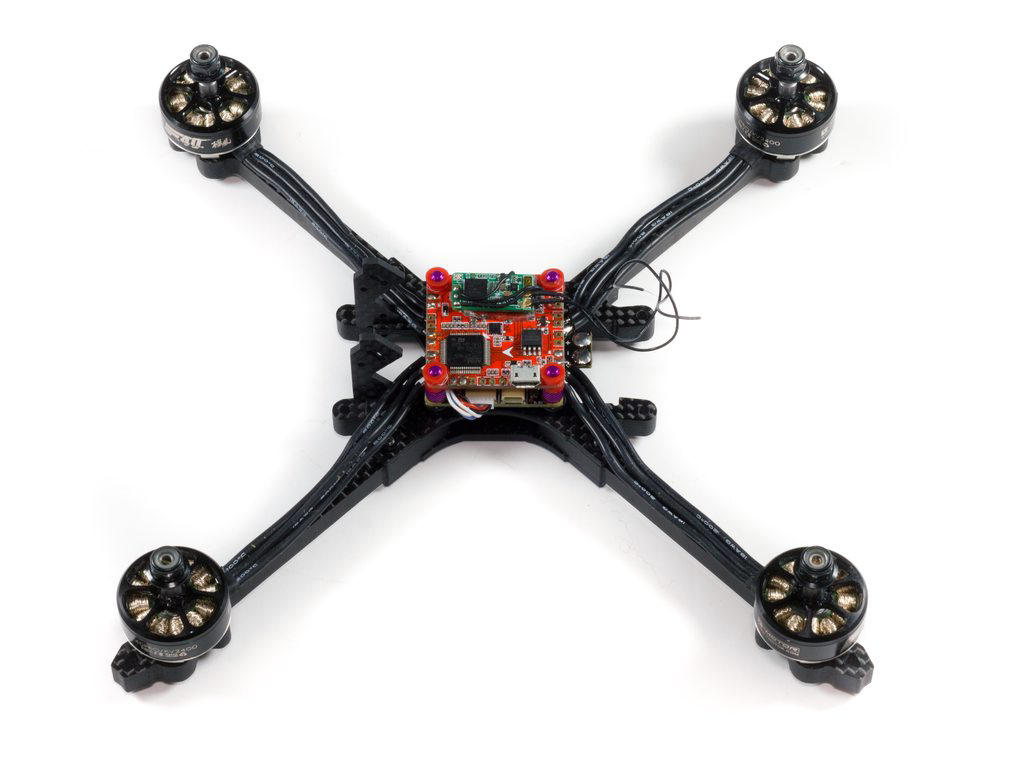
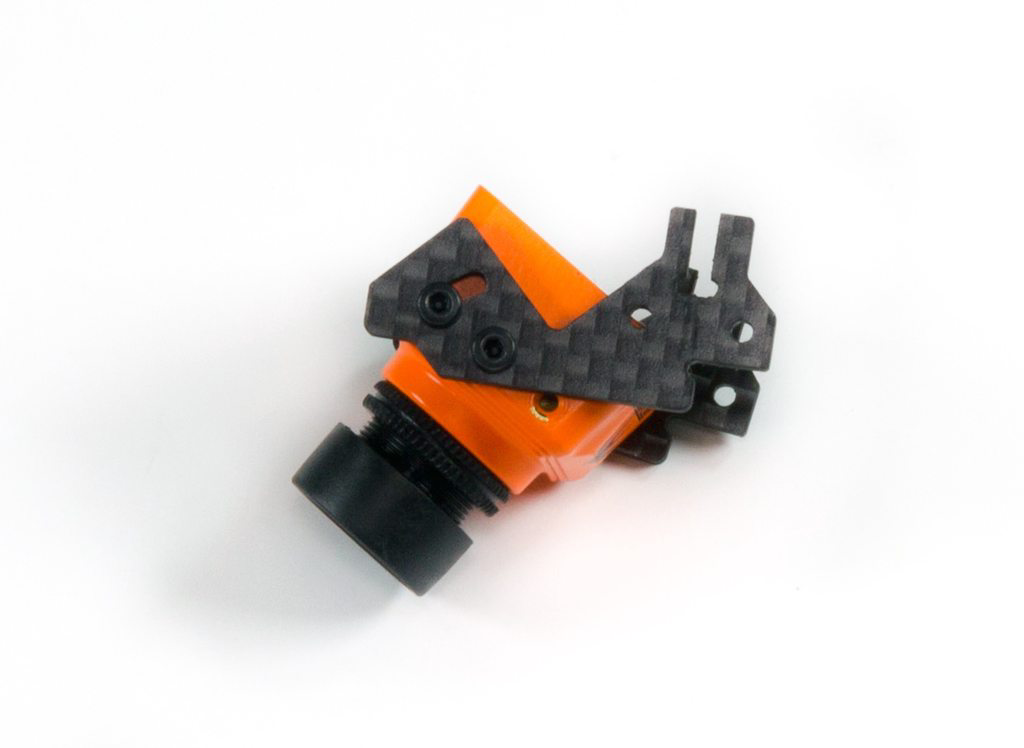
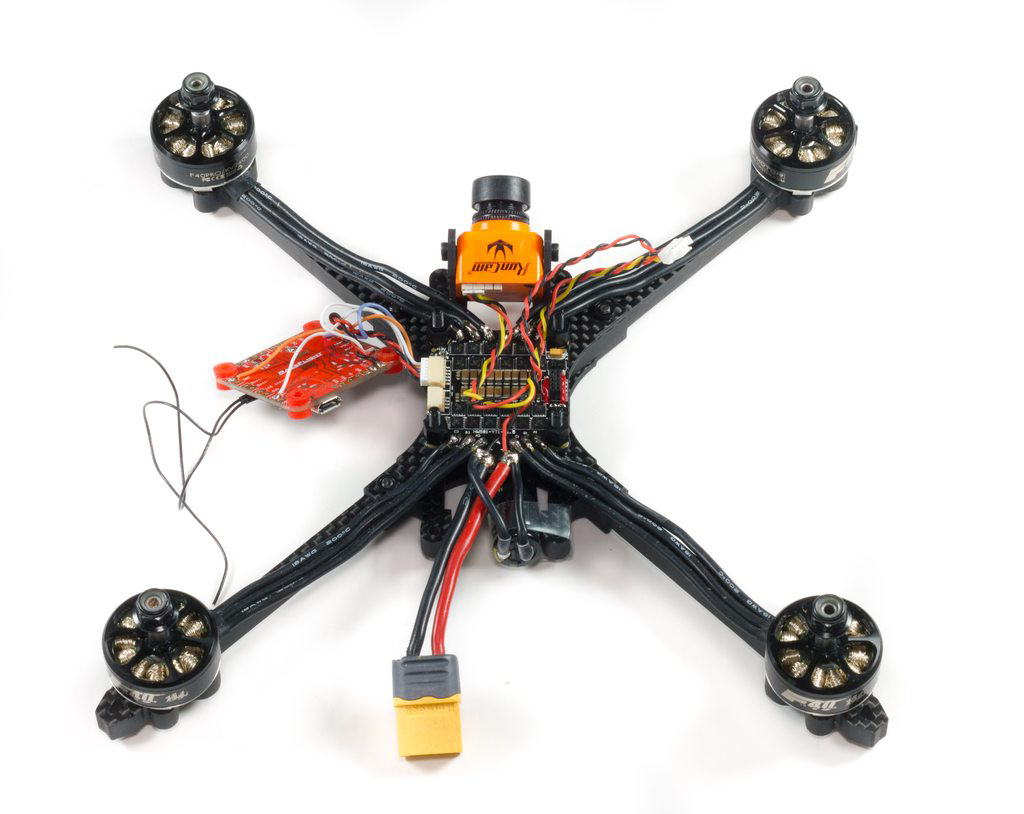
With the camera installed, all that is left to do is to add the rest of the power wiring. I’ve soldered on the TBS Unify power wires (which also powers the camera), as well as adding a 1000uF capacitor to where power goes into the ESC. This is a very common thing nowadays and just helps to remove any voltage spikes from active breaking and alike, overall providing a smoother drone.
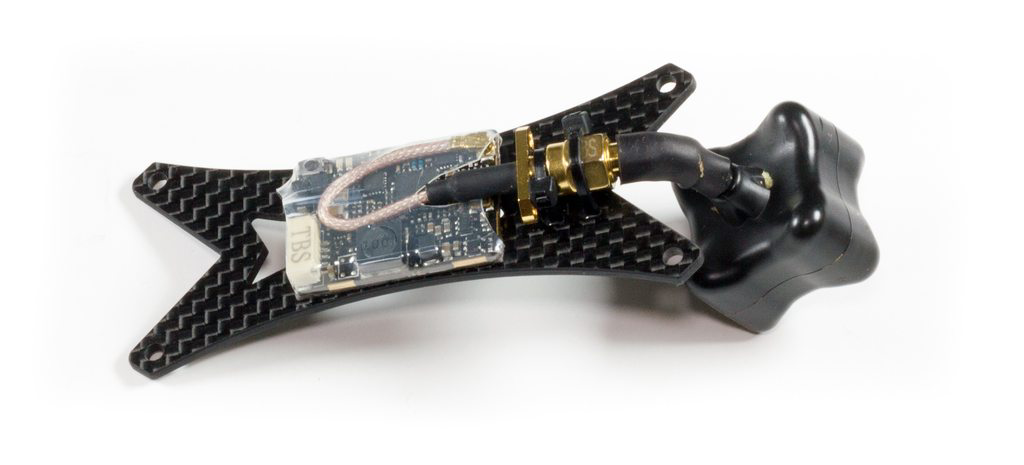
The last piece to the puzzle is to get the Unify in place, I would usually opt for a uFL-based antenna to avoid having to use the SMA pigtails nowadays but the truth is I just do not have any spare right now, so the SMA Triumph will have to do. I’ve position the pigtail like so to match up with the cable-tie holes that are visible in the top plate. This is my only criticism so far, as the slots are very small and really only allow for very thin cable-ties, and in my experience these will break extremely easily. I may actually end up enlarging the holes to fit a bigger cable tie, although I will probably just put a cable-tie around the whole of the top plate to save any modifications and carbon dust being created.
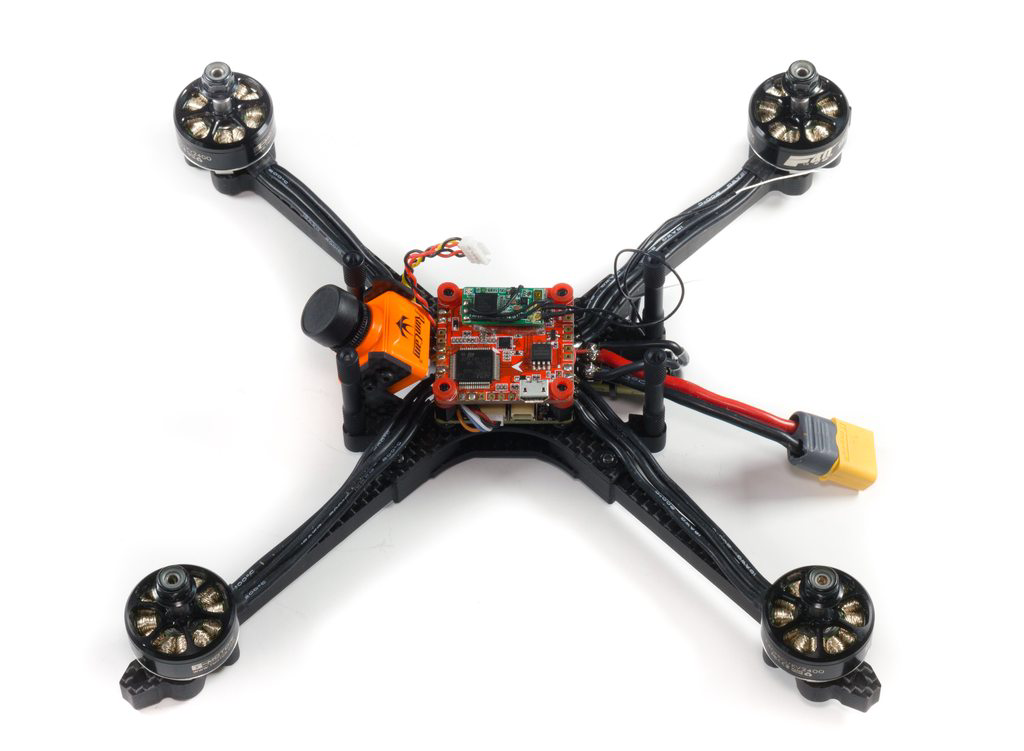
We missed one last step, we need to add in the standoffs otherwise we’re not going anywhere without a top plate :)
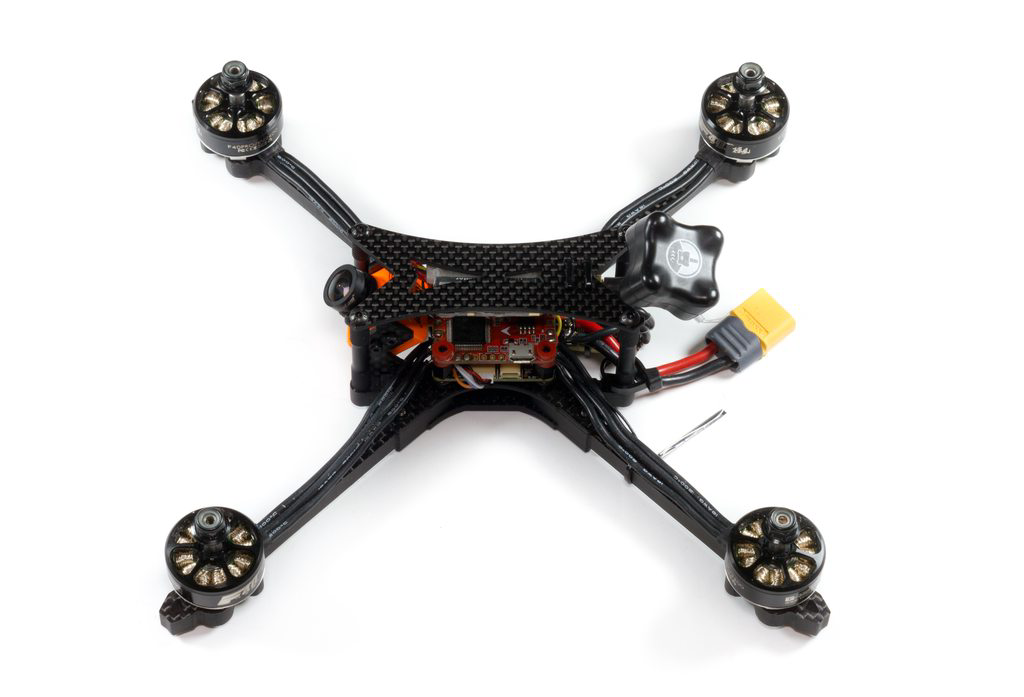
And with the top plate on, that completes the build! I love how hardware is advancing recently, even just switching to a 4-in-1 ESC has improved wiring neatness a great deal, I look forward to upgrading even further to the newer products that require even less customization!
Final Build Pics
With it fully built up let’s get some final build pics :)
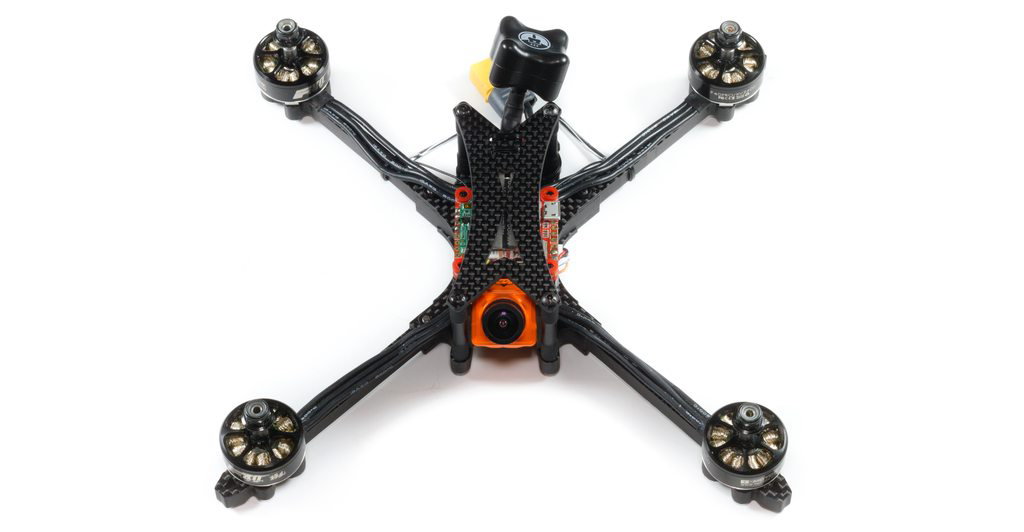
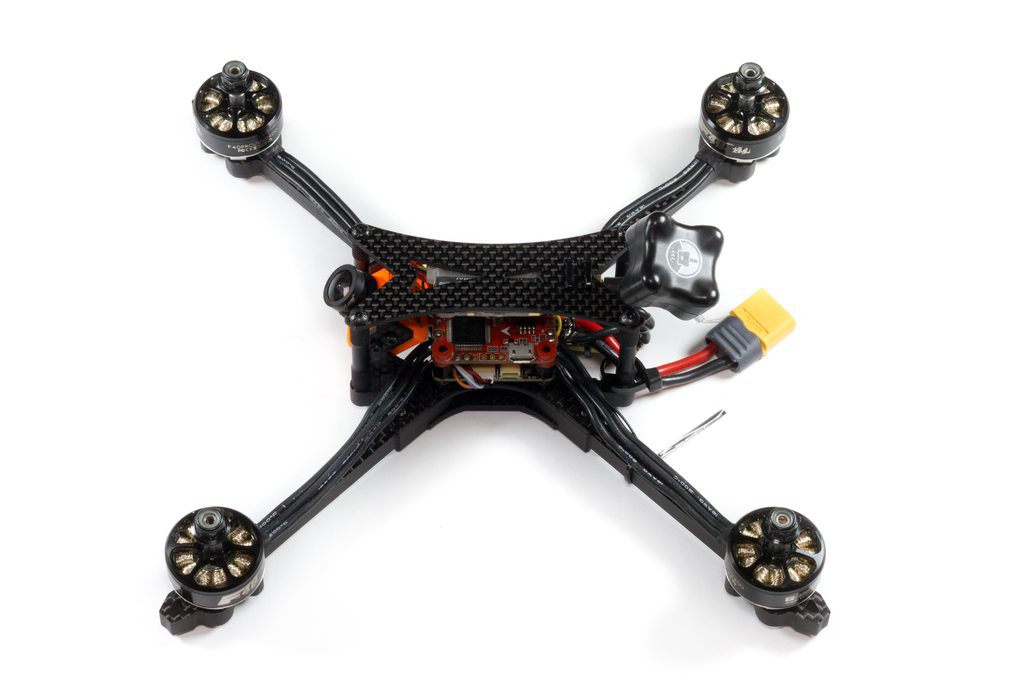
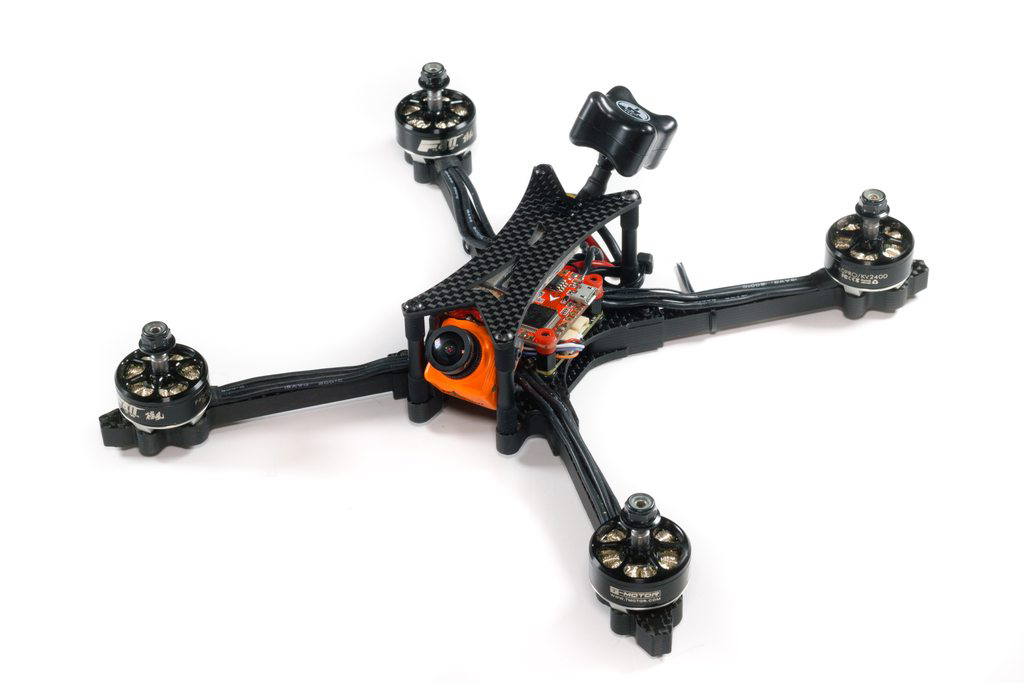
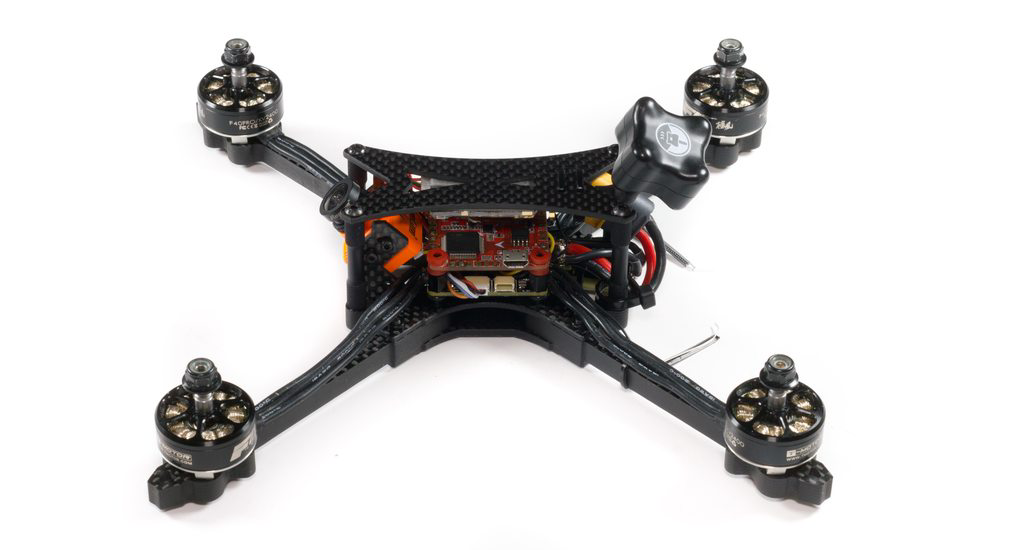
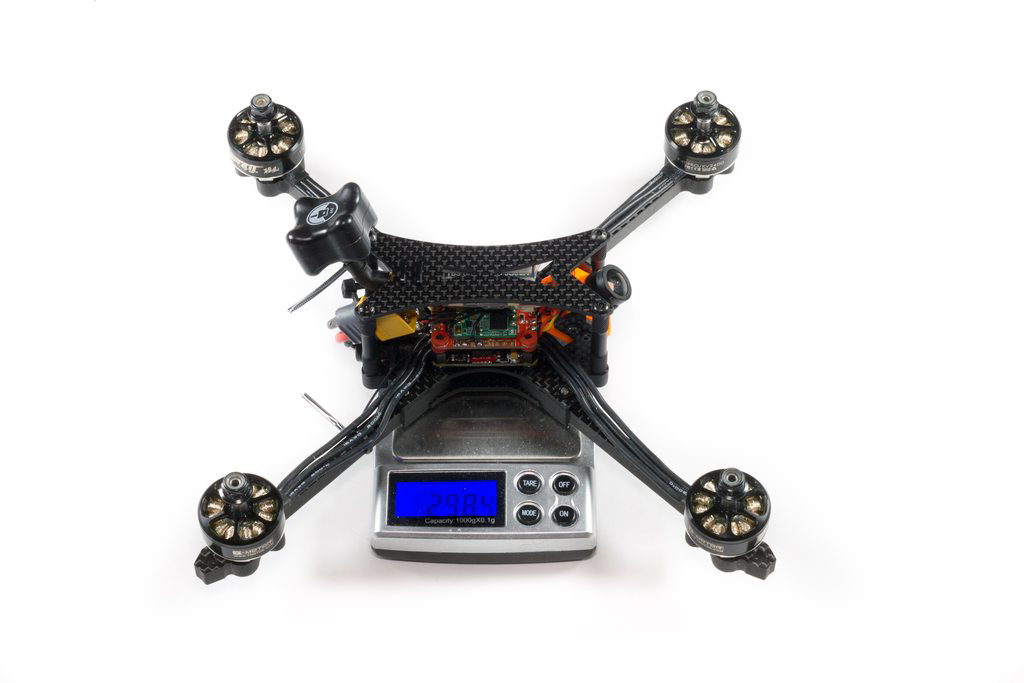
And as we can see the build is weighing in at 298.4g without props, add another 10g for props and 4g for battery strap and we’re at roughly 310-315g all up. As I said before, this isn’t the lightest of frames but I think where it will make up for that is in strength and the aerodynamics of the arms themselves. The thin profile really reduces the amount of drag the arm will suffer in fast forward flight.
Final Thoughts
So annoyingly the weather has absolutely sucked here for the past week or two and I haven’t been able to get any decent footage. I’ve been flying it in the dry spots but there’s no decent footage to show. As with reviews like this I’m not sure it really matters which is why I decided to post it anyway. My views on the strengths so far seem to be justified as it’s taken some good hits with trees and come out unscathed.
Positives
- High quality packaging which is both aesthetically pleasing and useful for transport/shipping to you. All the key parts are vacuum sealed to prevent any rubbing also.
- Spare screws for if/when you lose/break any.
- Dust-free carbon - this is a key point for me as many frames out of the box come with a ton of residue from the cutting process. If you weren’t aware carbon fiber is pretty bad for you when inhaled.
- Very well cnc’d carbon - there’s no lift on any of the carbon, no splinters or machining marks on any of the parts
- Perfect screw/carbon fitments - when I say perfect I mean it, it’s satisfying to have a frame that fits together so well.
- Motor bolts for arms provided - a lot of frames that have >3/4mm arms do not actually provide bolts, so when you come to build up the frame you either need to have specialist screws already, or order some and the build is delayed.
- Pre-installed insert nuts on carbon plates - while it doesn’t save much time, I’ve seen people manage to install them wrong, and this takes that ability away from the end user.
Negatives
- Slight dust residue (but not visible on the parts) after handling a dry build and full build
- Could be lighter, but then you’d have to sacrifice something else to get it lighter, usually strength or protection.
Overall I think the Vector VX-05 X is a really nice frame, it packs a ton of features and quality with it which totally justifies its price in my opinion. I expect to see a lot more Vector’s hit the non-South Korean markets over this race season as they look to expand outside of their home territory, and with good reason!
You can purchase the Vector VX-05X and Vector VX-05S at VectorFPV.