Reviews
TSX200 Build Log & Review
Posted on December 23, 2016 • 11 min read • 2,272 words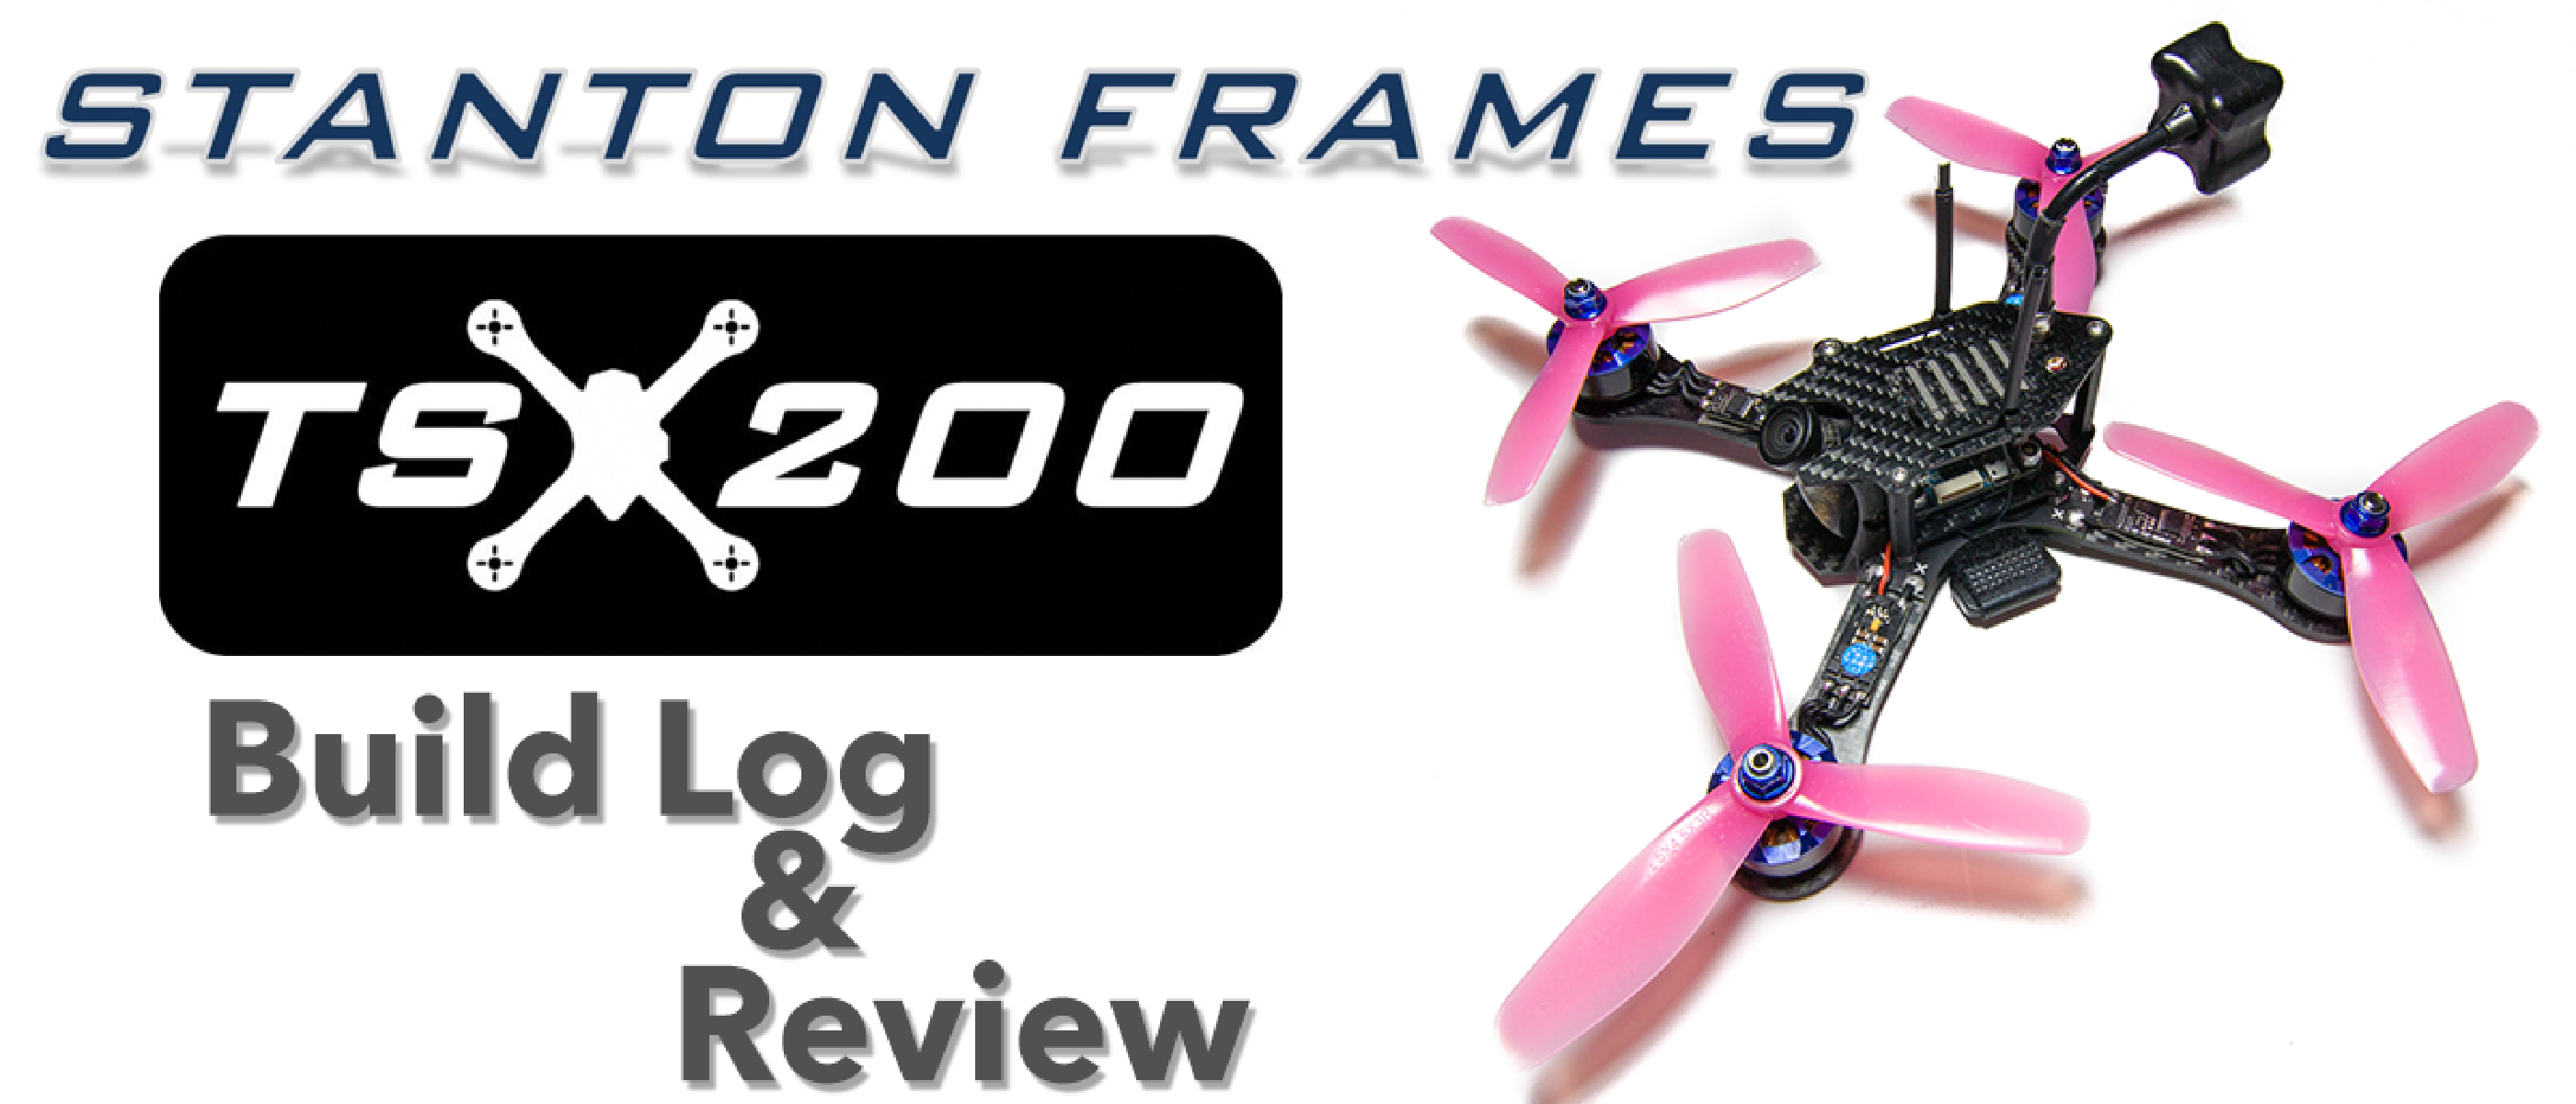
Product Link: TSX200
If you’re anyone that knows anything about FPV in the UK, particularly when it comes to racing - you will have no doubt heard of the TSX Frames - or Tom Stanton himself. Tom started producing his own frame designs early last year which all started from turning the ZMR250 into an X-type frame, before moving onto his own designs - the TSX250 and the TSX220. They shared the same design with the 250 sporting 6" props, and the 220 fitting 5" props. It’s a hugely robust design that many people (including myself) have flown, and still fly today (I use it for my Connex HD setup) - probably one of the best frames out there in that category if I’m honest - it works for both racing and freestyle with ample room inside for all of your hardwre, including of course Connex!
Anyway, Tom recently (well, a few months back but all of the major competitions were going on so the review kept getting pushed back!) released his brand new frame! Debuting as the TSX200. With months spent in development, revisions, and much test flying, the new frame offers tons of new features over the old frame as well as being smaller and lighter than his previous frames.
Even before the frames that are currently starting to appear, the TSX200 offers soft-mounting without any compromise, which was good timing as everyone has now started getting issues as gyros get more sensitive and motors get more powerful. Similar to it’s bigger brother(s), there’s space on the top plate to top-mount the battery, with strap holes provided, or you can run with the lipo underneath and fit a GoPro mount on top to record those flights instead. And just like the other ones, it offers easy to change arms just in case you do break one, with an all-new arm-locking design to remove even the slightest play or slop that a loose screw could create.
Product Description
The TSX200 is smaller, lighter and more agile than the previous TSX. But don’t let this fool you, the design still allows you to fit your electronics with ease. The power distribution board (PDB) has two filtered linear regulators. The 5v regulator will power the flight controller and receiver, while the 12v regulator will power the video transmitter and camera. Cut from high quality matte carbon twill sheet of various thicknesses. Specifically 1.5mm for the main frame plates with the option of different thickness arms. 3mm arms are more than enough strength for racing, whereas 4mm is more suitable for freestyle. The small size of 200mm (motor to motor distance diagonally) allows a propeller size up to 5 inch in diameter. So with the right setup it is a real beast to fly!
Incorporating a unique design that requires only ONE bolt per arm greatly improves the strength and simplicity of the frame. This design also allows the mounting of the flight controller (FC) to be separate from the standoffs, so the application of soft mounting is possible.
The TSX200 was piloted by the World Champion, Luke Bannister, at the DR1 Invitational event in Los Angeles in which he won!
Specifications:
- Size: 200mm
- Weight: 78g (3mm arms) or 94g (4mm arms)
- Max prop size: 5 inch
- PDB: 3oz copper (with 5v and 12v regulators)
- Standoffs: Nylon
- Carbon finish: Matte Twill
Dry Build
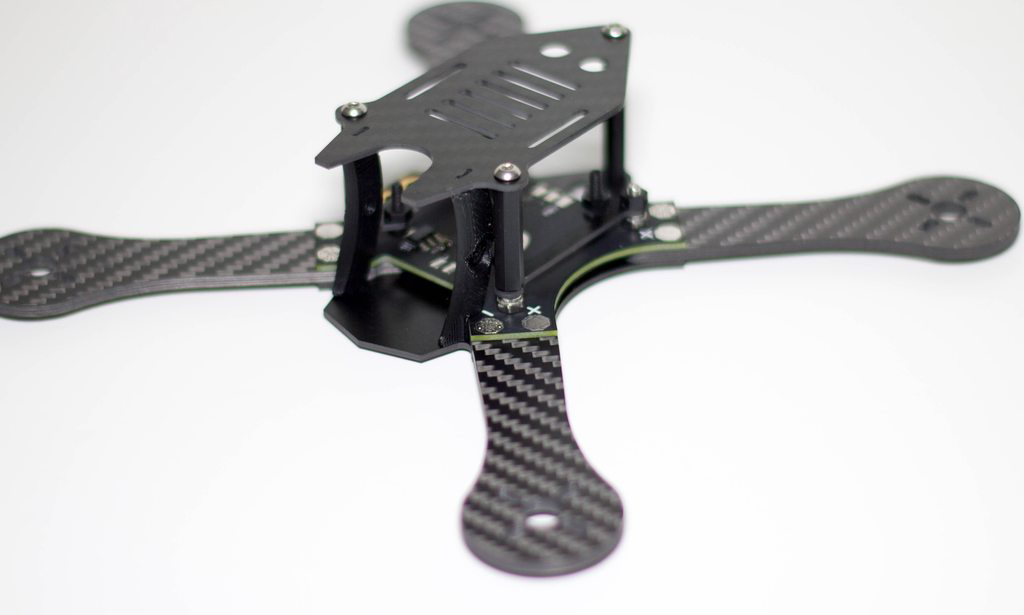
While Tom has provided an instruction manual, I had actually started this review before it was done, so here you’ll find a full dry build that goes over every single part being put together to end up with a fully built frame.
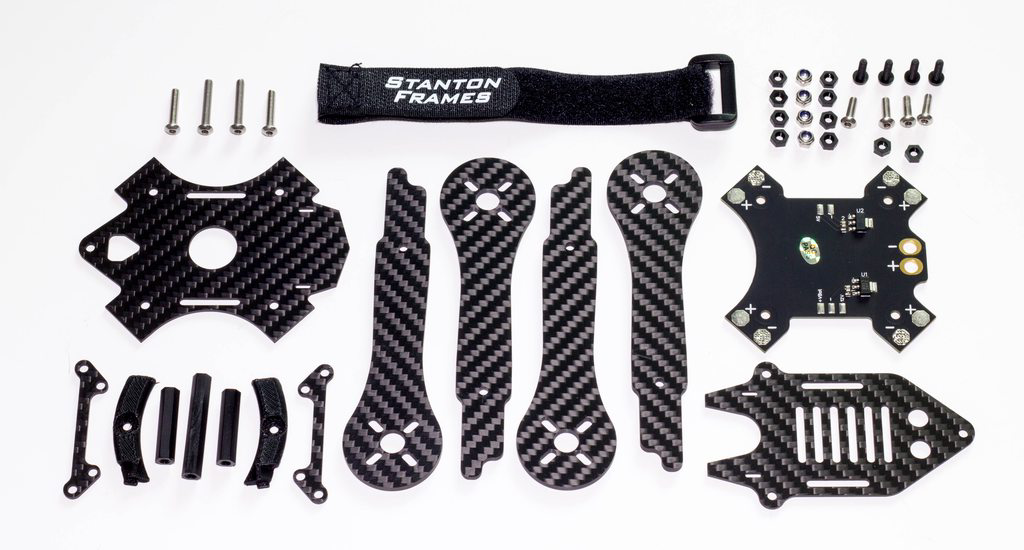
Here’s all the parts we get in the kit, there’s a lot for your money, including a purpose built PDB designed by Brett Collis, and all the hardware you need! So let’s get down to the build.
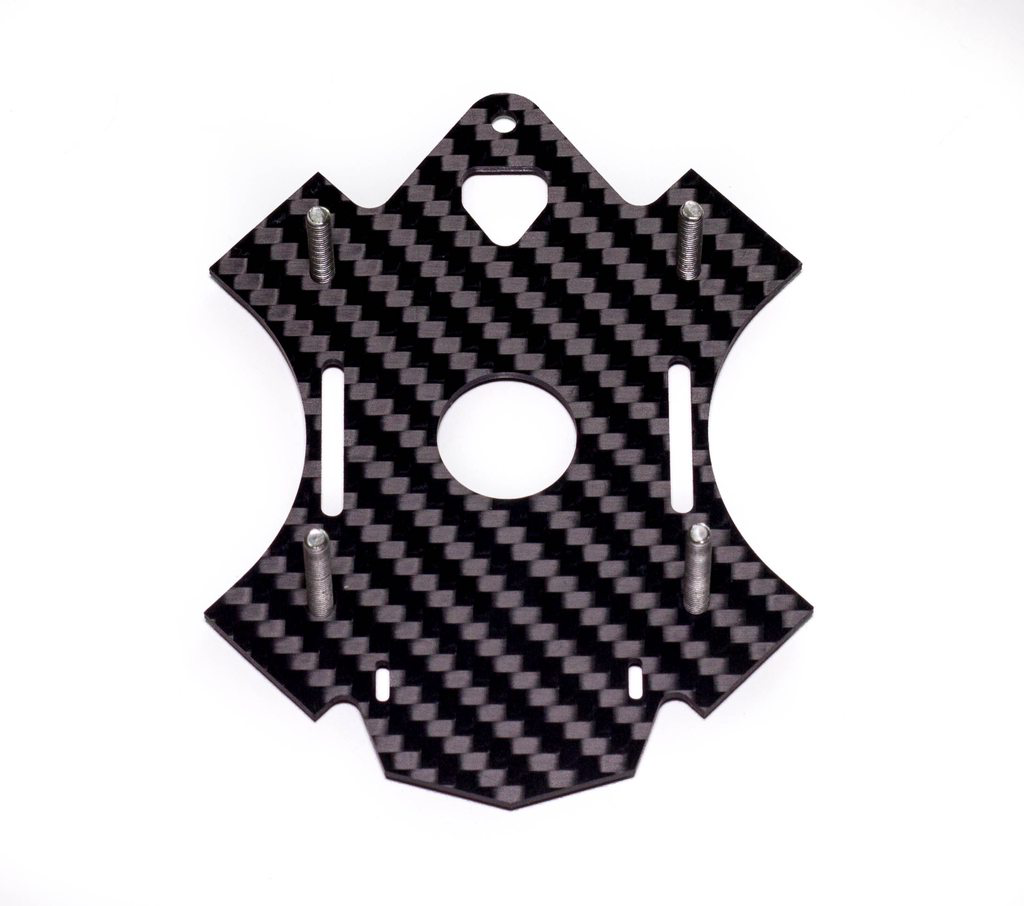
First we’re starting with the very base plate - you’ll immediately notice there’s 2 different screw lengths, you want the longer ones at the front (bottom), as these are used to also support the top plate also, where as the rear ones are for the flight controller mounting plates only.
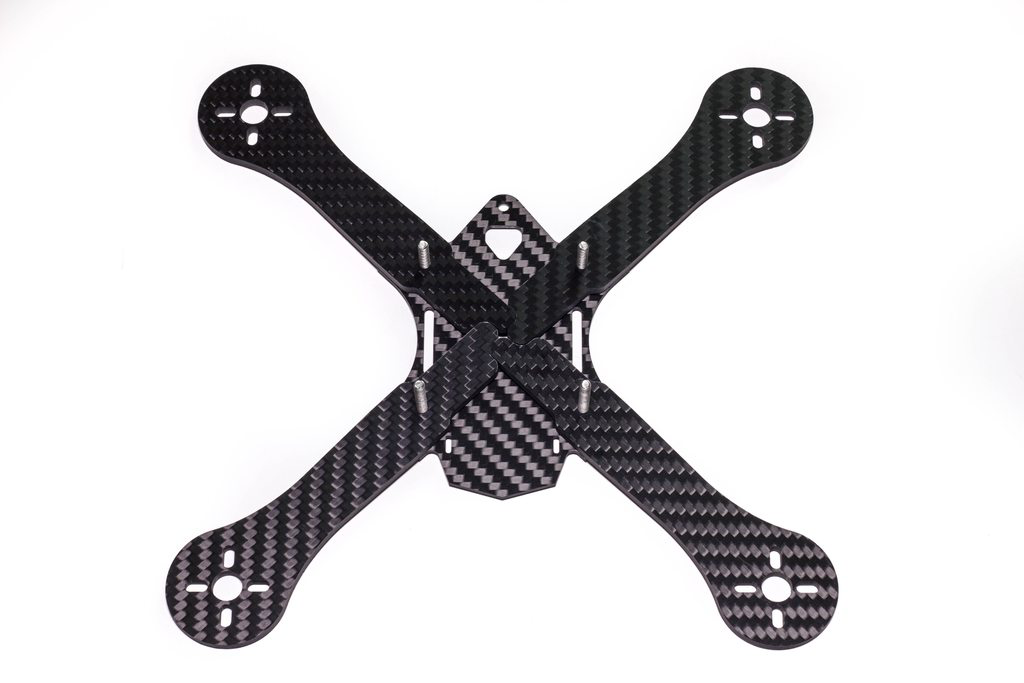
Next, we can slide the arms over. Take note of the new arm design that is super strong and reduces the amount of slop.
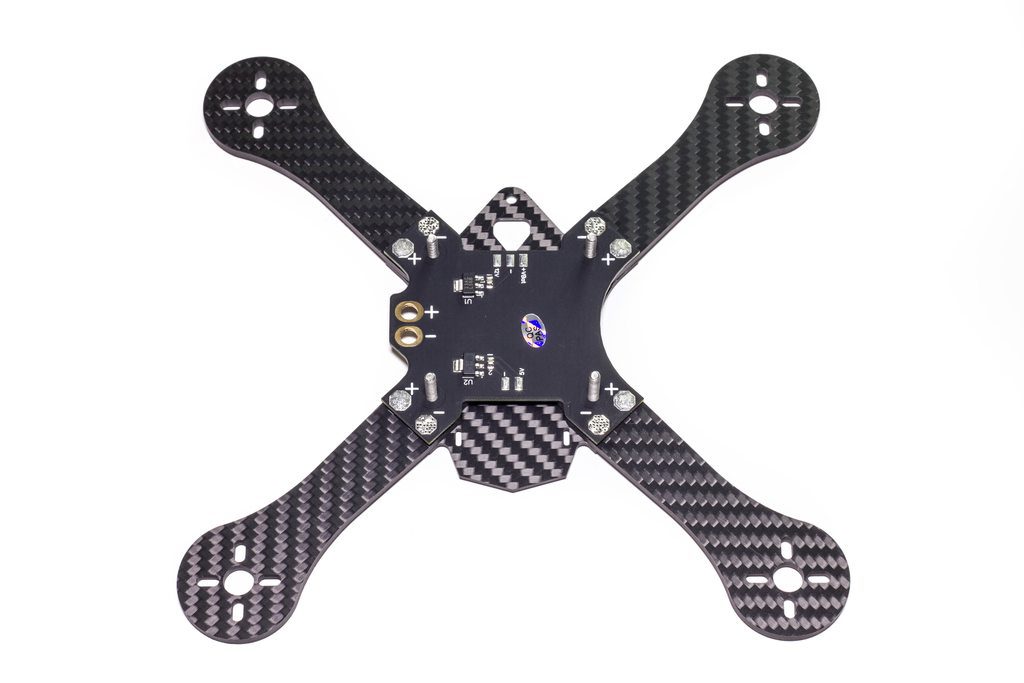
Once we’ve done that we can slide the PDB over, you can mount this with the power wires on the left-hand side or on the right, but the default position is as picture - with the 5v at the front of the board, and the 12v and vcc at the back for your video gear.
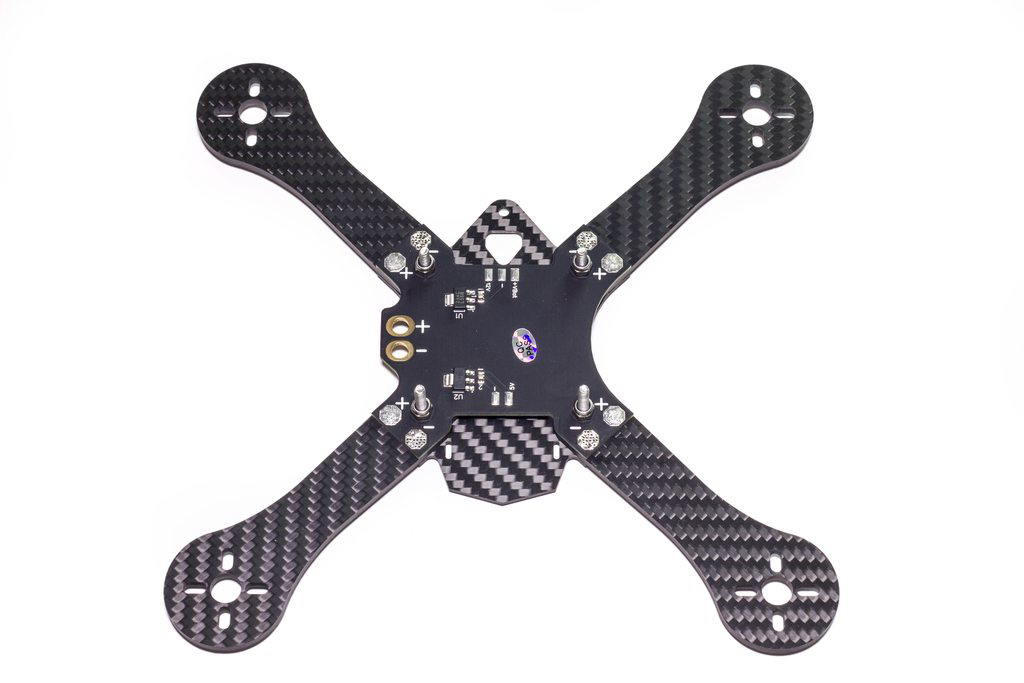
Once we’ve done that we can add the nyloc nuts to the front and back screws, these can be tightened fully as you’ll not need to do anything else on the stack.
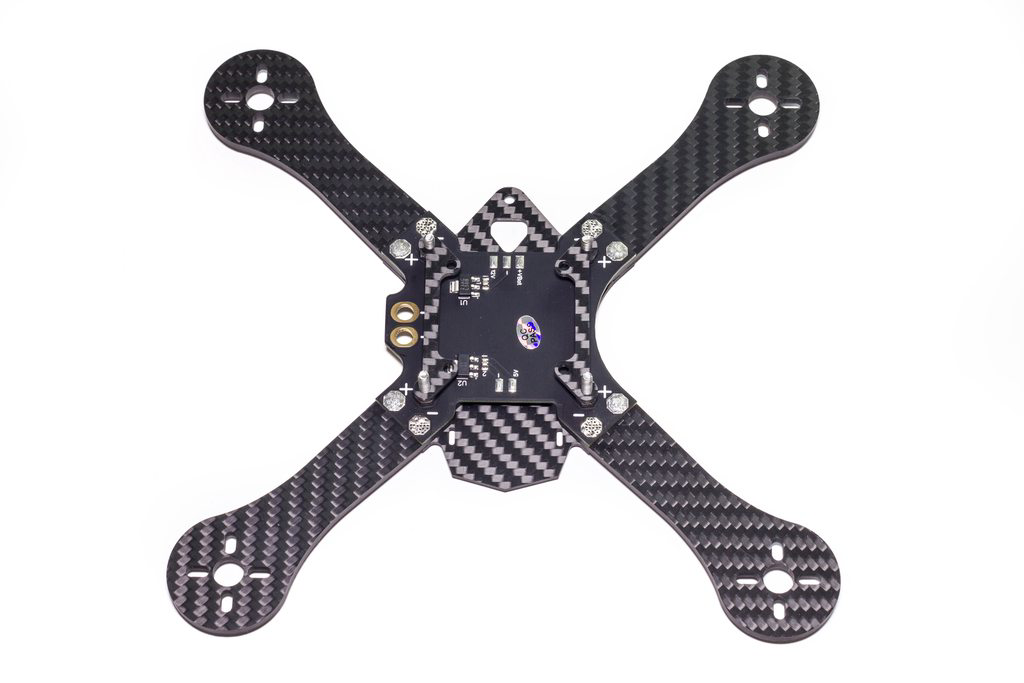
Next up we can add the FC mounting plates - if you are building from this log rather than my full log below, then make sure to attach the FC to the plates first, it will be a whole lot easier to do it that way around :)
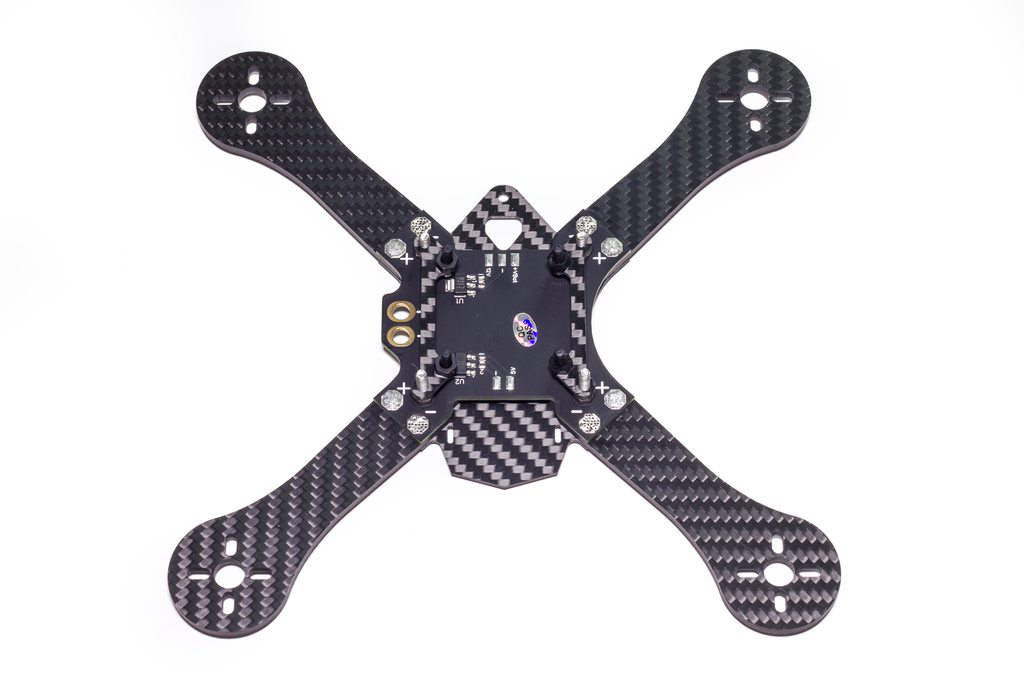
Next up, or the previous step, is to add the nylon hardware for the flight controller.
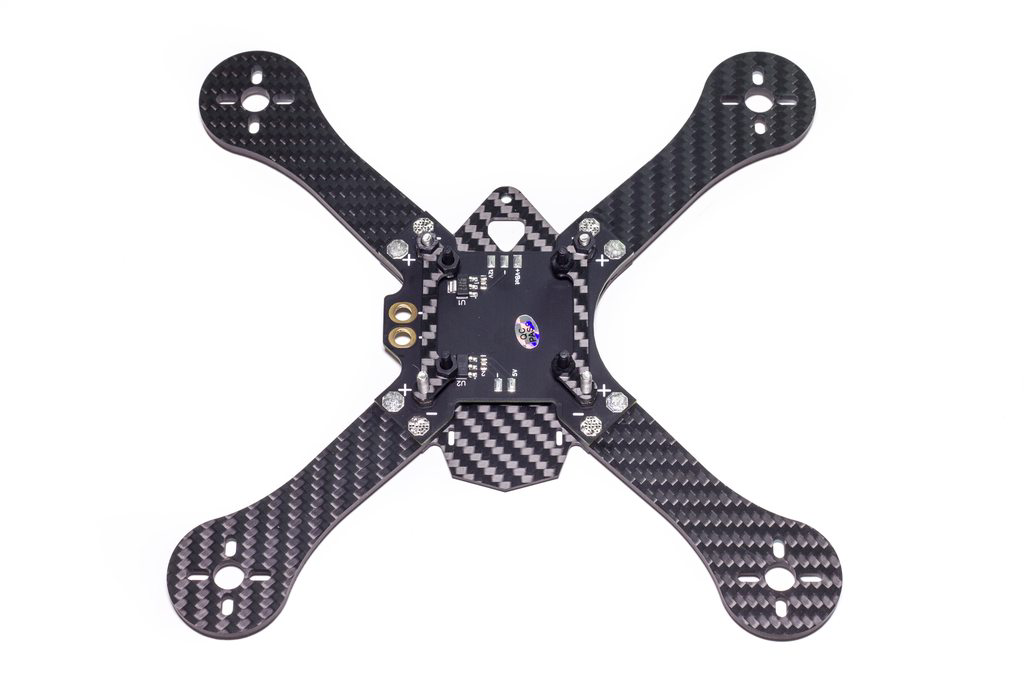
After that we can add the nylon hardware to the rear metal screws - because of the rear standoff these are not required to support the top plate.
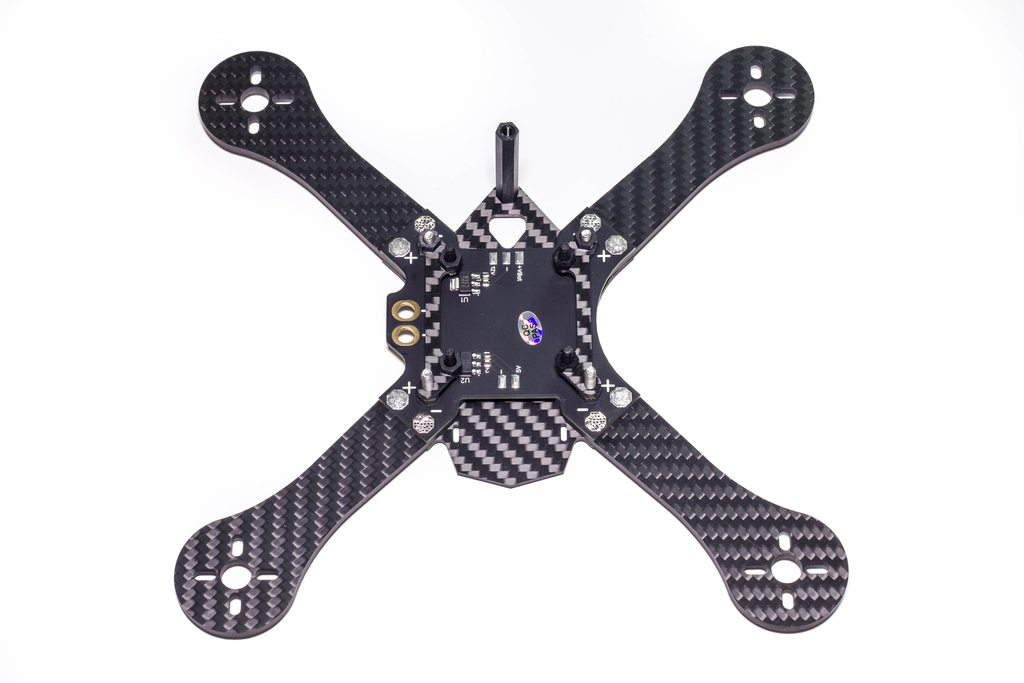
Screw in the rear standoff using one of the smaller screws (all of these are used for the standoffs and top/bottom plate).
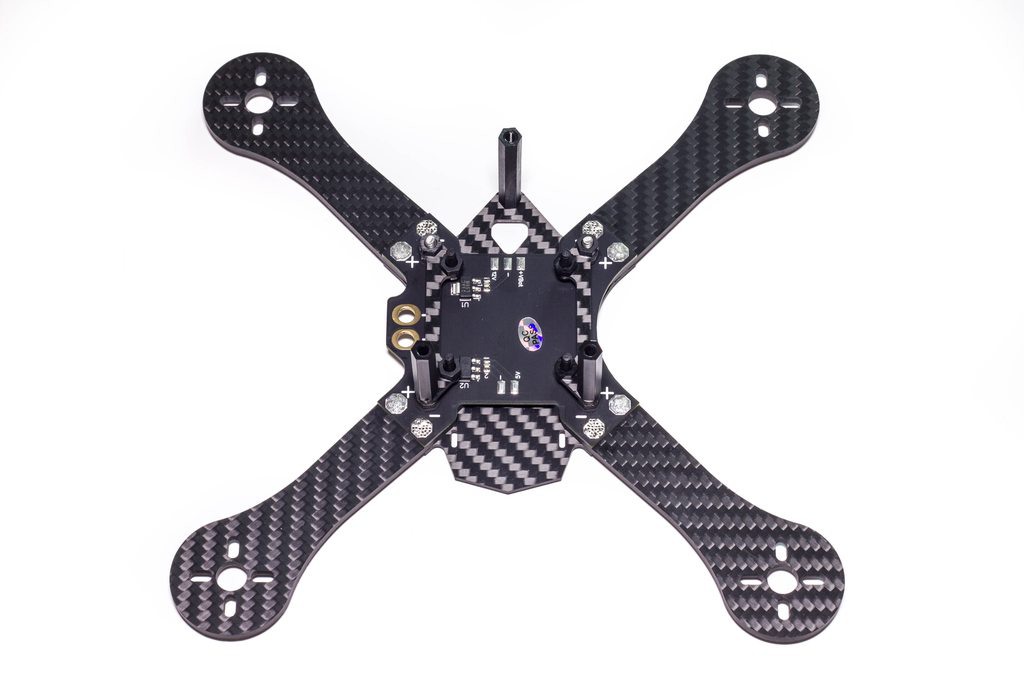
The shorter front standoffs can now be screwed directly onto the FC brace location at the front, with the plates and arms etc these will line up perfectly with the rear standoff.
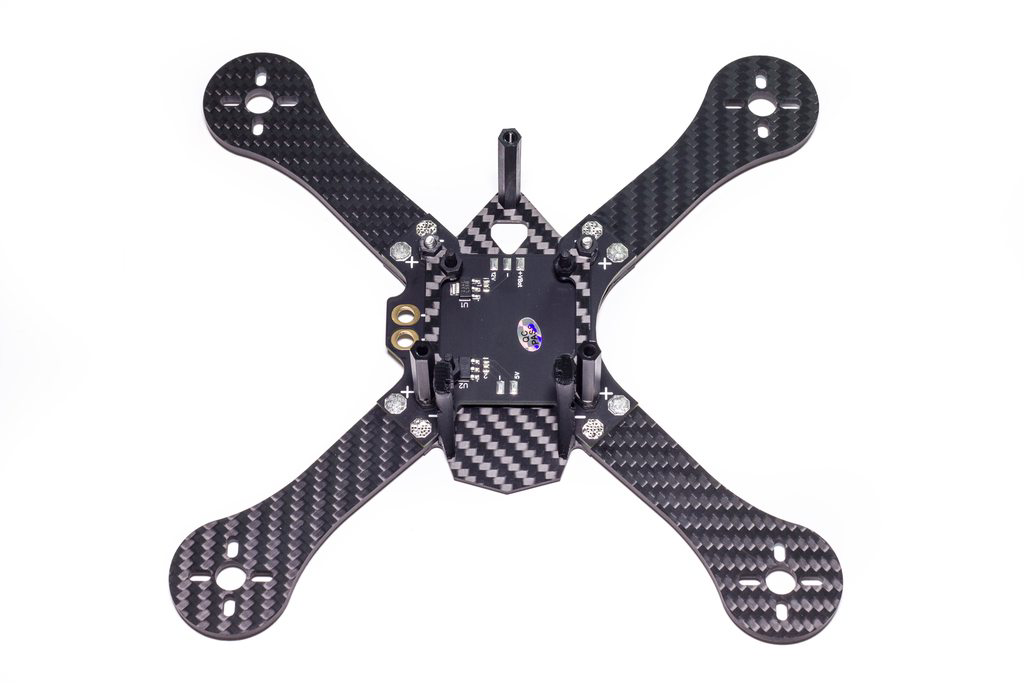
Next up we’ve got the 3d printed camera mounts - you maybe asking why they are 3d printed? Well, I was involved in the beta testing of the frame and we found that carbon plates were just too stiff - you end up breaking the camera, the plates, or the top/bottom plates in a hard crash. With 3d printed parts, the camera will just pop out, negating any hefty breaks (for the most part of course).
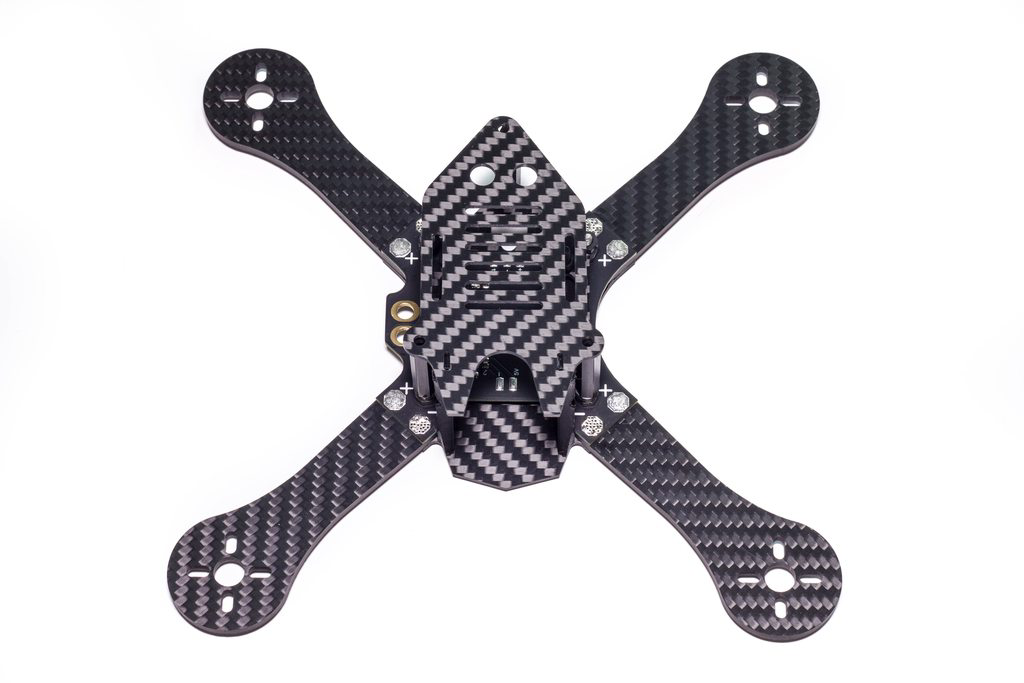
Now all of that is done all we need to do is simply add the top plate on! Use the remaining screws to attach this. The 3d printed camera mount should simply slot in to the top of the frame without issue and be securely rigid.
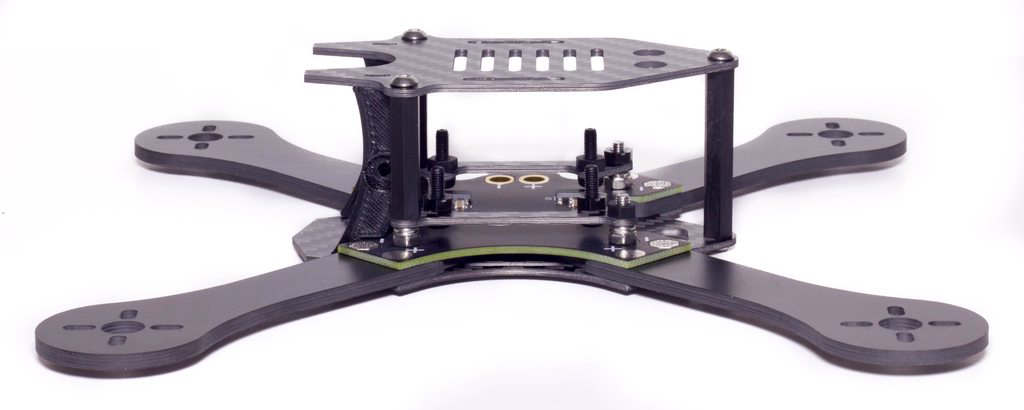
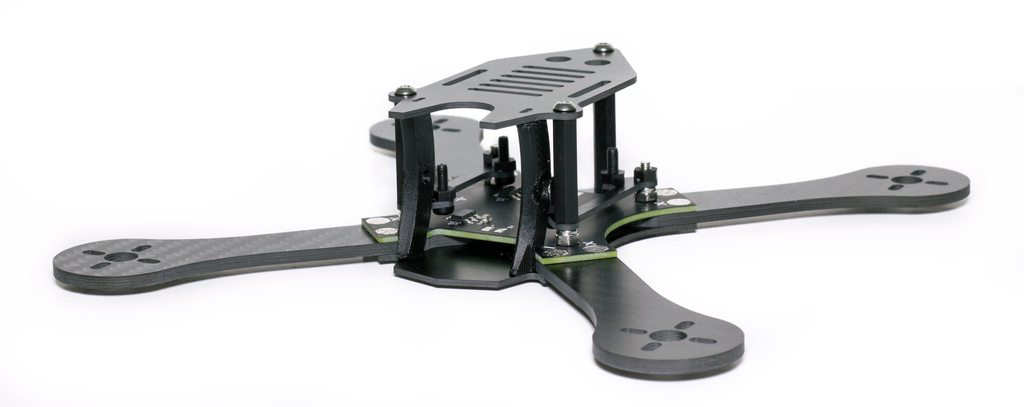
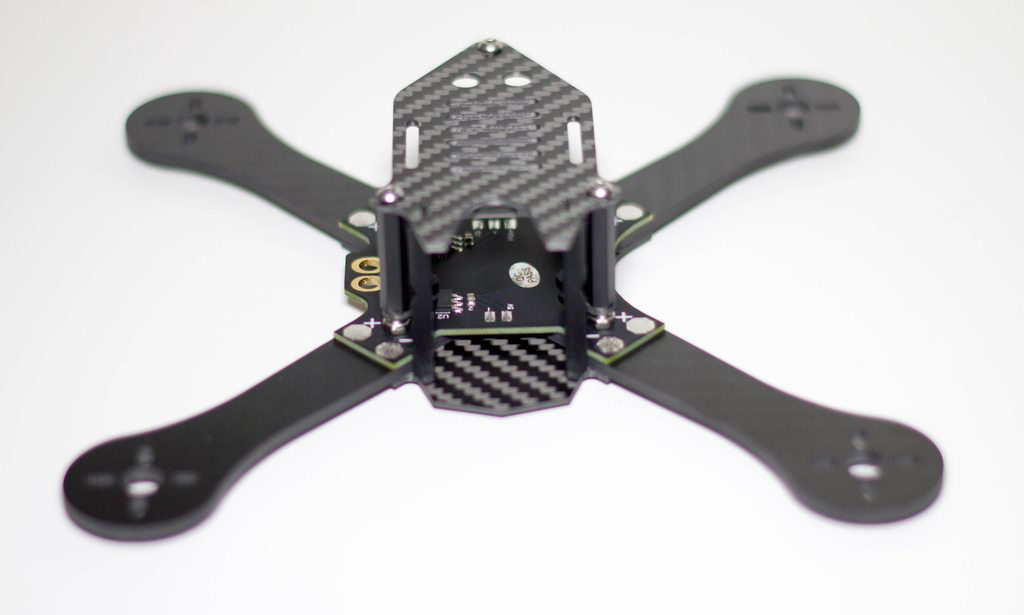
The Build
So there’s the dry build, with what it should look like when it’s finished without any components - simple huh? Yep! So let’s move onto the proper build, here’s the list of components I’m using it for:
- OpenPilot Revo F4
- FrSky X4R-SB Reciever (de-pinned)
- ZMX Fusion 2206 2300kv
- Racerstar V2 20A ESC’s
- HS1177 with Sunex 1.5mm lens
- TBS Unify Pro HV
- TBS Triumph Antenna
- HQProp 5x4.5x3 V2
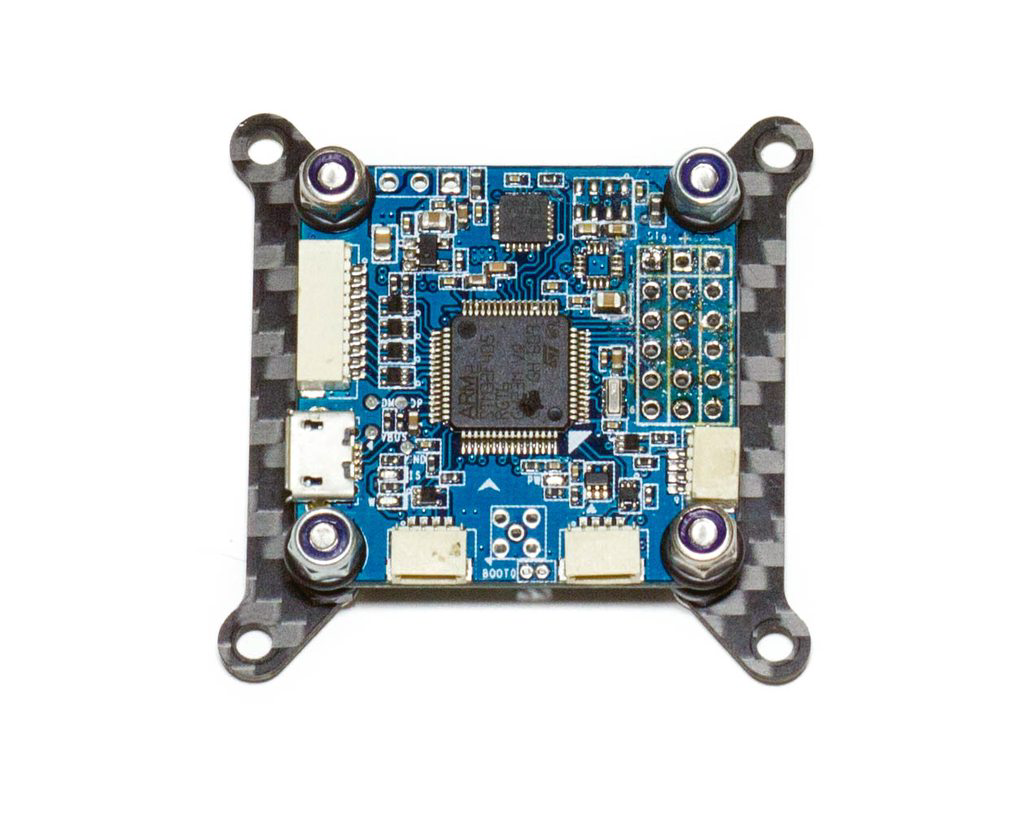
Contrary to my original build we’re starting with the FC first - as once you have this all screwed together it makes the process of putting the plates on far easier! For this build I’ll be using o-rings and custom aluminium hardware to soft-mount the FC. While this FC does not need soft-mounting at all, an array of issues prior to this with other flight controllers (in Hawaii and Spain) has meant that I’d rather get the best out of any setup, regardless of whether or not it should work “as is”. For this reason I’ve got top and bottom mounted o-rings that will help remove any of the motor twitching you sometimes see with motors that are using N52SH/H magnets.
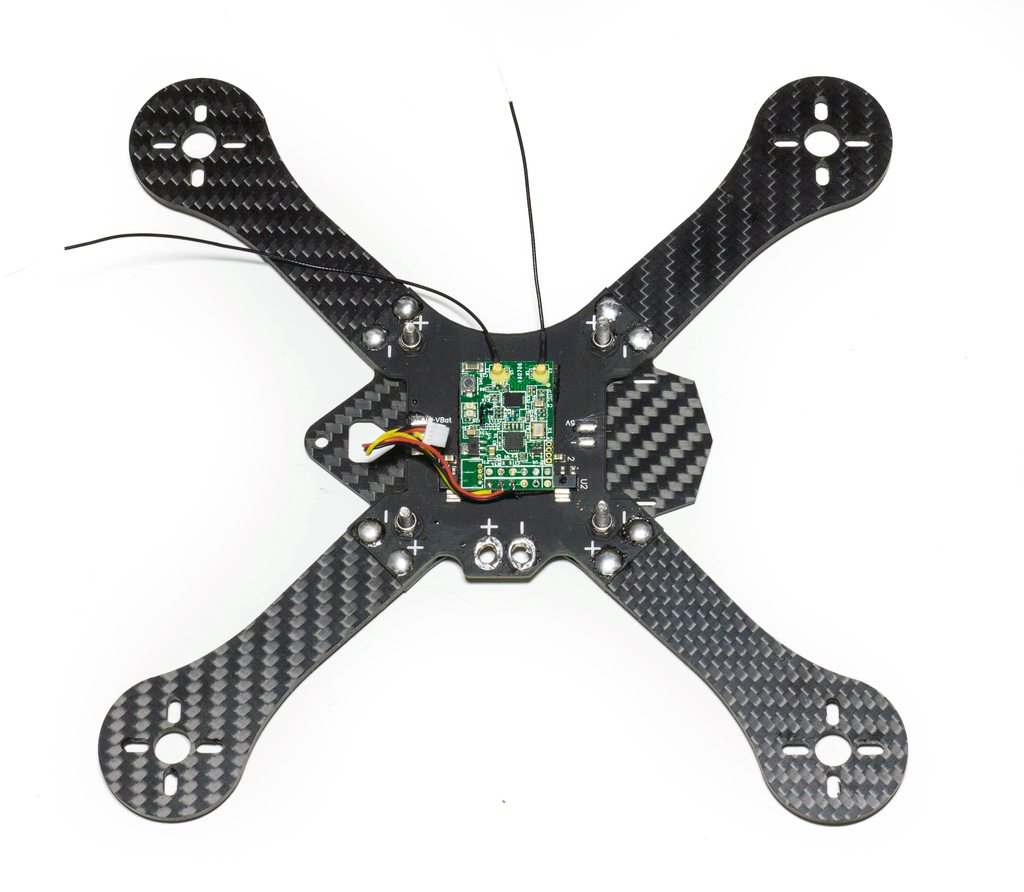
With most of the frame already built up I can just remove the top plates and the top half of the stack to reveal just the bottom section. I’ve decided to mount the RX on the PDB, this allows the FC to be truly independent of anything (I usually use foam tape to stick the RX on top of the FC but will not be doing this in future builds).
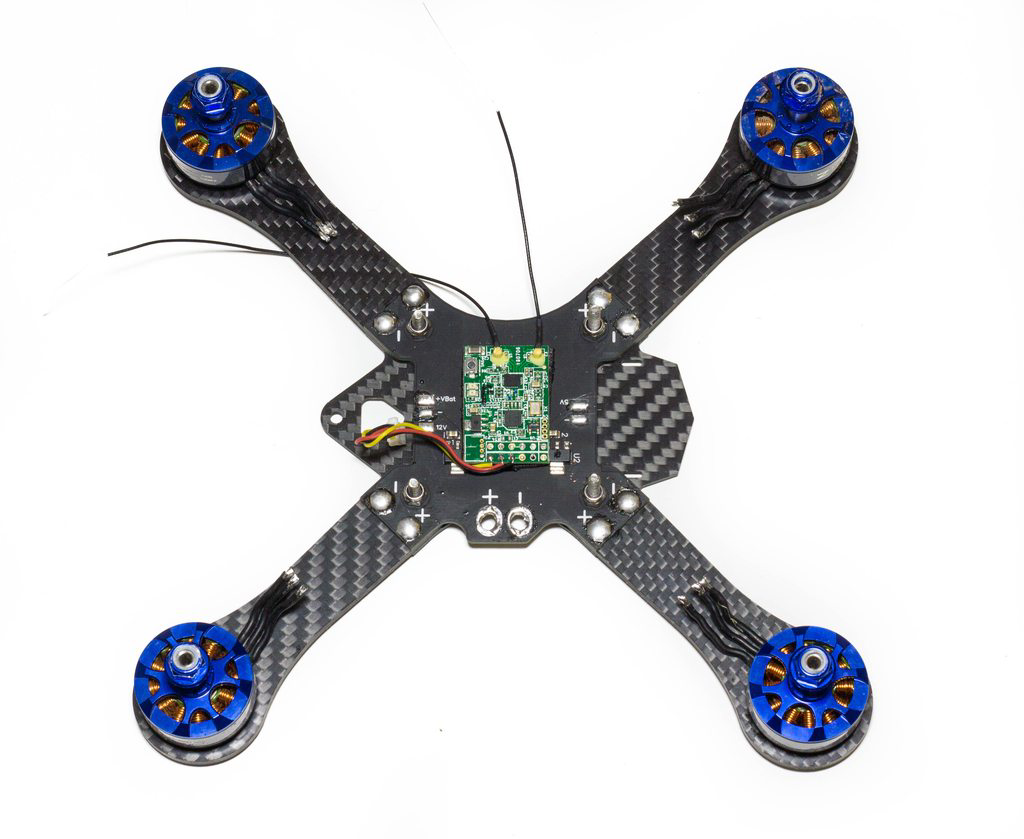
With that done we can add the motors on - for the build order I always do motors -> escs -> pdb because I tend to always use motors that have been used in other builds - in this case the wiring length of the motors is less crucial as there’s actually a very short distance between the ESC and the PDB pads due to the great PDB design, but in other builds I’ve done a rough length for the ESC power wires first, and then found they are too short due to the motor wires being cut shorter than I needed.
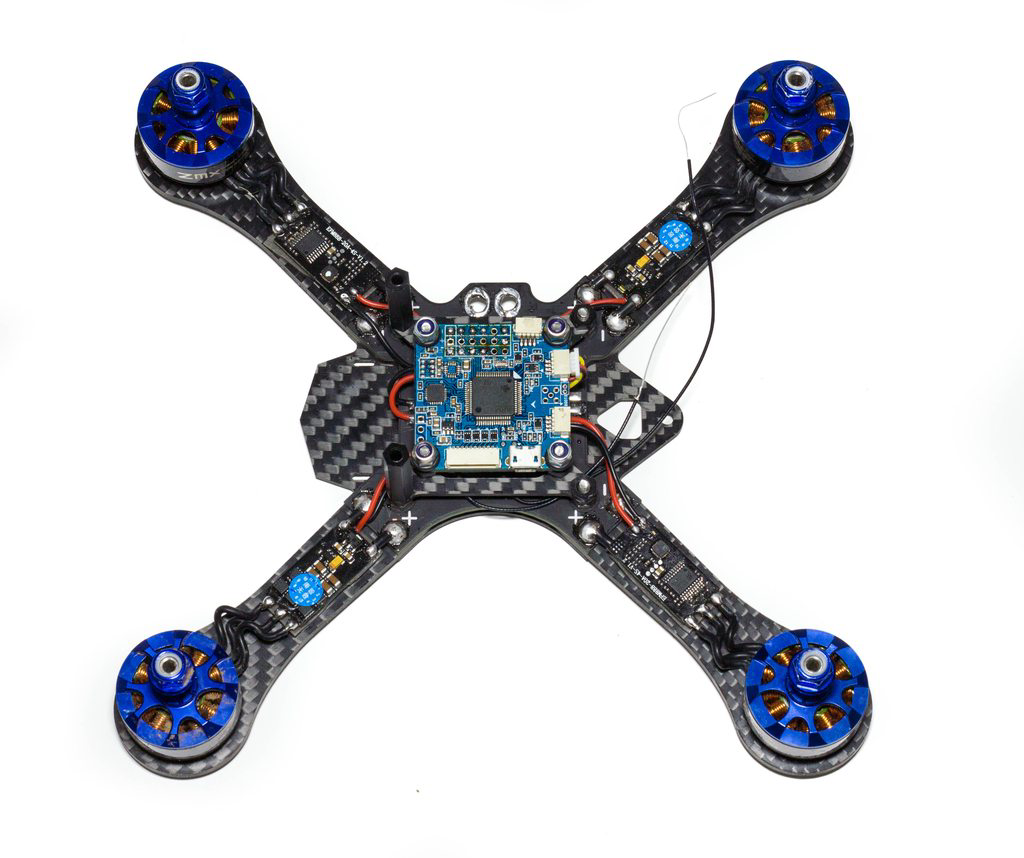
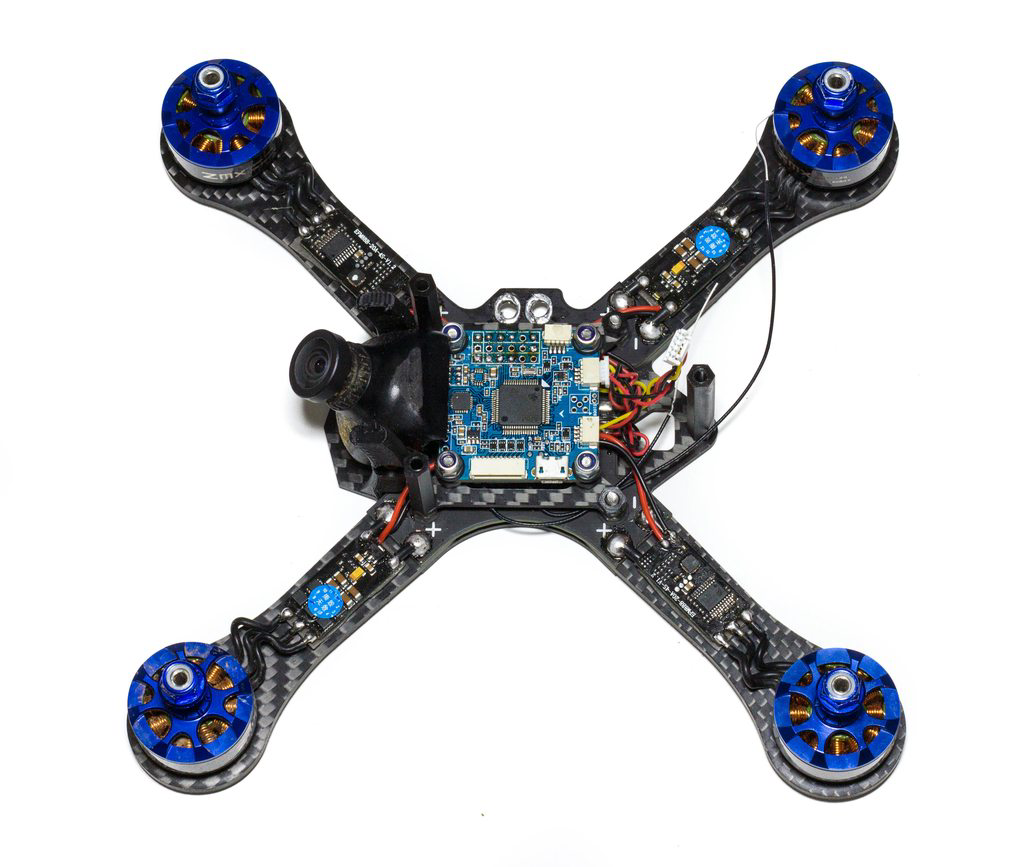
With that done I’ve soldered up the TBS unify pig tail to the VIN pads on the PDB located on the rear. With the stock wiring on the Unify Pro HV the camera cable length is a perfect length to fit under the fc braces and plug into the camera without issue, while still being able to mount the Unify on the top plate.
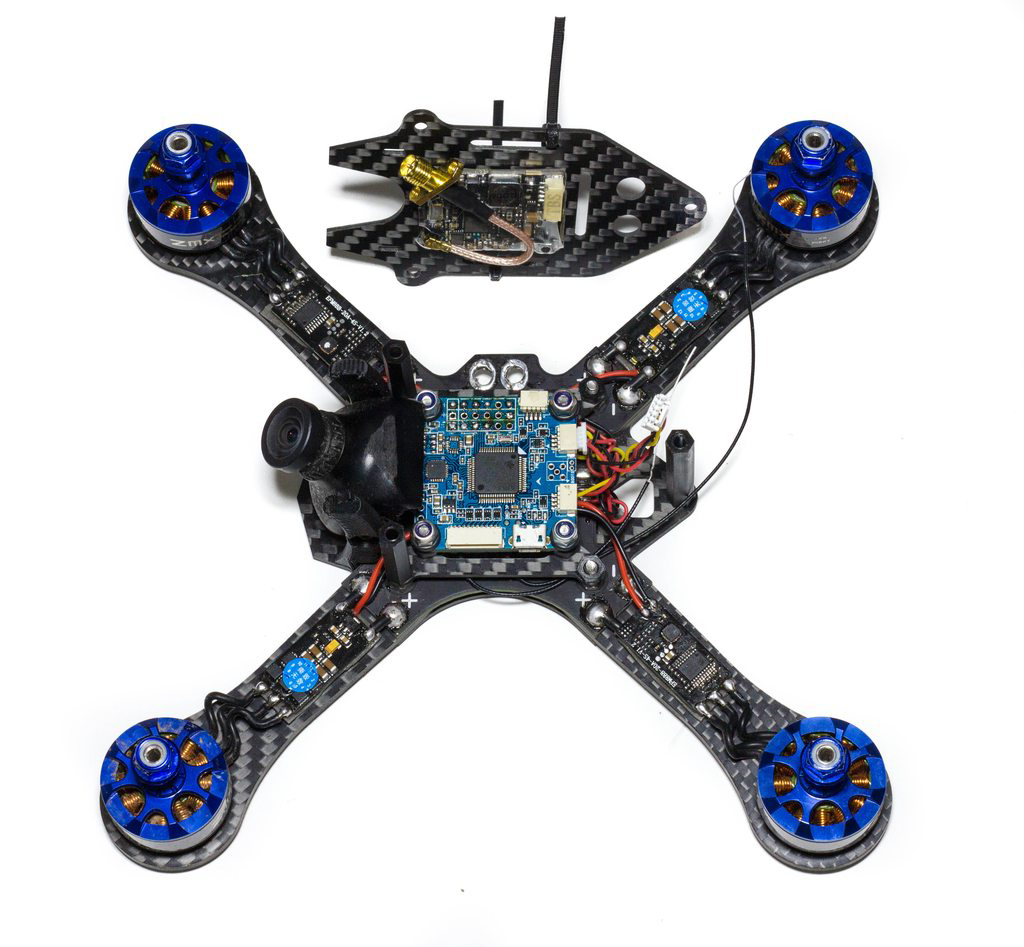
All that’s left to do is sticky tape the Unify HV to the top of the top plate and we’re basically done aside from a few screws and plugging in the final connector. I use 3M VHB tape for this, the Unify can get quite warm and I’ve known some of the cheaper double-sided foam tape to lose their stickyness from the heat.
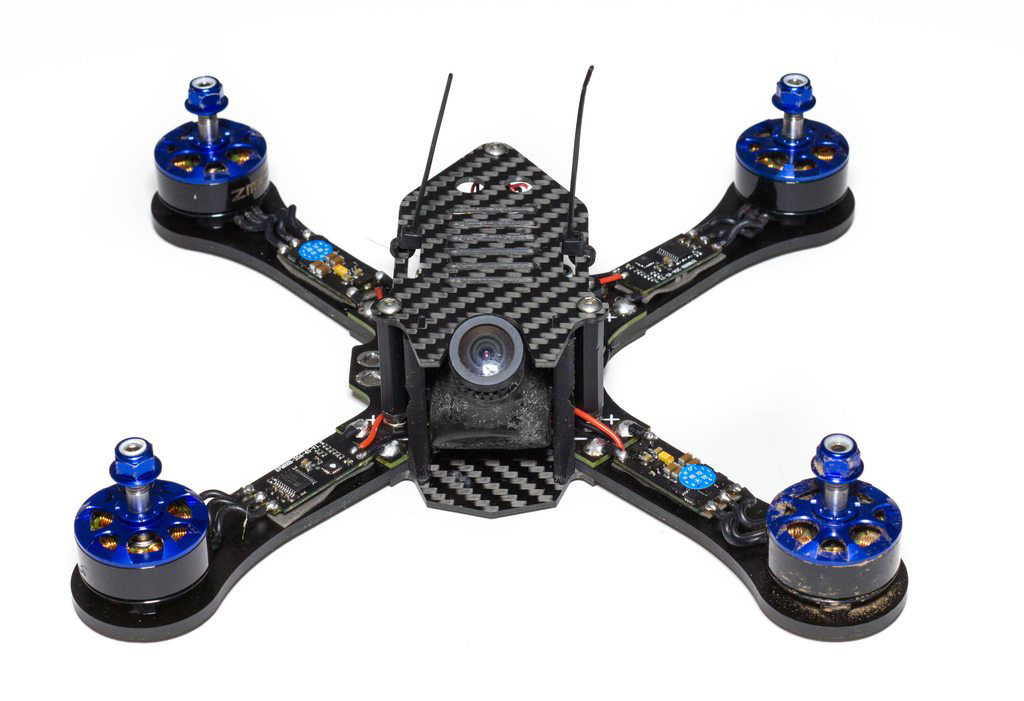
With all of that done we just need to add the top plate on, plugin the connector for the video transmitter and screw it all down!
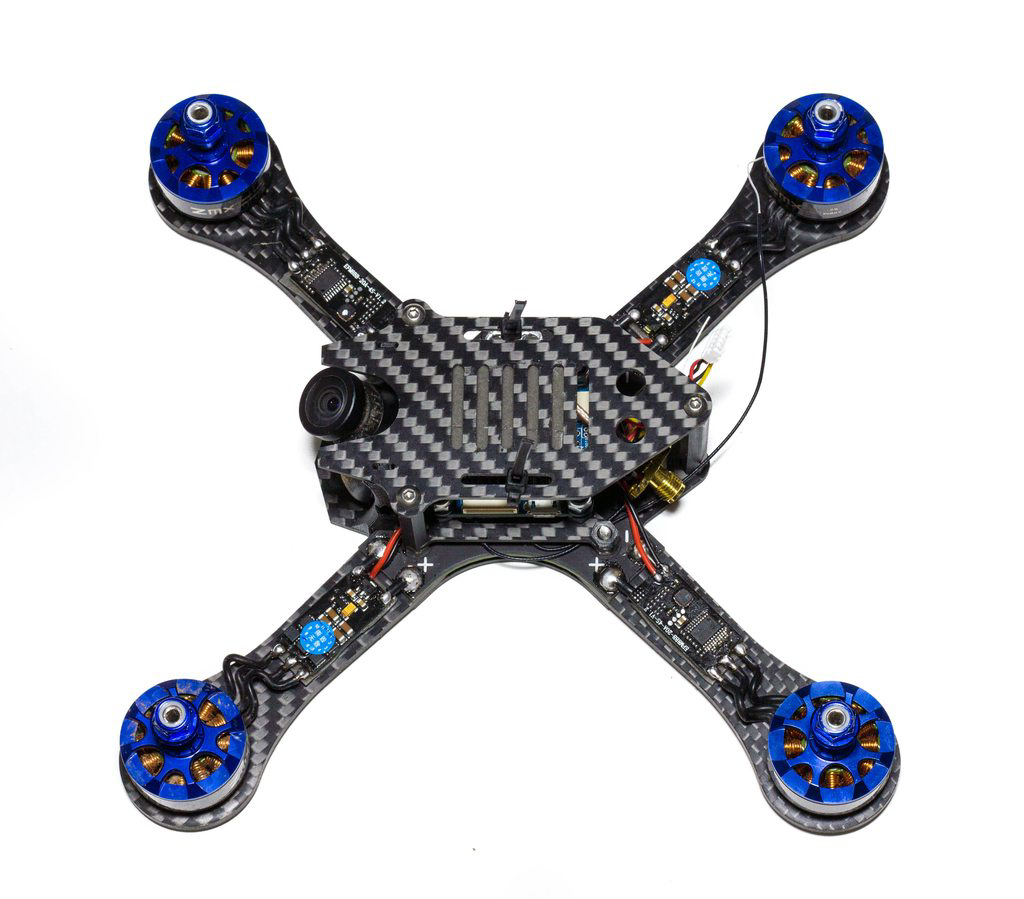
You’ll probably notice I haven’t added the XT60 harness here at this point - that’s because I actually forgot :) nevertheless it’s added a few pictures down, as well as the video antenna being fastened down onto the top plate.
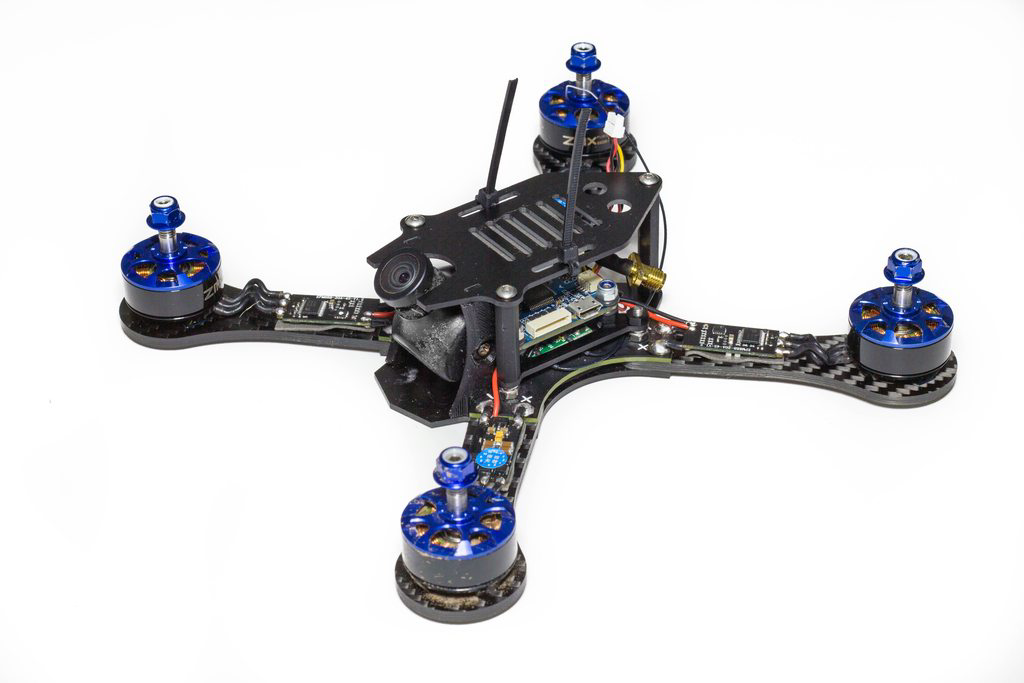
Some prefer to run the antenna directly out the back and attach it with cable ties - you can do both methods here.
Finished Shots
Here it is in all its’ glory - props, antenna and xt60 included!
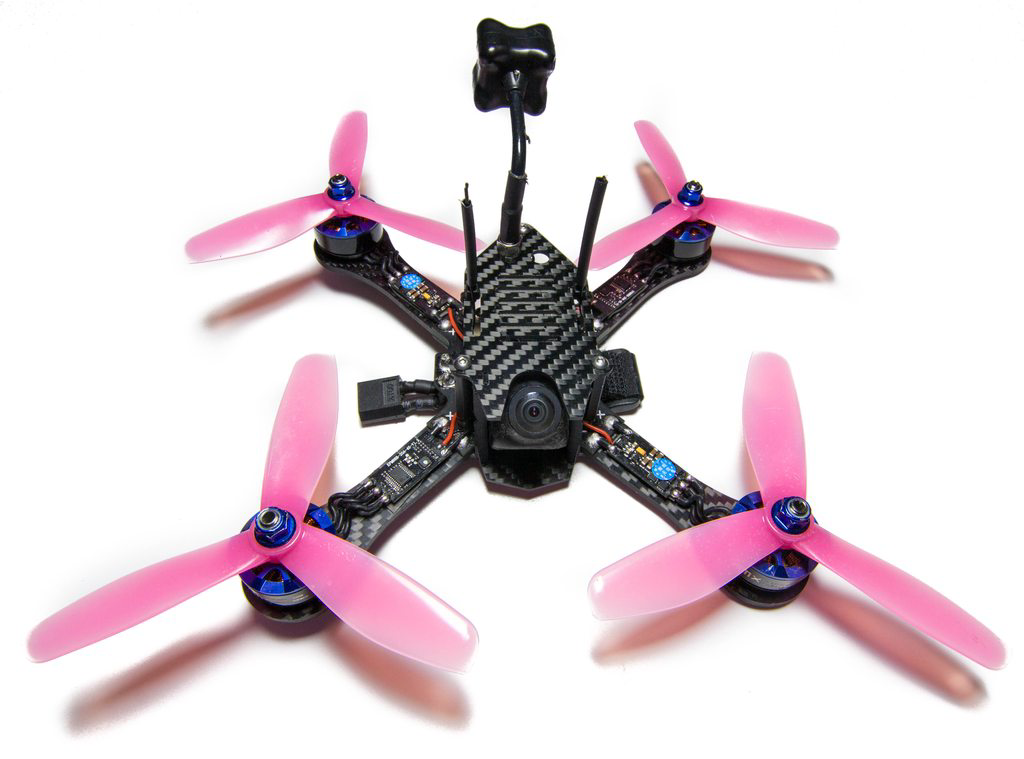
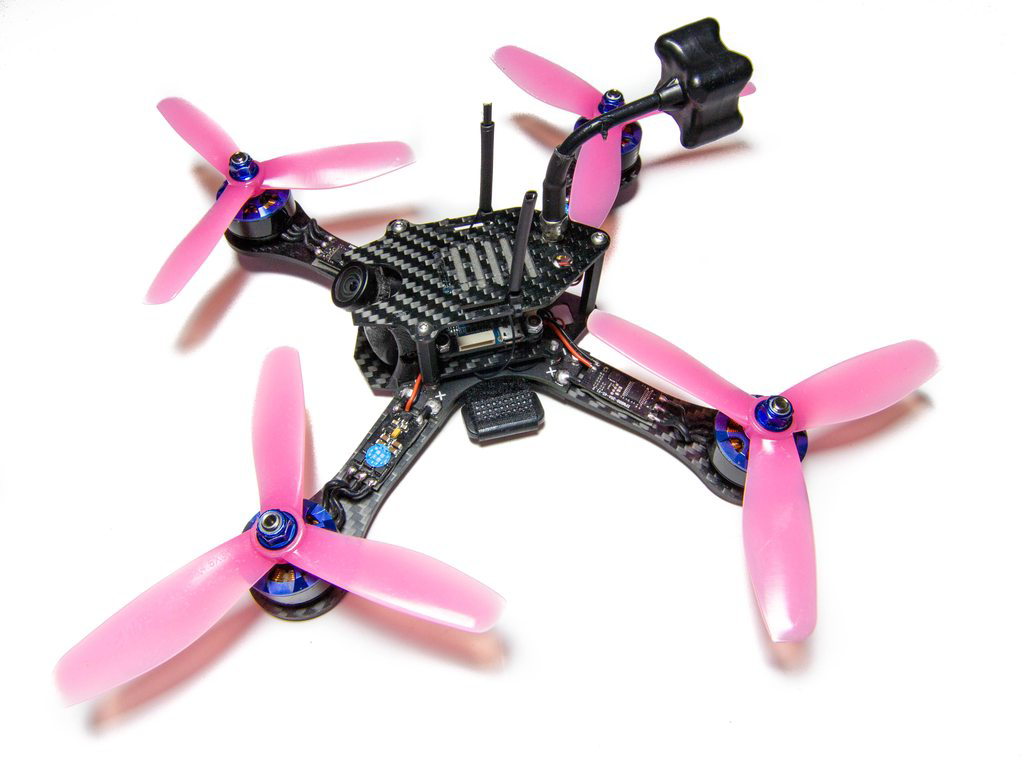
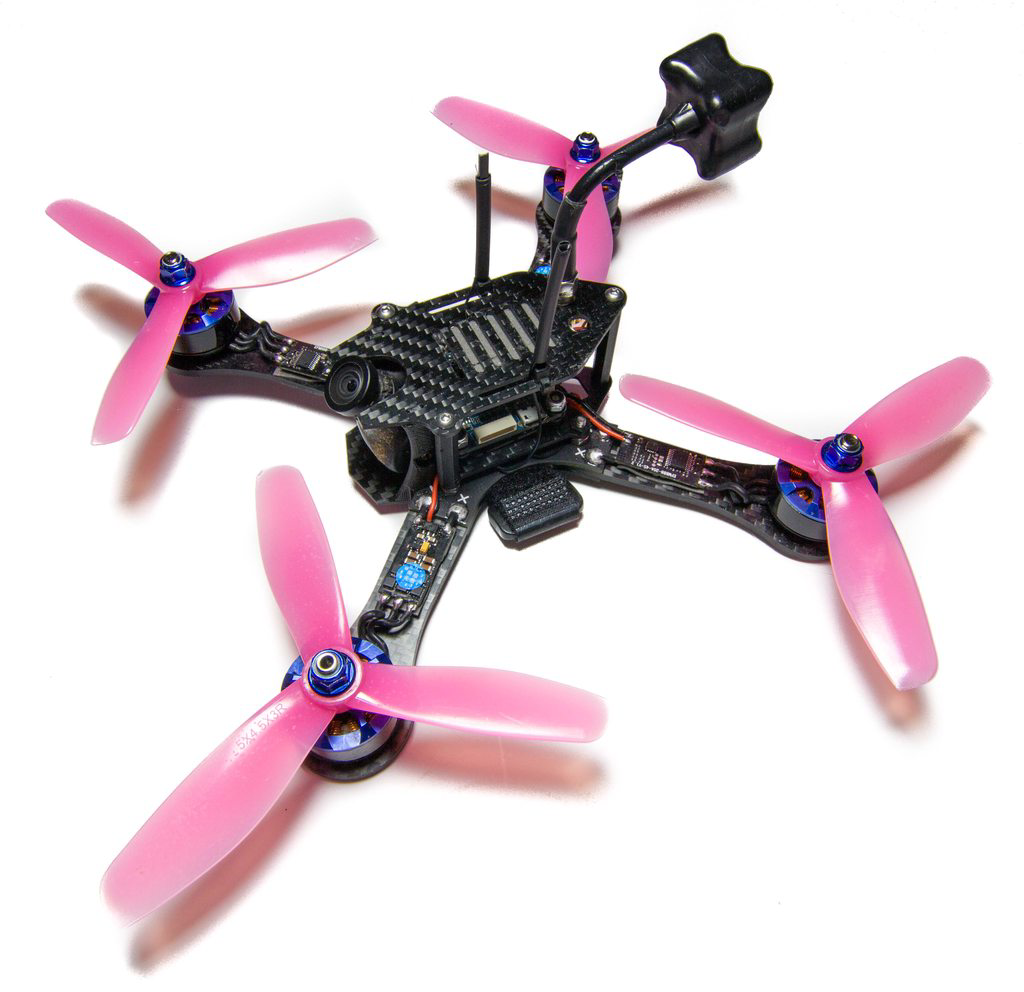
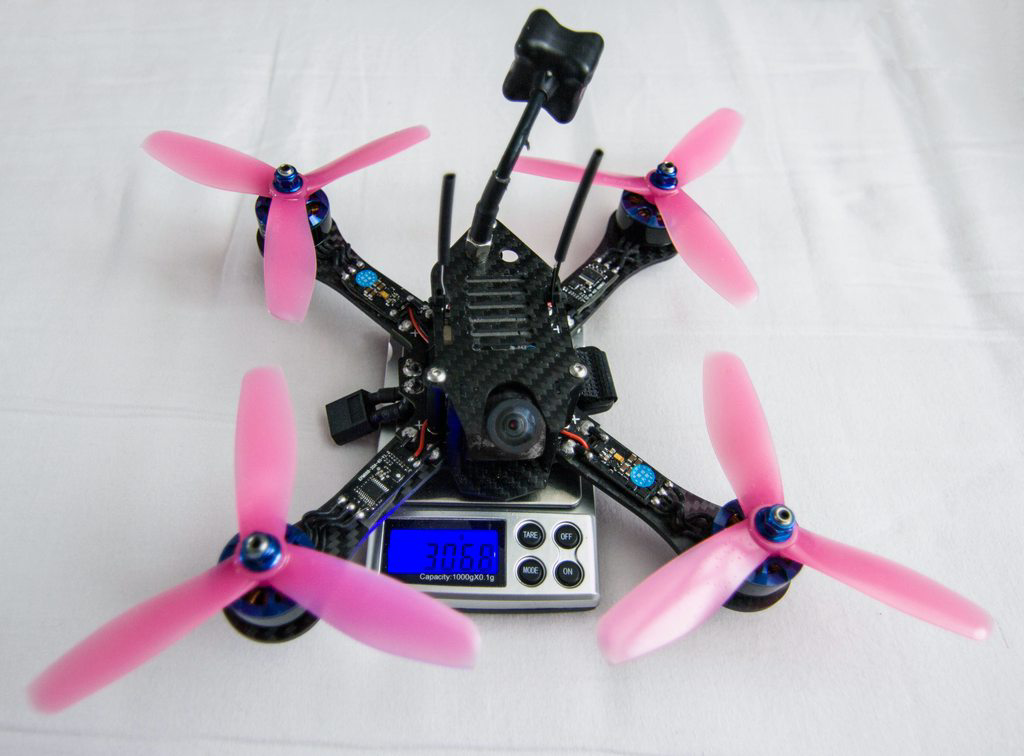
So how much does it weigh? Well, that much! 306.8g with props, antenna and everything to get in the air except for lipo - a very good weight especially when it comes to racing. Lots of people are building super light quads racing from about 240g upwards, but in all honesty I’ve flown one and didn’t really like it all that much (it handles very differently to what we’re used to). 300g seems to be the good ballpark figure most frames are aiming for currently, and it’s a good weight with a good feel to it.
Final Thoughts
This is actually my second TSX200, so I know my way around the frame as I helped give input to the design and testing stages to try and get the ‘perfect’ racing quad that has no compromise, and I think Tom has managed to do just that. The arms as stock are currently 3mm, but he has 4mm arms available just in case you are one of those that is attracted to big metal posts or trees etc, otherwise it’s a super robust frame that offers a great amount of space and design thought to keep your build neat, tidy but more importantly easily serviceable.
Not that I would say a frame makes you faster (unless its a really heavy/stupid design), but the fact that Brett Collis, Gary Kent, and Leo Whitfield all fly it (as well as Luke Bannister at DR1), this is testament to its design - not so much “if you get this frame you’re going to win” - but these guys are focused on racing. And because of that, it means they need a frame which performs well (bla bla yes I know I said it), but can be repaired easily when you do smash it up. So if you are after a lightweight racing frame that has not traded strength for grams, with an easy to use built in PDB and separate arms to save replacing the entire bottom plate in a hard crash, then you need look no further. Soft mounting is a huge benefit as we start to see even the Naze Rev 5 picking up yaw twitches as motors and esc’s get even more powerful, I think soft-mounting will become the norm for pretty much every frame.