Reviews
Shrike - The rebuild! (KISS FC + ESC Testing)
Posted on February 11, 2016 • 10 min read • 2,074 words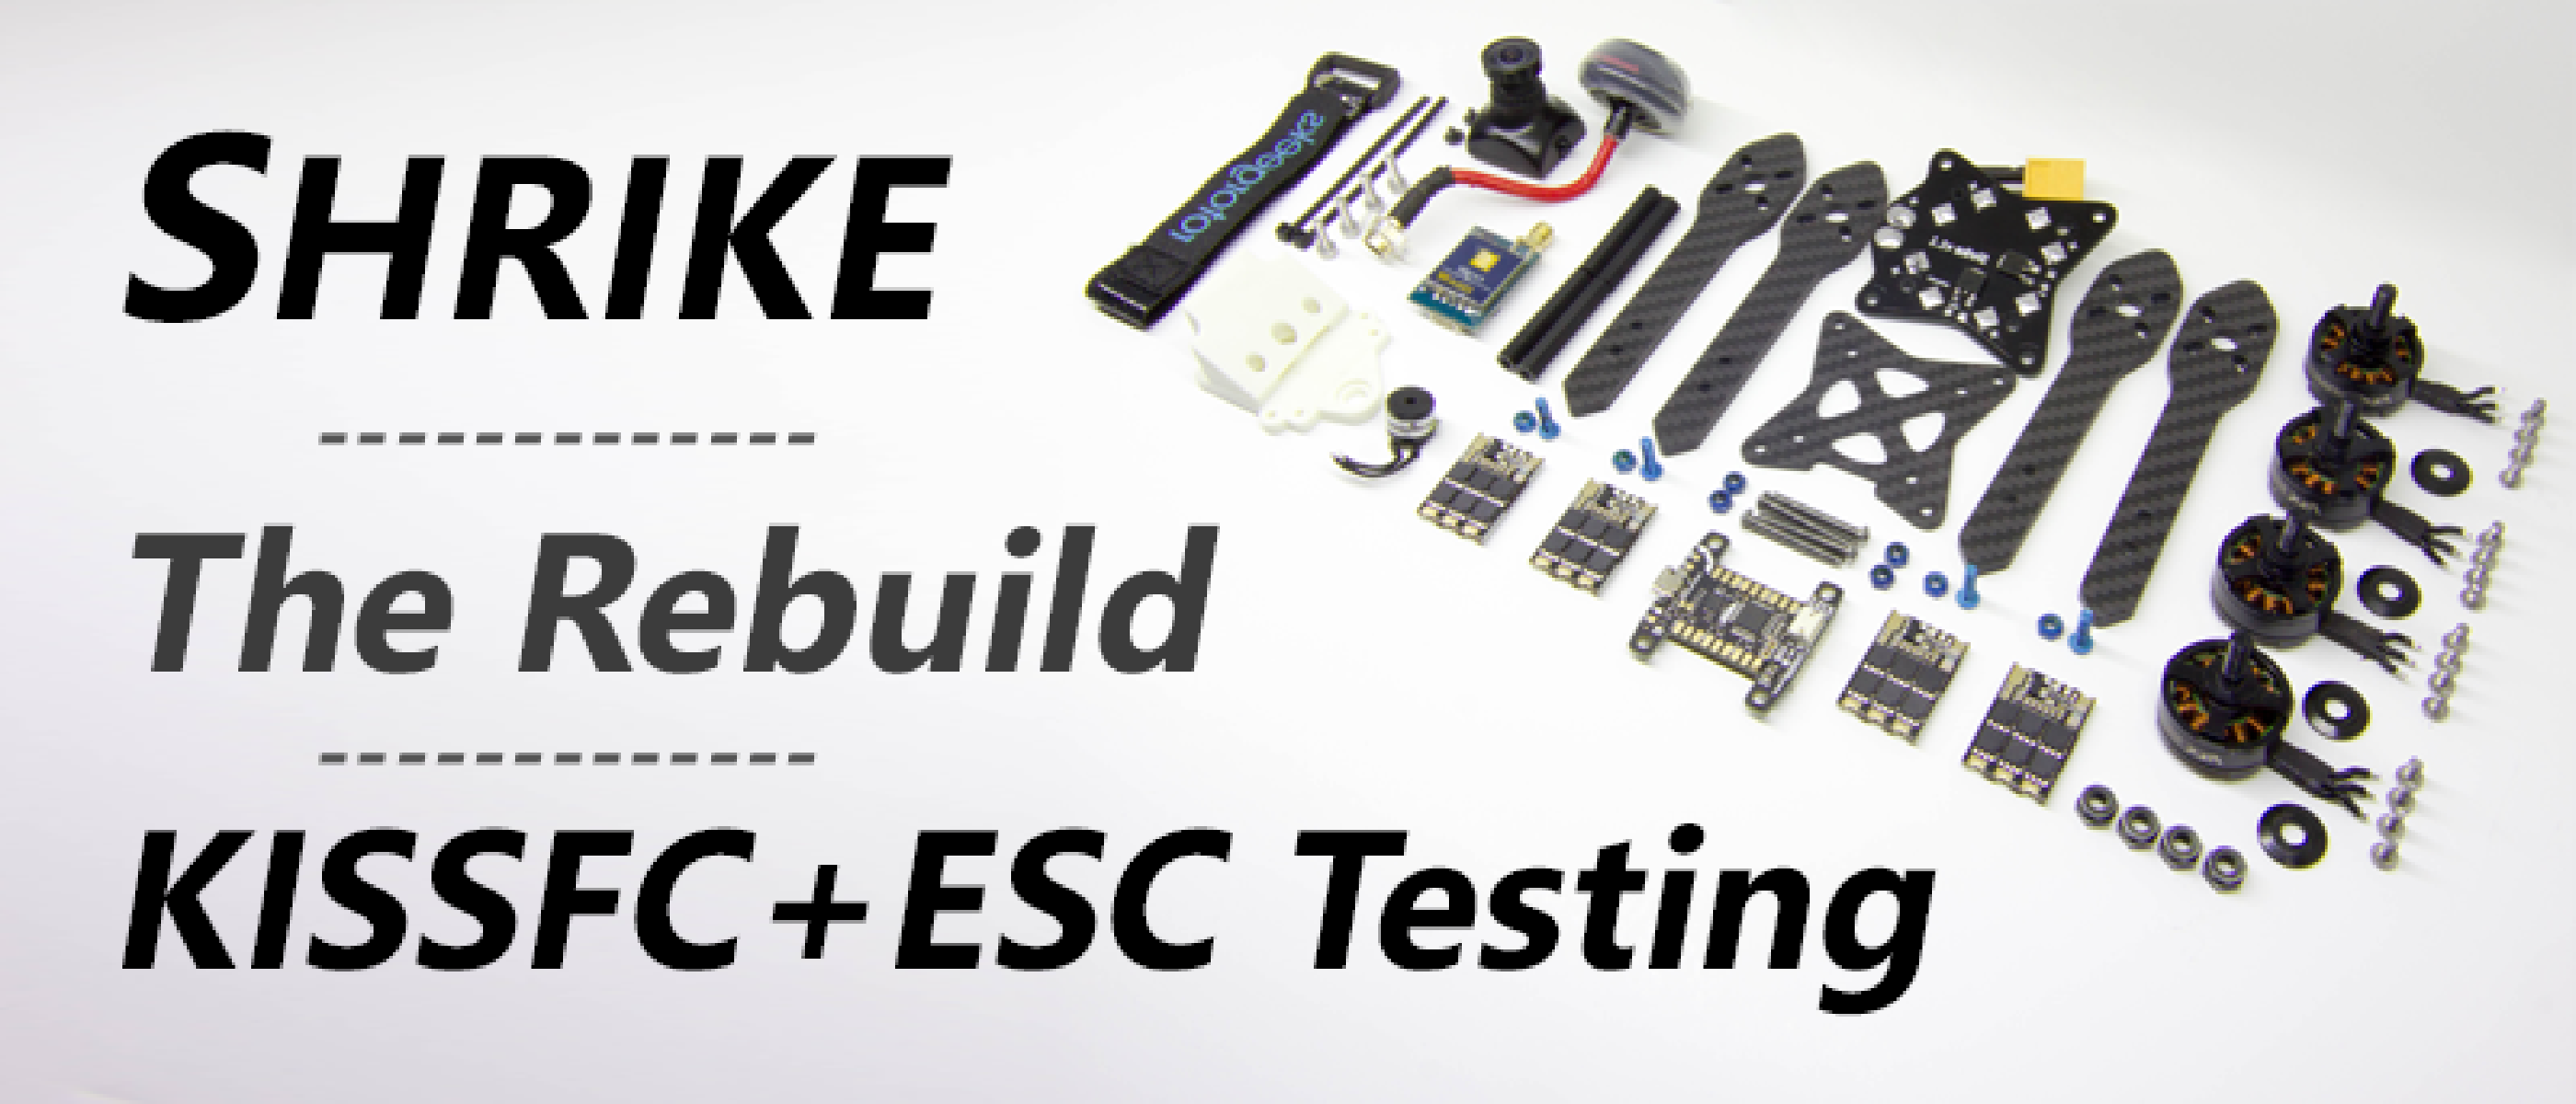
What? Shrike, with KISS FC + KISS 24a RE! Why? SCIENCE!
Spec
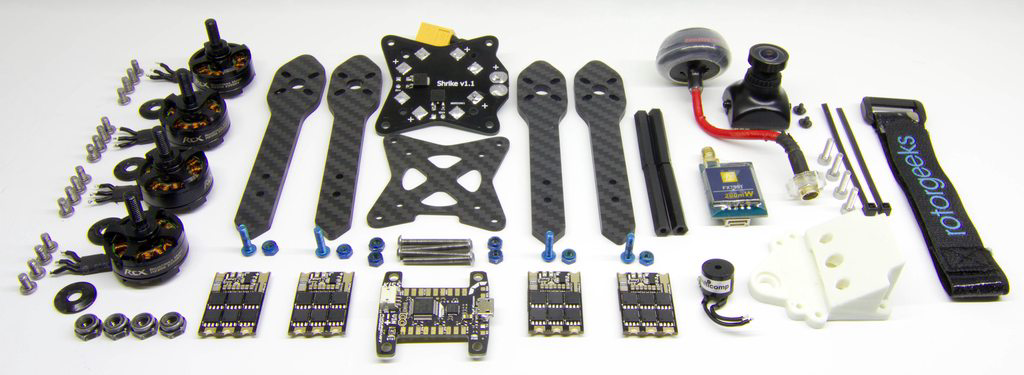
The KISS FC and ESC’s are an obvious one, but let’s go over the rest of the setup;
- Shrike frame - currently re-using my existing frame but will be getting a couple more when they are in stock (very soon keep your eyes peeled)
- KISS Flight Controller
- KISS 24a Race Edition ESC’s
- RCX H2205 2350kv motors
- Various props - HQProp 5x4x3 / HQProp 5x4.5BN / HQProp 5x4x4 / HQProp C5x3
- FrSky X4R-SB receiver
- FX799T 200mW video transmitter
- HS1177 FPV Camera with 2.1mm lens
- ImmersionRC Spironet Antenna (soon to be a Team BlackSheep Triumph!)
- Custom Shrike replacement top plate designed by me, testing with BanniUK.
- Revolectrix 1500mAh 4s HV / GGRacing 1400mAh 4s HV
Show me the money
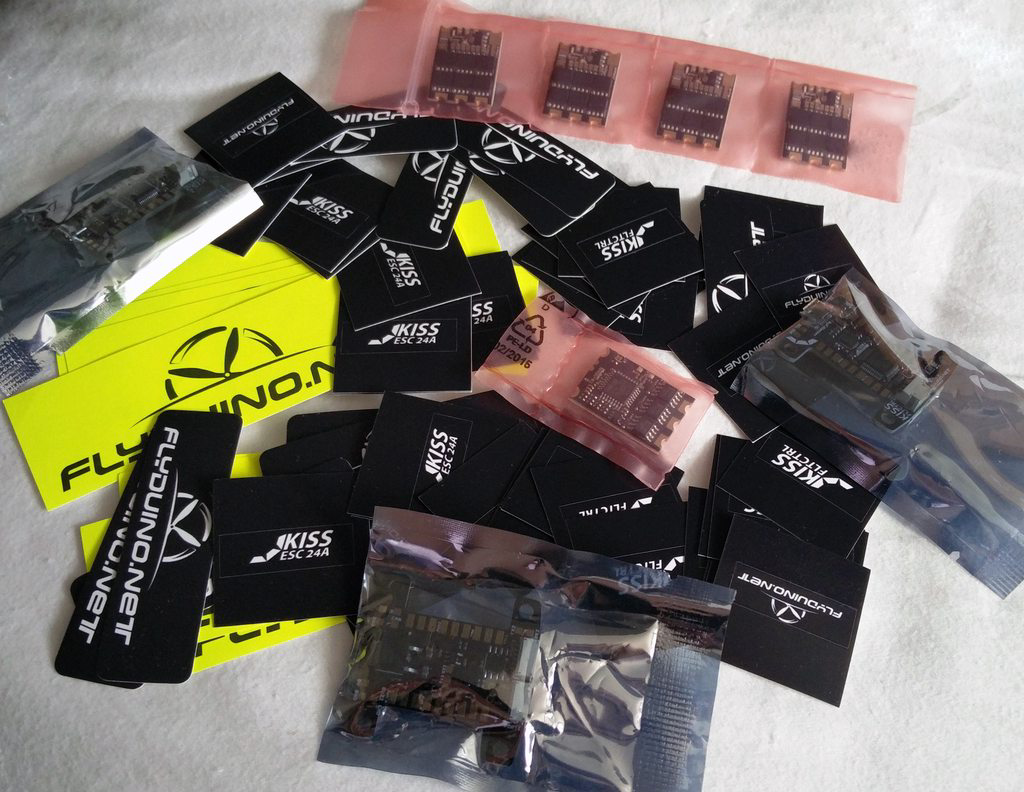
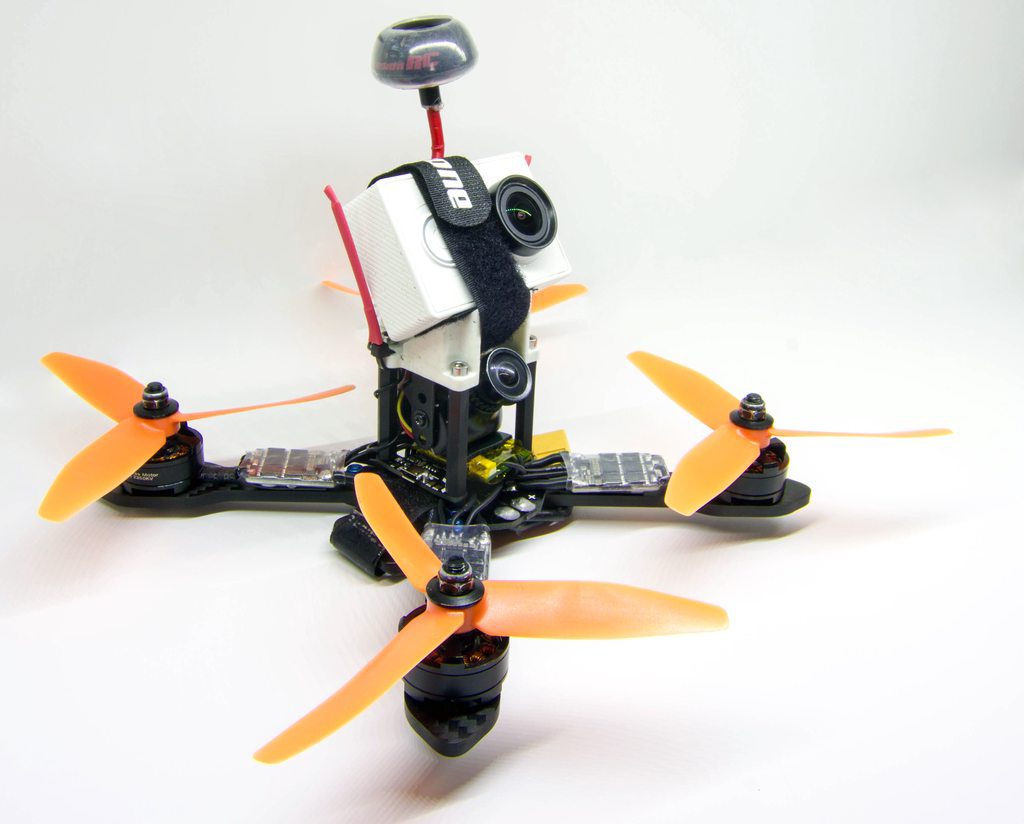
With the KISS ESC’s and FC’s being promptly delivered (how many stickers!?!?) and my new batch of Shrikes (builds coming soon) on the way but not here yet I decided to take apart my existing one - there are currently no upcoming races so it’s a good time to test.
This will be my “benchmark” quad and I want to see how it feels to fly on this new unknown setup - there’s been lots of reports from happy users who have said the KISS stuff just feels nicer to fly - and at the end of the day that is what’s important. With that being said, I’m going into this with an open mind. I used to run the KISS 18A esc’s on my ZMR a year or two ago, and as you are probably aware (it’s hard not to be), they were “problematic” shall we say. You couldn’t so much as look at them funny and they would give you some lovely magic smoke and often flames. I only burnt one myself, but it was enough to put me off and move to something more reliable. However, I will say that it flew amazing with them on, so I’m hoping the same can be said with these.
The build
With the Shrike completely disassembled only an hour or two after I’d finished my last flying session I did wonder if I was doing the right thing tearing down a completely working quad, but needs must! Another reason for the rebuild was that I’d just treated the quad to some Corrosion-X to stop any water damage when flying in our grim UK weather, but I’d been lazy on my application process and sprayed the electronics in situ. :) so it was now quite messy.
The first thing I always start with is the motor wires. With them being short already I did not need to make any alterations for them to fit. The ESC’s are roughly the same length as the LittleBee’s (they are definitely wider though) so they do fit quite nicely. With these done you can slide over the heatshrink right up to the motor, leaving lots of space to do the power and signal wires.
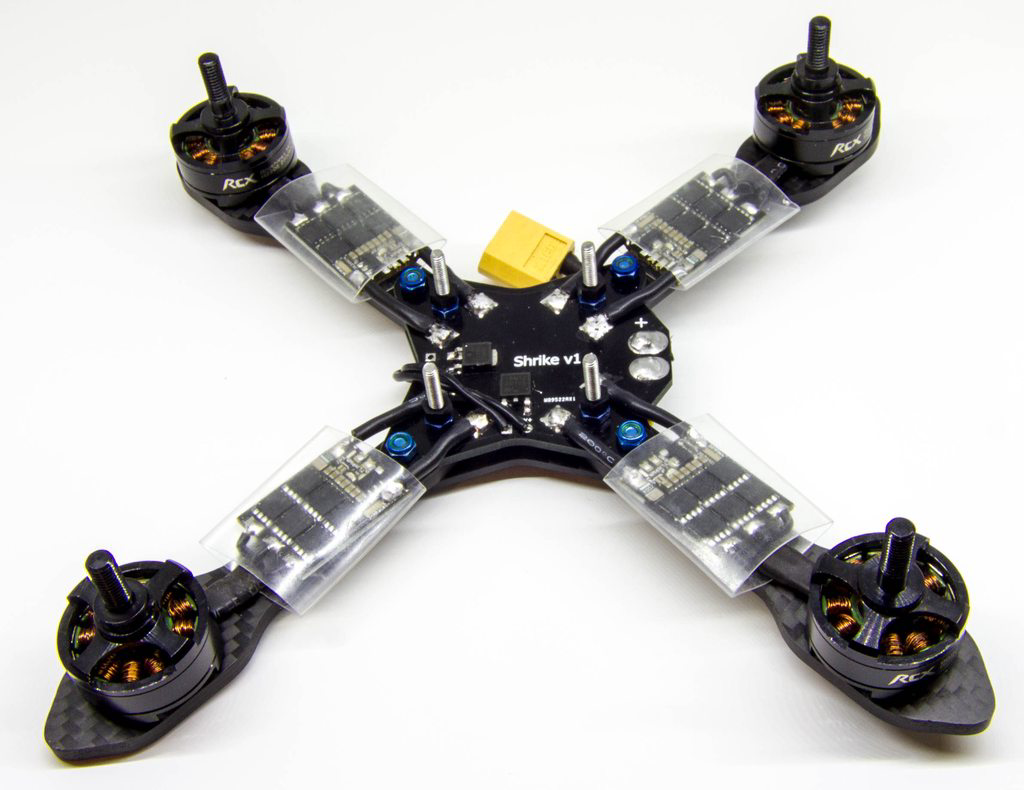
With the power wires now done the ESC’s were essentially “seated”, the thick 16AWG wire meant that they were not moving anywhere and I would no longer need any helping hands to keep them still while soldering the other wires. Due to my motor wires being slightly longer than required the ESC’s had a habit of touching the PDB, so I invented quite a nice solution to overcome this. Slot some spare wire (signal wire in this case) between the ESC and the frame while you are soldering the power leads. This means you get a nice 2mm or so gap once you have removed the wire, stopping any risk of shorts and leaving space for the rest of the wires and heatshrink.

I’ve already built the Shrike once so I know how tight it can be, but after checking the FC manual for the pinouts (it’s not so clear on the board itself), this left me a little worried. You’ll see a whole clump of wires on the bottom of the board - the pads you see are duplicated underneath, and provide 3 pads for each of the 6 motor outputs. This is slightly annoying I must admit as I assumed it would be like the Lumenier LUX where you have wires on each corner to keep it simple. Granted, I’ll only be using 4 of the 6 sets of pads, but they so happen to be all on the same area of the board.
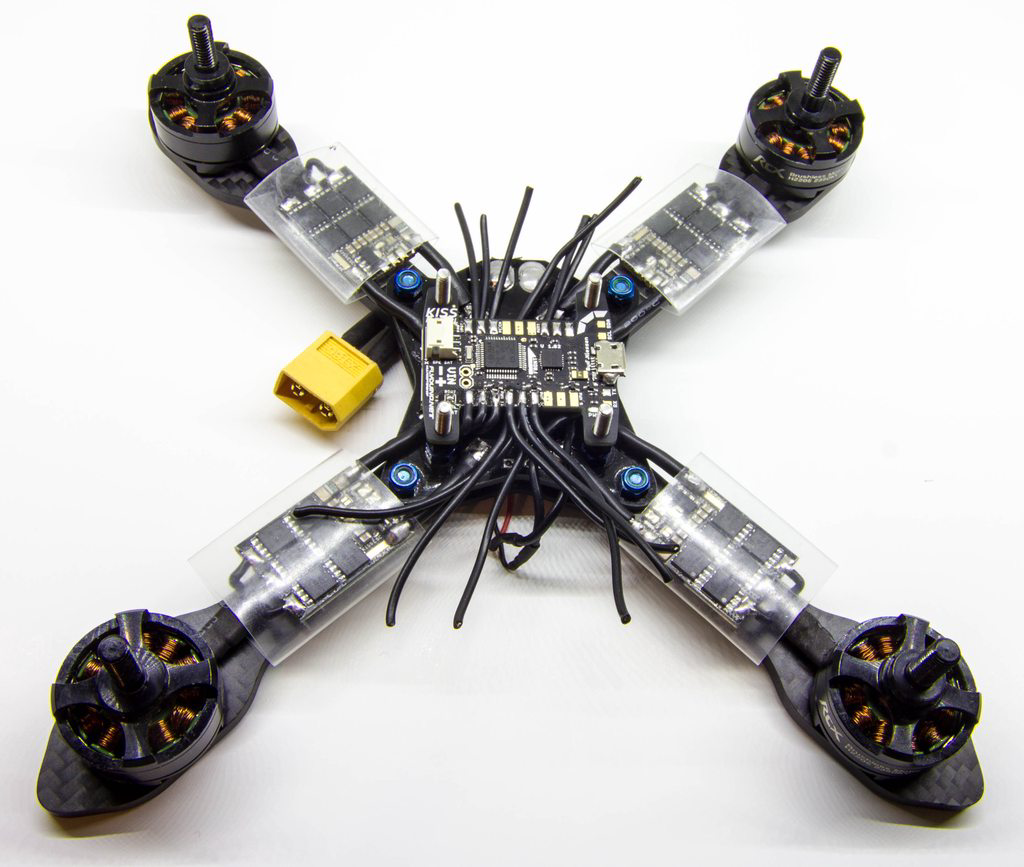
With that in mind, I soldered the wires with rough required length onto the board as this was the most difficult thing to do when mounted and placed it on the frame ready for soldering.
The soldering took a while, but it was straight forward enough to do. If you zoom in enough you can see 3 wires for the KISS - your usual ground and signal wires but also a 3rd (for telemetry) - more on that further down. You’ll also notice that one of those pads (the middle one), is TINY! This is for the ground so pretty important, and while easy to solder to, I do kind of worry about it in a crash. This won’t be a fun one for those with little soldering experience.
The FC itself can run on 2-6S input so I just soldered some extra wires to one of the ESC pads (the closest one), so that was nice and simple. In this build I no longer need the 5v regulator, but I will leave it on the Shrike PDB just in case.
As you can see, the wires look a little messy - the ESC signal wire being used is the stuff provided in the Flyduino ESC kit - 24awg thick with the esc power wires being 16awg. They’re both a little thicker than I would usually use (28awg and 18awg respectively), but it was recommended so who am I to disagree. If it helps stop any voltage sag under full throttle then it’s gotta be worth it :).
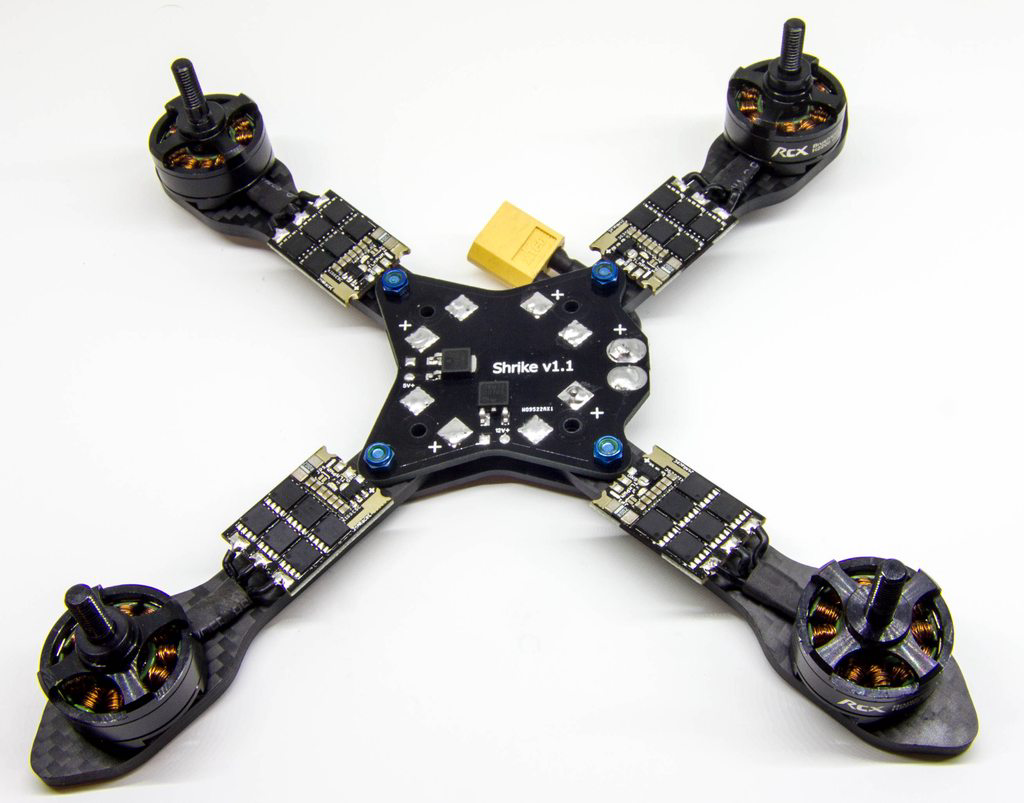
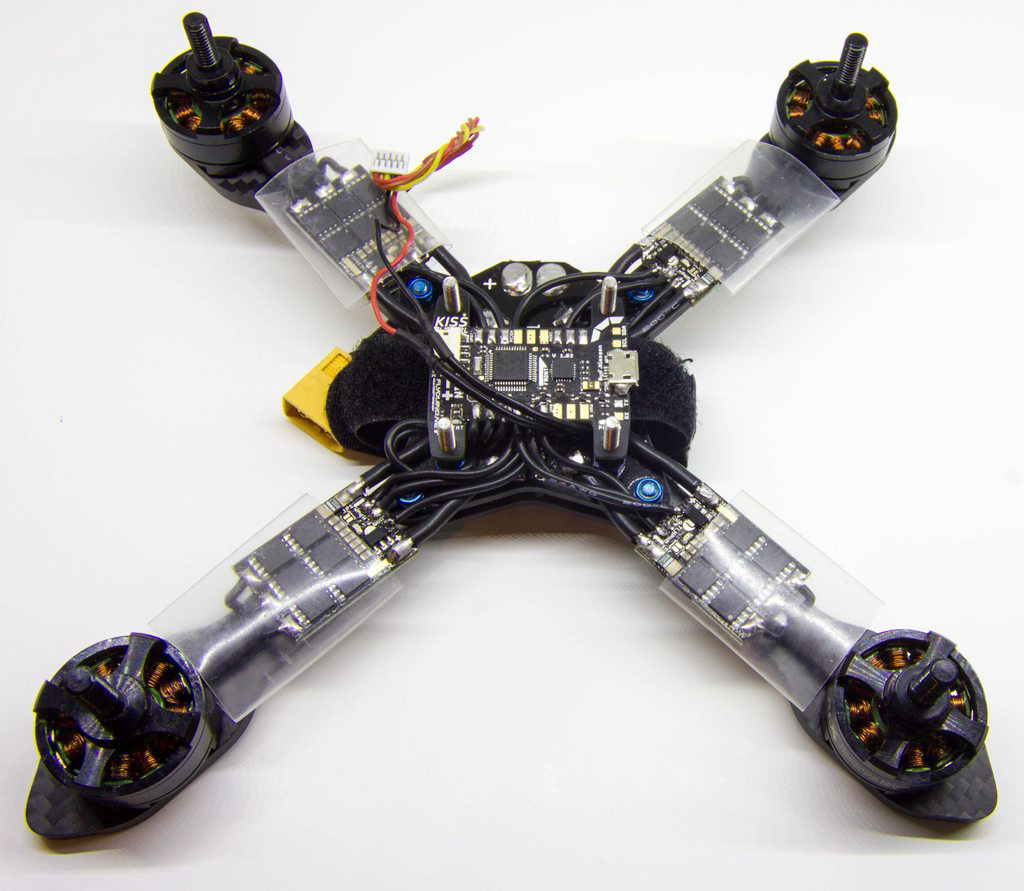
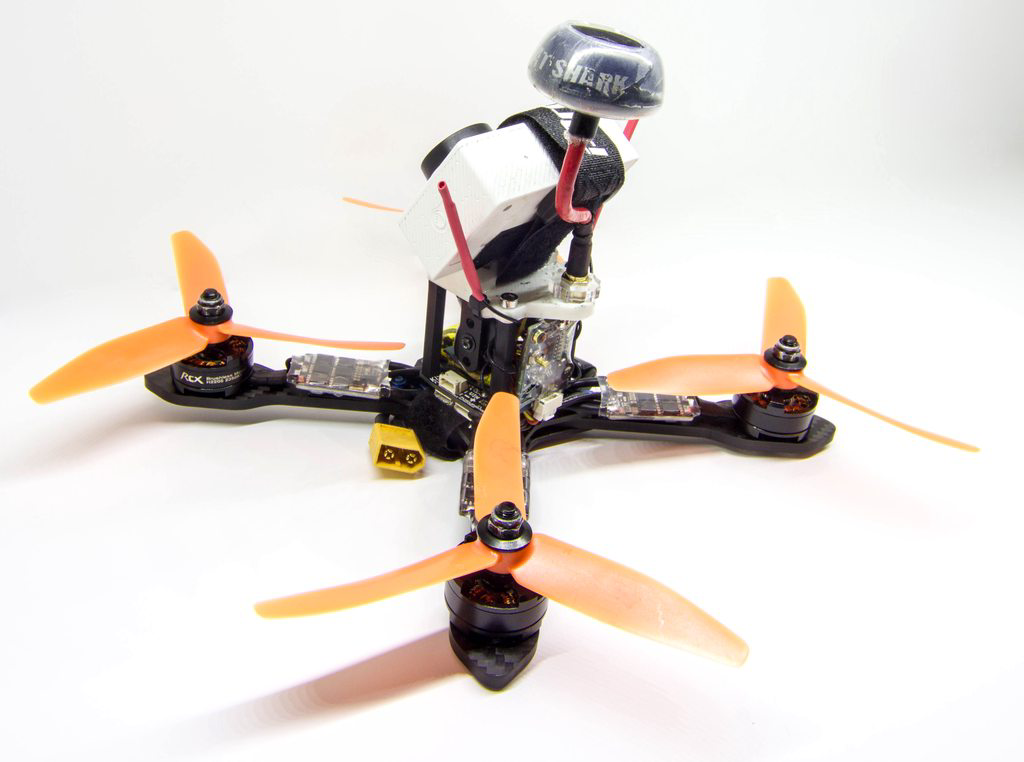
All back together
I skipped a few steps here, but only as they are pretty self-explanatory. The “pigtail” wire you have seen in a few pictures is my FPV wiring harness powered by the on-board 12v regulator - powering my HS1177 and FX799T transmitter.
I said above I would mention about the ESC telemetry wire and after reading up in the manuals I can say this is truly fantastic. It basically provides an effective two-way communication to and from the FC, which gives you a lot of extra features.
- ESC’s are 32bit powered - while this is not a “feature” as such, the fact that we are now running 32-bit processors on other items than our flight controller means we have huge potentials for great firmware improvements.
- Potential for stabilization and PID control based on the feedback from the motor - it has access to things like current draw, RPM and other useful things not usually available. This will hopefully mean down the line (unless already implemented) that these extra details can help make the flights even smoother than we already have now.
- Telemetry - now I don’t usually use an OSD (and I’m not going to in this build), but the telemetry gives you current monitoring, so you can tell what your exact voltage and mAh consumed is (all done onboard the ESC’s). Something some people find very useful. What this also means is you can also get this data to your Taranis. Since the OpenTX 2.1 release there has been a big overhaul in the Telemetry section which allows you to define custom sensors (that it reads from the RX), so all of this data can also be sent to your Taranis if you wish to use custom loudspeaker warnings or just flight stats. Very useful for setting flight timers based on mAh consumed rather than just guessing by voltages or time.
- Scope for other firmwares - with the KISS FC being STM powered also just like all of the other flight controllers, this means you will be able to run Cleanflight and Betaflight if you do not like the performance or feel to Flyduino’s own firmware. On that basis it would feel like the purchase of the FC is a no-brainer considering its price is inline with other F3 FC’s on the market, but this has the availability of running the closed-source firmware too.
Pre-Flight: So I’m sold?
The answer is yes & no until I get to actually try it, but looking at it from a glance and integrating it into my quad it seems very good. Aside from the minor pin layout annoyances (which would actually be beneficial on some quads) I do not have a bad word to say about either product so far. Time will tell how well the FC and ESC’s stand up to the abuse of a flight, history has said that reliability could be a concern, but let’s hope it doesn’t repeat itself. Updating the board firmware and configuring it were both very simple processes not too dissimilar to your usual Cleanflight or Betaflight, there is just a lot less to configure (which should be good).
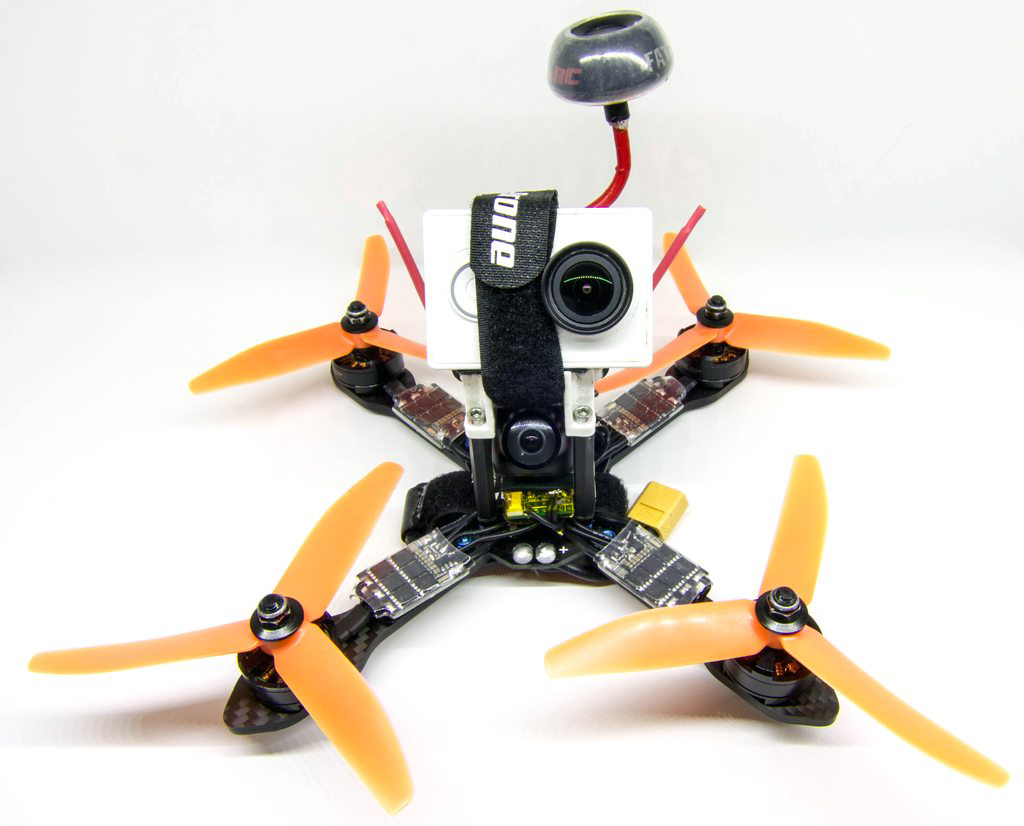
In The Air
I waited a couple of weeks after rebuilding my Shrike to fully get to grips with the FC - it tunes and flies quite different to how Betaflight/Cleanflight does. I think I’m at the point now where the tune is near perfect - I have some bounce after high throttle turns but otherwise it flies amazing. It’s really quite hard to describe, but the way the rates and expo are done just feel different. If you want a Skitzo video you’ll see how smooth it is, but if you watch closely at his and any other videos that run the KISS setup (FinalGlideAus) you’ll probably notice like I did that it just looks smoother. Regardless of PIDs, tuning etc - it just has a “thing” to it. And that’s what you feel in flight too.
I started at the base PIDs and went from there, it took me maybe a week of windy flying to get the PIDs where I’m up to, but it honestly flew great out of the box aside from a little pitching up on high throttle. The thing I like most about it so far - no hourly checks on the Betaflight thread to see if I need to flash my FC with a new revision. Some like it, some don’t - I did, but I honestly got sick of re-tuning my quad every single time. Some would say “just stay on an older version then?” - well you could, but it all comes down to keeping up with the new features like AirMode (which KISSFC has by the way).
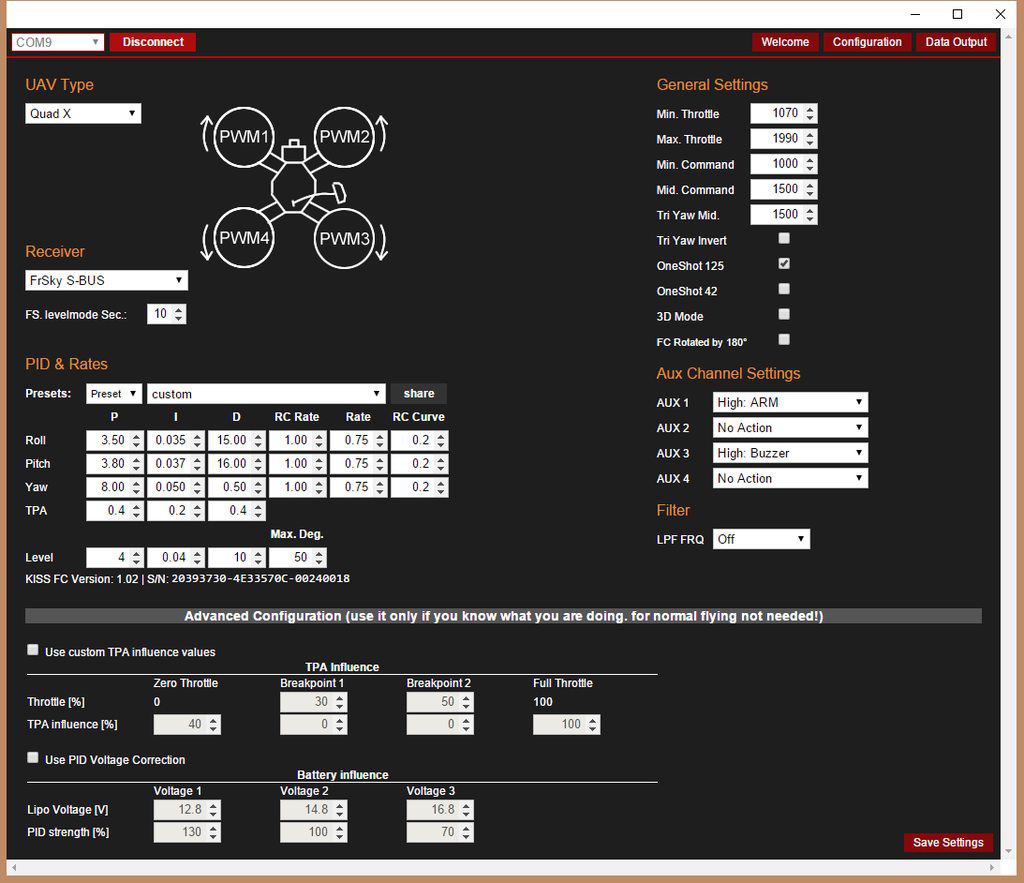
As for the KISS GUI, they have stuck with the motto (Keep It Simple Stupid), and it does just that. There are probably some thing that some people will find lacking (not being able to set board angle), but otherwise it’s all there. As I say, no CLI items to setup, just put your rates and pids in, setup the base config for your RX, and you are done.
Summary
As you can guess, I’m very impressed. I have 2 more Shrike’s on the way that I will be outfitting for racing this season, and I will likely put them all on this KISS FC / KISS 24a ESC setup. I have 2 spare Flight Controllers right now, so I will be testing one with just the FC and running LittleBee 20A ESC’s to see if there is a noticeable difference with and without the ESC’s. It’s too early to tell if the reliability issues are still present, but I have been testing on days with a lot of moisture around (there is a lot of flooding locally so everywhere is wet), and they have held up so far.
Up on the agenda in the near future I’ll be reviewing the new Team Blacksheep Triumph antennas so stay tuned for that. Just waiting for them to arrive :).
edit: Got to fly some more today, slight re-tune, and its SUPER locked in!