Reviews
Runcam Micro Swift V3 - Testing & Betaflight Control
Posted on March 14, 2018 • 4 min read • 741 words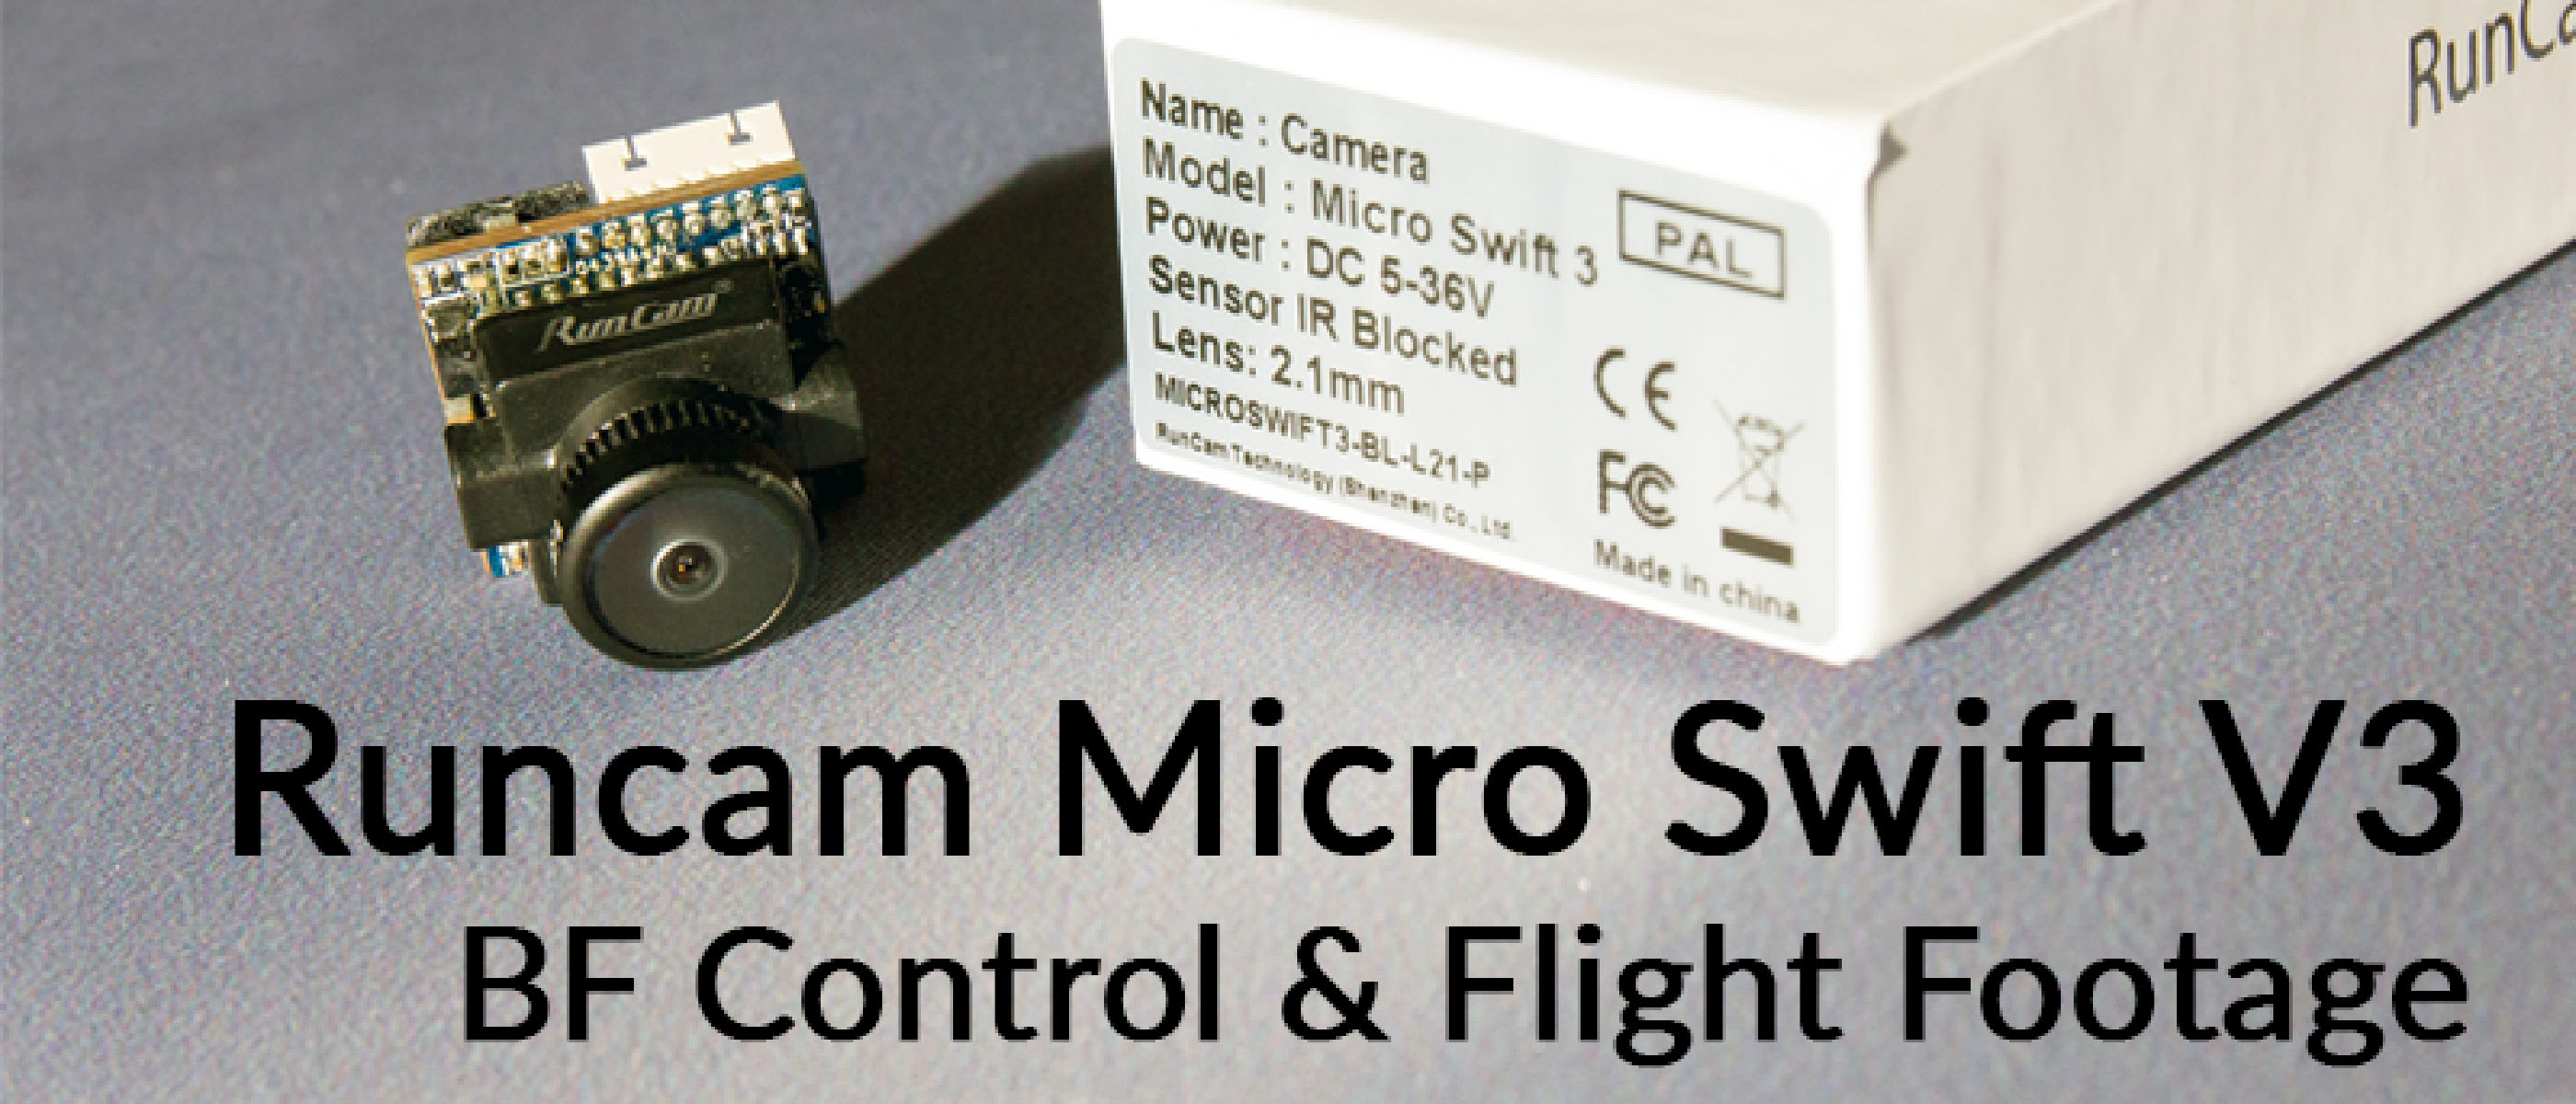
I know I know, my next blog post expected to be a full rundown of every* (of the ones I can obtain..!!) micro fpv cameras out there for a comparison, but sadly I broke the prototype Sparrow 2 before some other ones arrived - that is on HOLD but will be very soon - promise!
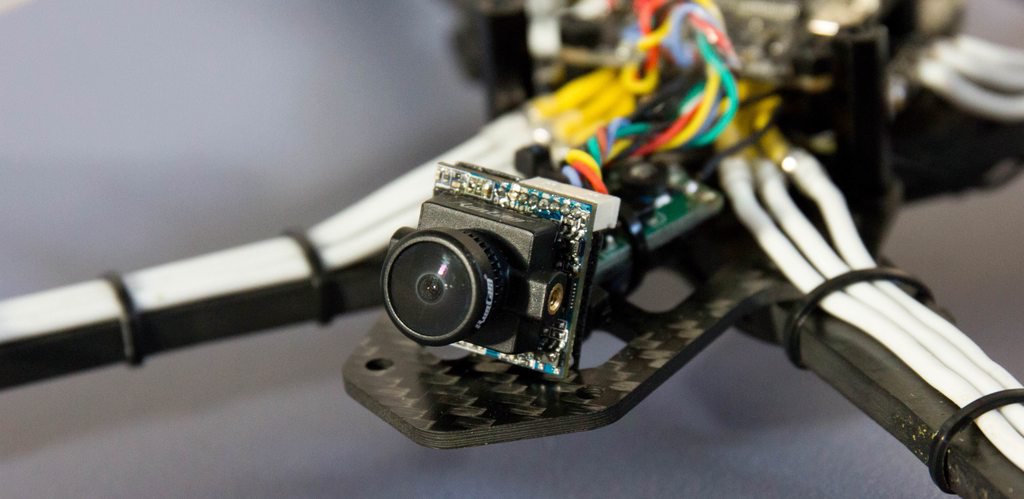
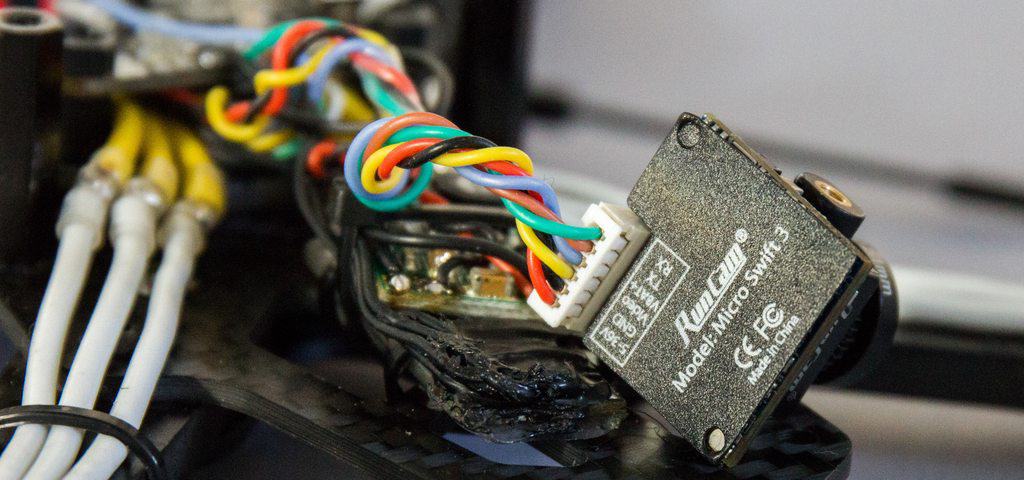
However, Runcam were kind enough to inform me and let me test one of their new upcoming cameras - the Micro Swift V3. And I’m sure you’re all saying what can they possibly add into the V2 that will actually improve it? Well, how about for starters controlling the entire Runcam OSD via your FC? Sounds pretty cool right? We’ve started to see that flight controllers are actually already ‘imitating’ the OSD boards you get with an FPV camera (usually with some resistors and other fiddly components added in), and while they work ok you can suffer latency, no interaction or interacting multiple times when you meant to perform an action just once.
That’s where Runcam have taken a slightly different approach:
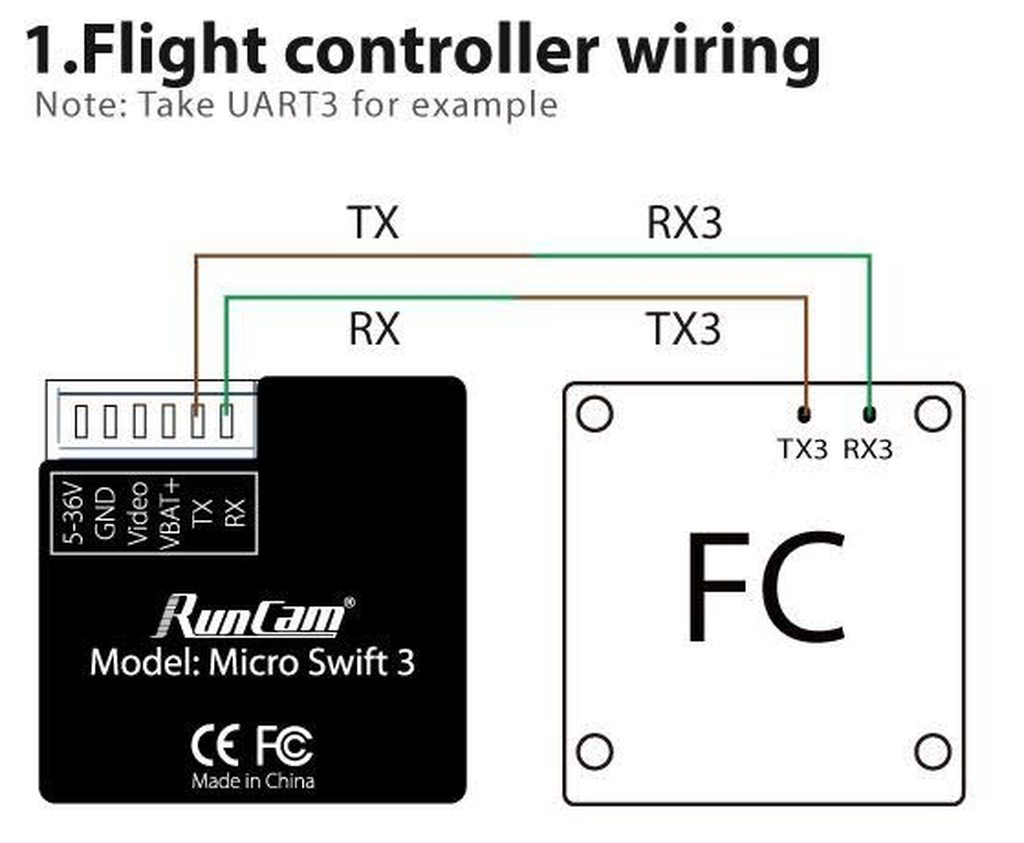
Just like any other interface for your flight controller, you can now hook it up using a spare UART via a serial interface - this means direct, complete control with no latency or any mistakes - something potentially game changing if you’re sat on the line at a race and really need to change camera settings, but you cannot get back to the quad to plugin an OSD cable etc.
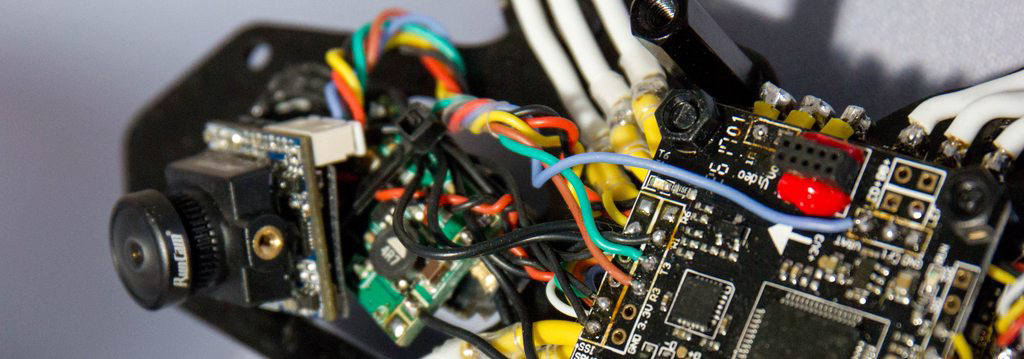
As you can see wiring is super simple - just the 2 extra wires mentioned above. In the build above you can see I have the normal VBAT wiring, not that this is needed because I’m using the HobbyWing FC which has Betaflight OSD.

As mentioned, for the time being this will require Betaflight 3.3 (but other firmwares will be supported in future), so you will likely need to update to add support for it. For my build I’ve chosen UART3 as it’s one of the spare UART’s I have available. I also have the Betaflight OSD on this build, so I can literally change everything that I need to with the quad, without ever touching the quad or taking my goggles off - this is quite a revolution. Well, I say everything, someone still needs to change the lipos once they’re spent! :)
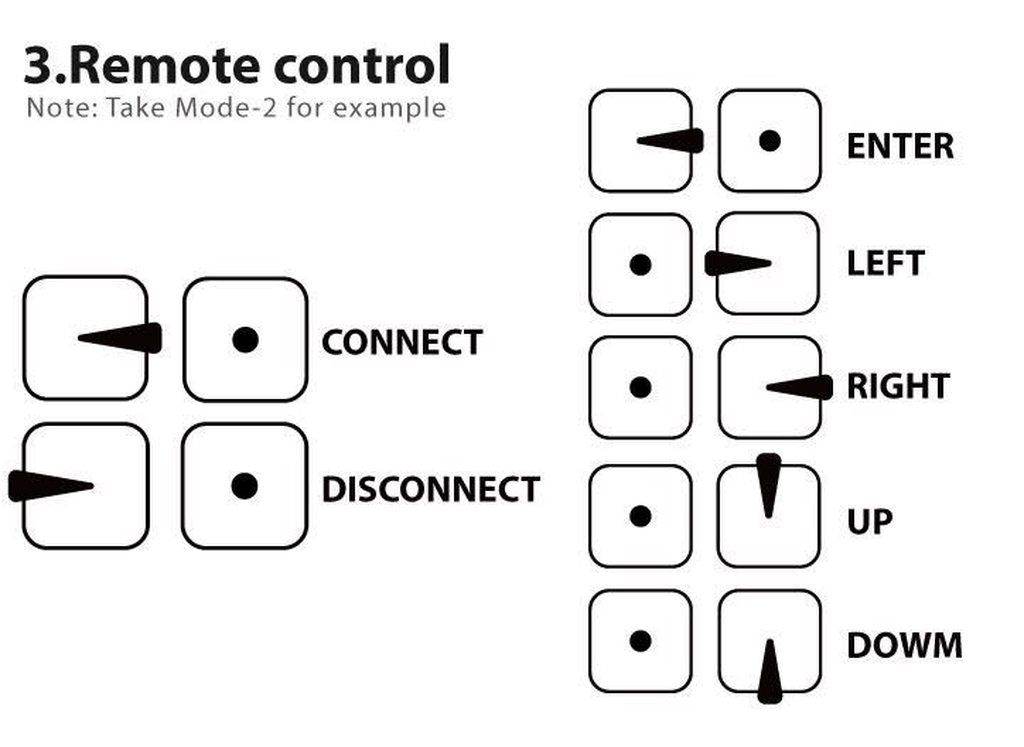
The controls for the OSD are super simple, firstly you connect to the OSD, and the OSD (if you have an OSD enable), will state ‘REMOTE MODE’, this means you are passing through inputs to the camera. Every menu can be accessed as you normally would access them via the hardware OSD interface, so you can change the entire Runcam menu, the Camera settings, and of course if you hold left or right, you can quick-switch through the Scene presets that are available - this is the real game changer, allowing you to switch to Indoors, Outdoors, Cloudy, Lightrax and all of the other ‘quick modes’ available.
Here’s a quick demo of the menu controls and of course a flight!
Another Cool Feature - Quick Scene Changes
I didn’t cover it in the video, but another cool feature with this camera is the fact you do not even need to go into the menus to change your ‘scene’. If you keep the roll stick to the right (to effectively press the right button on the osd), it will actually switch through all of the ‘scene’ presets - some of the cool ones available are Indoor, Outdoor, Lighttrax, Cloudy - most of which will suit entirely your flying environment, and even if it doesn’t quite fit you can go into the menus and adjust manually to get it perfect.
I believe there’s other minor changes also included but the main improvement with the camera is of course the OSD camera control. Runcam have since released an Runcam Control Adapter which essentially always backwards compatability with all but 3 of their original cameras, including the Mini and full size cameras.
That’s it folks!
That’s it for now, the next post will hopefully be a full comparison of the cameras, but I’m still waiting on the Sparrow 2 so we’ll see what happens with that! I hope the post was useful.
