Reviews
Skunkworx Hobbies Kermit Build (170mm Quadcopter)
Posted on August 5, 2015 • 4 min read • 688 words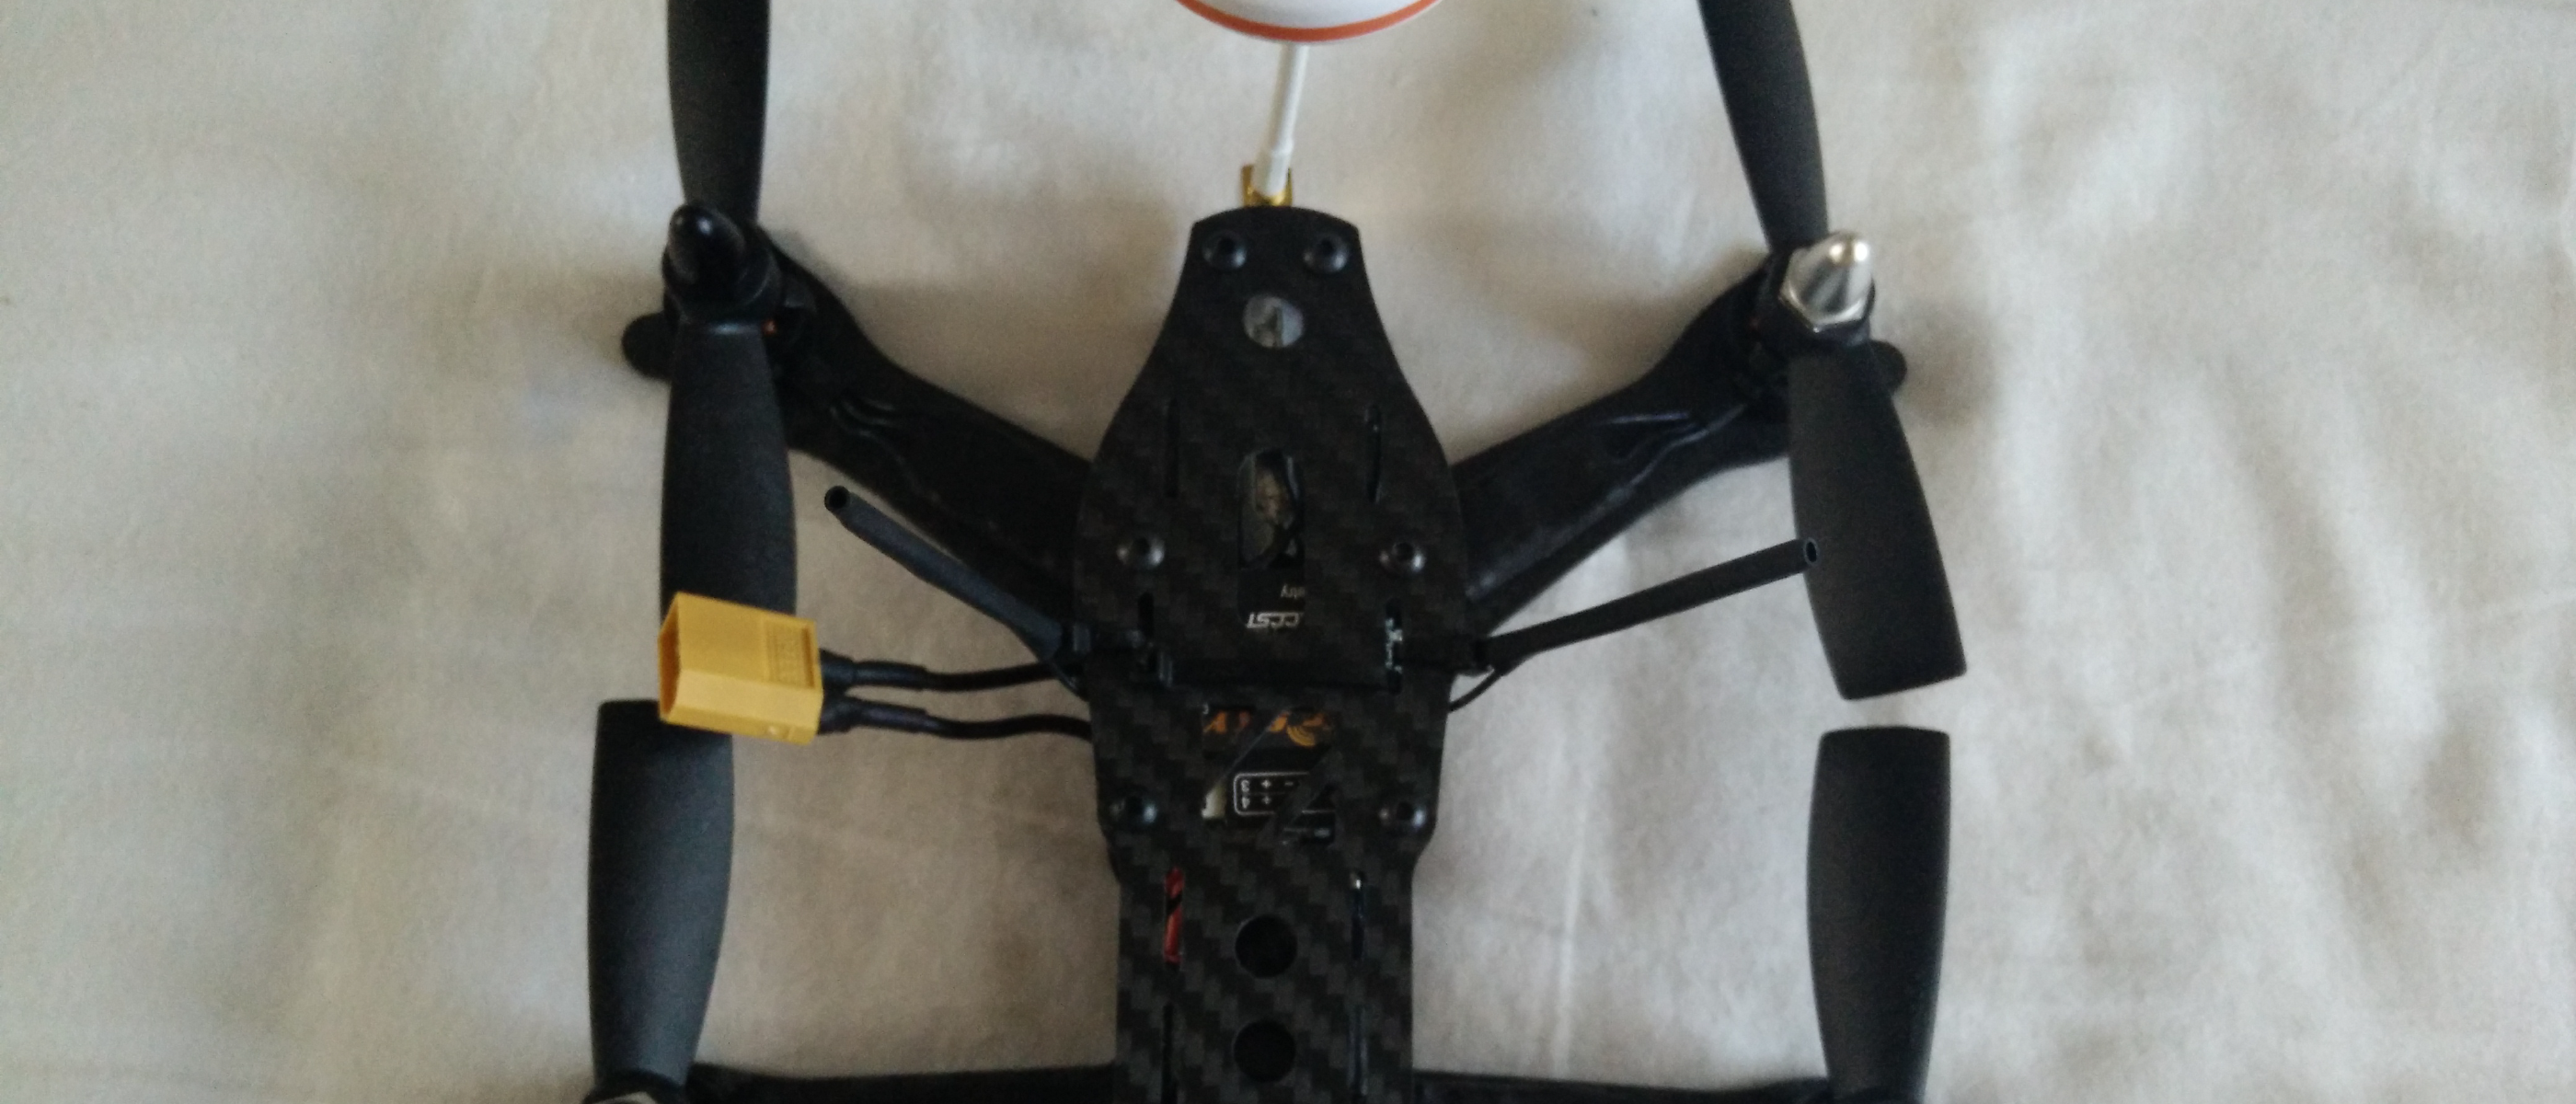
Here’s the build log for my Skunkworx Hobbies Kermit, certainly my favourite lower powered 170mm quad setups :) On a 1800mAh 3s this will get 10 minutes of flight time!
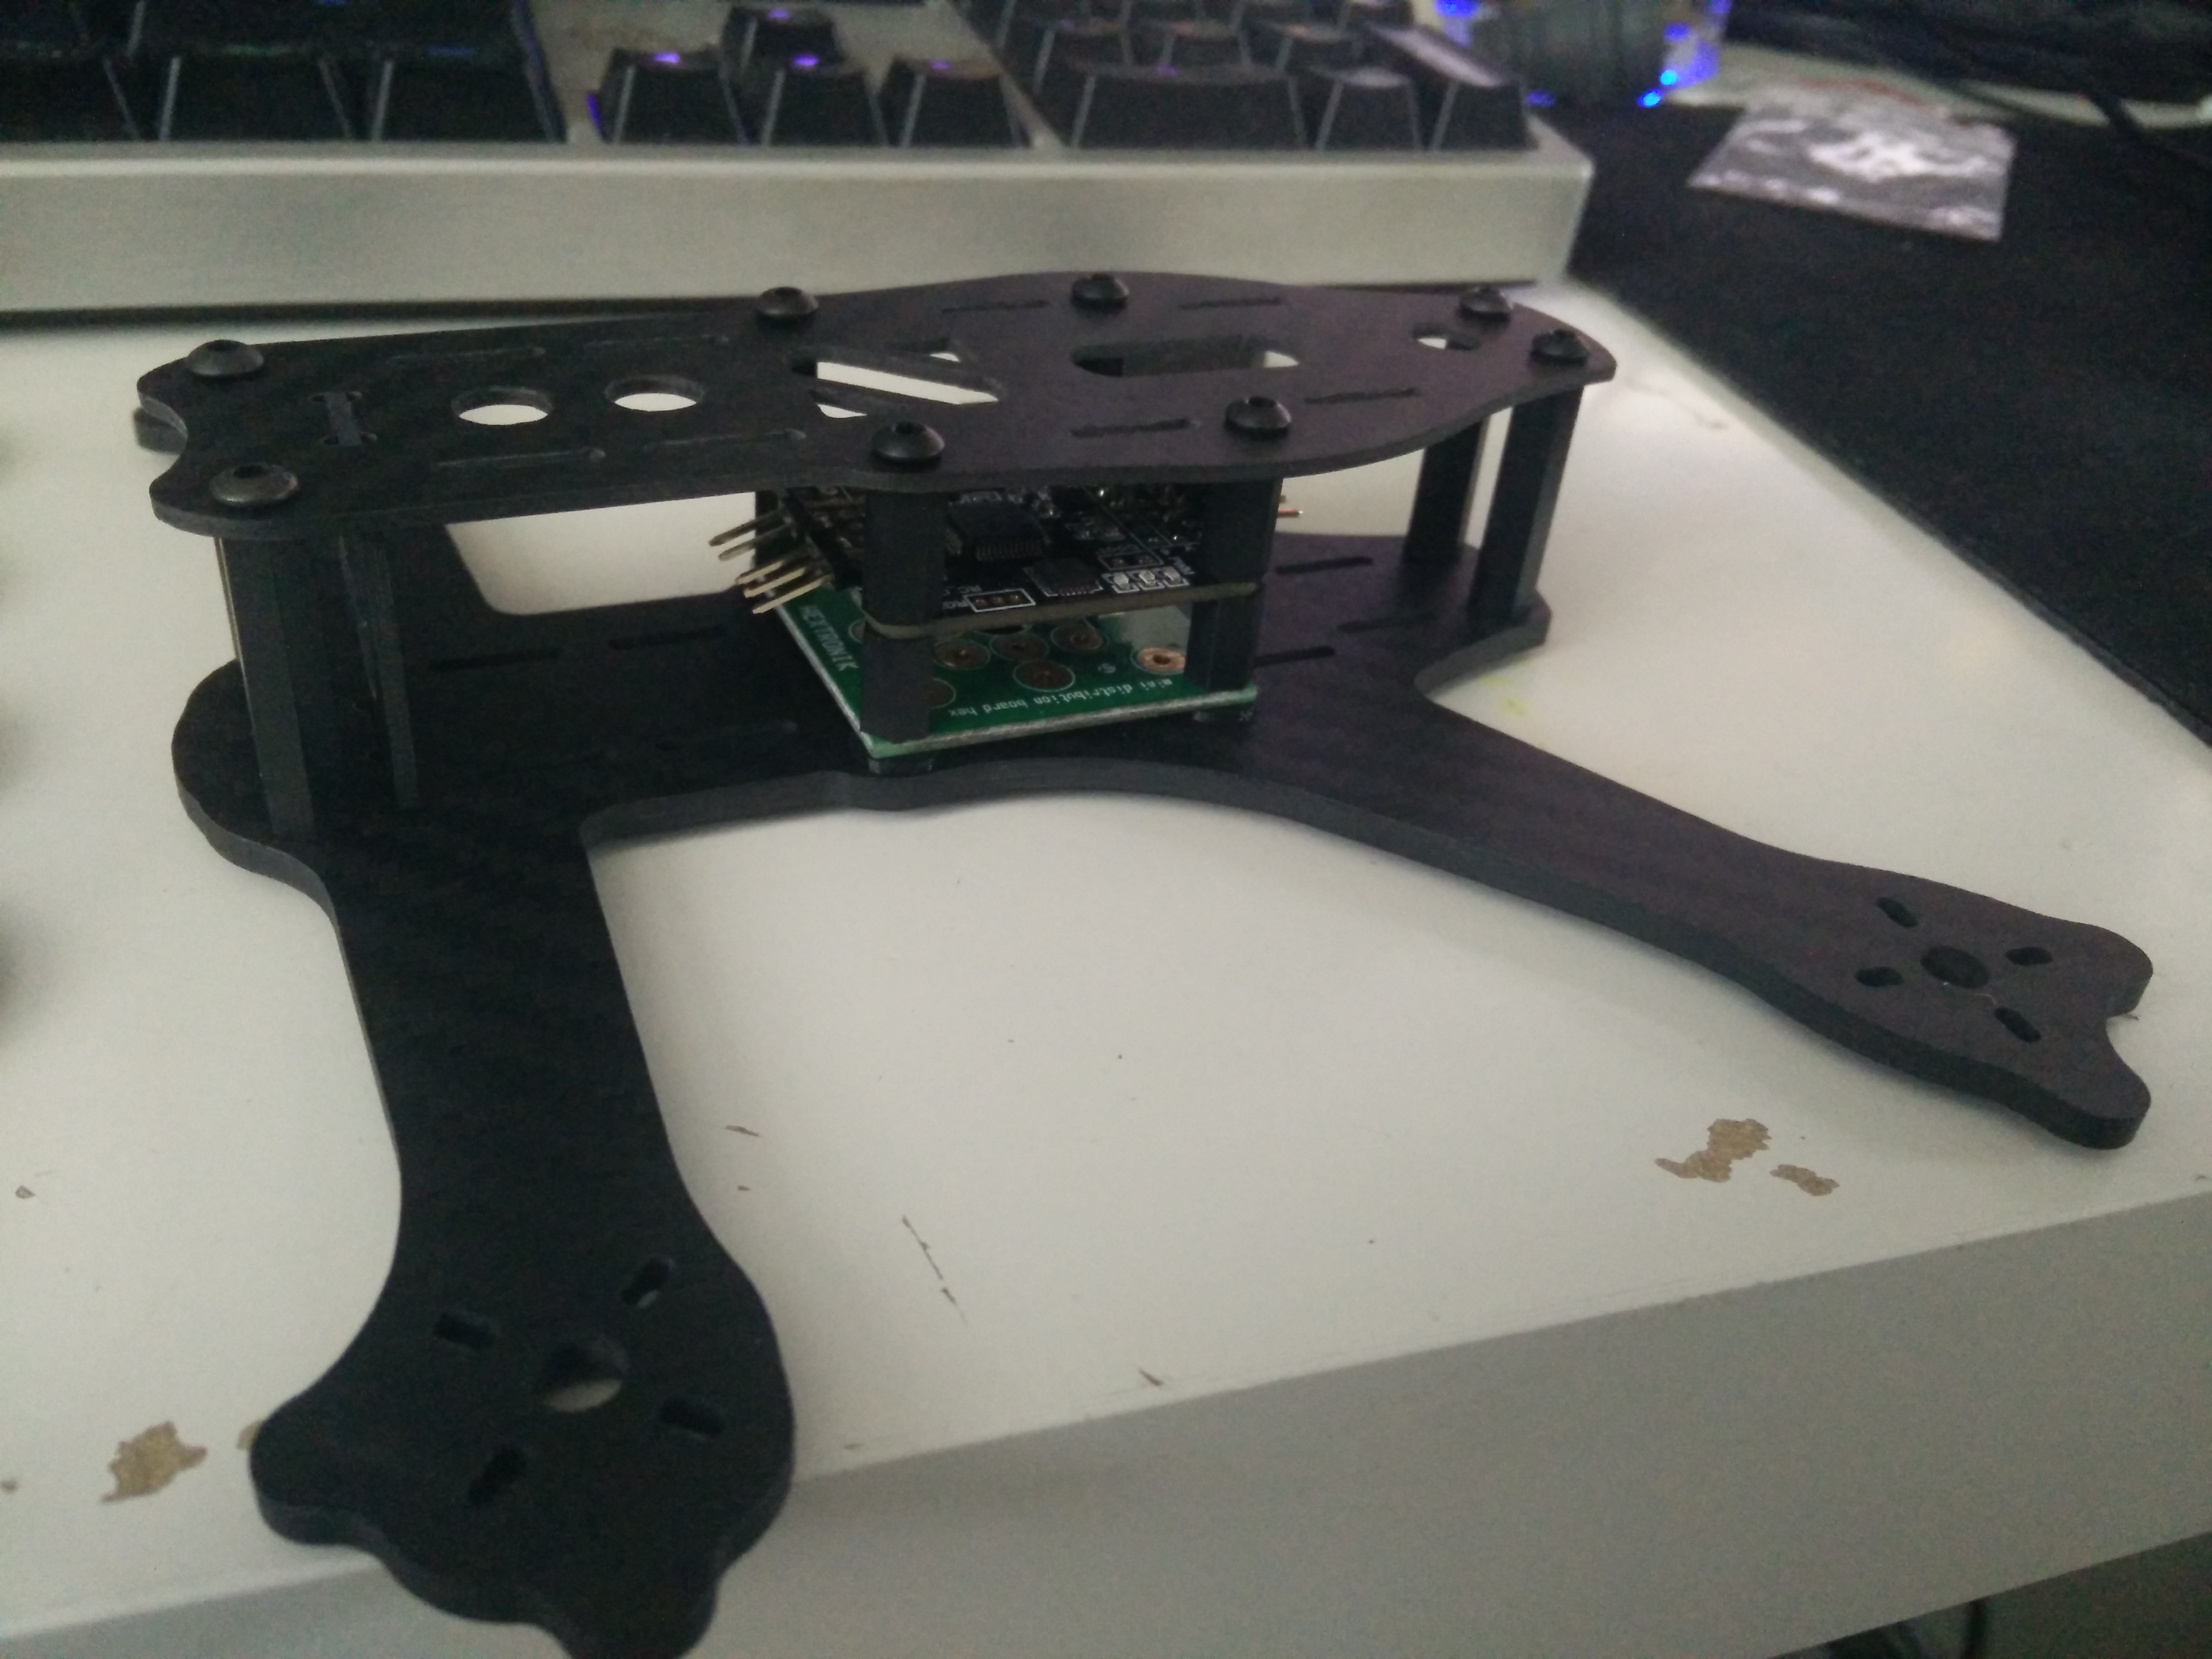
The frame by itself, with only my DragonFly32 in to see how it stacks.
Note: This is my old DF32 pin setup, since been “lightened” and completely redone to optimize the wiring layout for this quad.
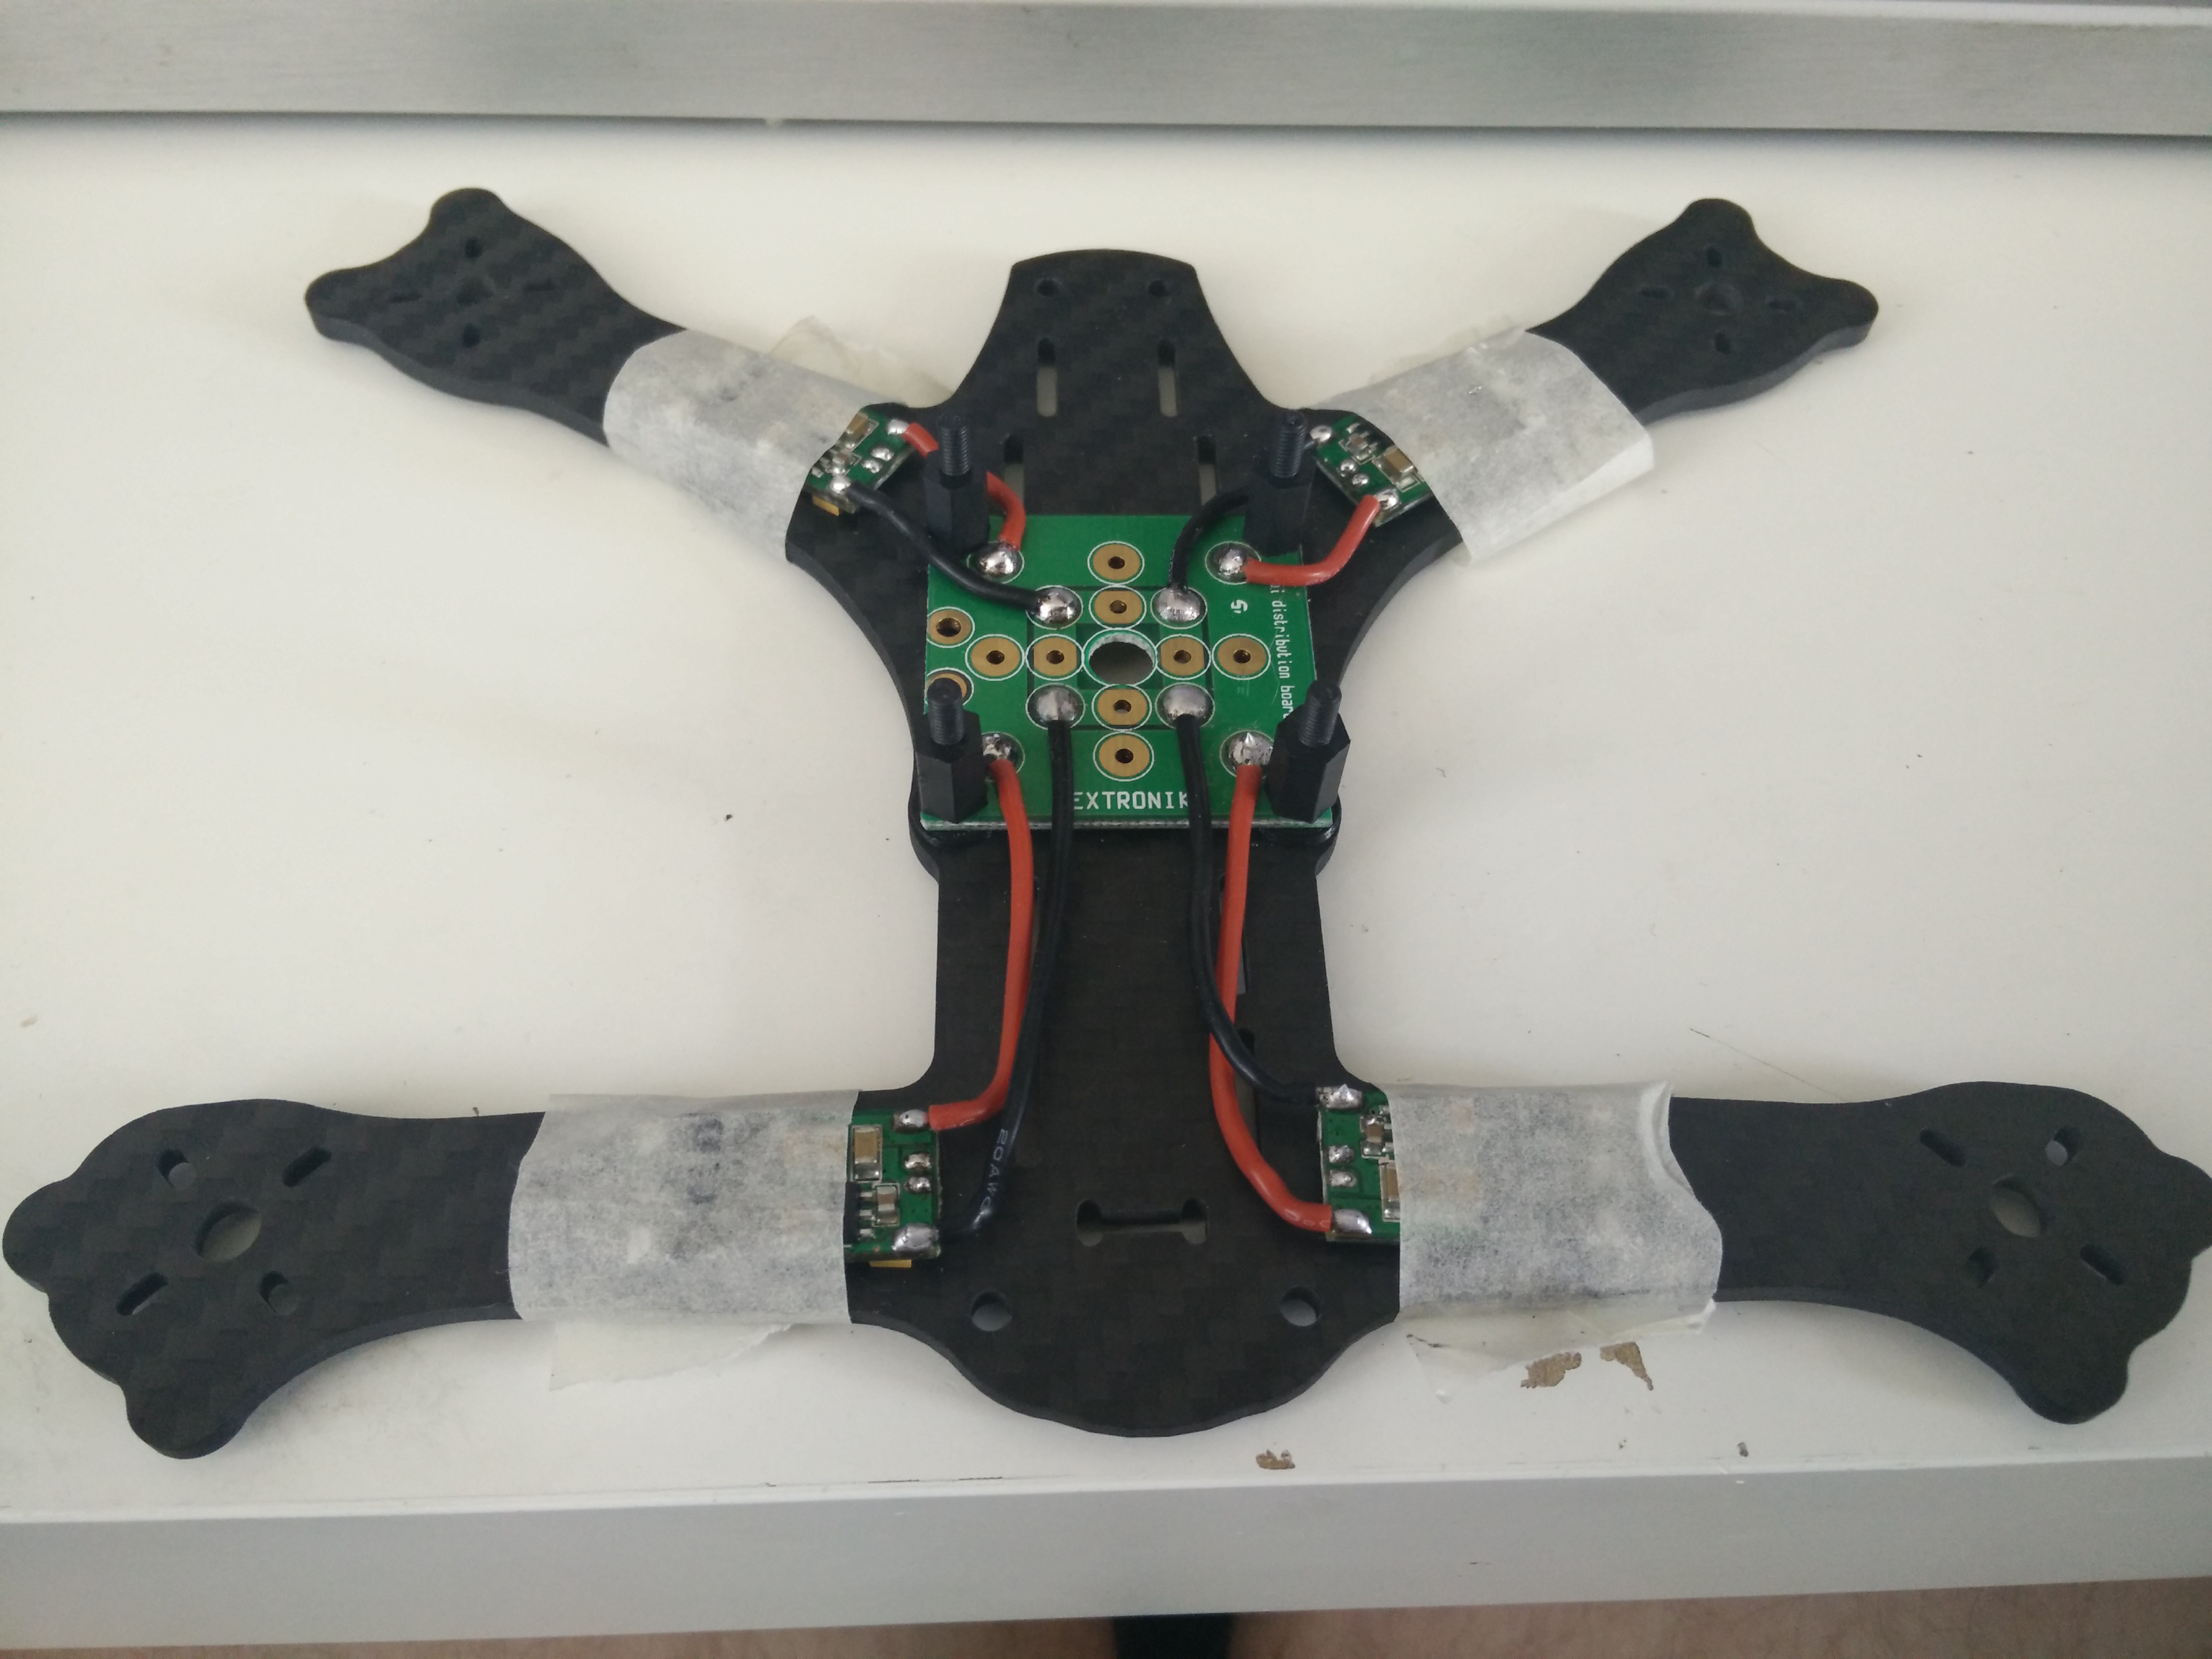
Cracking on with the PDB setup - ESC power wires! Using some spare DYS bl20a from my 250 as I upgraded to Rotorgeeks RG20’s.
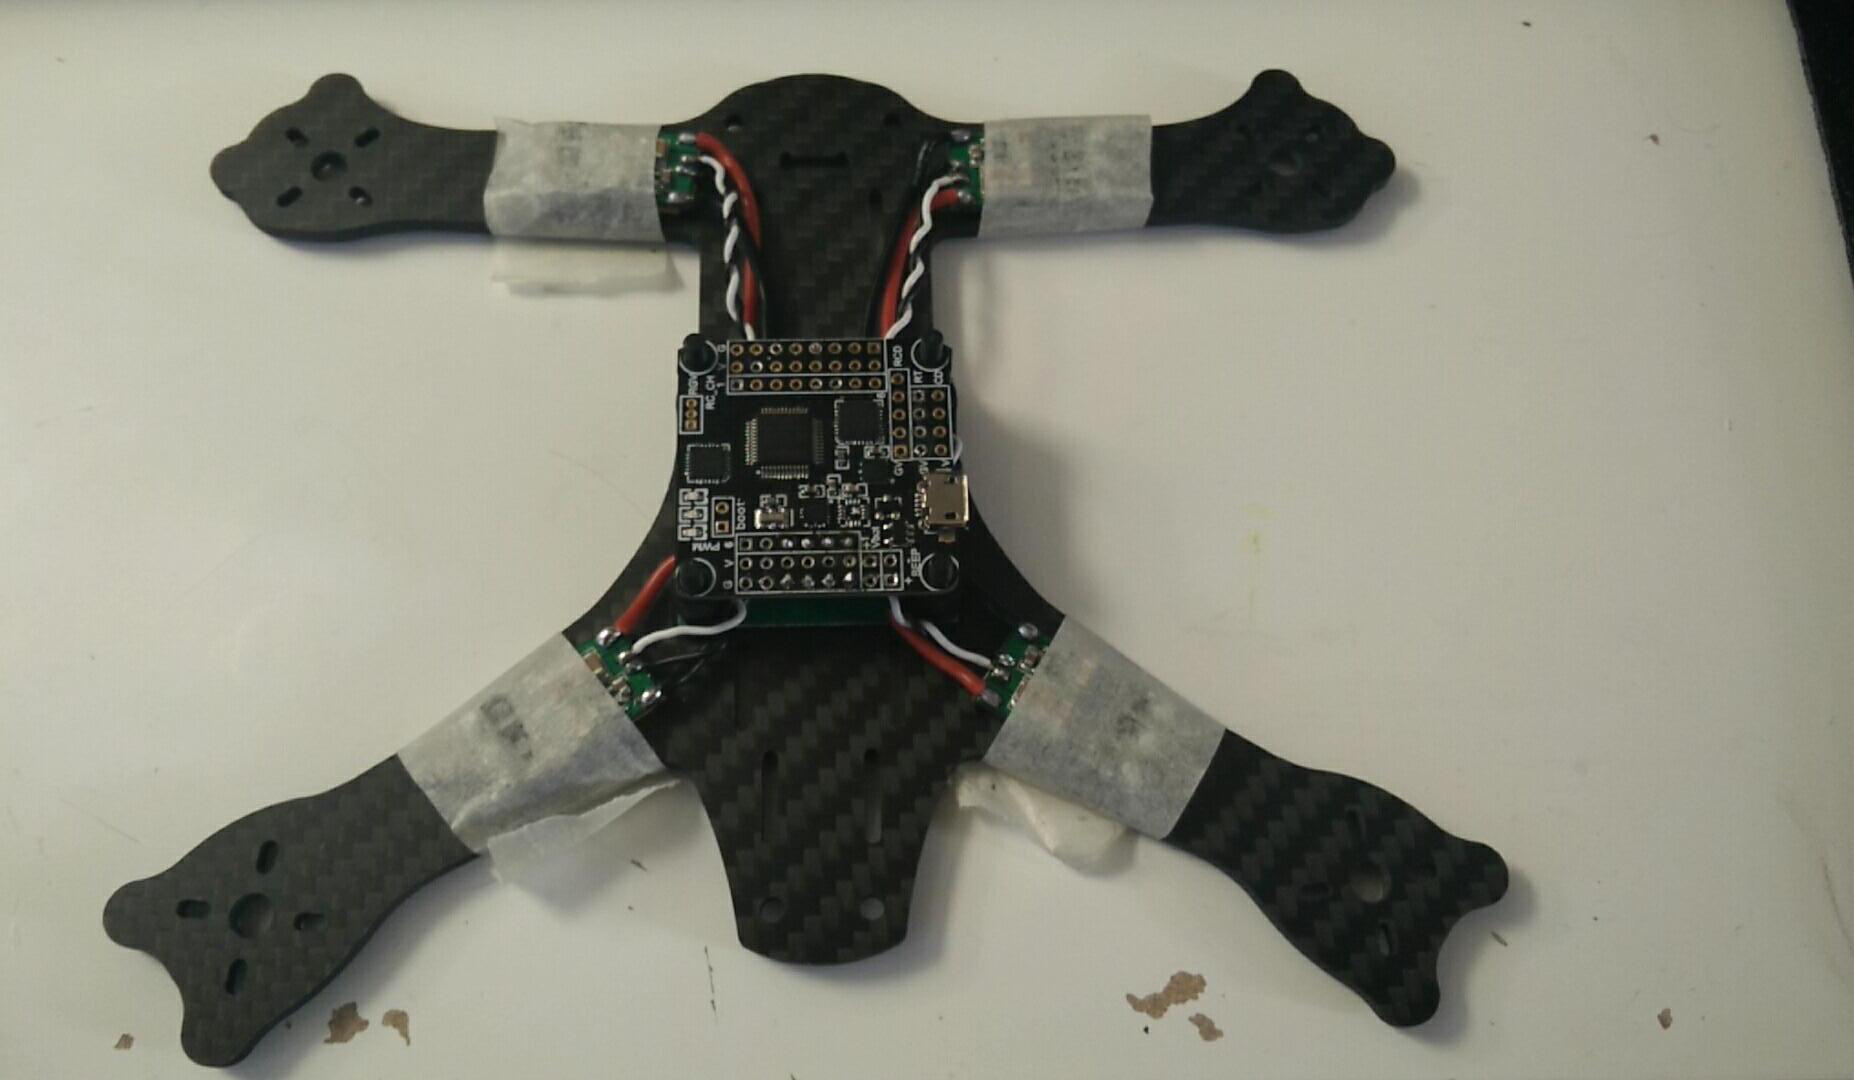
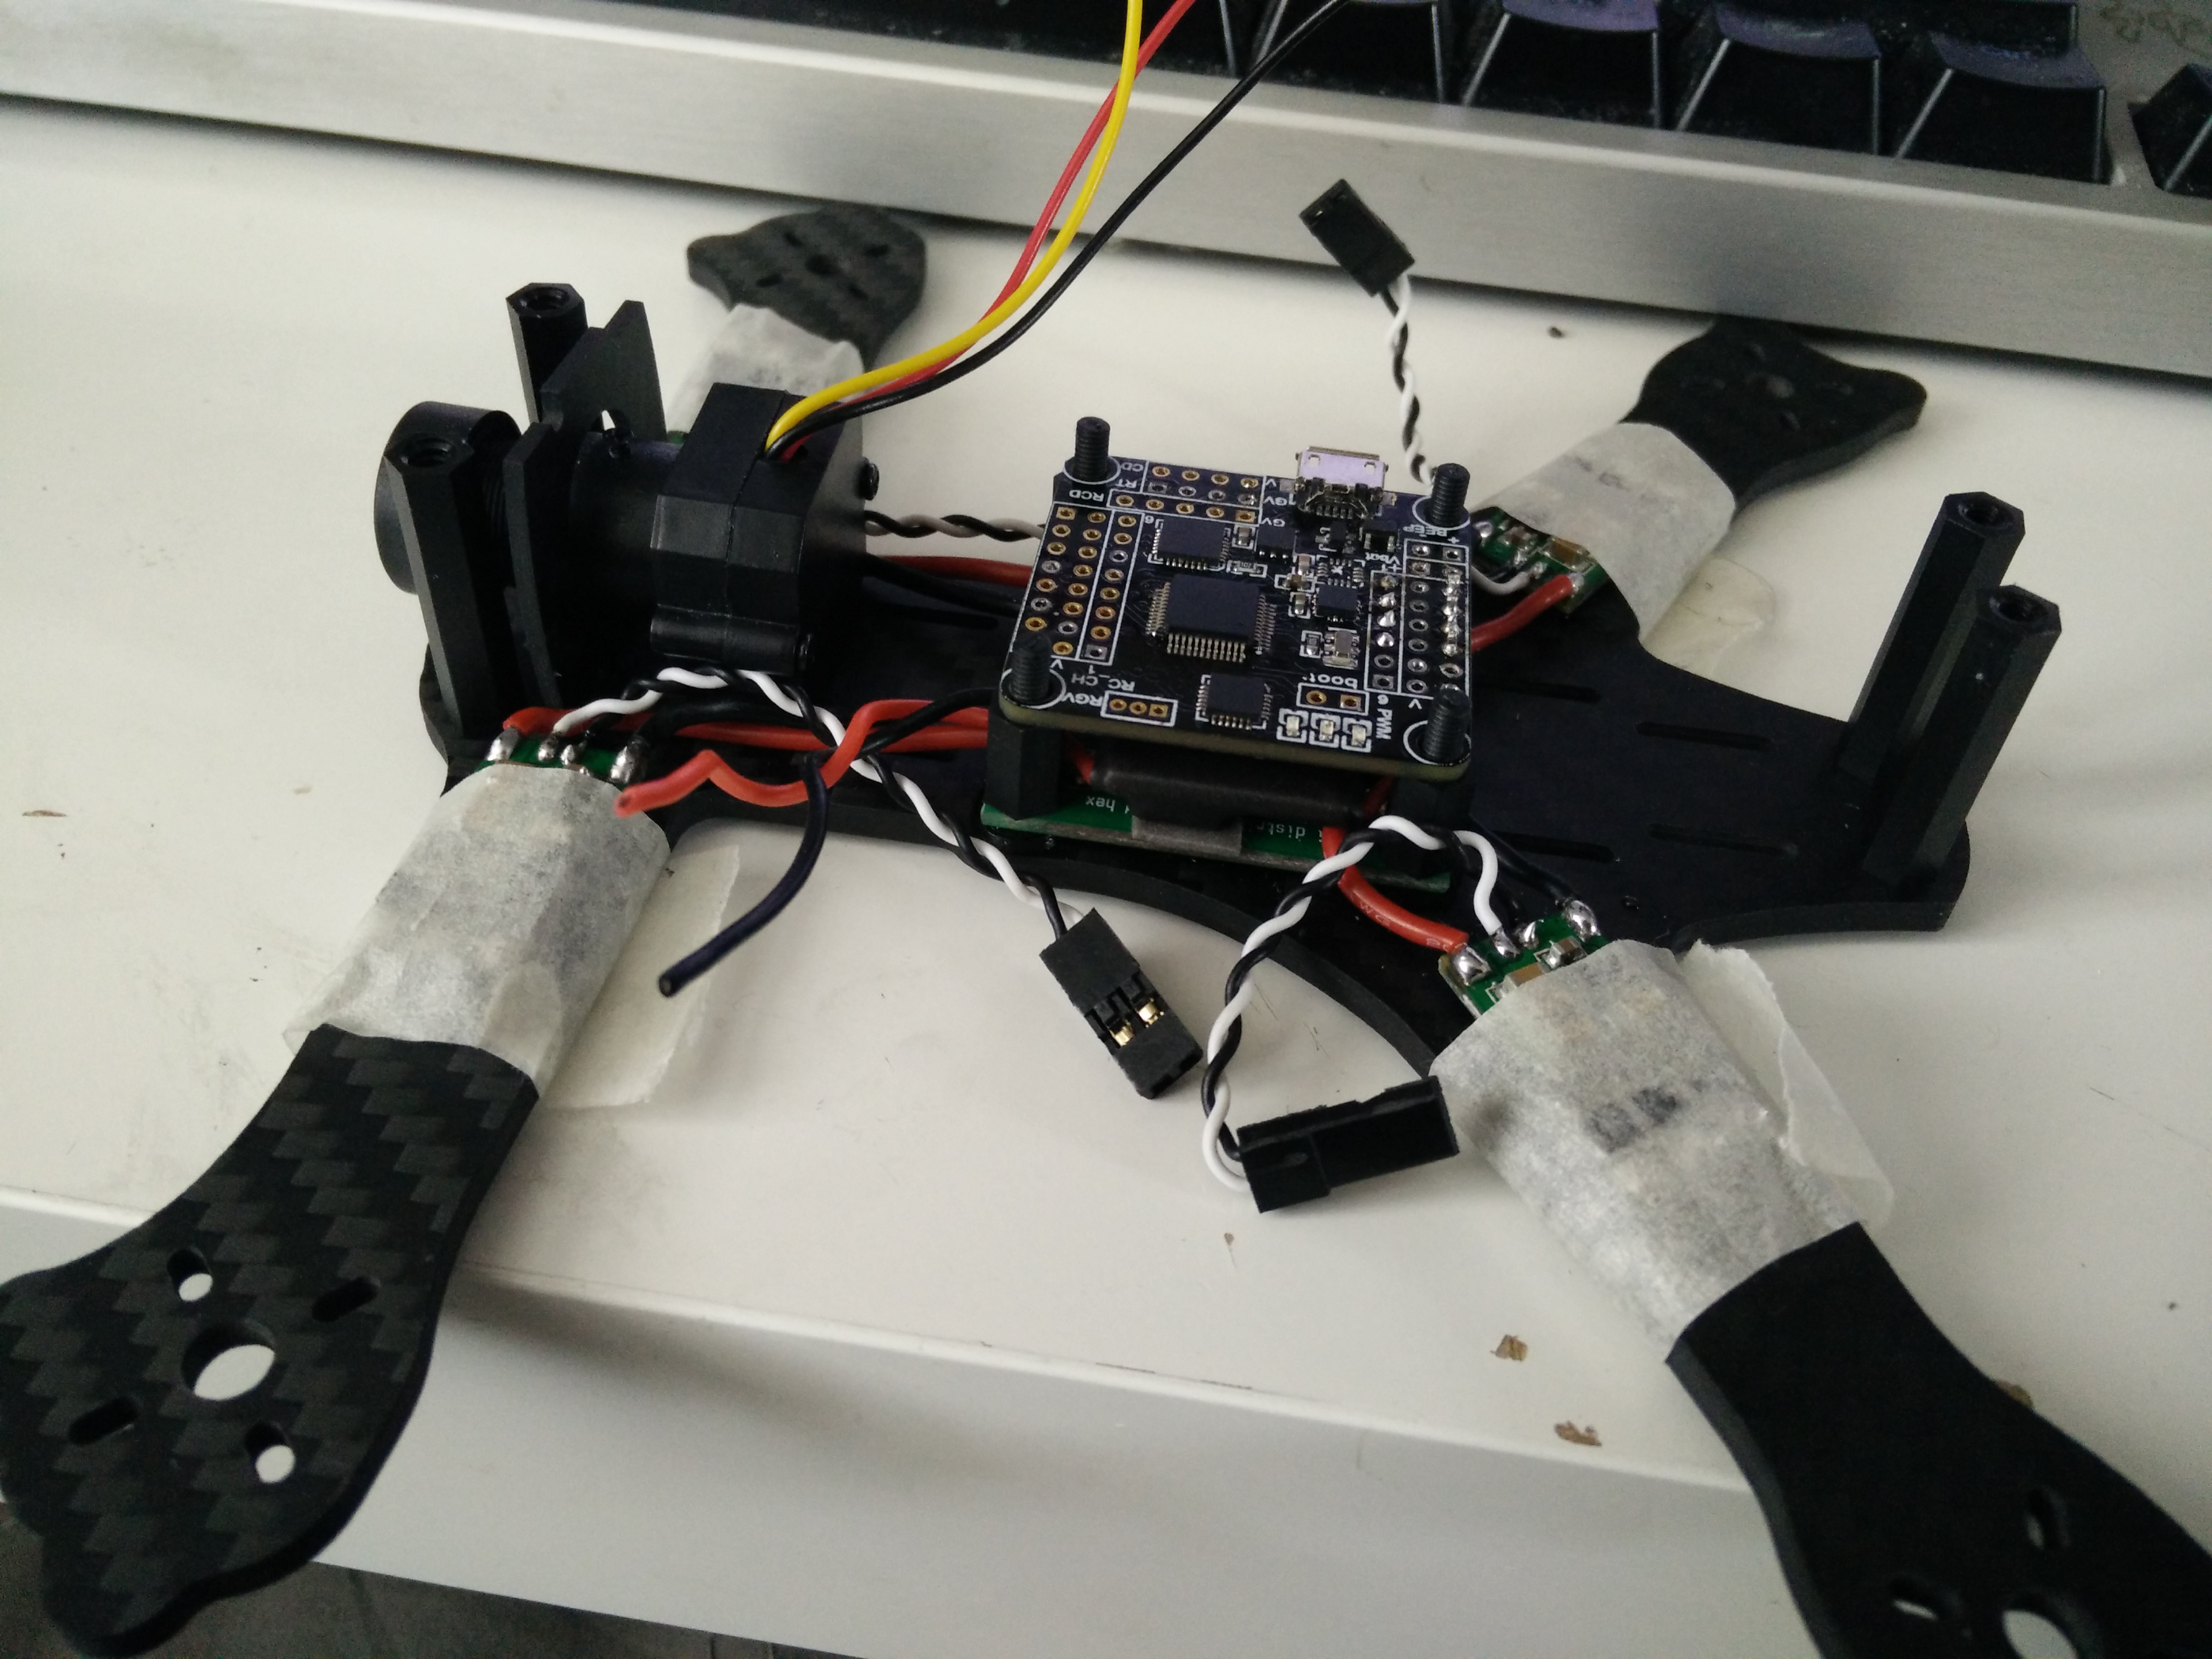
Signal wires are now on, the 5v regulator is in sat on the PDB and we now have the DF32 wires done accordingly. I’ve used 2 stack dupont servo connectors for the signal and ground wires, so I can flash them later if required.
Testing camera fitment, something tells me this is going to be tough to get it all in..
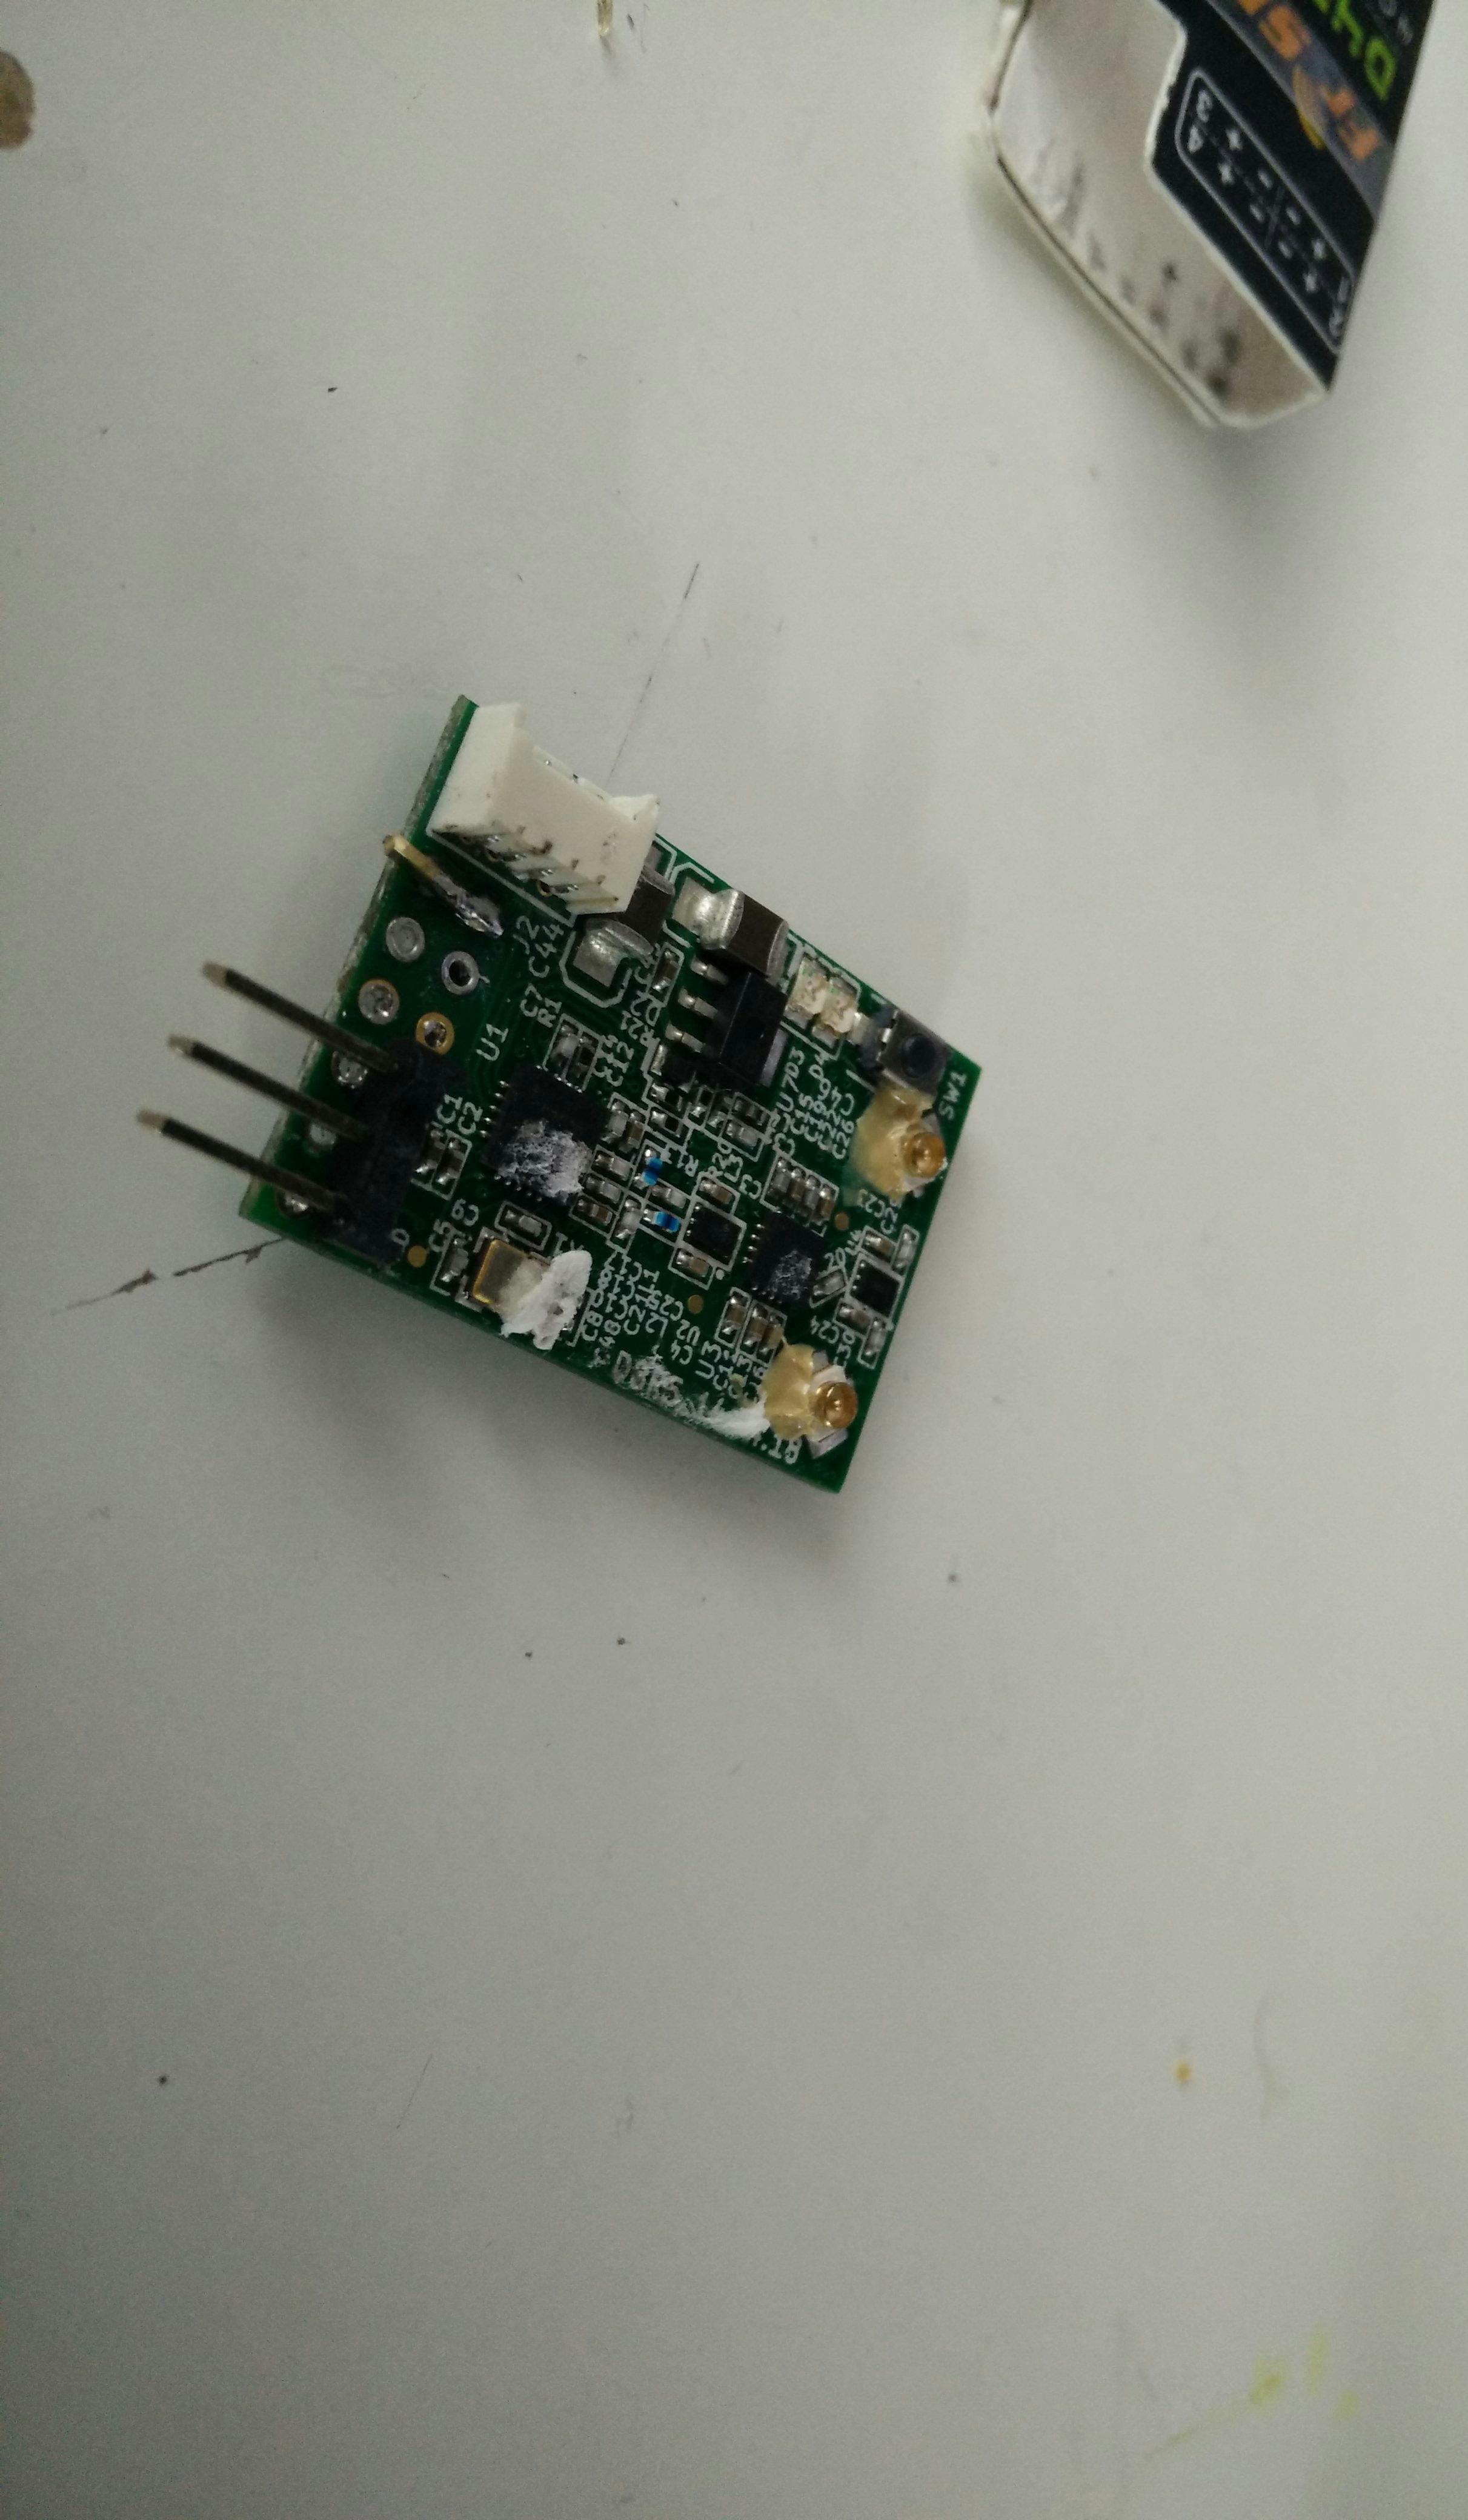
Modify the D4R-II to save a little space more than anything, unrequired pin headers removed, and PPM pin permanently joined.
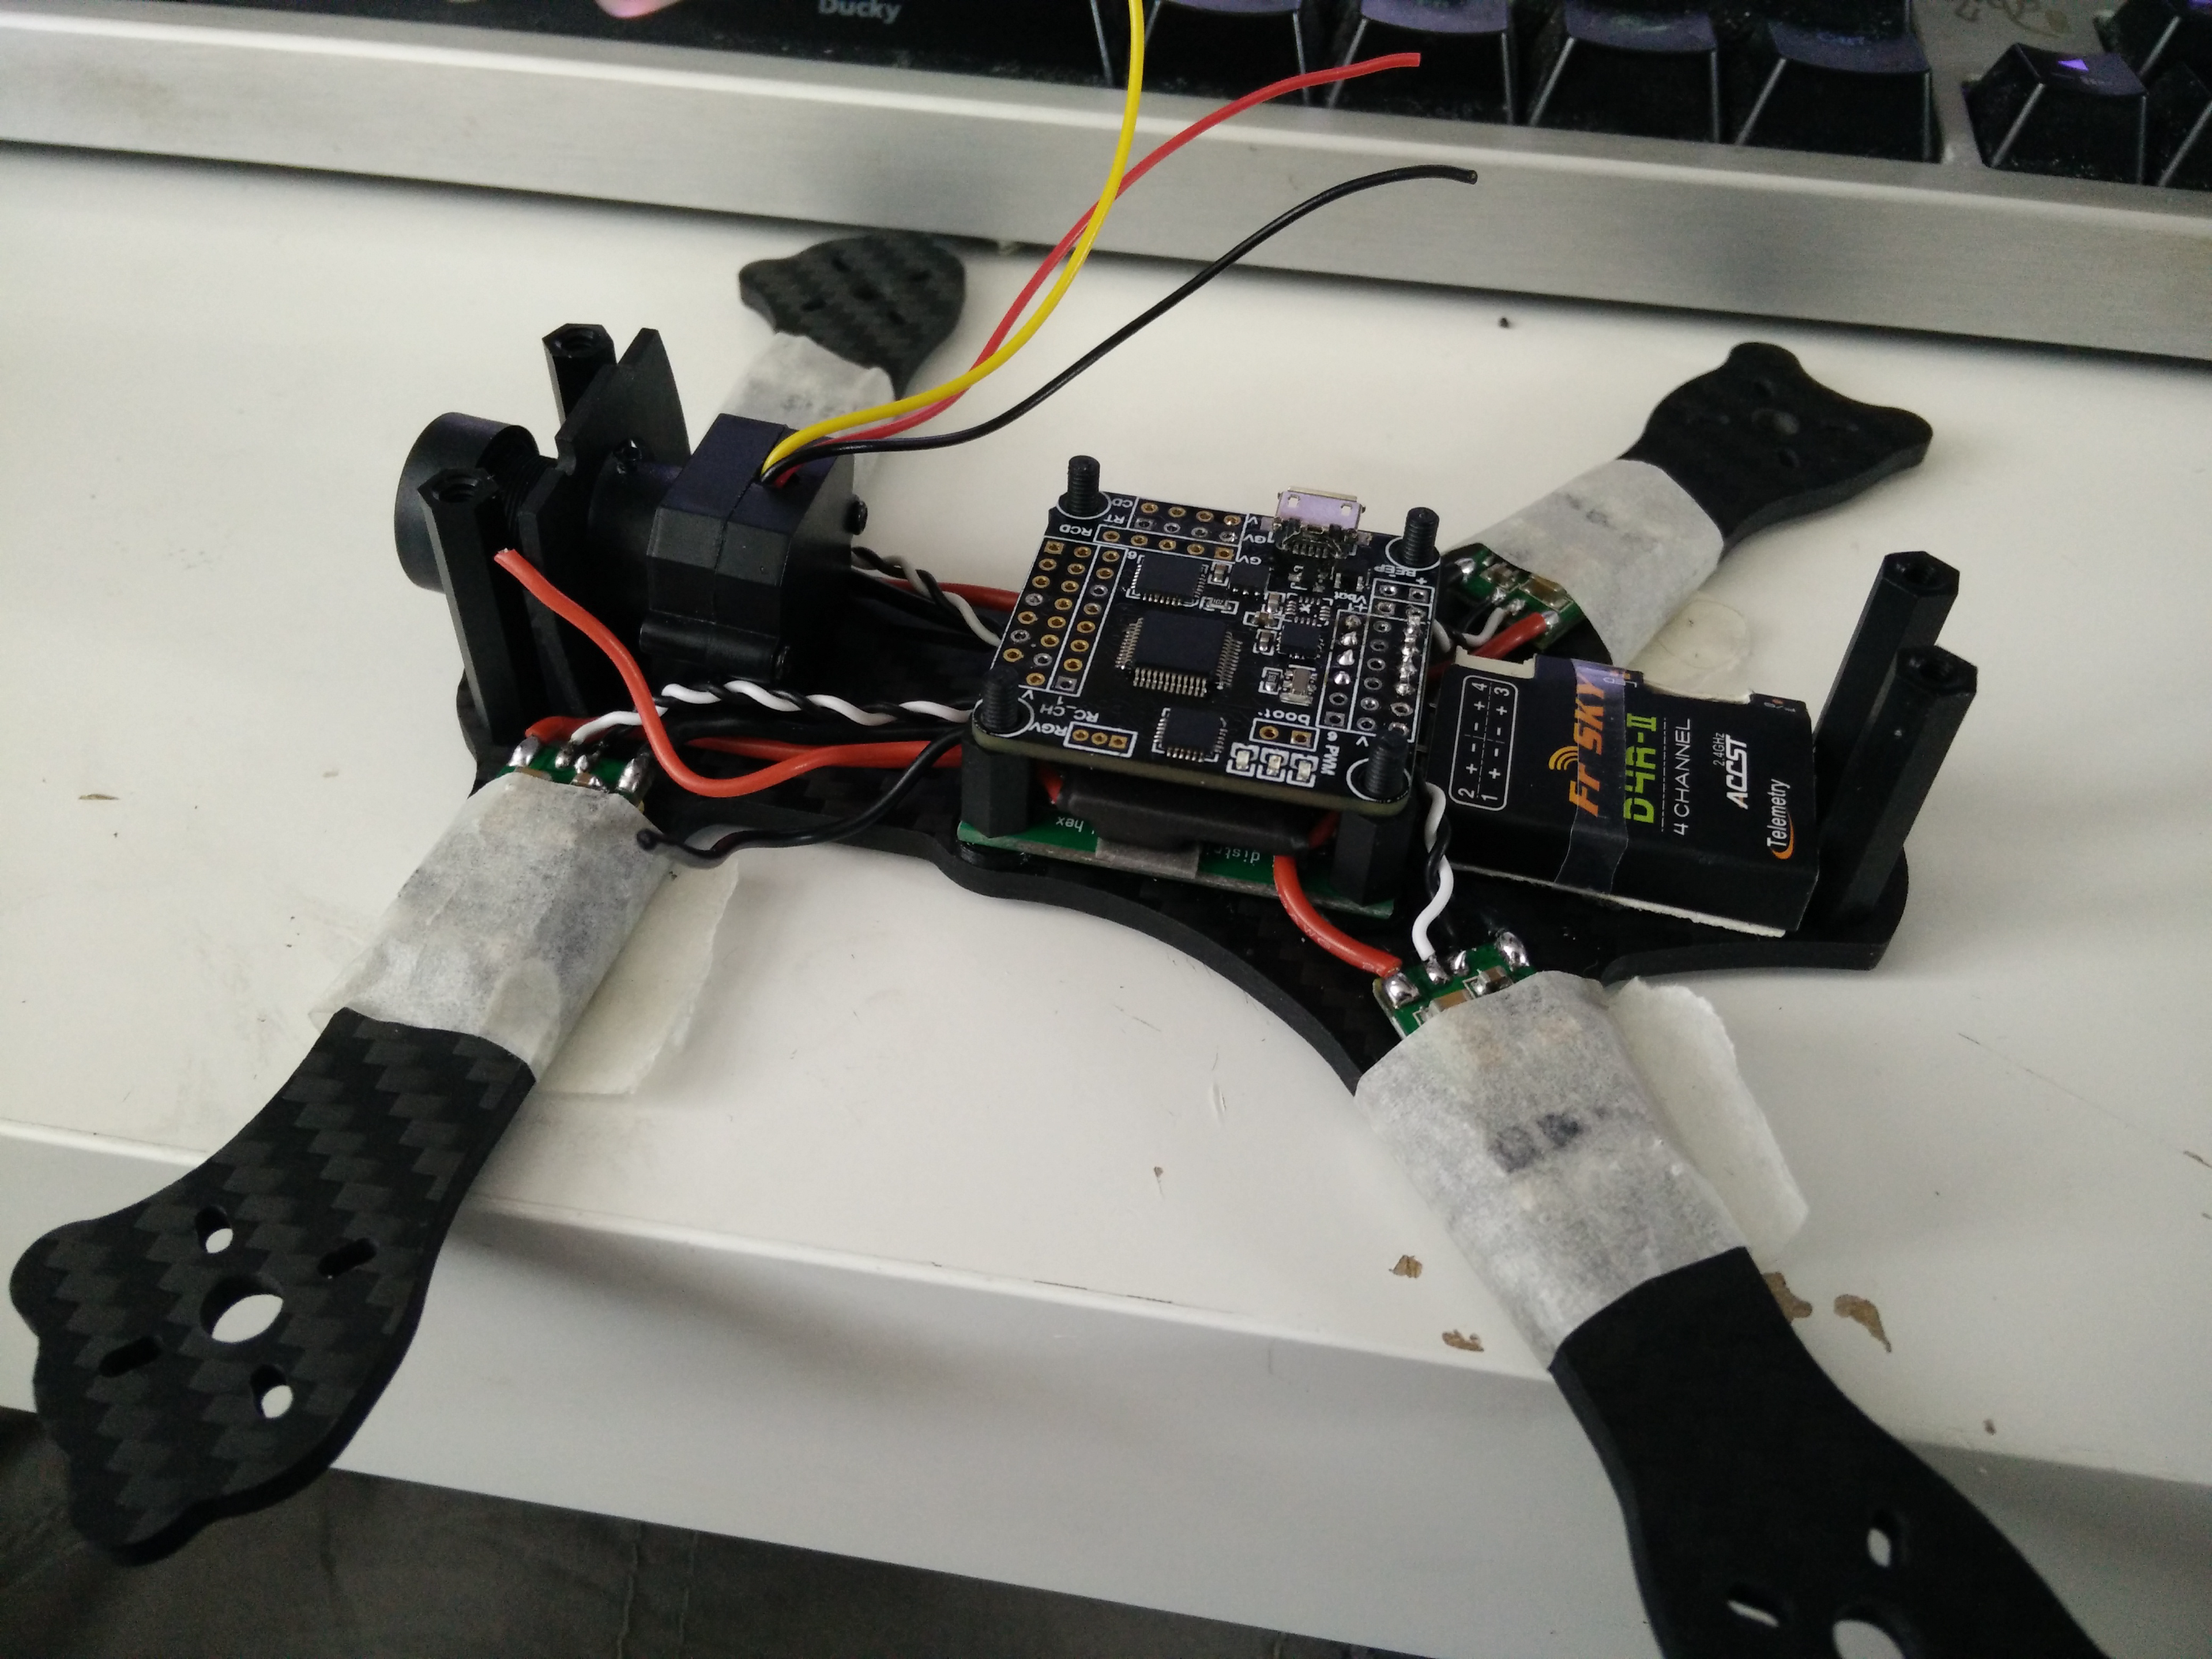
Testing placement of the D4R-II, it fits perfectly here if we ignore the video transmitter.
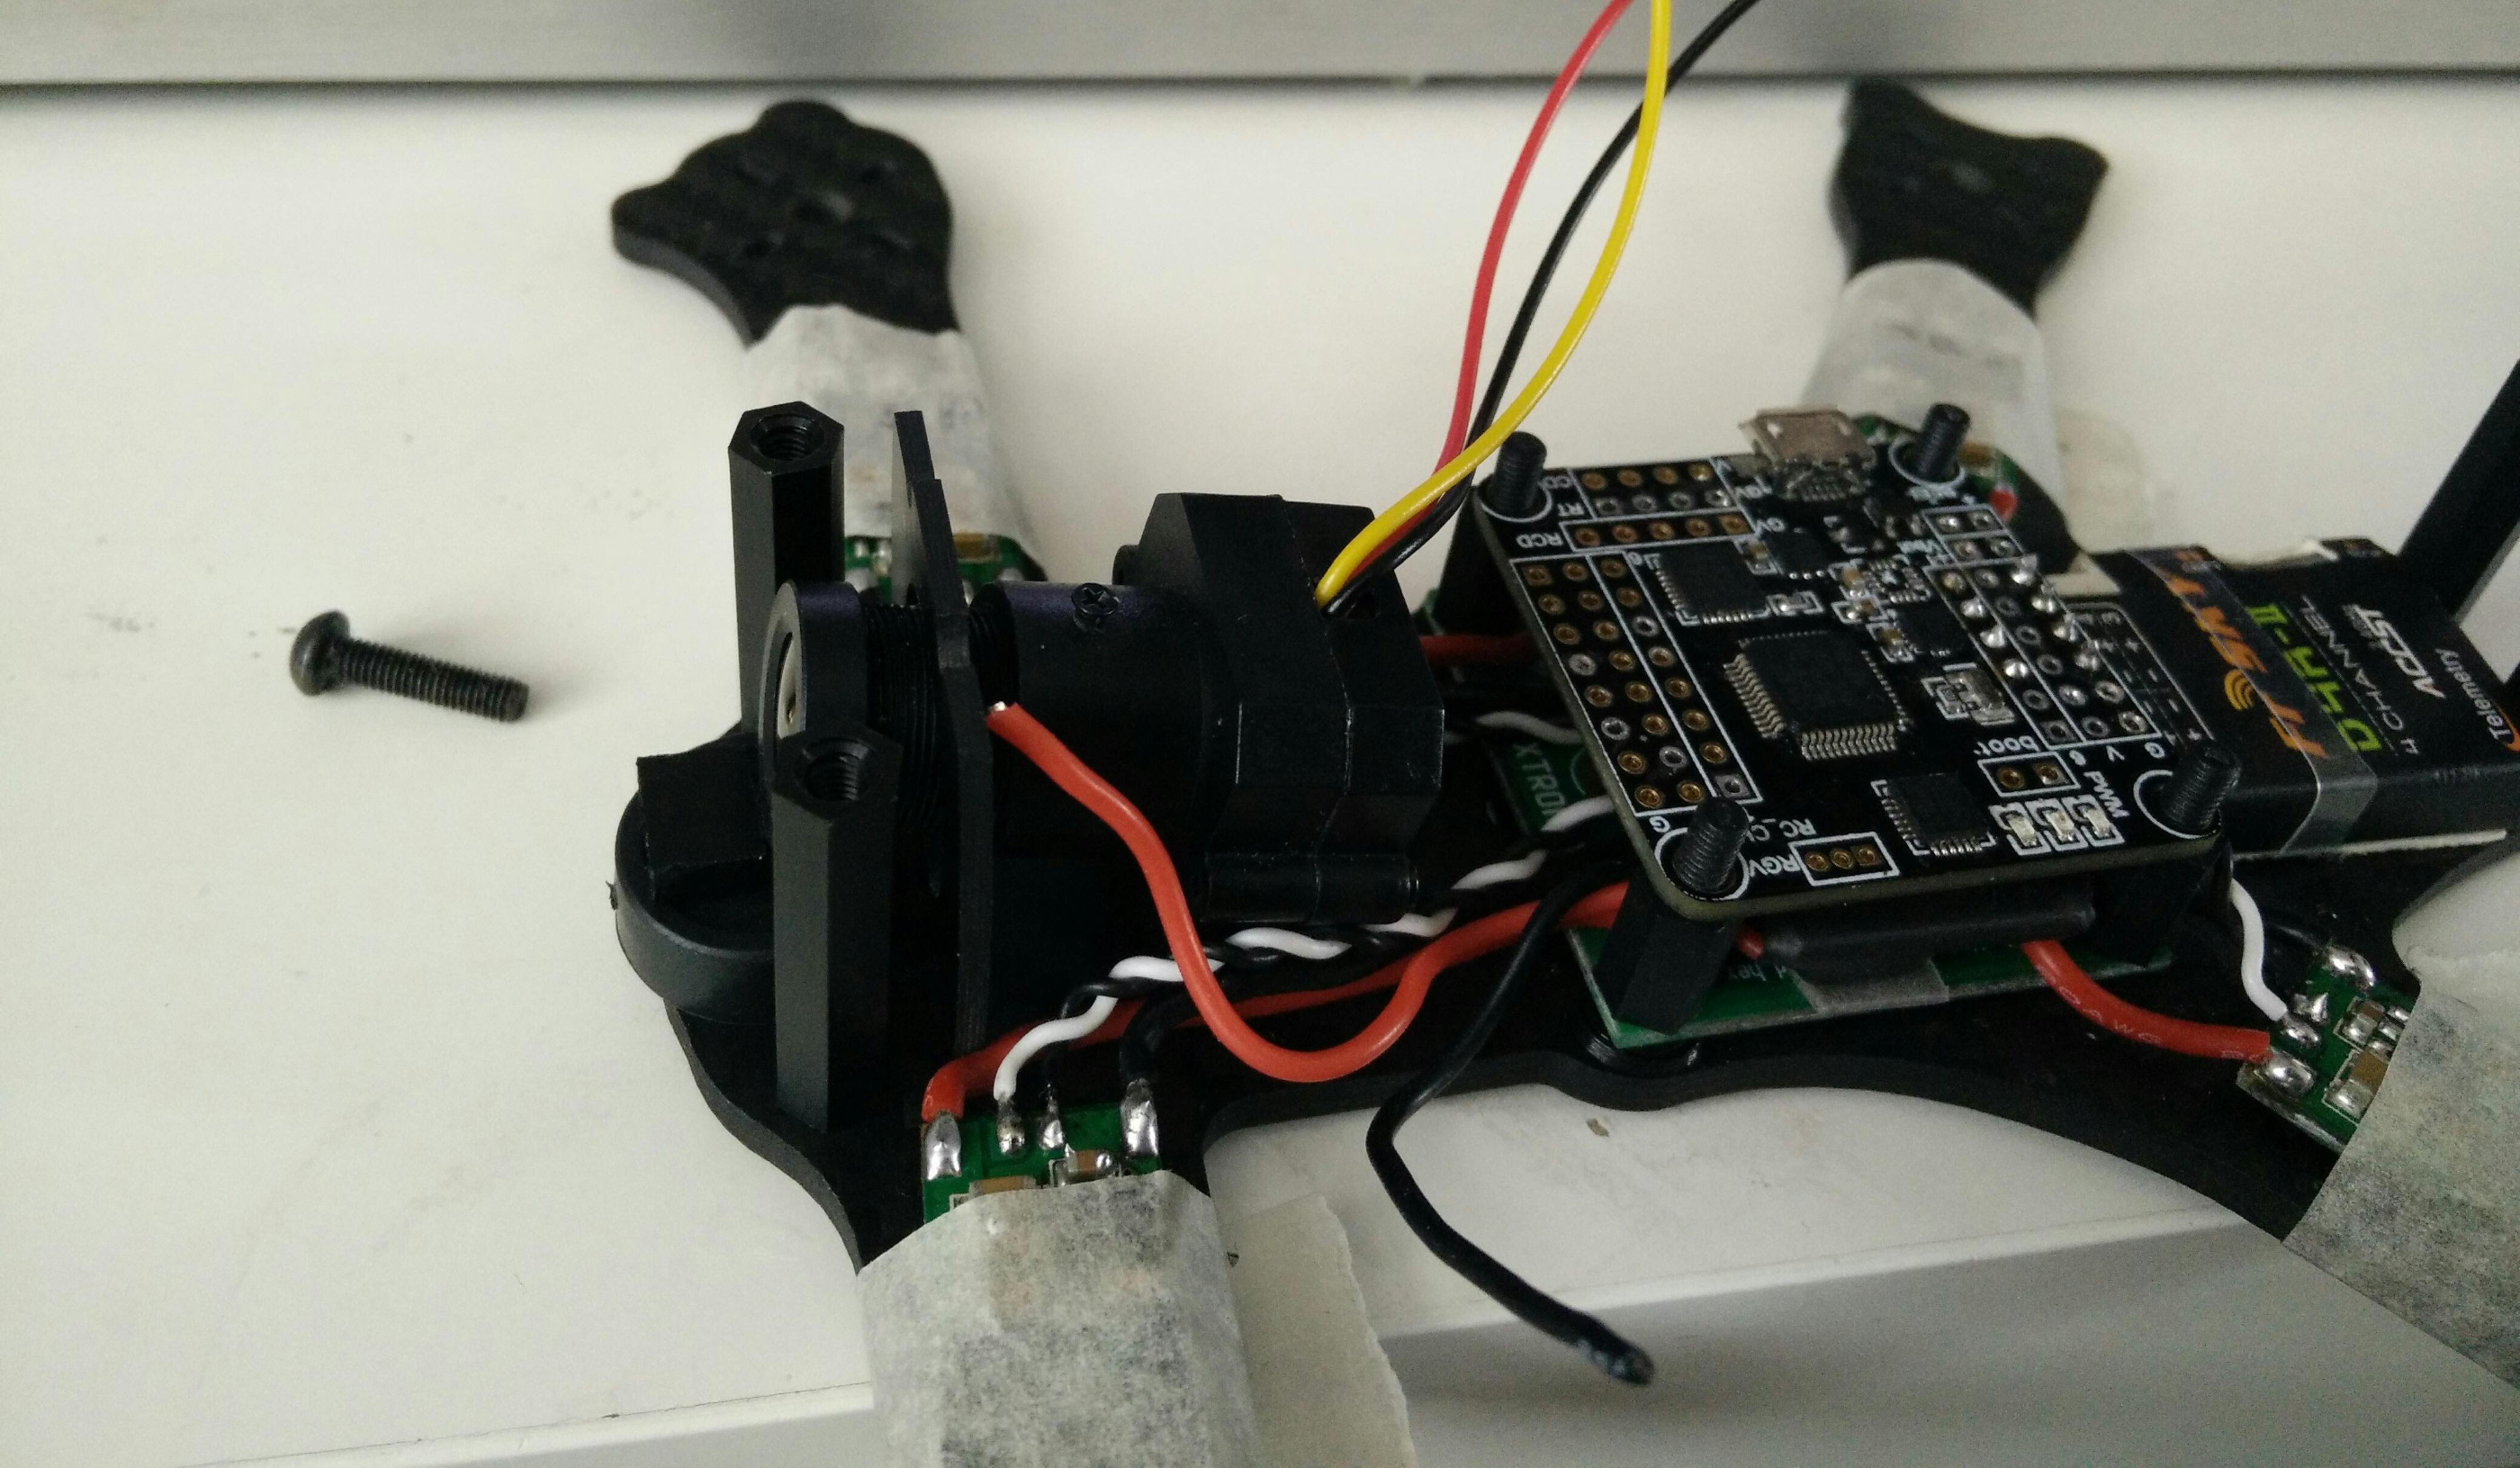
Testing how much angle I can get from the camera
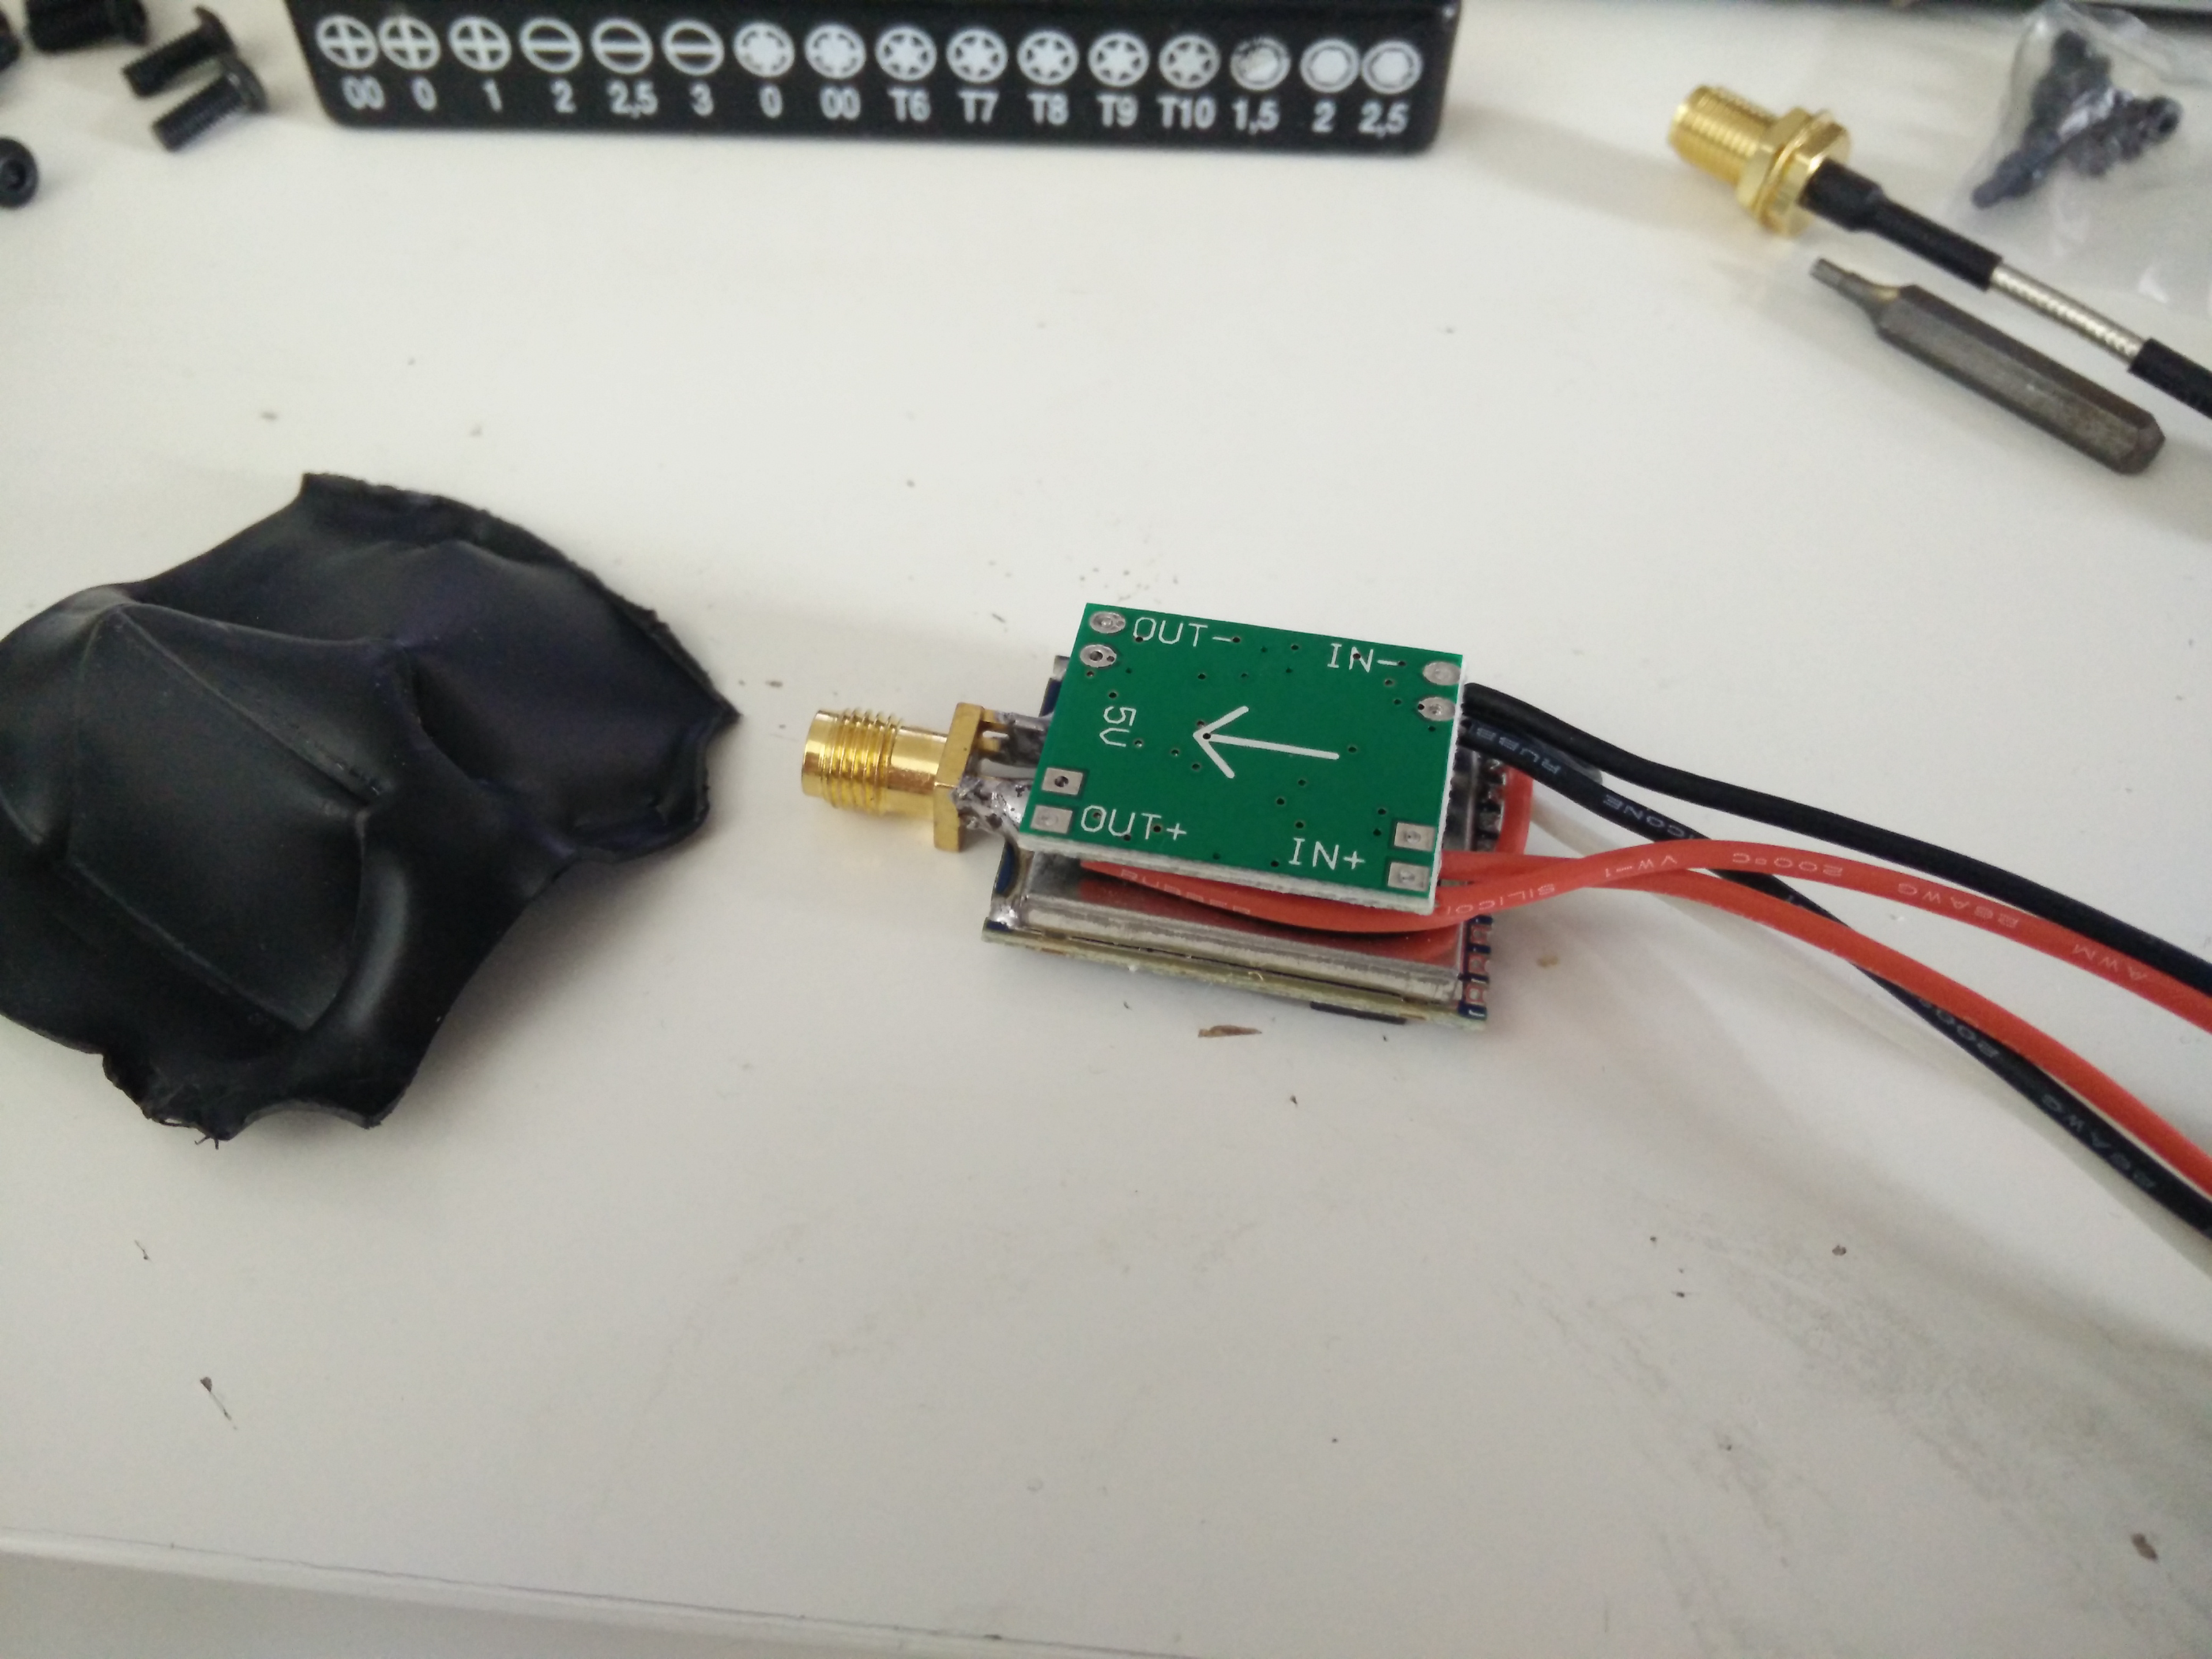
Let’s see why the height of this vTx is rediculous.
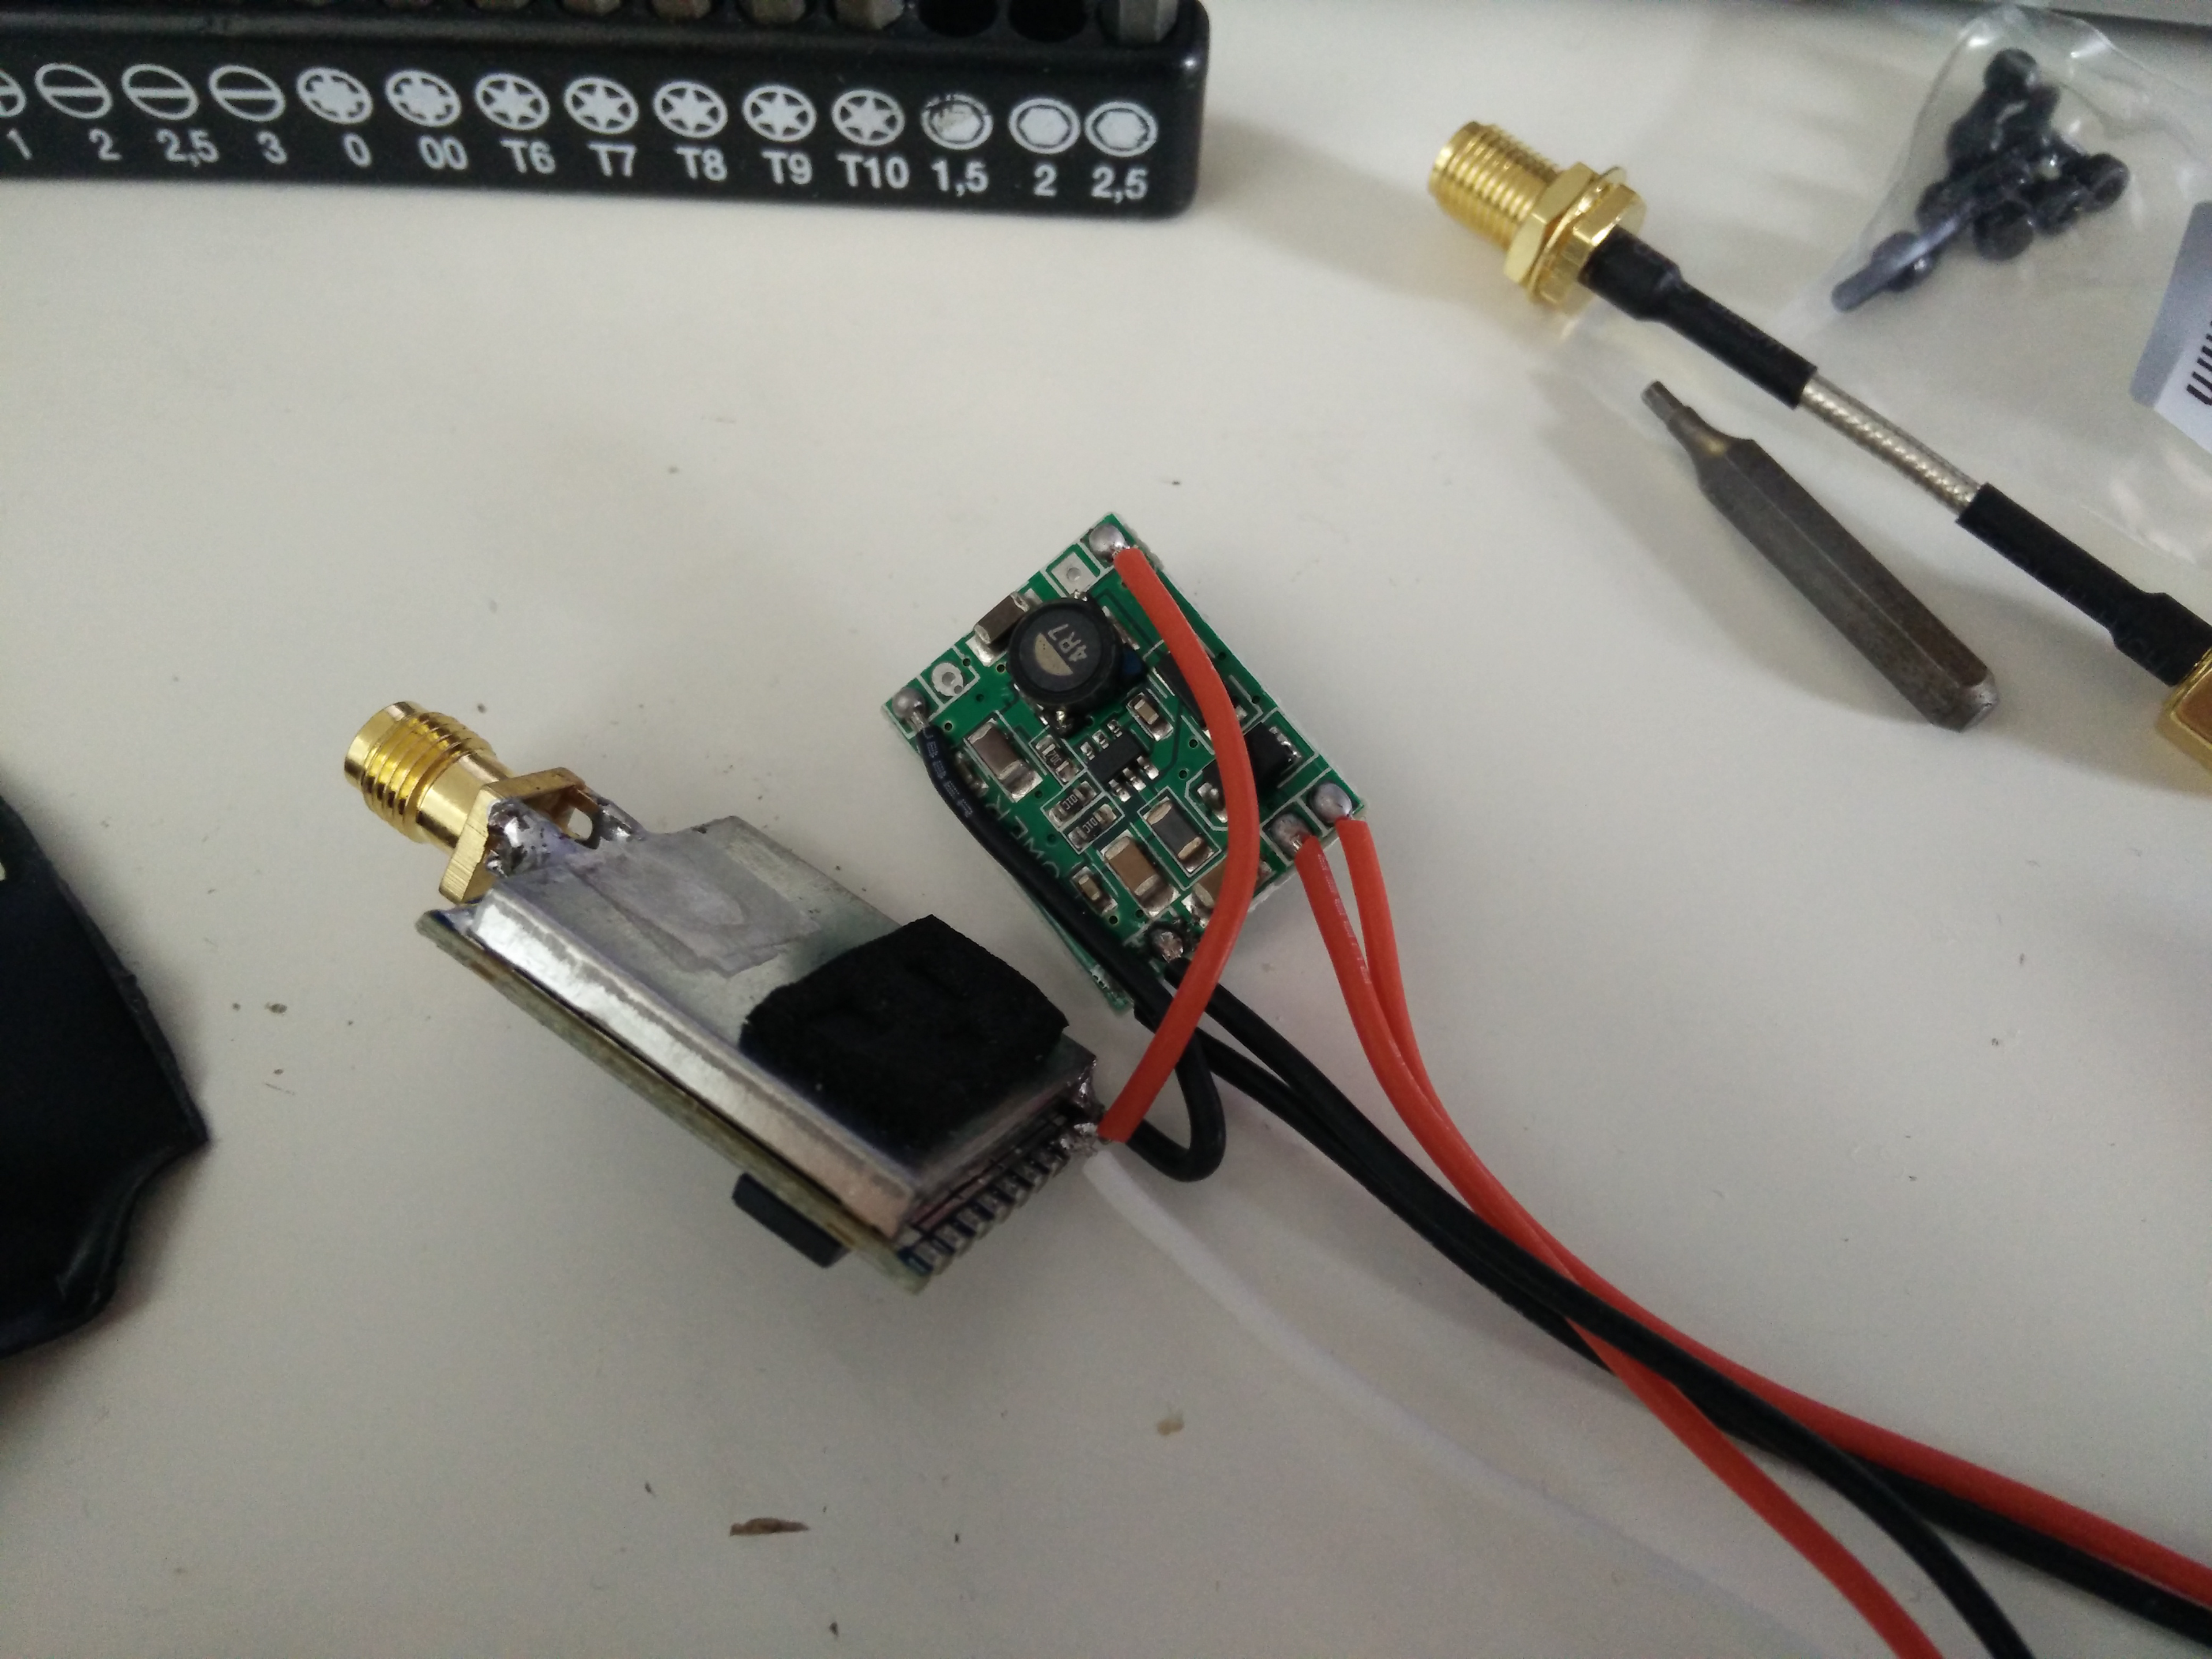
Not only that, the product description states it will allow camera 5v output, however the camera wires are on the IN side of the vreg, so you’ll be getting the full LIPO power, nice….
Another pic of the height, how it was stacked.
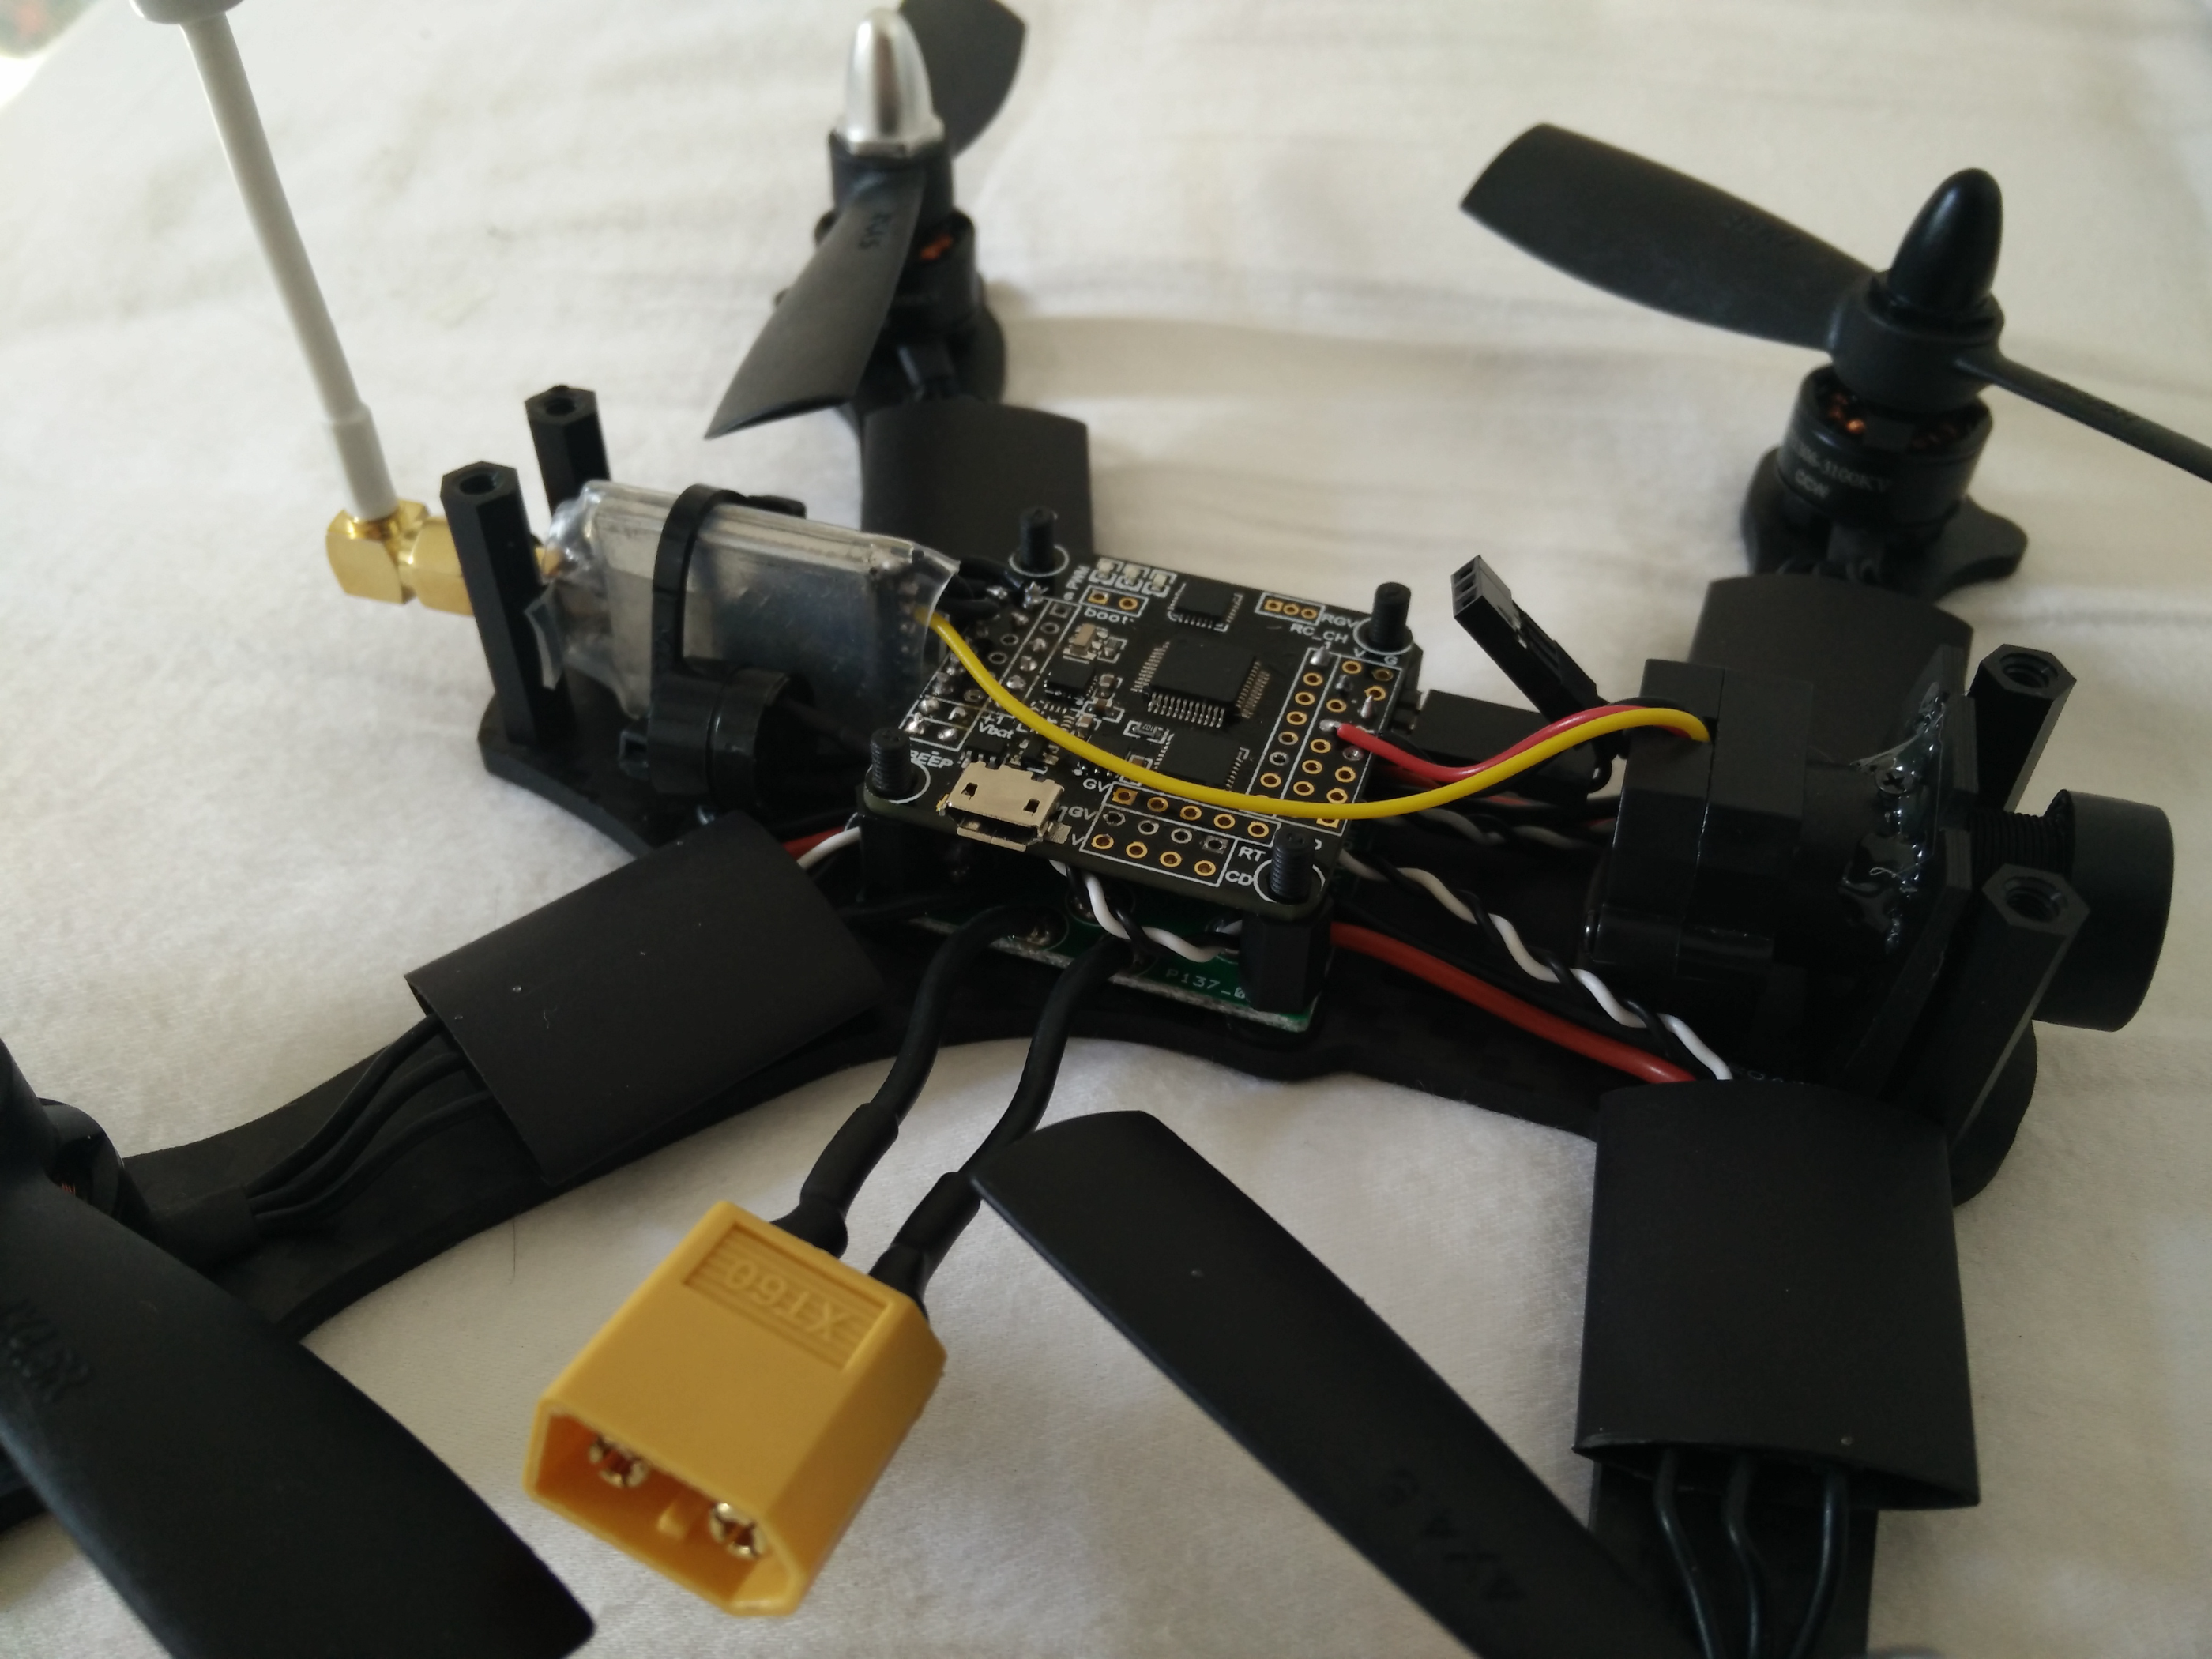
Video transmitter is now in place, D4R-II will be going above the flight controller.
I’ve also gone to the trouble of replacing the normal angle lens with a spare wide angle lens from a $9 700tvl I had in the spare parts bin. Much better!!
VTX mounted sideways for easy access. The connector fits PERFECTLY between the nylon standoffs.
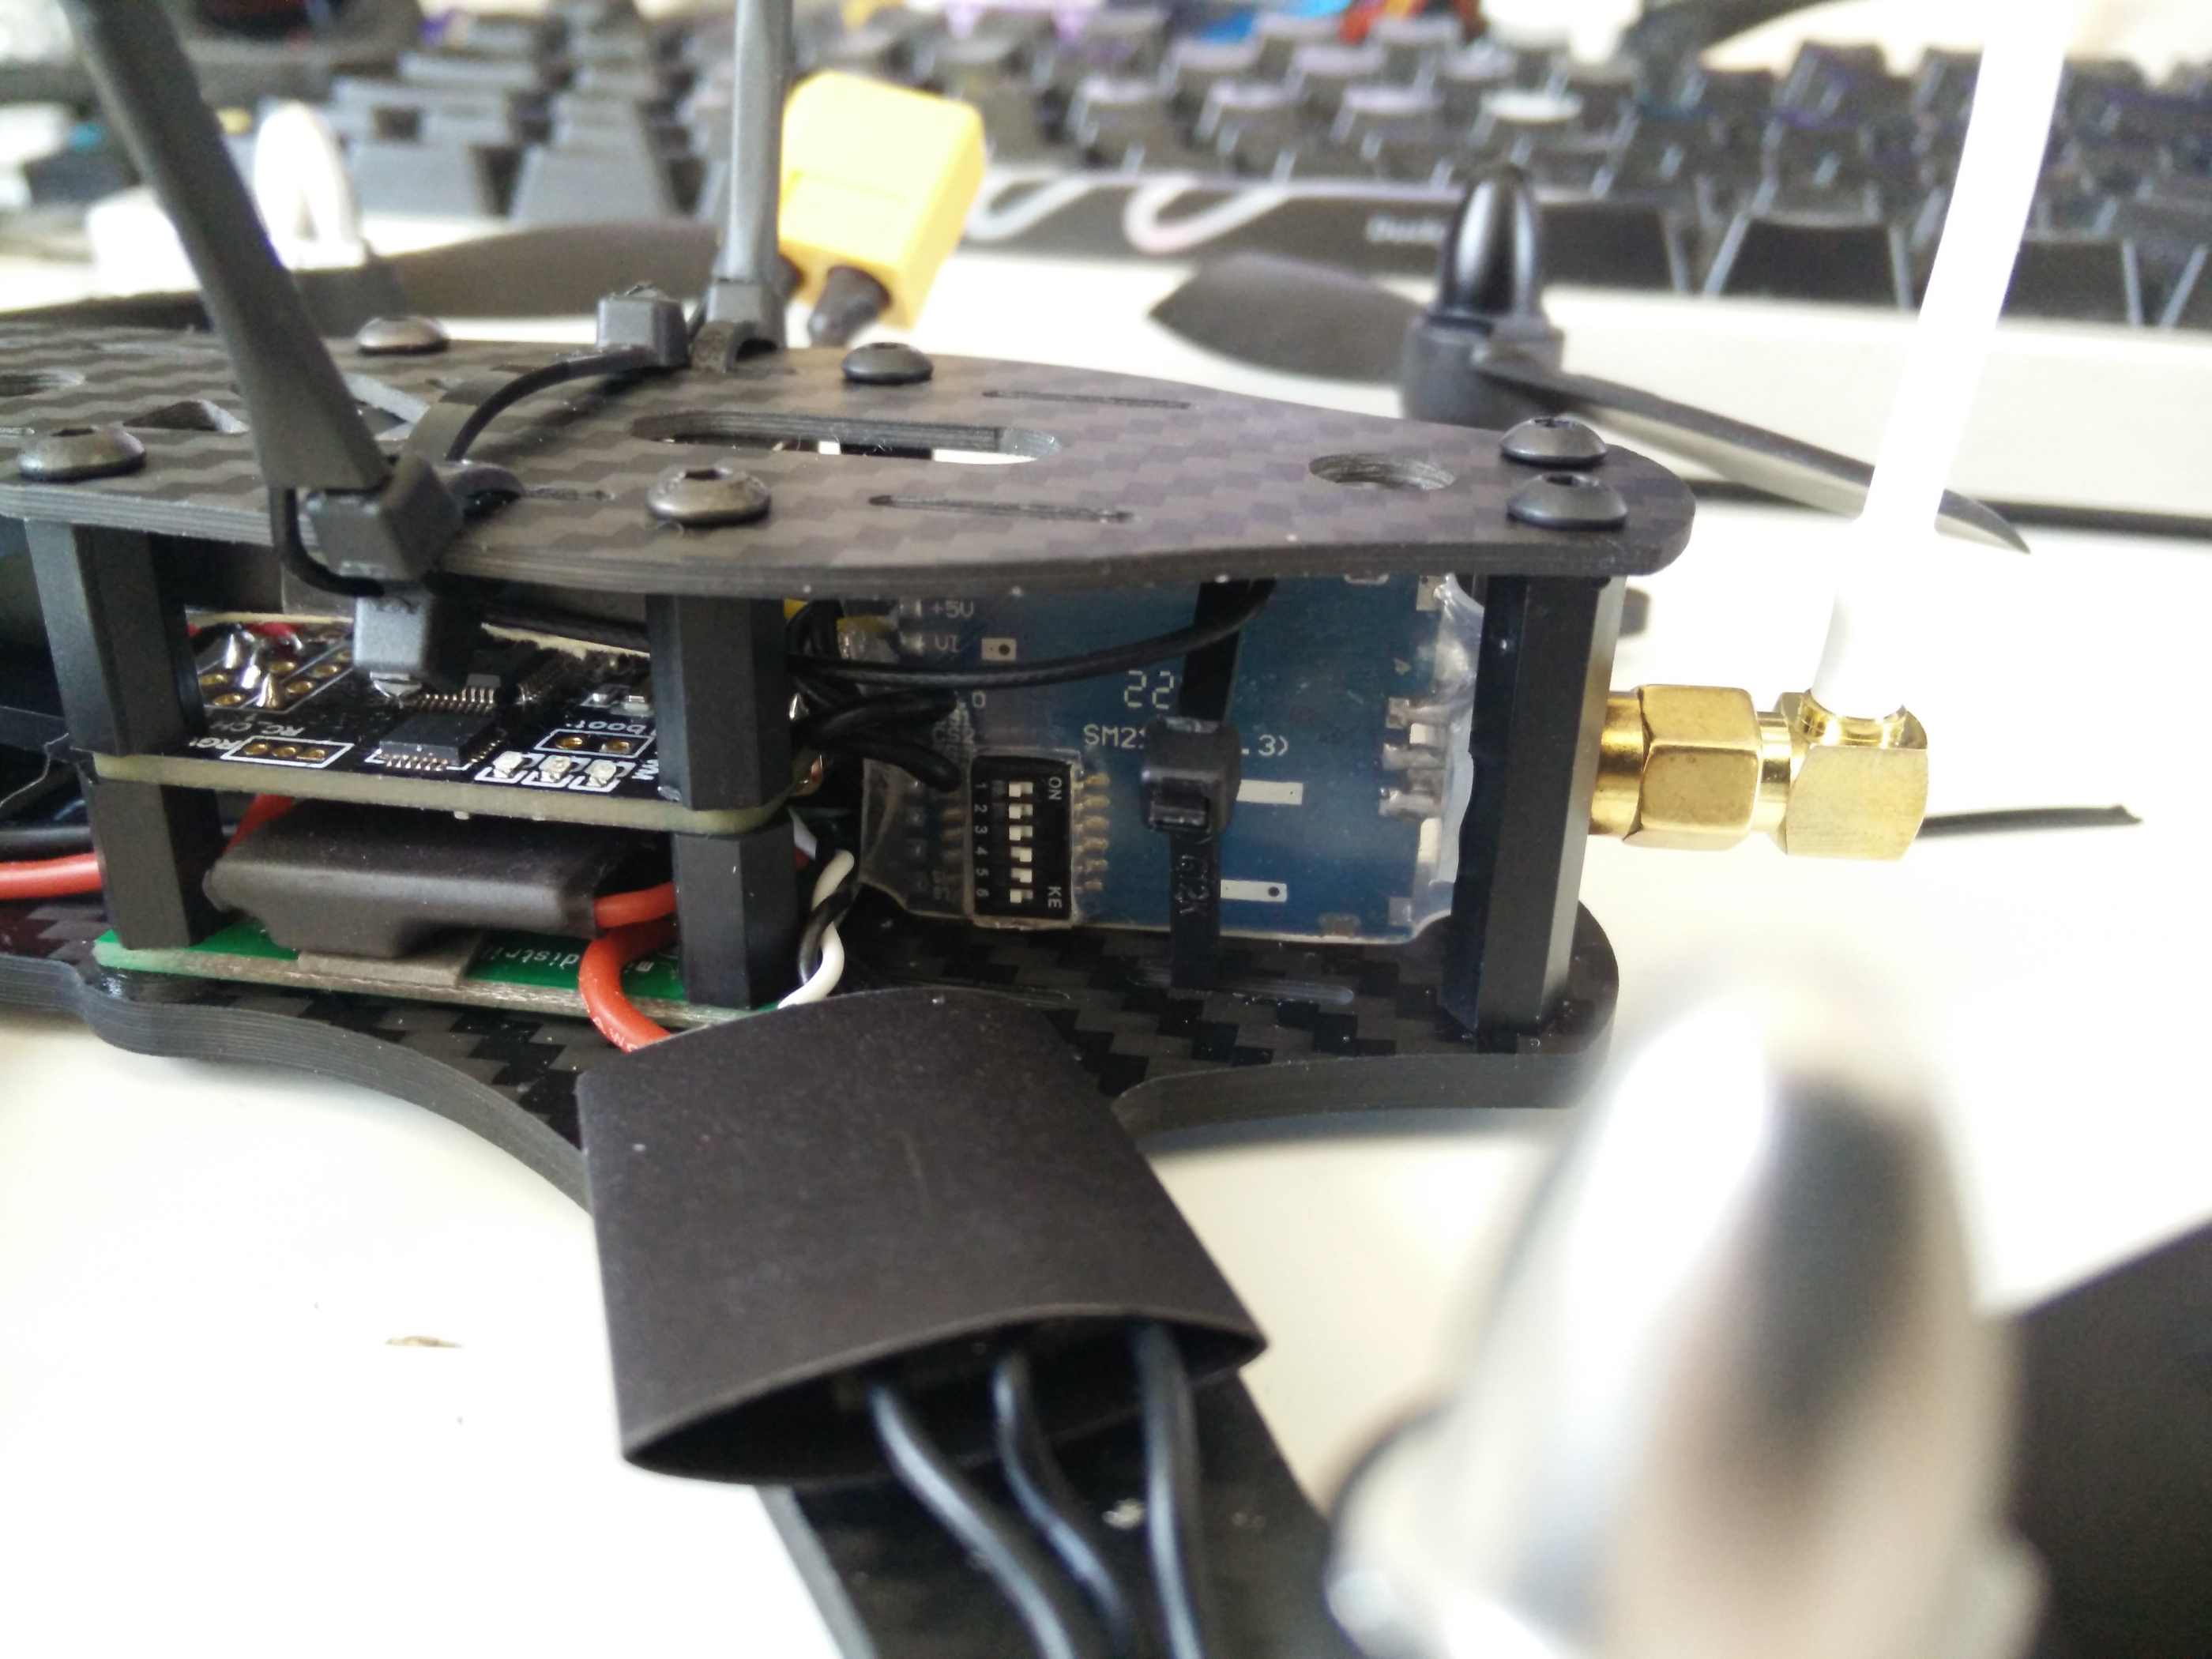
And some finished pictures:
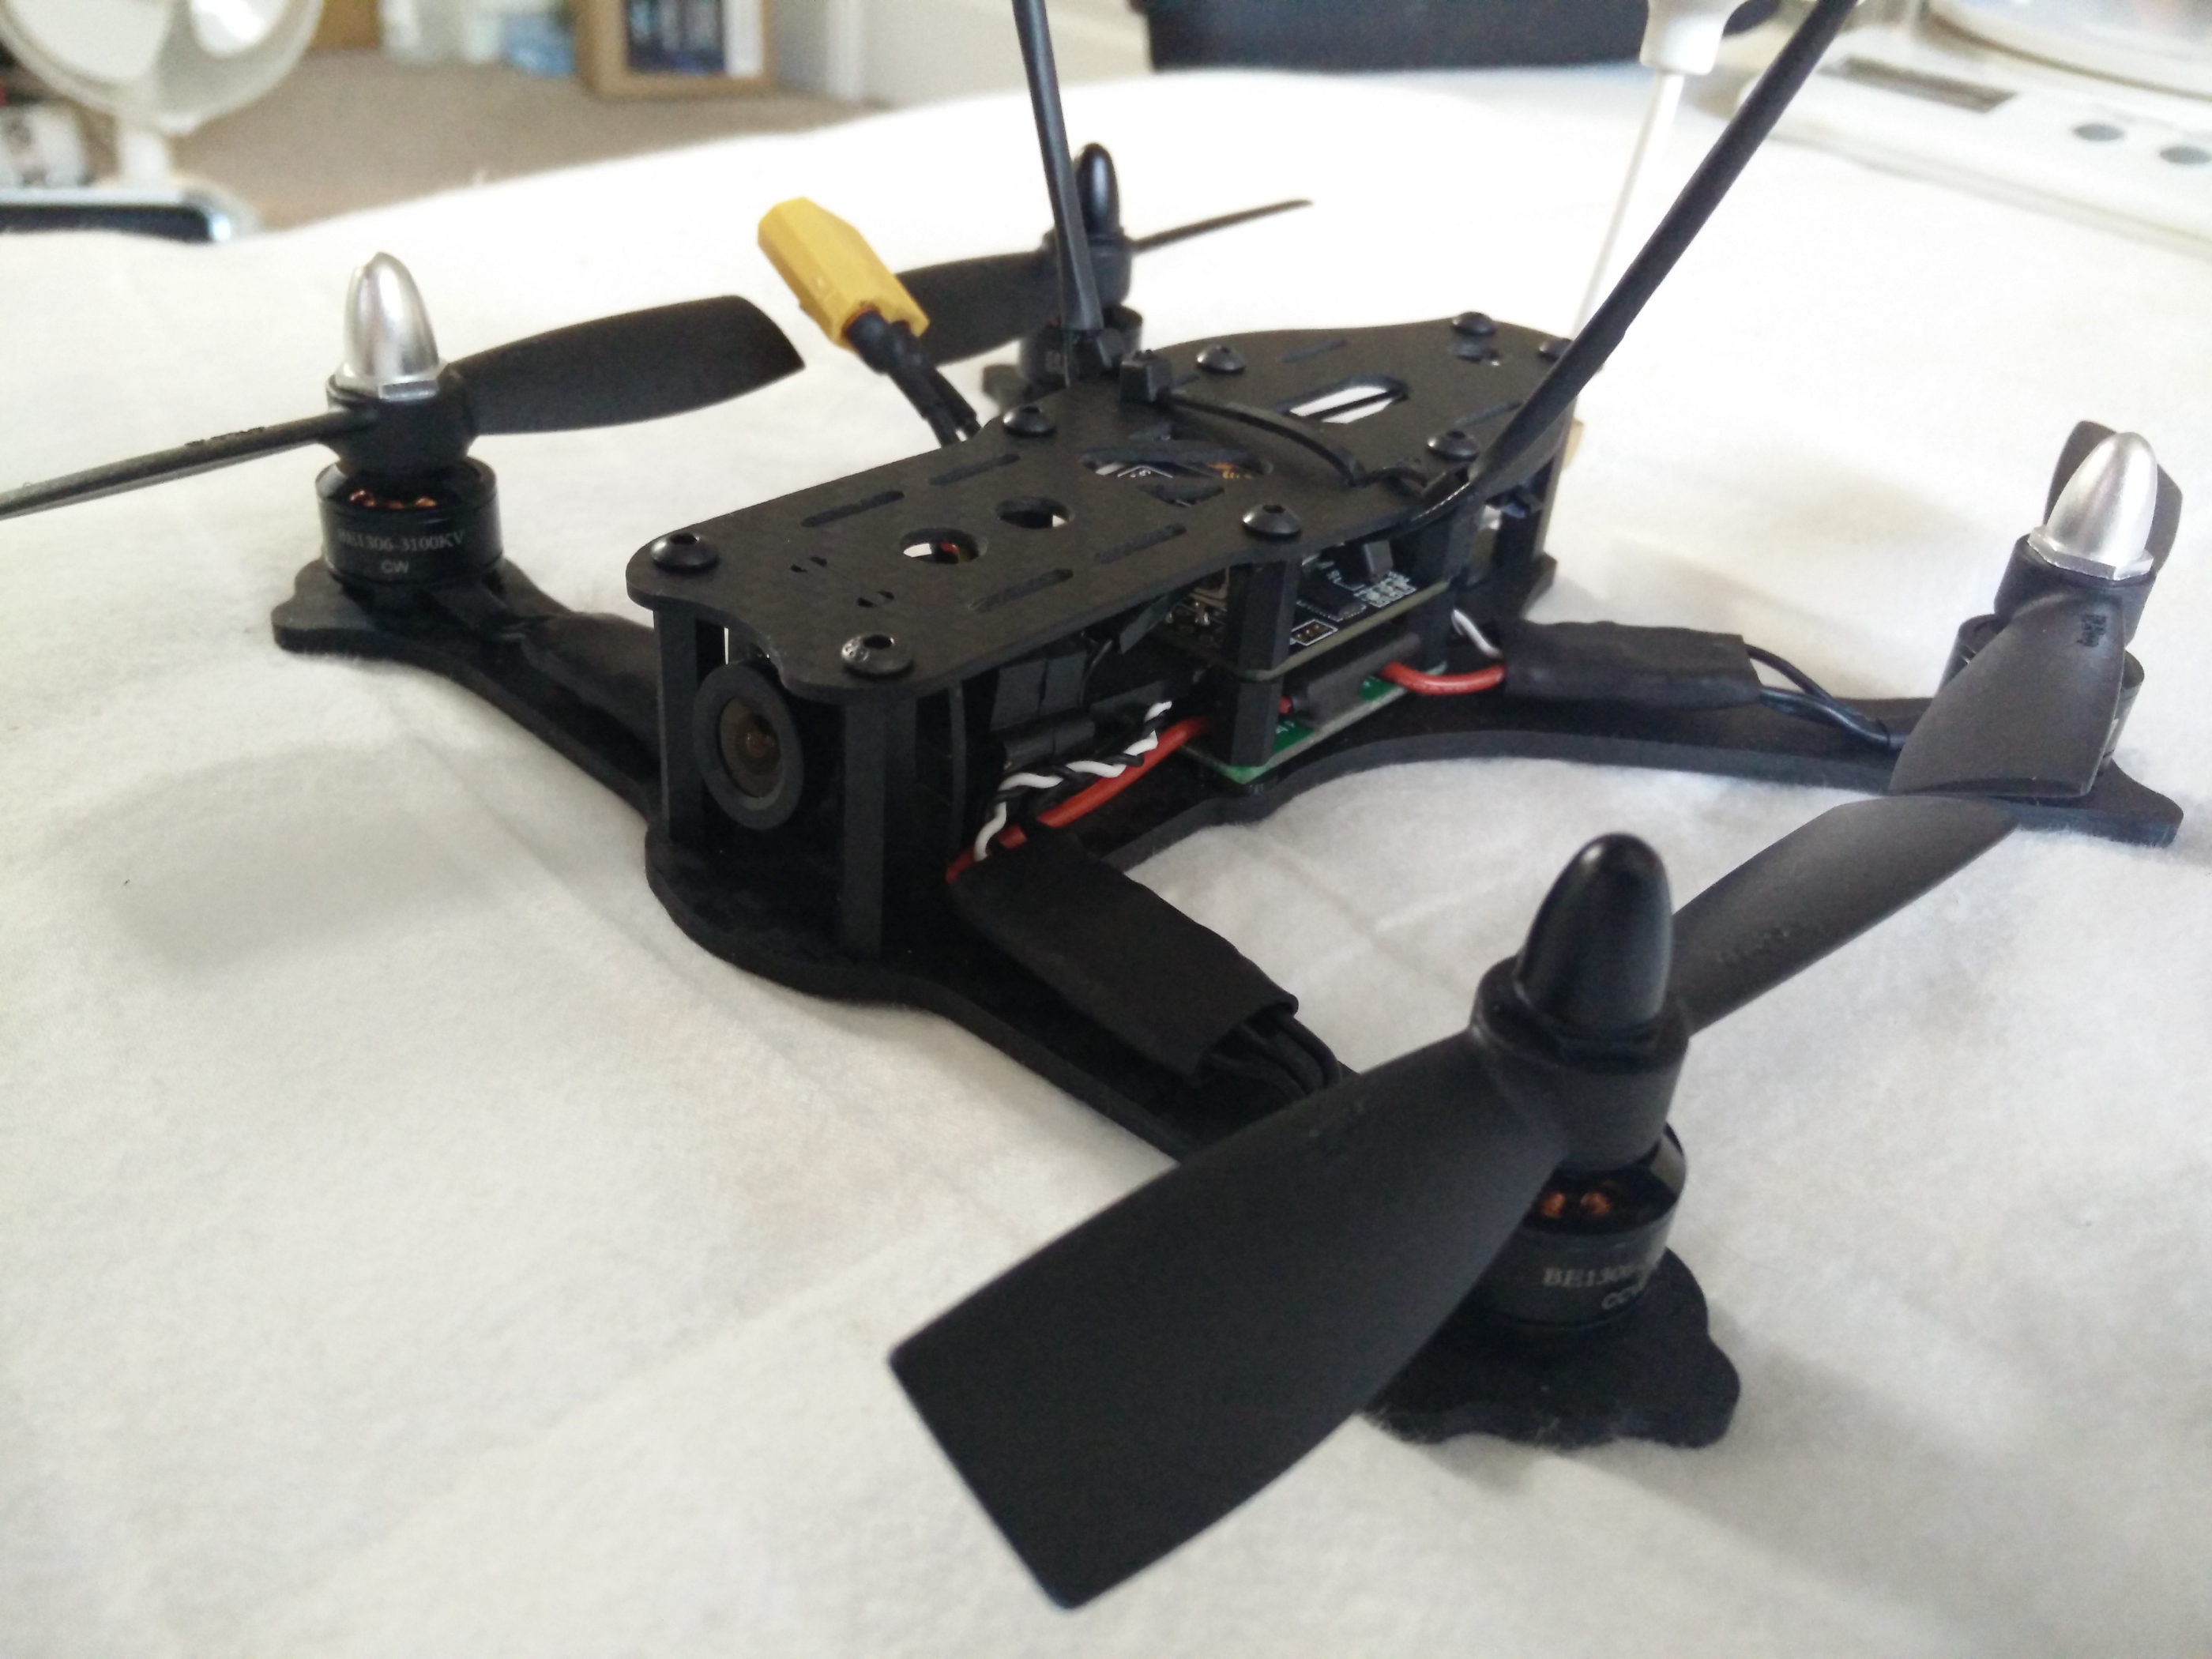
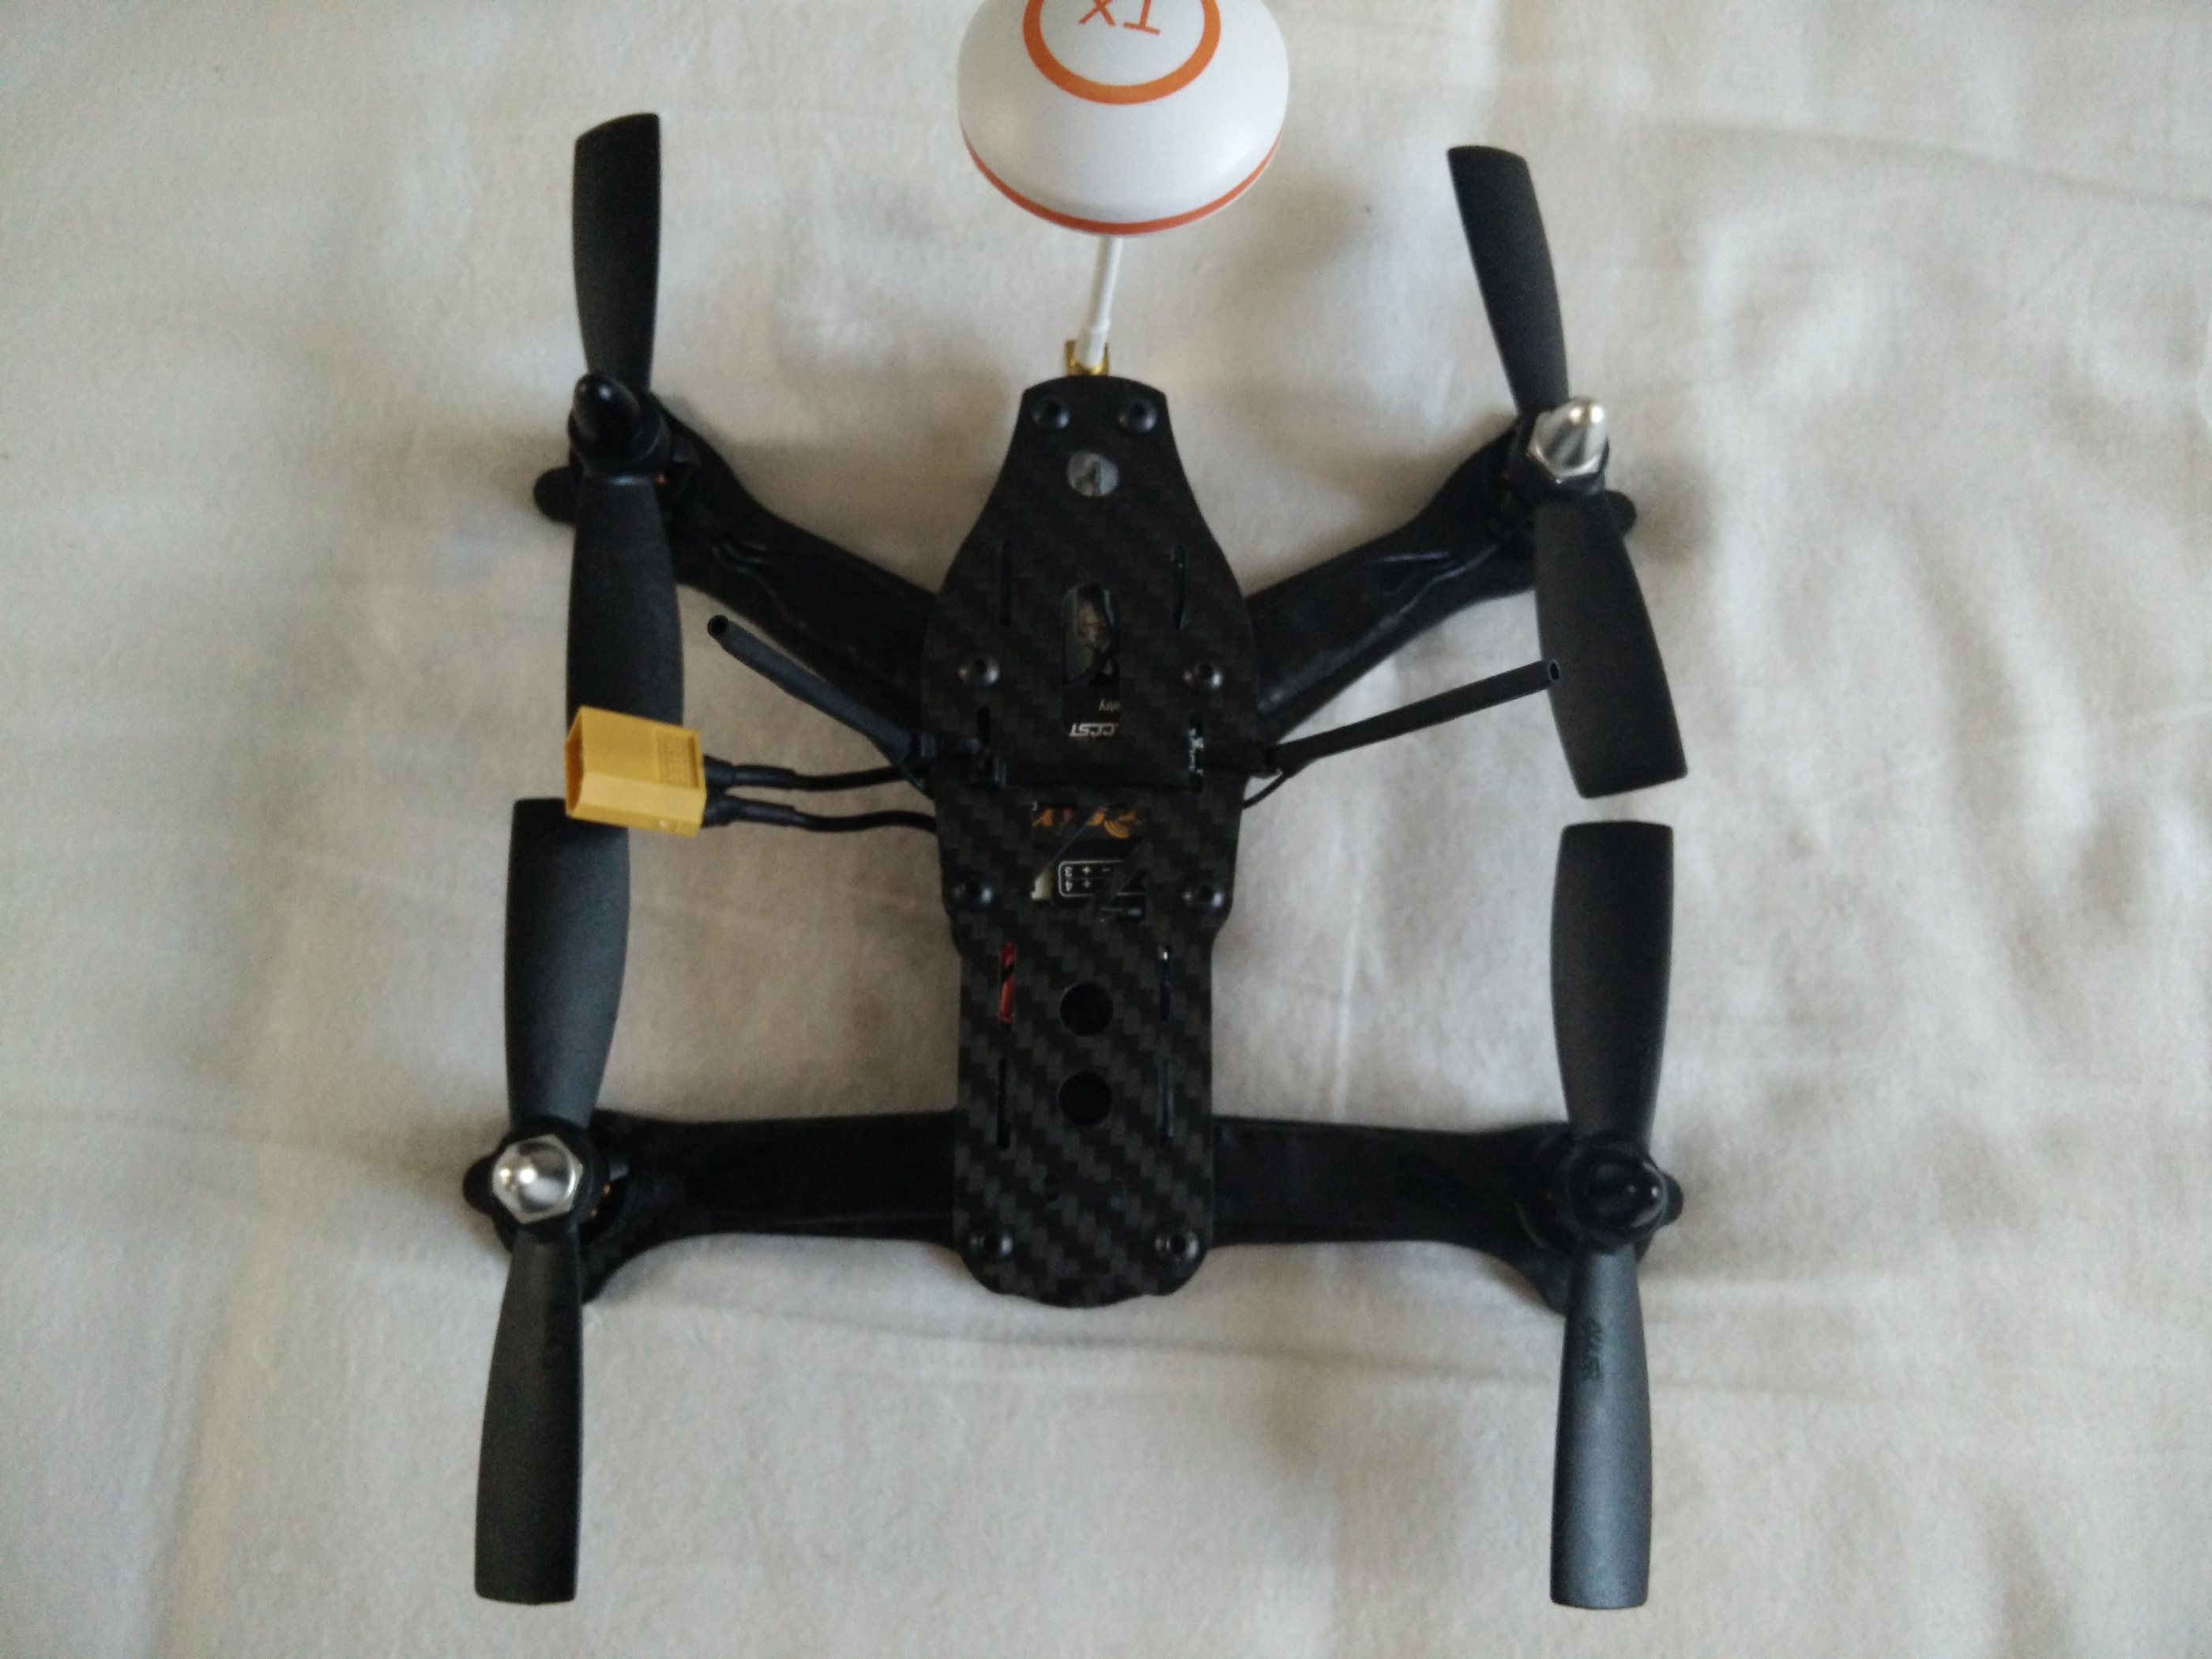
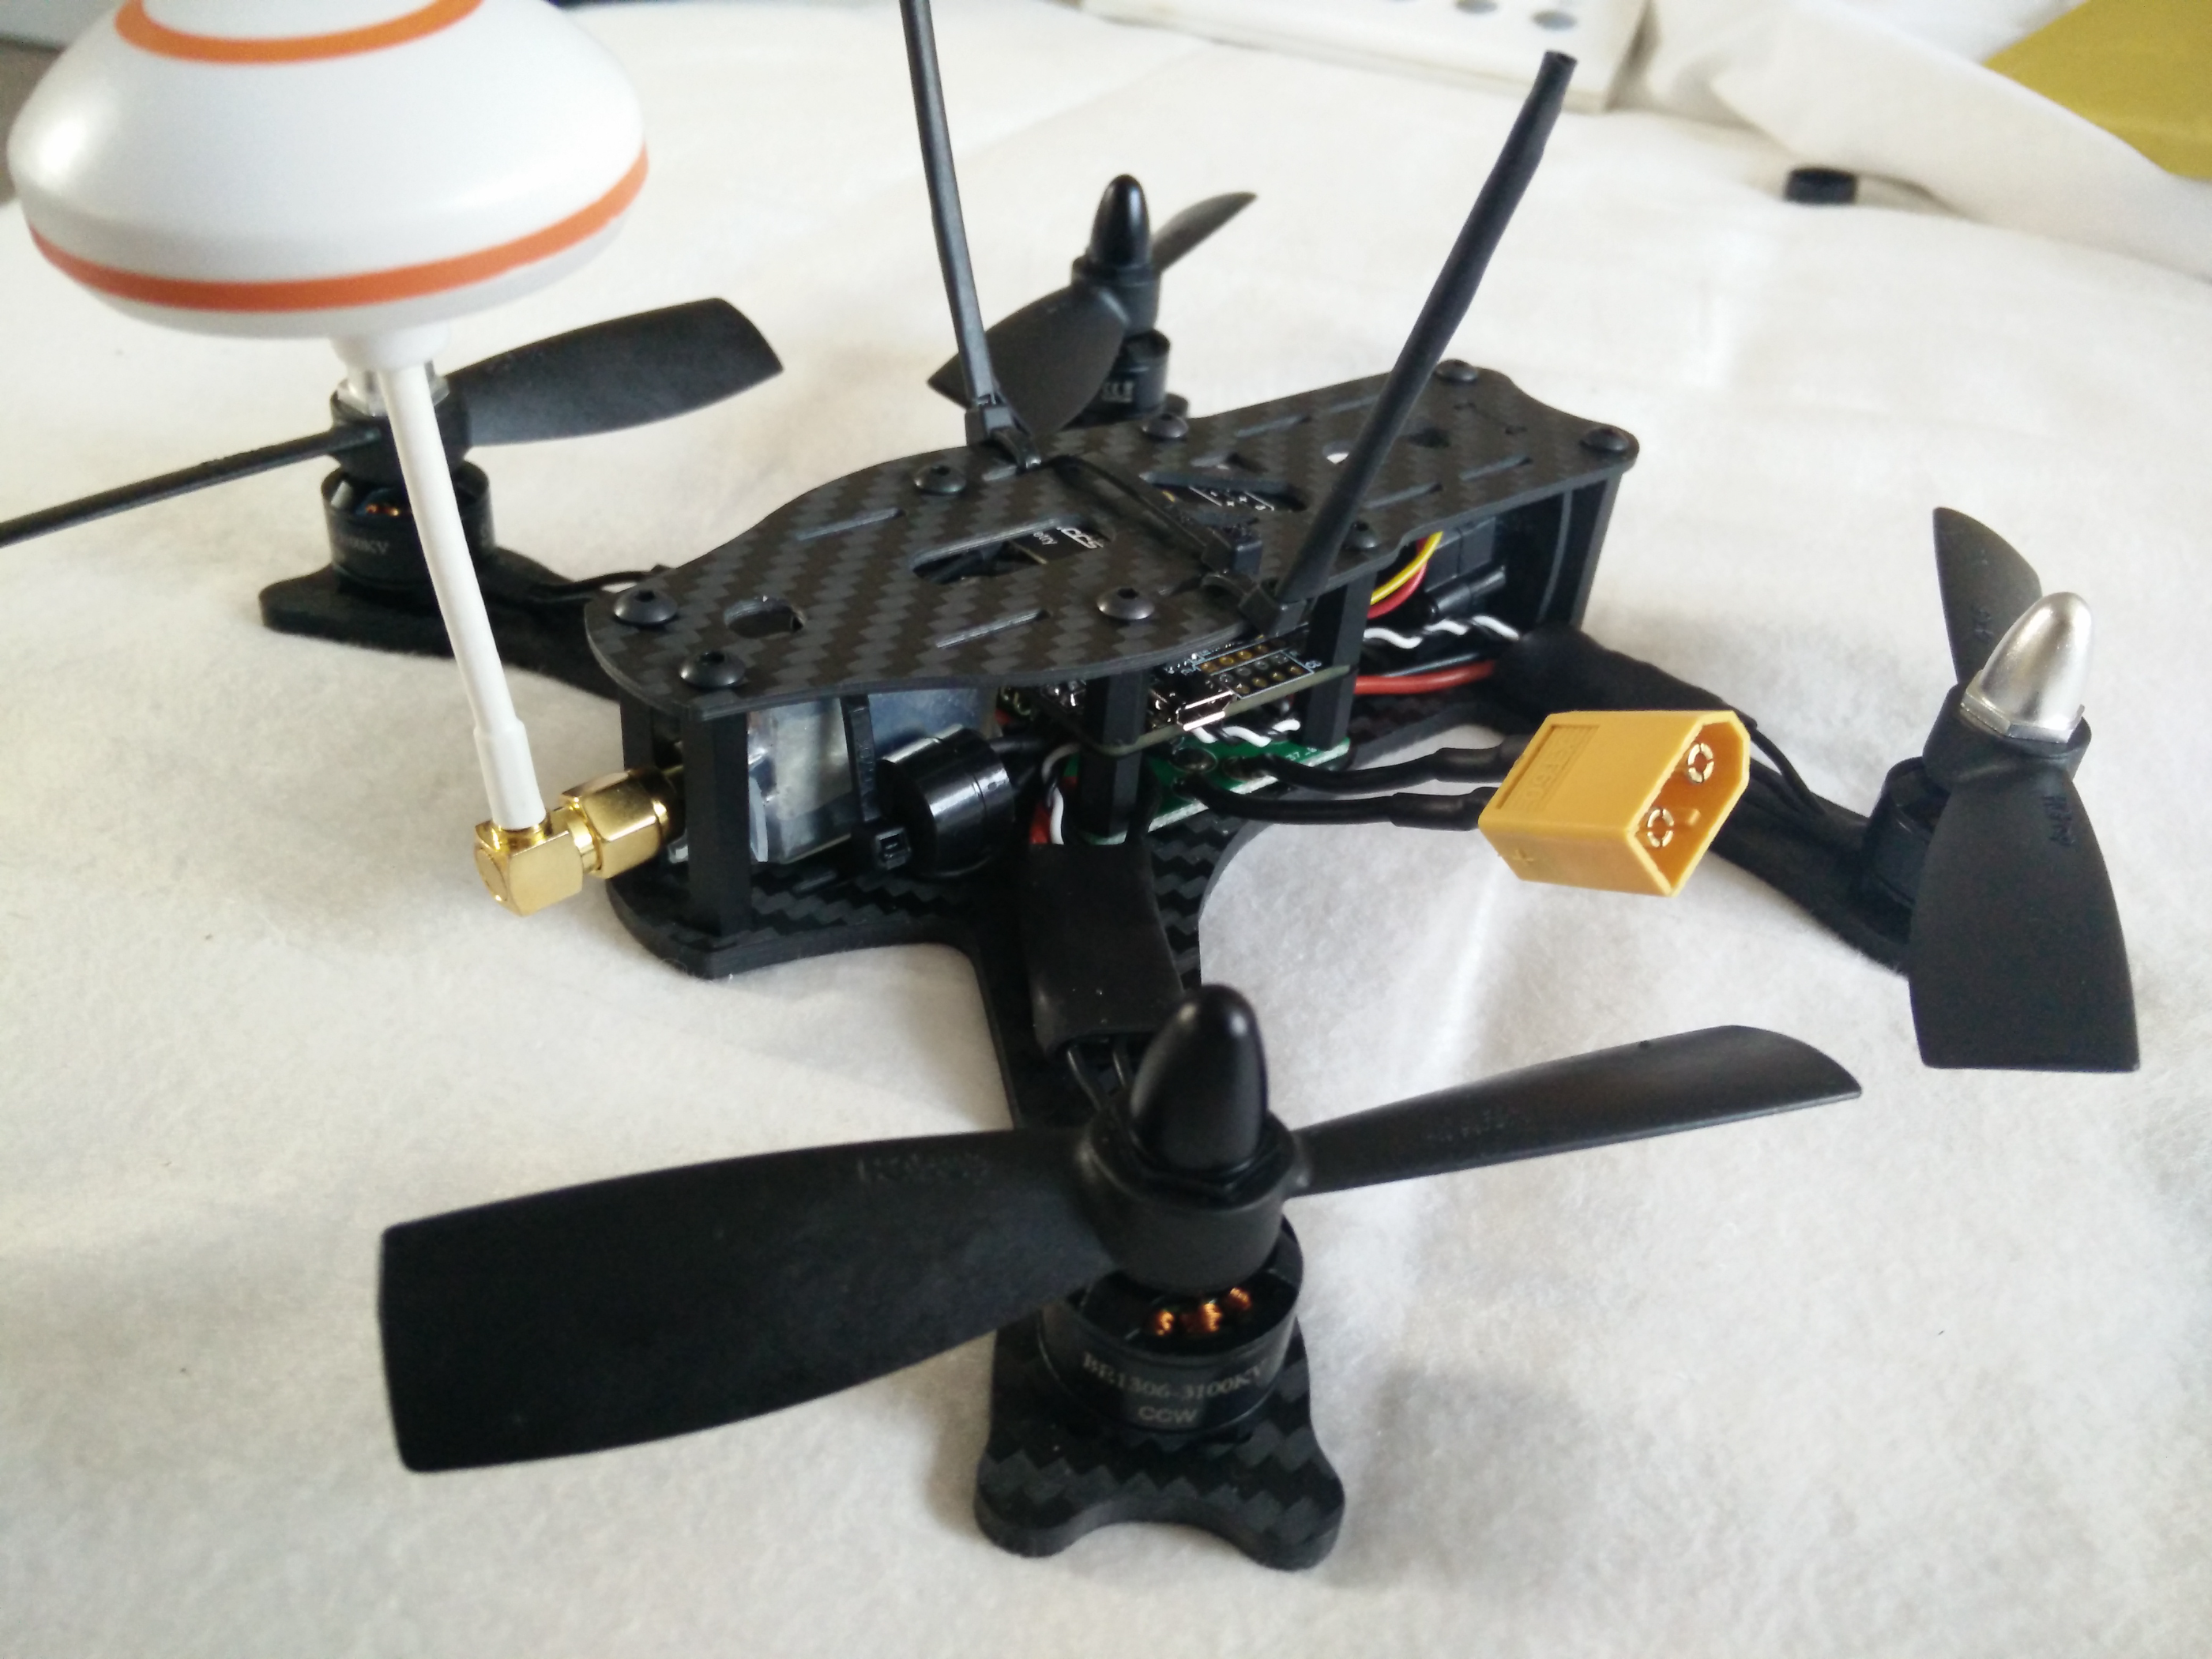
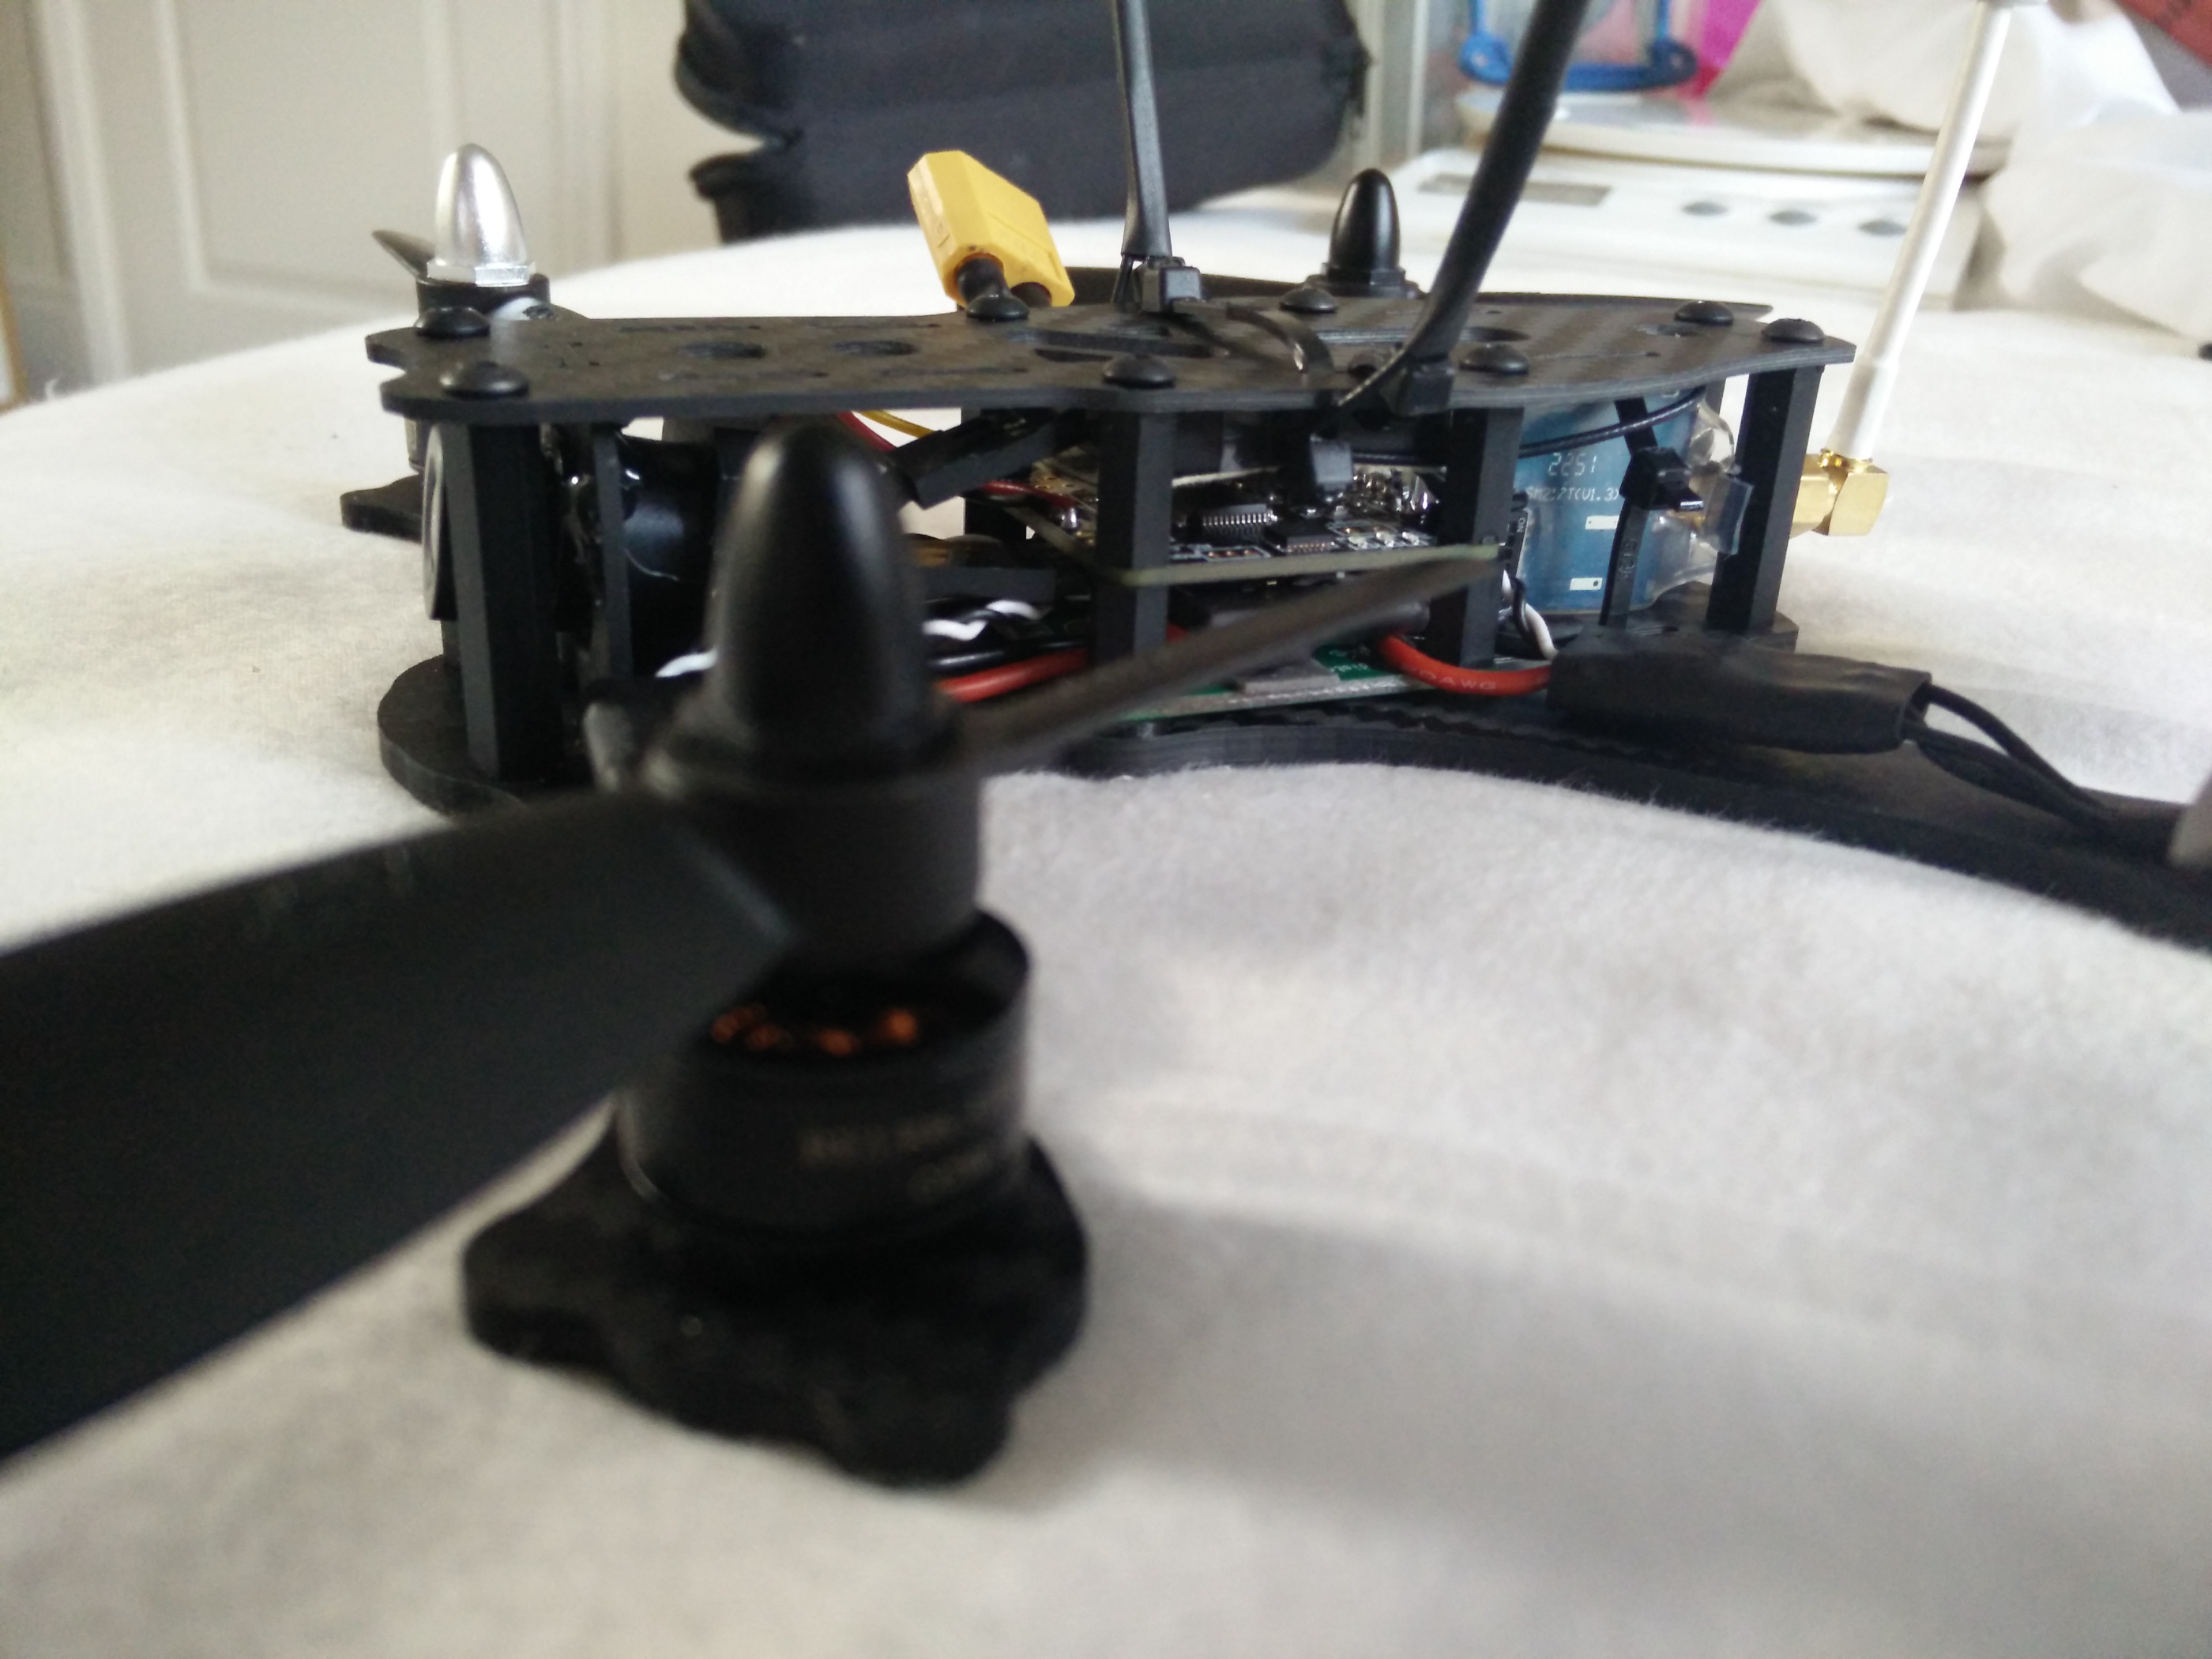
Here you can see how far the camera lens is recessed after I tuned the picture :).
Aaaaaaaaaand that’s it!
I plan to use BorisB’s Cleanflight branch until 1.10 is in RC or above, to make use of the wonderful Dterm filtering he’s implemented. I use it on my ZMR250 and it flies like it’s on rails.
Here’s a quick video showing such things:
As for full spec here it is:
Skunkworx Hobbies 170mm Kermit frame MRM DragonFly32 FC DYS 1306 3100kv motors DYS BL20a ESC’s HQProp 4045BullNose Eachine TX600 Video Transmitter + Aerial Banggood cheapo $12 camera (CMOS :( - CCD coming soon!!!)
Weight: 200g. (wtihout 850mAh 3s).
Update:
Since flying it, I decided to take a bit of time to design an antenna protector. The first crash I had was a good few minutes walk away, there was no damage but it had unscrewed the antenna slightly, so being wary of basically powering up a transmitter without an aerial and being able to “burn them out”, I made a mount for it:

It works well, and has survived plenty of crashes so far :).