Reviews
KCFrames KC250 - Review & Build Log
Posted on June 22, 2016 • 8 min read • 1,583 words
Frame Specs
- Pure “X” design arm layout
- 250mm diagonal spindle to spindle
- Quick replacement arm system
- Lightweight Carbon 1.5 mm Decks
- 4mm carbon arms
- Tight center of mass layout
- M3 x 16-19mm slots for motor mount holes
- 35mm Aluminium stand-offs
- Frame only weight : 99g
- (optional) Brett Collis designed PDB with 5v 0.5A regulator with the option of hard mounting a XT-60 connector or wire harness.
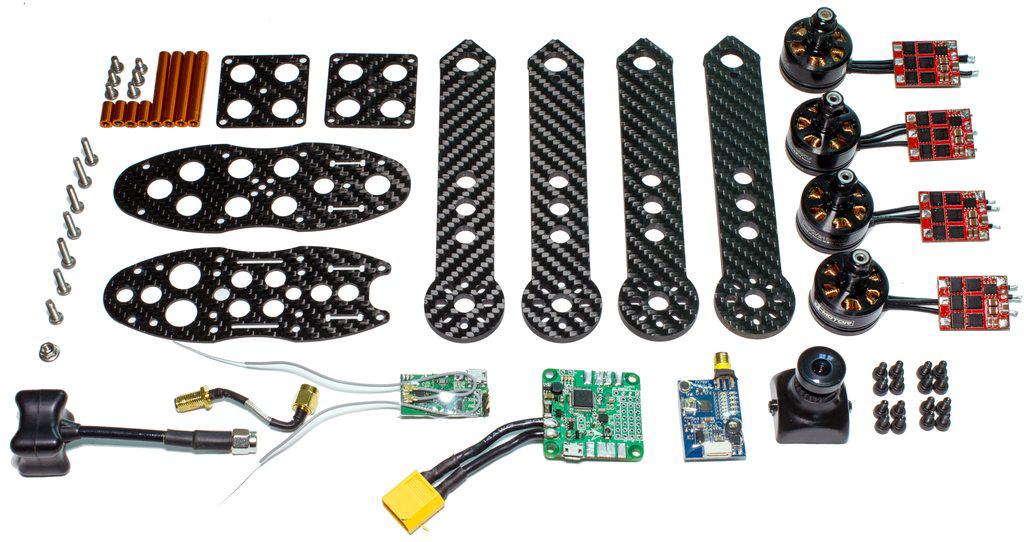
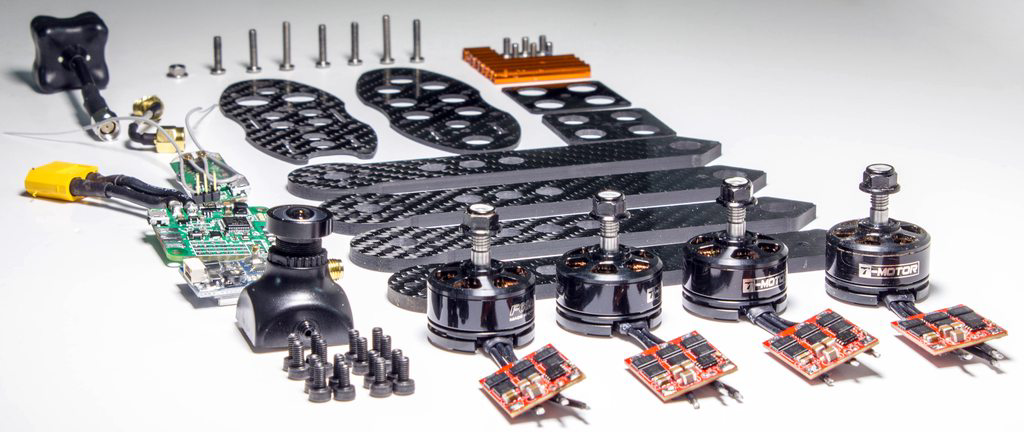
The Parts List
- KCFrames KC250 Frame
- RotorGeeks RG20 Esc’s
- T-Motor F60 2206 2100kv V2 Motors
- DTFUHF Doge Flight Controller (prototype)
- DTFUHF Reciever (prototype)
- FX799T 25mW Video Transmitter
- HS1177 FPV Camera with 2.1mm Lens
- TBS Triumph Video Antenna
The Build
It is worth noting here that I will be building my KC250 slightly different to how the instructions follow. This is for a few reasons. Firstly, I wanted to mimic the setup Luke Bannister used to win the World Drone Prix in Dubai because it looked amazing in the air and obviously won, but I have also moved to running the Lipo underneath on all of my current quads, rather than on the top.
I think it actually improves flight characteristics with the weight being a lower CoG than normal. This pendulum effect seems to give an extra added level of stability when performing hard or fast manouvres, but will also help when you make mistakes and corrections are needed.
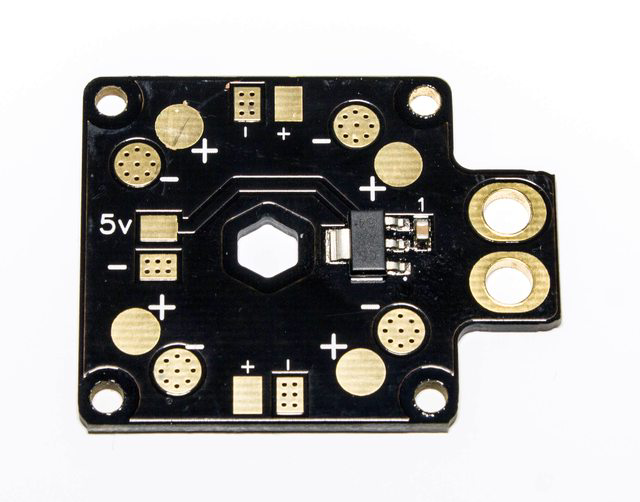
As you may have noticed from the frame specs above, there is an optional PDB with 30.5mm bolt spacing that will fit right above or below your flight controller for a tidy but practical power wire installation. Due to running the DTFUHF flight controller with onboard-PDB I will not actually need to use the KC PDB, although the KC PDB is very well designed and looks very good. It features a 5v regulator, pads for ESC’s and can fit an XT60 in on the side (or you can solder your own pigtail wire in).
With the above in mind, let’s start on the build!
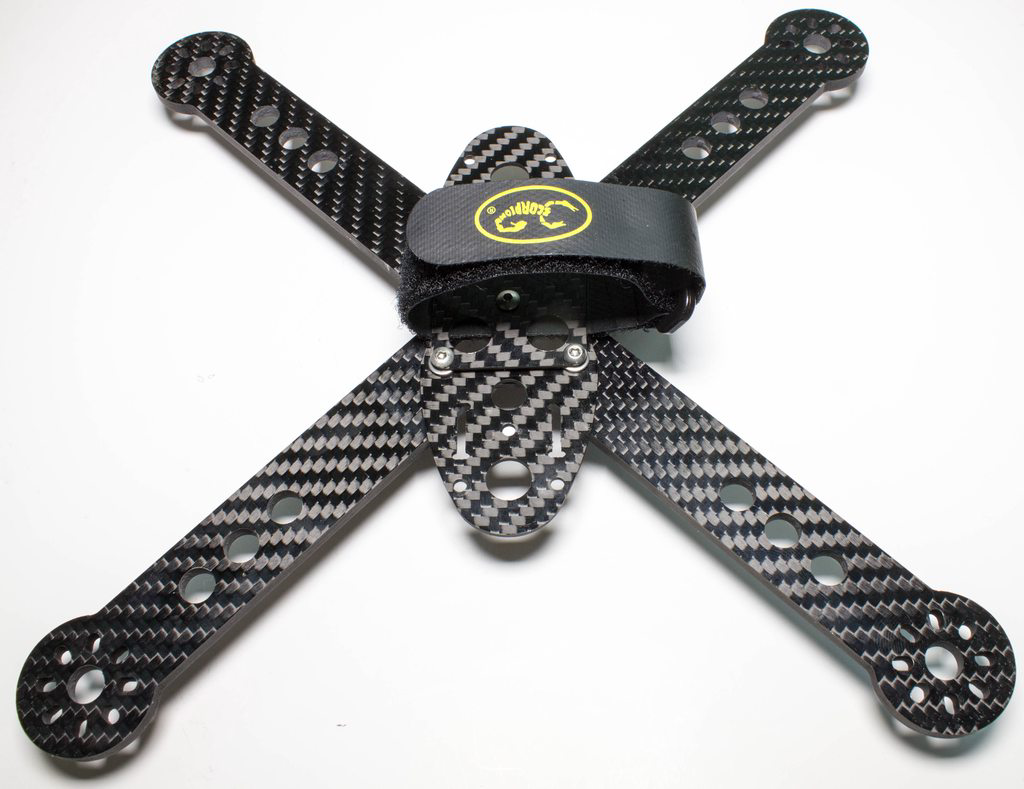
With the bottom half of the quad now assembled you should be able to get a feel for the size of it. The KC250 is one of the smallest quads that will take 6" props, and you can certainly see it here. The unique arm design looks great here with it’s weight saving holes and hard corners towards the motor section. You’ll also notice how small the main frame body actually is now, but don’t be alarmed - we can still fit everything in there with ease :).
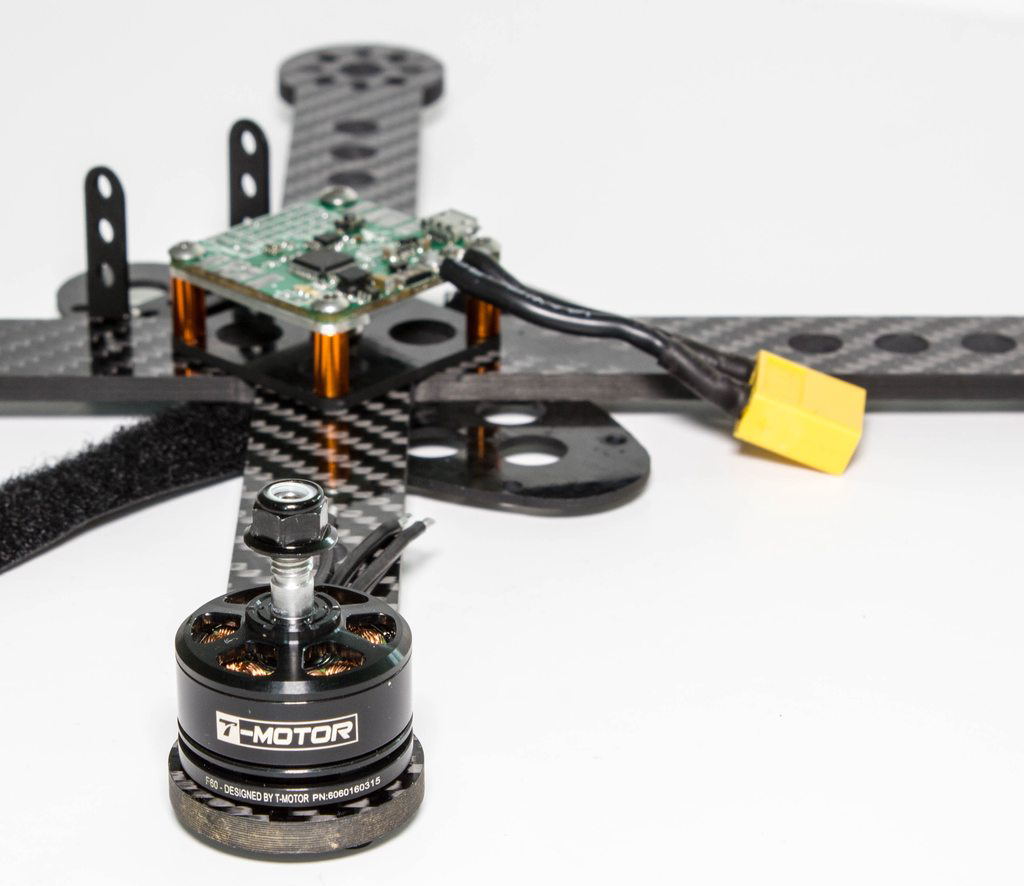
For this build I’ve gone with the new T-Motor F60 series motors. They come in 2206 2100kv form and provide a perfect amount of thrust and torque for 6", whether you are flying 6030, 6035 or 6045 props on 3s and 4s. The motors in their “all-black” finish really complement the frame here and will be perfect for my black and orange colour scheme you’ll notice I’ve done as we move further on into the build.
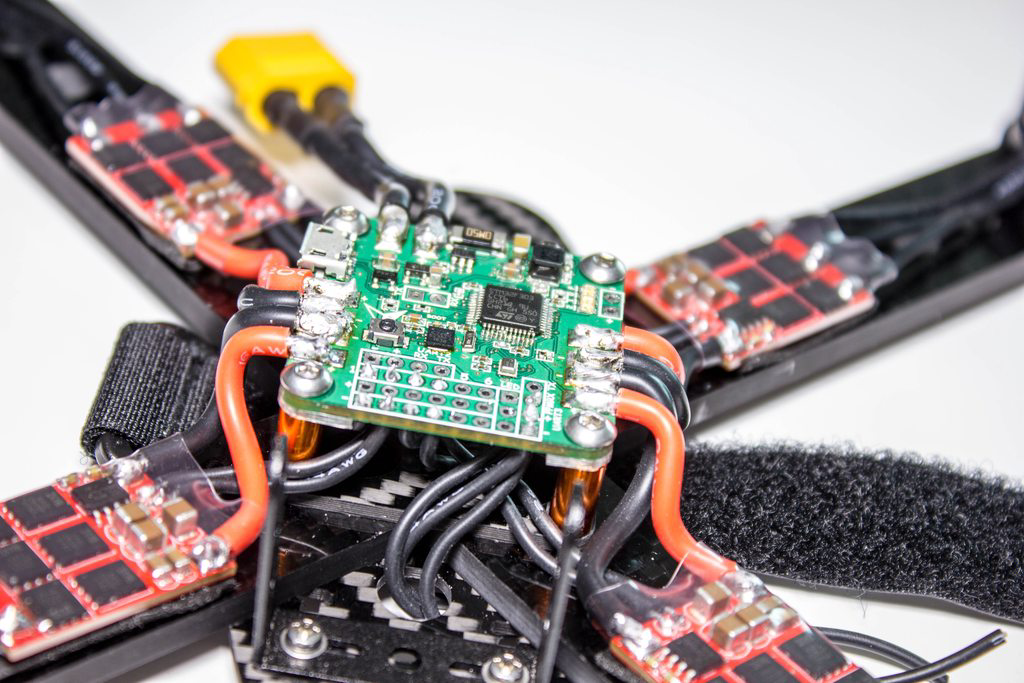
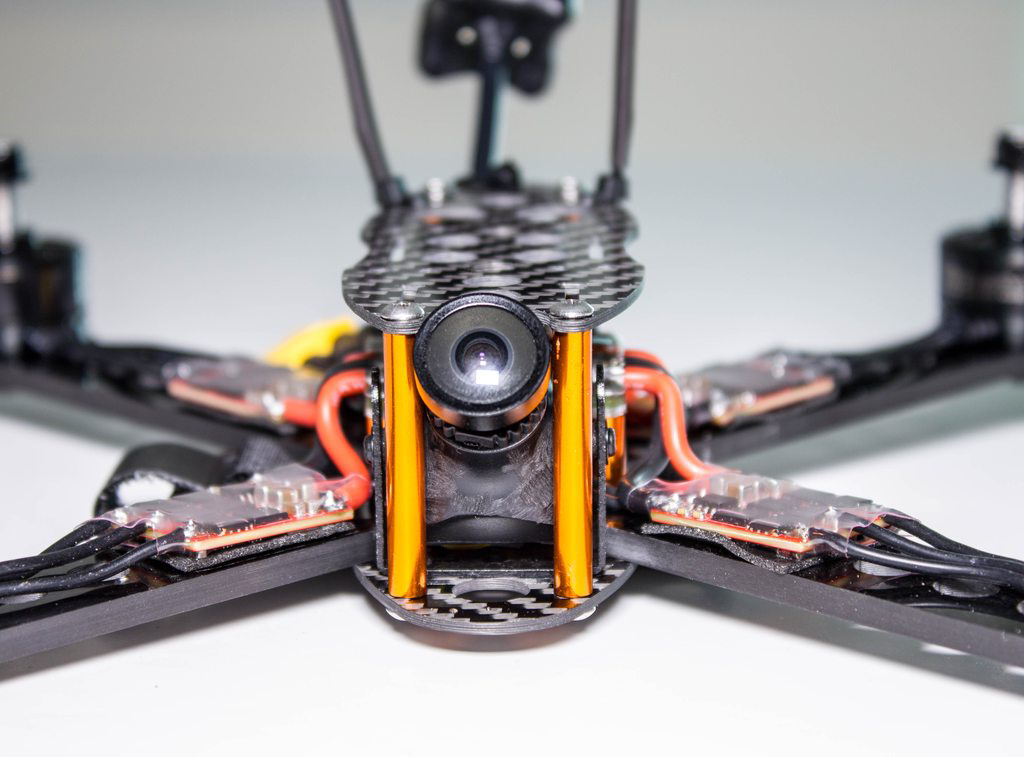
I’ve now soldered all of the required wires onto the flight controller and PDB, leaving just component placement (VTX and Receiver) left. You’ll notice right at the front we’ve got the receiver wires just poking through the underside of the frame - I’ve left these wires as long as possible so that I can place the receiver literally anywhere in the frame without having to extend the wires. You’ll get a bit of wastage doing this, but once you have them cut to length it leaves for a an extremely tidy build.
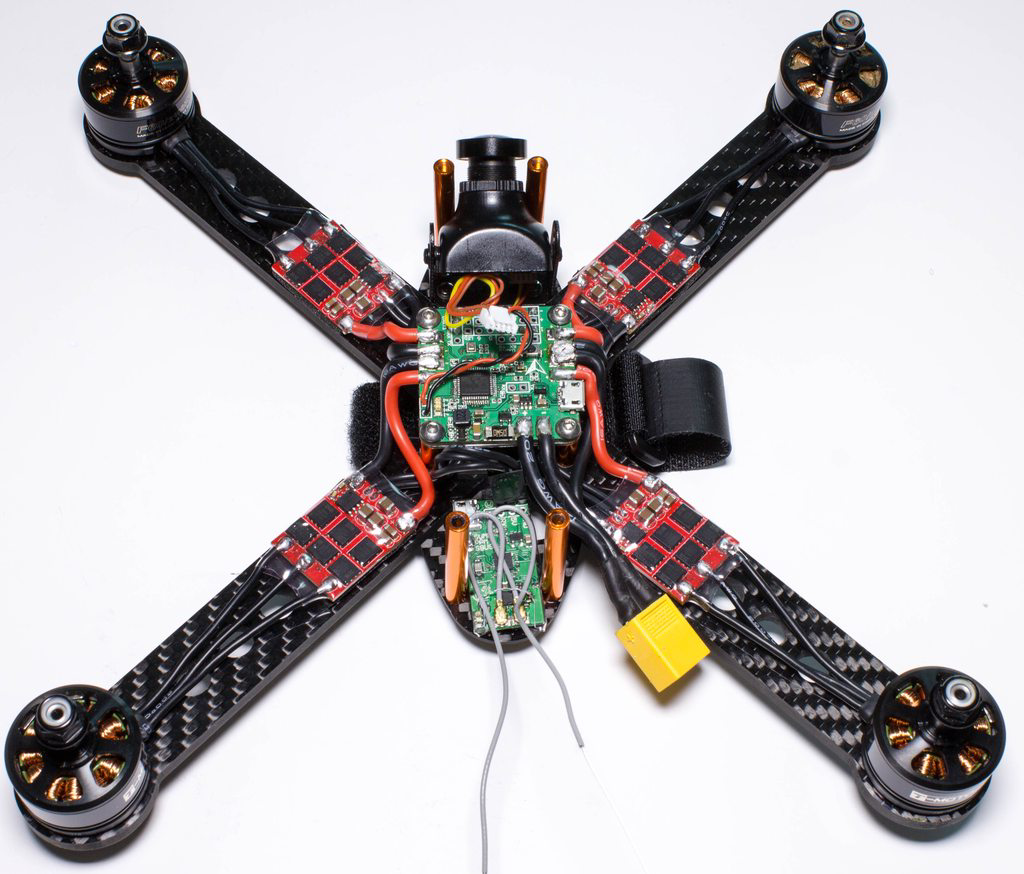
With all the wiring complete we can sit back and admire how good the frame looks with all the components (aside from the top plate) now in place. As I said earlier the body of the frame is quite small, but actually there is plenty of room to fit everything in, and still make it all really accessible if you do have issues, or get any breakages etc.
With the build process completed we now have to go into Cleanflight and set up the flight controller so that it is aligned correctly, our rates have been entered, failsafe has been set, and any other important configuration chages have been done. Ensuring your failsafe is set correctly is by far the most important, and will save you from damage and other unforseen consequences should something happen during your flying.
Setup and Tuning
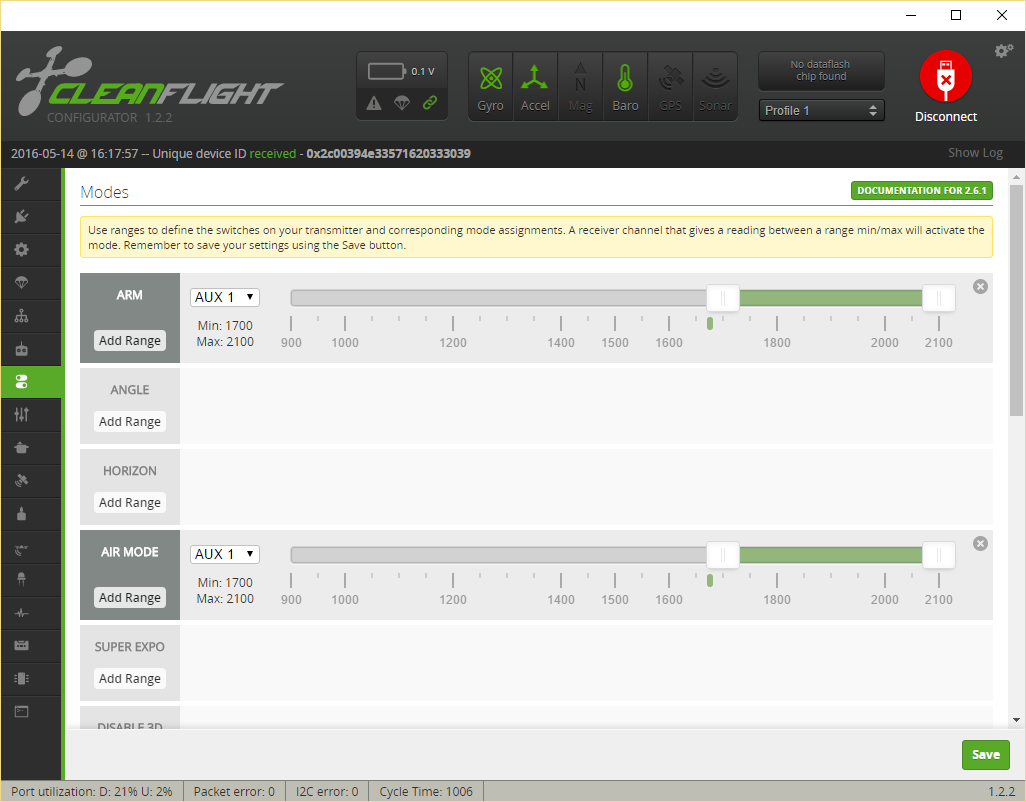
One of the most important tabs of the configurator, but also one of the most easily missed. This is where we’ll setup our flight modes, arm switches, flight type (acro, horizon etc), and any buzzers if required. I run a super simple setup of only 2 Modes - ARM and AIRMODE - both of which are triggered when AUX1 (Switch F on my Taranis) is triggered up. This will spin my propellers and activate PID’s at 0 throttle (using AIRMODE), and I’m ready to fly!
With everything assembled, configured and adjusted - it’s now to time to put your propellers on and fly this awesome machine!
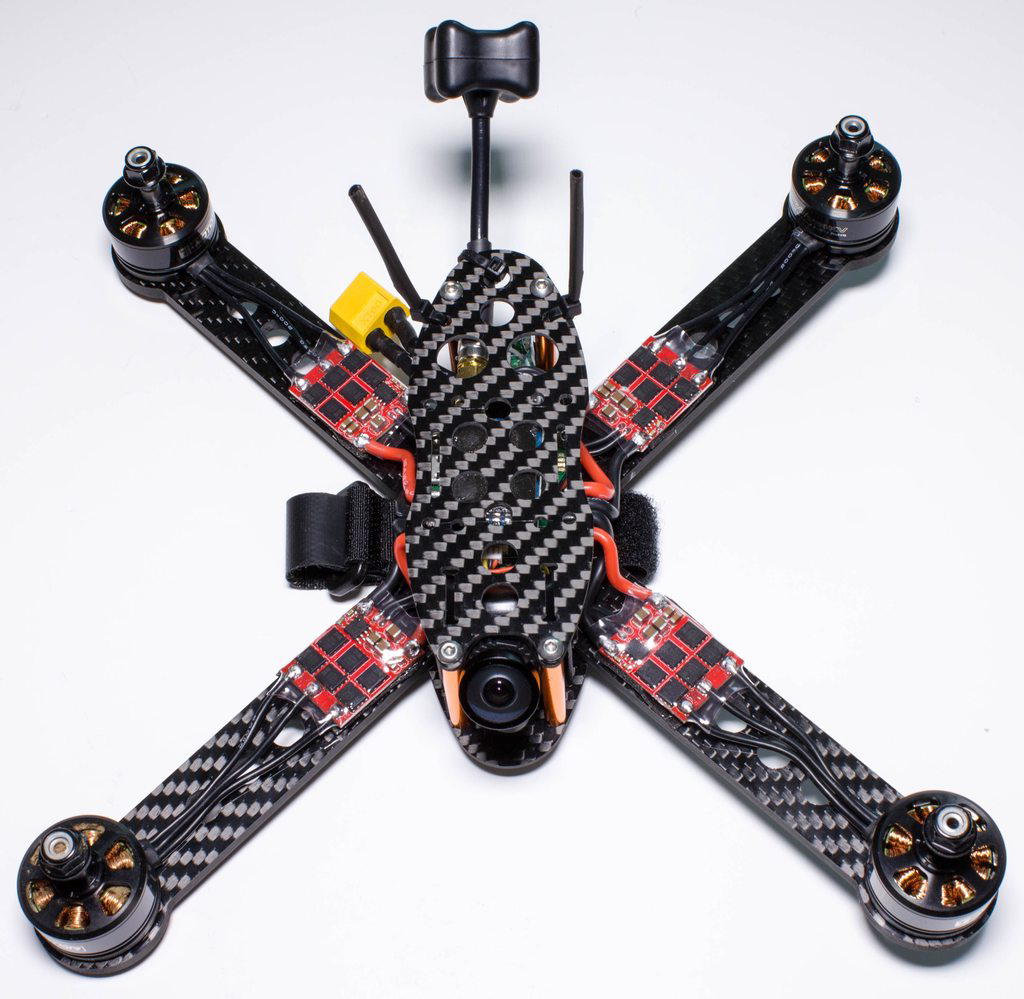
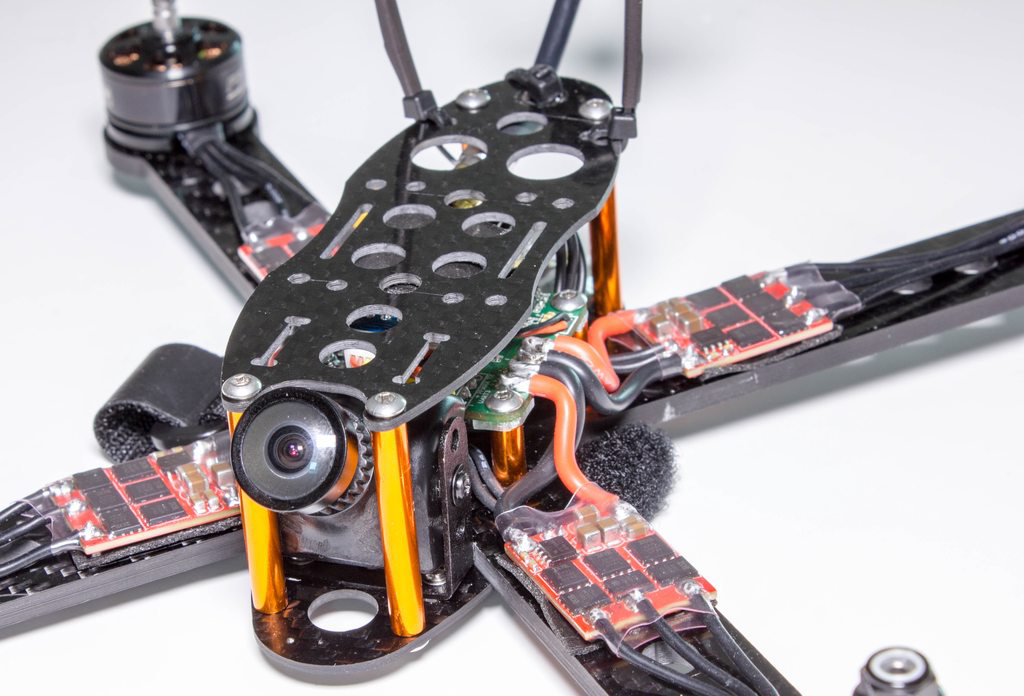
Video & Full Gallery
So let’s get onto the maiden! I’ve thoroughly enjoyed the build of the frame, building quadcopters is a hugely fun passion of mine, so let’s now see how it flies!
There’s a bit of tuning still required, but otherwise it’s flying AMAZING. It has actually put my other setups into question with how linear and good it felt around the mini course we setup. I’d of liked to have put some gates down as well, but sadly the grass has grown huge with the summer weather we’ve had here in the UK so that will have to wait for another day.. :)
There’s a full build gallery with extra photos and media available here.
Final Thoughts
I’ve built it. I’ve set it up and configured it. I’ve flown it, and I’ve crashed it. Many times I might add.. :) So how does it perform and what do I think?
Well, it’s great! I’ve not had a 6" setup for a good few months after focusing on 5", and actually there’s something to be said for swinging that extra inch of prop. It mostly takes away the need to run Tri-blades which means much less amp-draw in flight, meaning better flight times! What do I mean by this? Well, in the corners you have that extra inch of prop to grip in the corners. When you run 5" 2-blade propellers you tend to drift past the corner and often have to over correct to get it to do what you want, where as with Tri-blades it just “grips” the air better and does this all for you, making for a much smoother feel and actually a smoother flight. 6" does exactly that I feel, even more so, meaning you can be super precise but also quick at the same time.
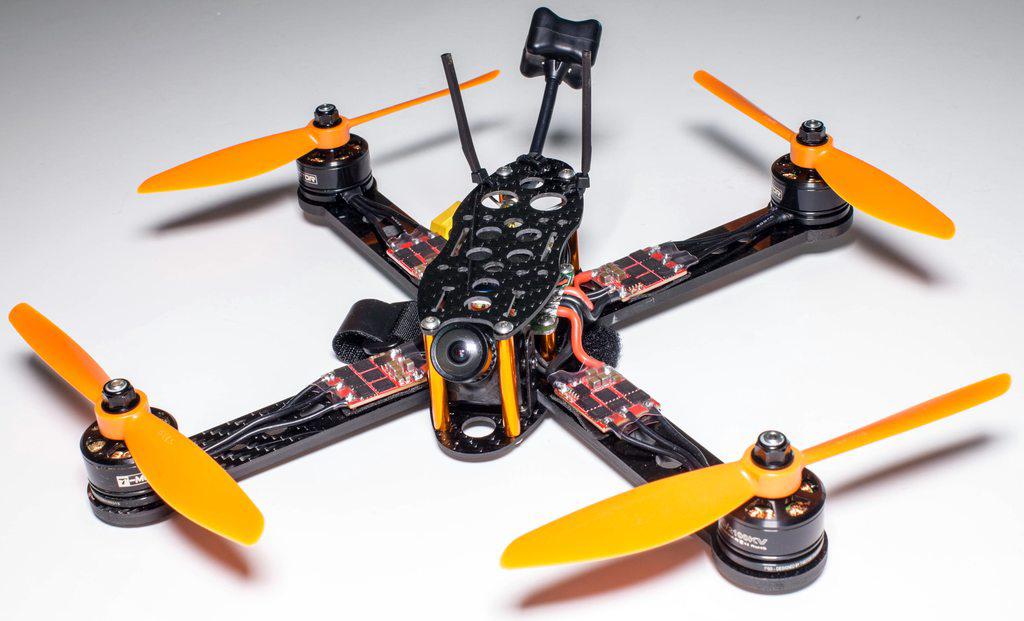
As for the frame itself, you can really tell how light it is in the corners with full throttle accelerations - it just picks up in no time and gains momentum amazingly. The lightweight design of the frame also means it has a very low drag factor compared to other frames, further helping you accelerate in the air when speed is crucial to “out-run” your mates, or competition :).
Despite its small size, it is very easy to fit all of the equipment in without feeling cramped meaning if you do break something you have ample room to repair or replace it. This is also where the KC comes into it’s own league as well - if you do manage to break an arm during a flight, the quick release system will mean you are back in the air extremely quickly, compared to other frames that will need a whole host of dis-assembly. The “KC Mechanism” means you just need to loosen 2 bolts and you can swap an arm out, ready for the next race - other frames would force you to miss races.

I would however say if you plan to run a GoPro to record your footage, then you will need to run the Lipo underneath like I have - there is just not enough room on the top plate to accommodate both the Lipo and GoPro. This is absolutely fine of course in flight, and will help with Center of Gravity, but I know people like to run everything on the top of the frame. Similarly, if you are looking to use the KC 250 as a “basher” frame, I would be a little hesitant purely for the fact that this is a dedicated racing frame. It’s made light, it’s built light, and so there are a few places you could have issues (the cutouts in the arms or the bottom arm plate), but with that being said if you are looking for a quad to use for FPV Racing with your mates or competitively, I would not hesitate to get one.
I’ve also seen that KCFrames are bringing out a thicker bottom deck and redesigned bottom plate (the square piece), for those having issues with breaking stuff - so that is certainly an added bonus.. :)
Bonus Wallpaper
