Reviews
Diatone R349GT TBS Edition Review
Posted on December 1, 2019 • 10 min read • 1,939 words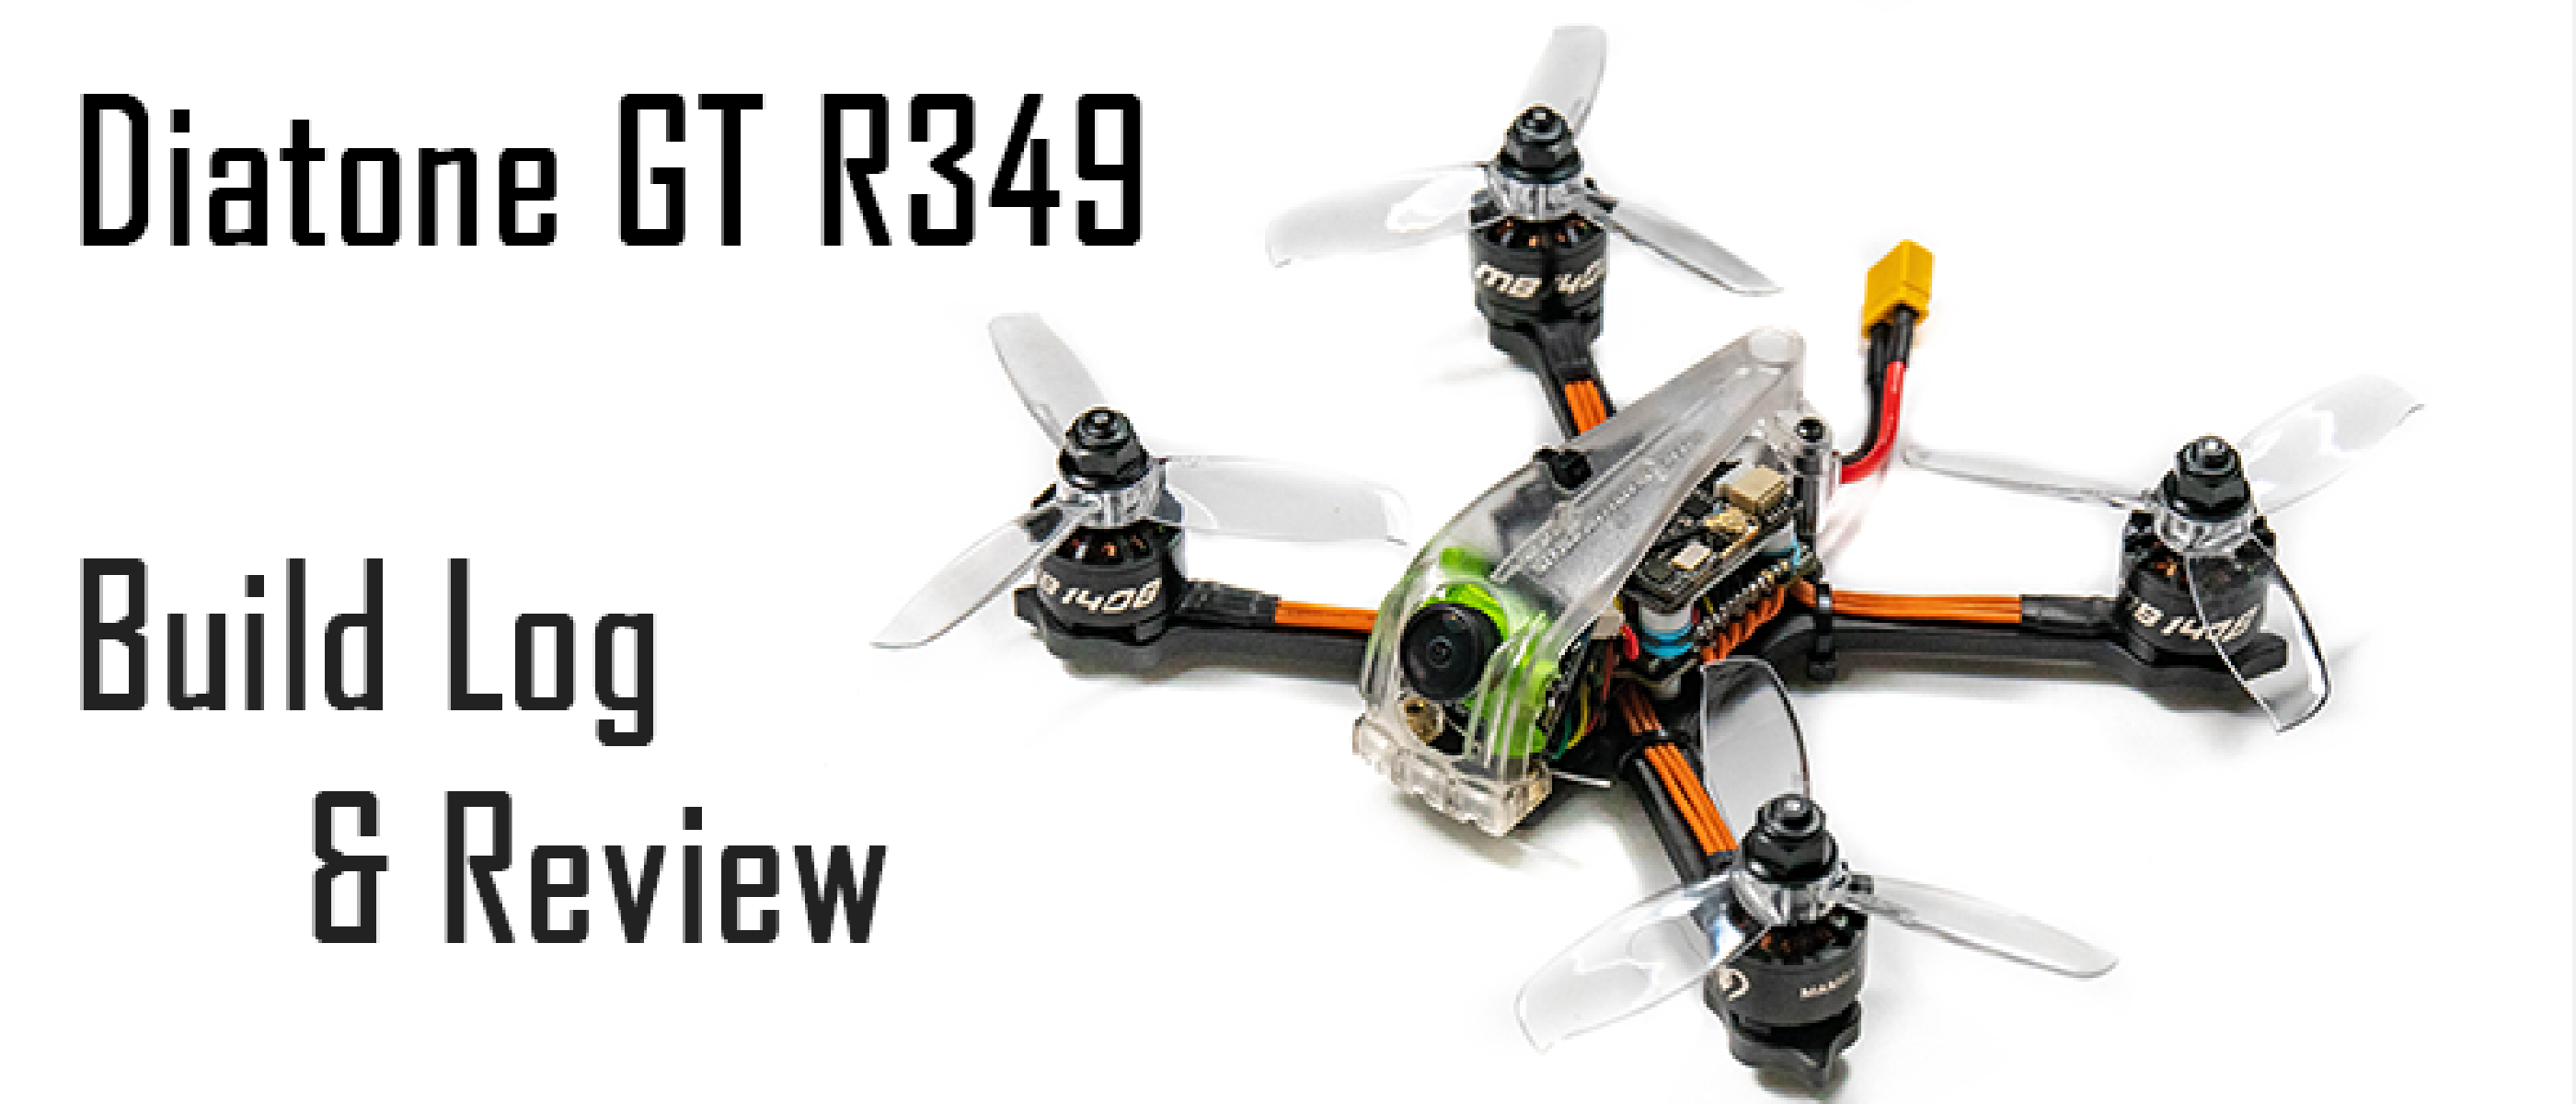
The Diatone 2019 GT R349 TBS Edition 135mm 3inch 4s Racing Drone is available from Banggood and other retailers!
Now this review has been a long time coming as I had to delay it for various reasons but let me just tell you this thing is now live! If you hadn’t guessed, this review is for the R349GT, which is the 4S edition of the 3 inch Diatone drone. Some progress has been made by Diatone and they now produce a 3 inch ARTF drone which now runs on 6S, with very similar but slightly improved components than this, so if that is what you are in the market for I would take this as a rough idea as to what you can expect from that.
So without further ado let’s get on with the review, Banggood were kind enough to send this model over for review and to me it looked very very good from the offset which is why I chose to review it. There are a few people in the UK who already had this and sung very high praises for it, so naturally it seemed like I had to investigate it after doing some research. I can see this being a useful entry model for someone who has just started in the world of drones, or perhaps someone who has started on Tiny Whoops and now wants to progress onto a bigger drone but without the fear that a 5 inch drone brings.
Product Description
Out of the box the Diatone R349 just needs a receiver to be soldered and bound to your transmitter and you are ready to go provided you already have a transmitter, goggles and some batteries to power the drone. Here’s what the manufacturer says about the drone:
Specification:
Brand name: DiatoneItem name: 2019 GT R349 TBS VTX editionWheelbase: 135mmLipo: 4SProps: 3 inchWeight: 130gFC: Mamba F405mini/MPU6000 ;OSD;16M Flash;BECCamera: RunCam Micro SwiftVTX: TBS UNIFY 800mWESC: Mamba F25 /25A 4S ESC Dshot 600Motor: Mamba Racing MB1408 4000KV
What’s in the box?
Now, none of the above specification really covers what you actually get in the box so let’s take a look - presumably there will be some spare parts and additional accessories not mentioned!
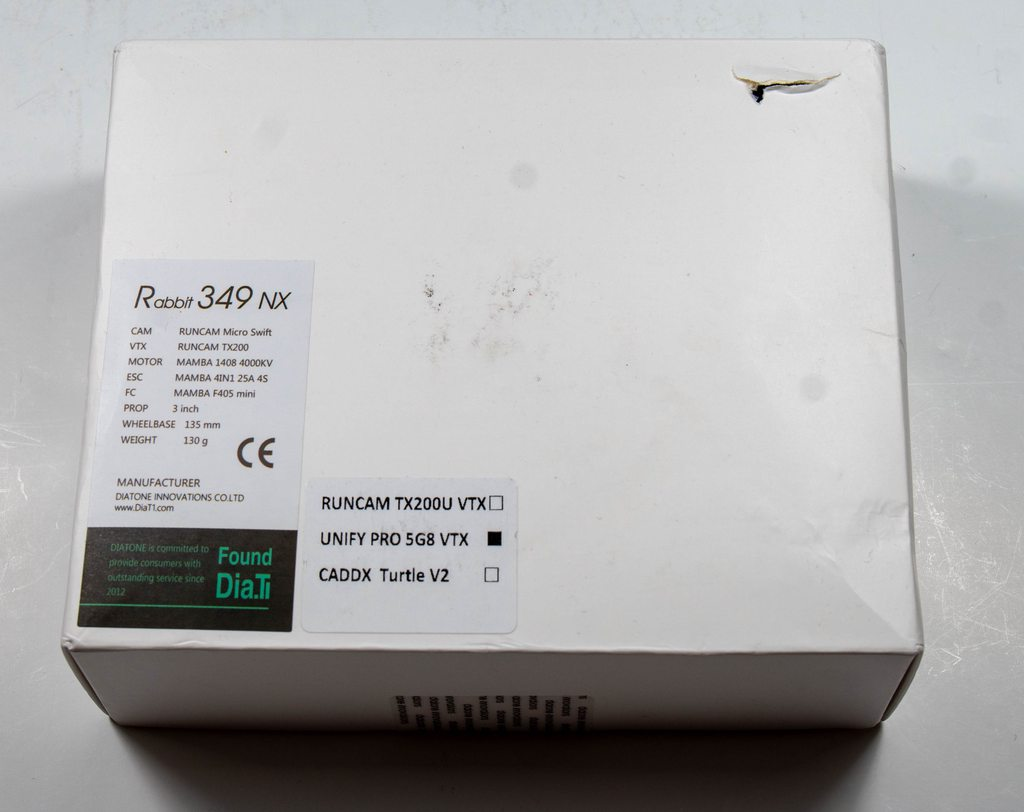
The box did arrive slightly damaged in shipping but that is not too much of an issue as the box protected everything perfectly so there was no internal damage.
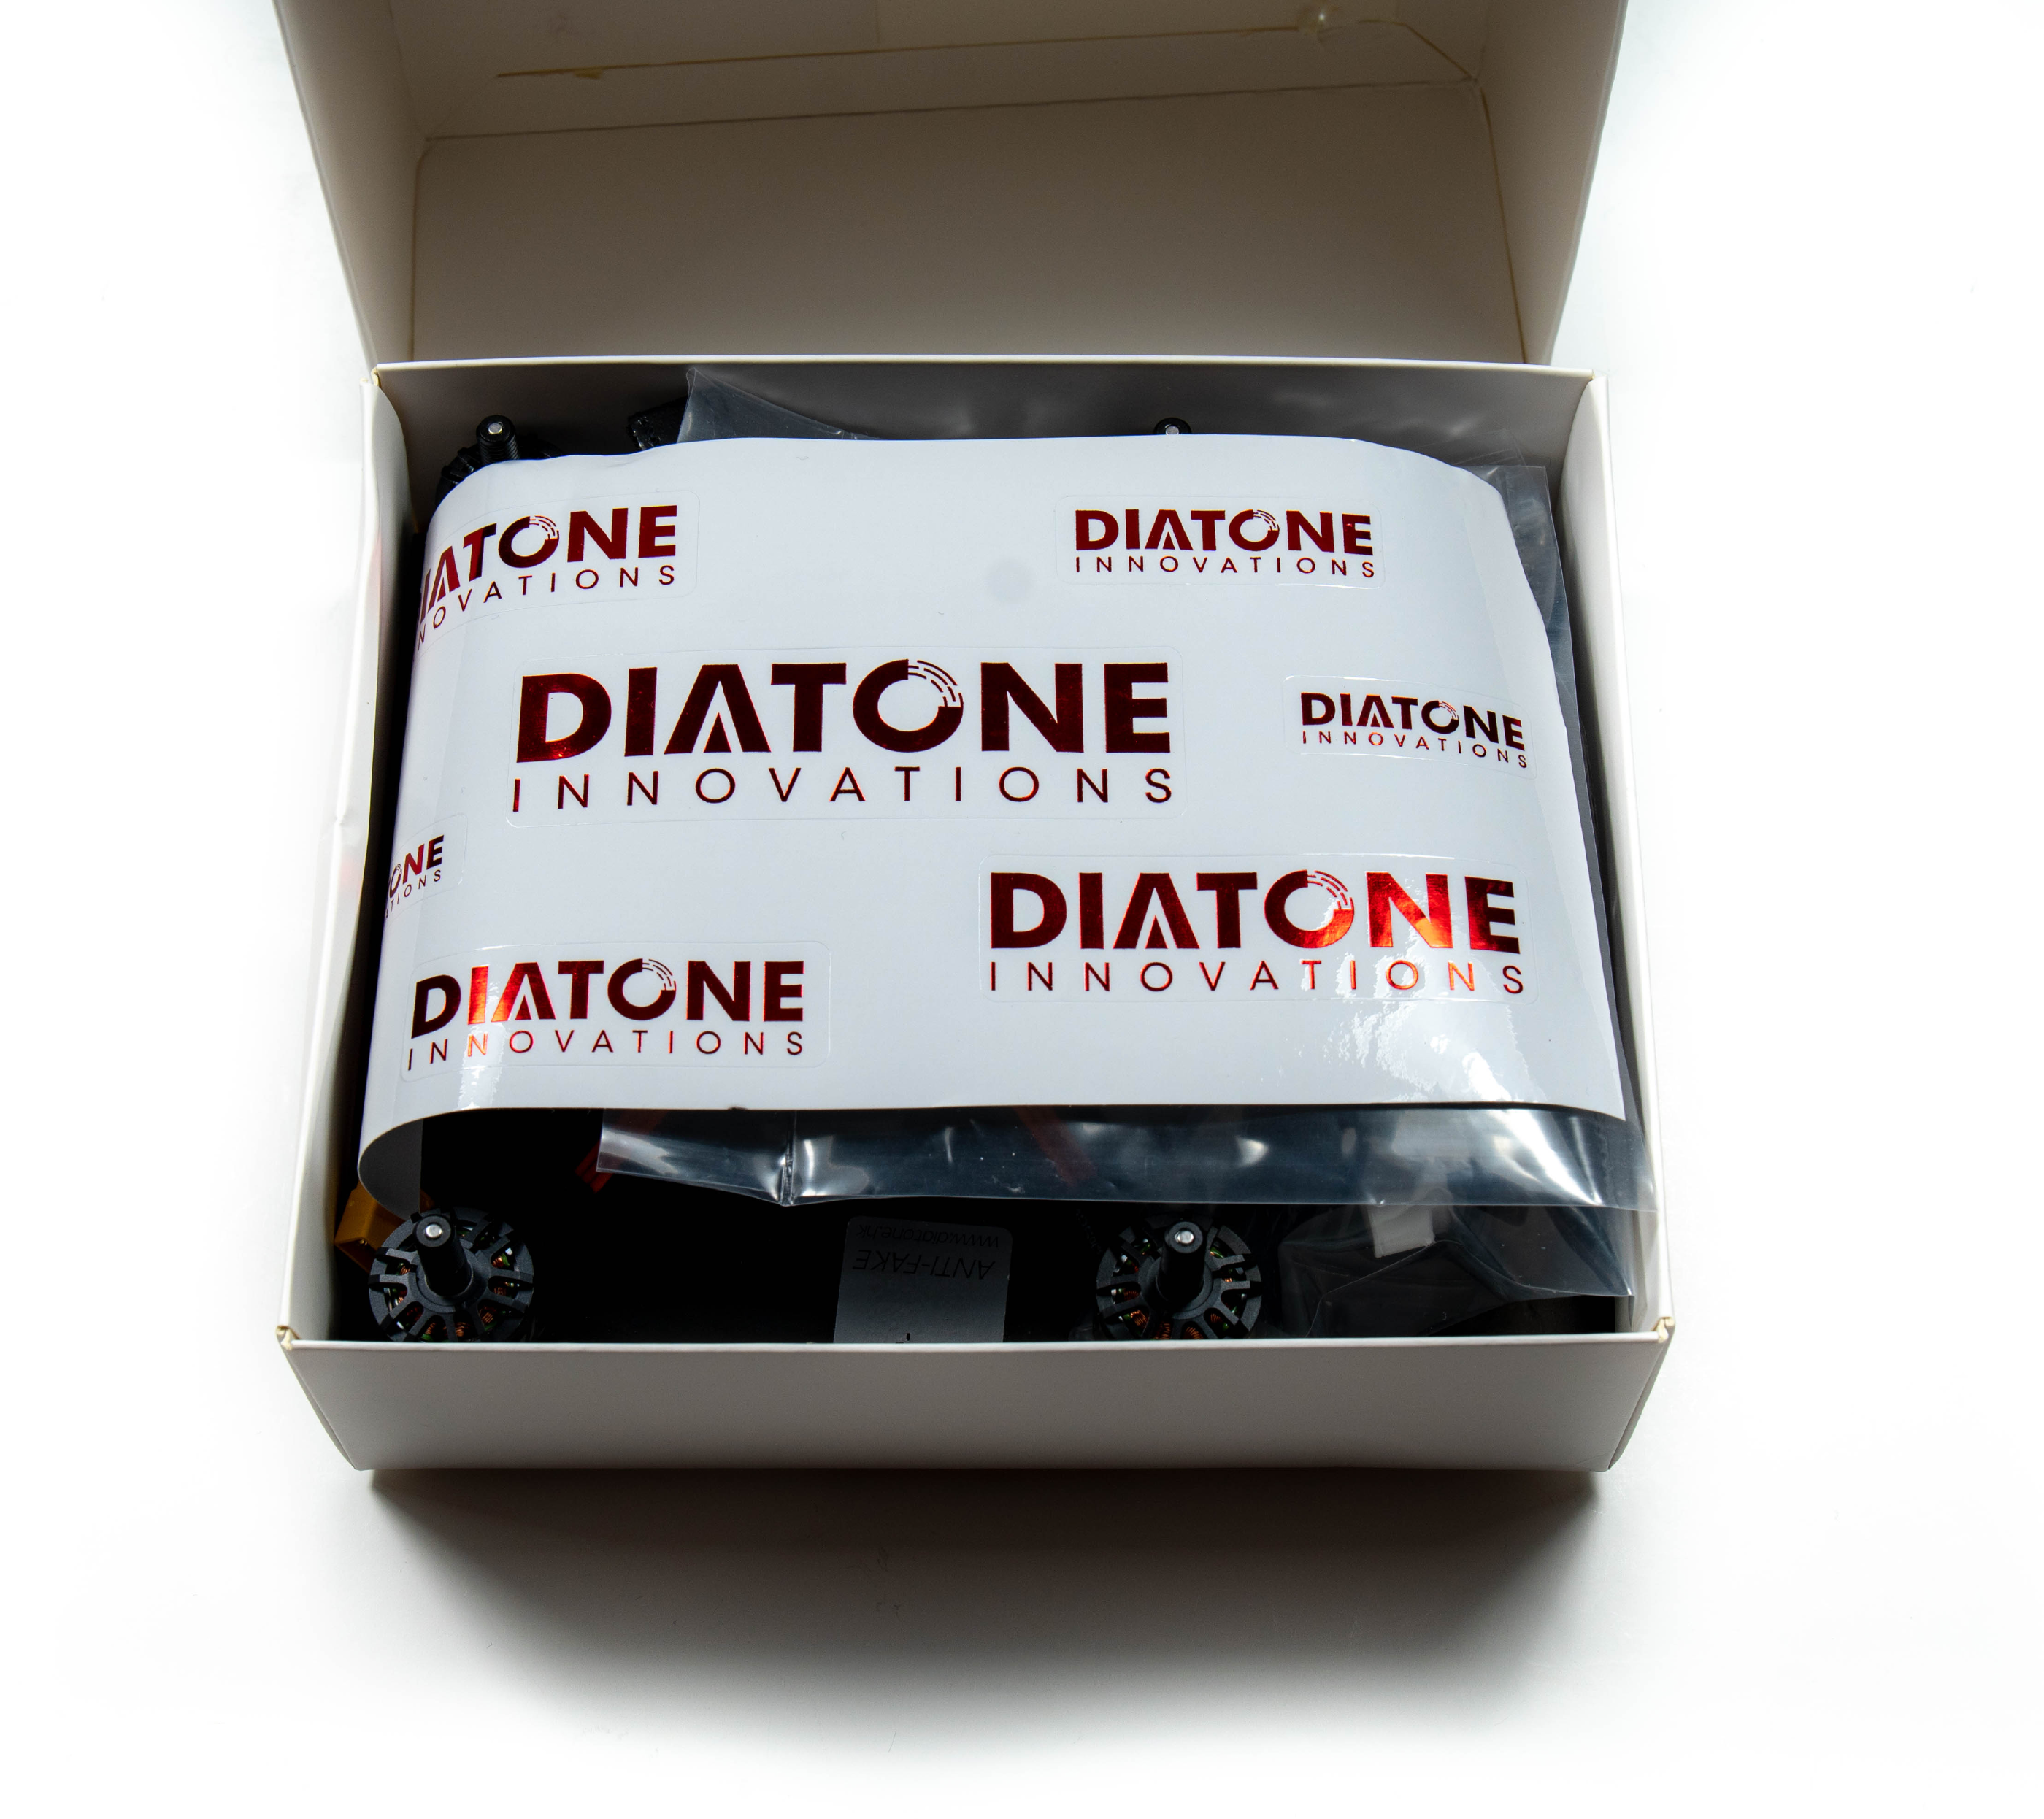
Opening the box we can see we’re presented with a set of high quality stickers on opening the box, also adding as another layer of protection.
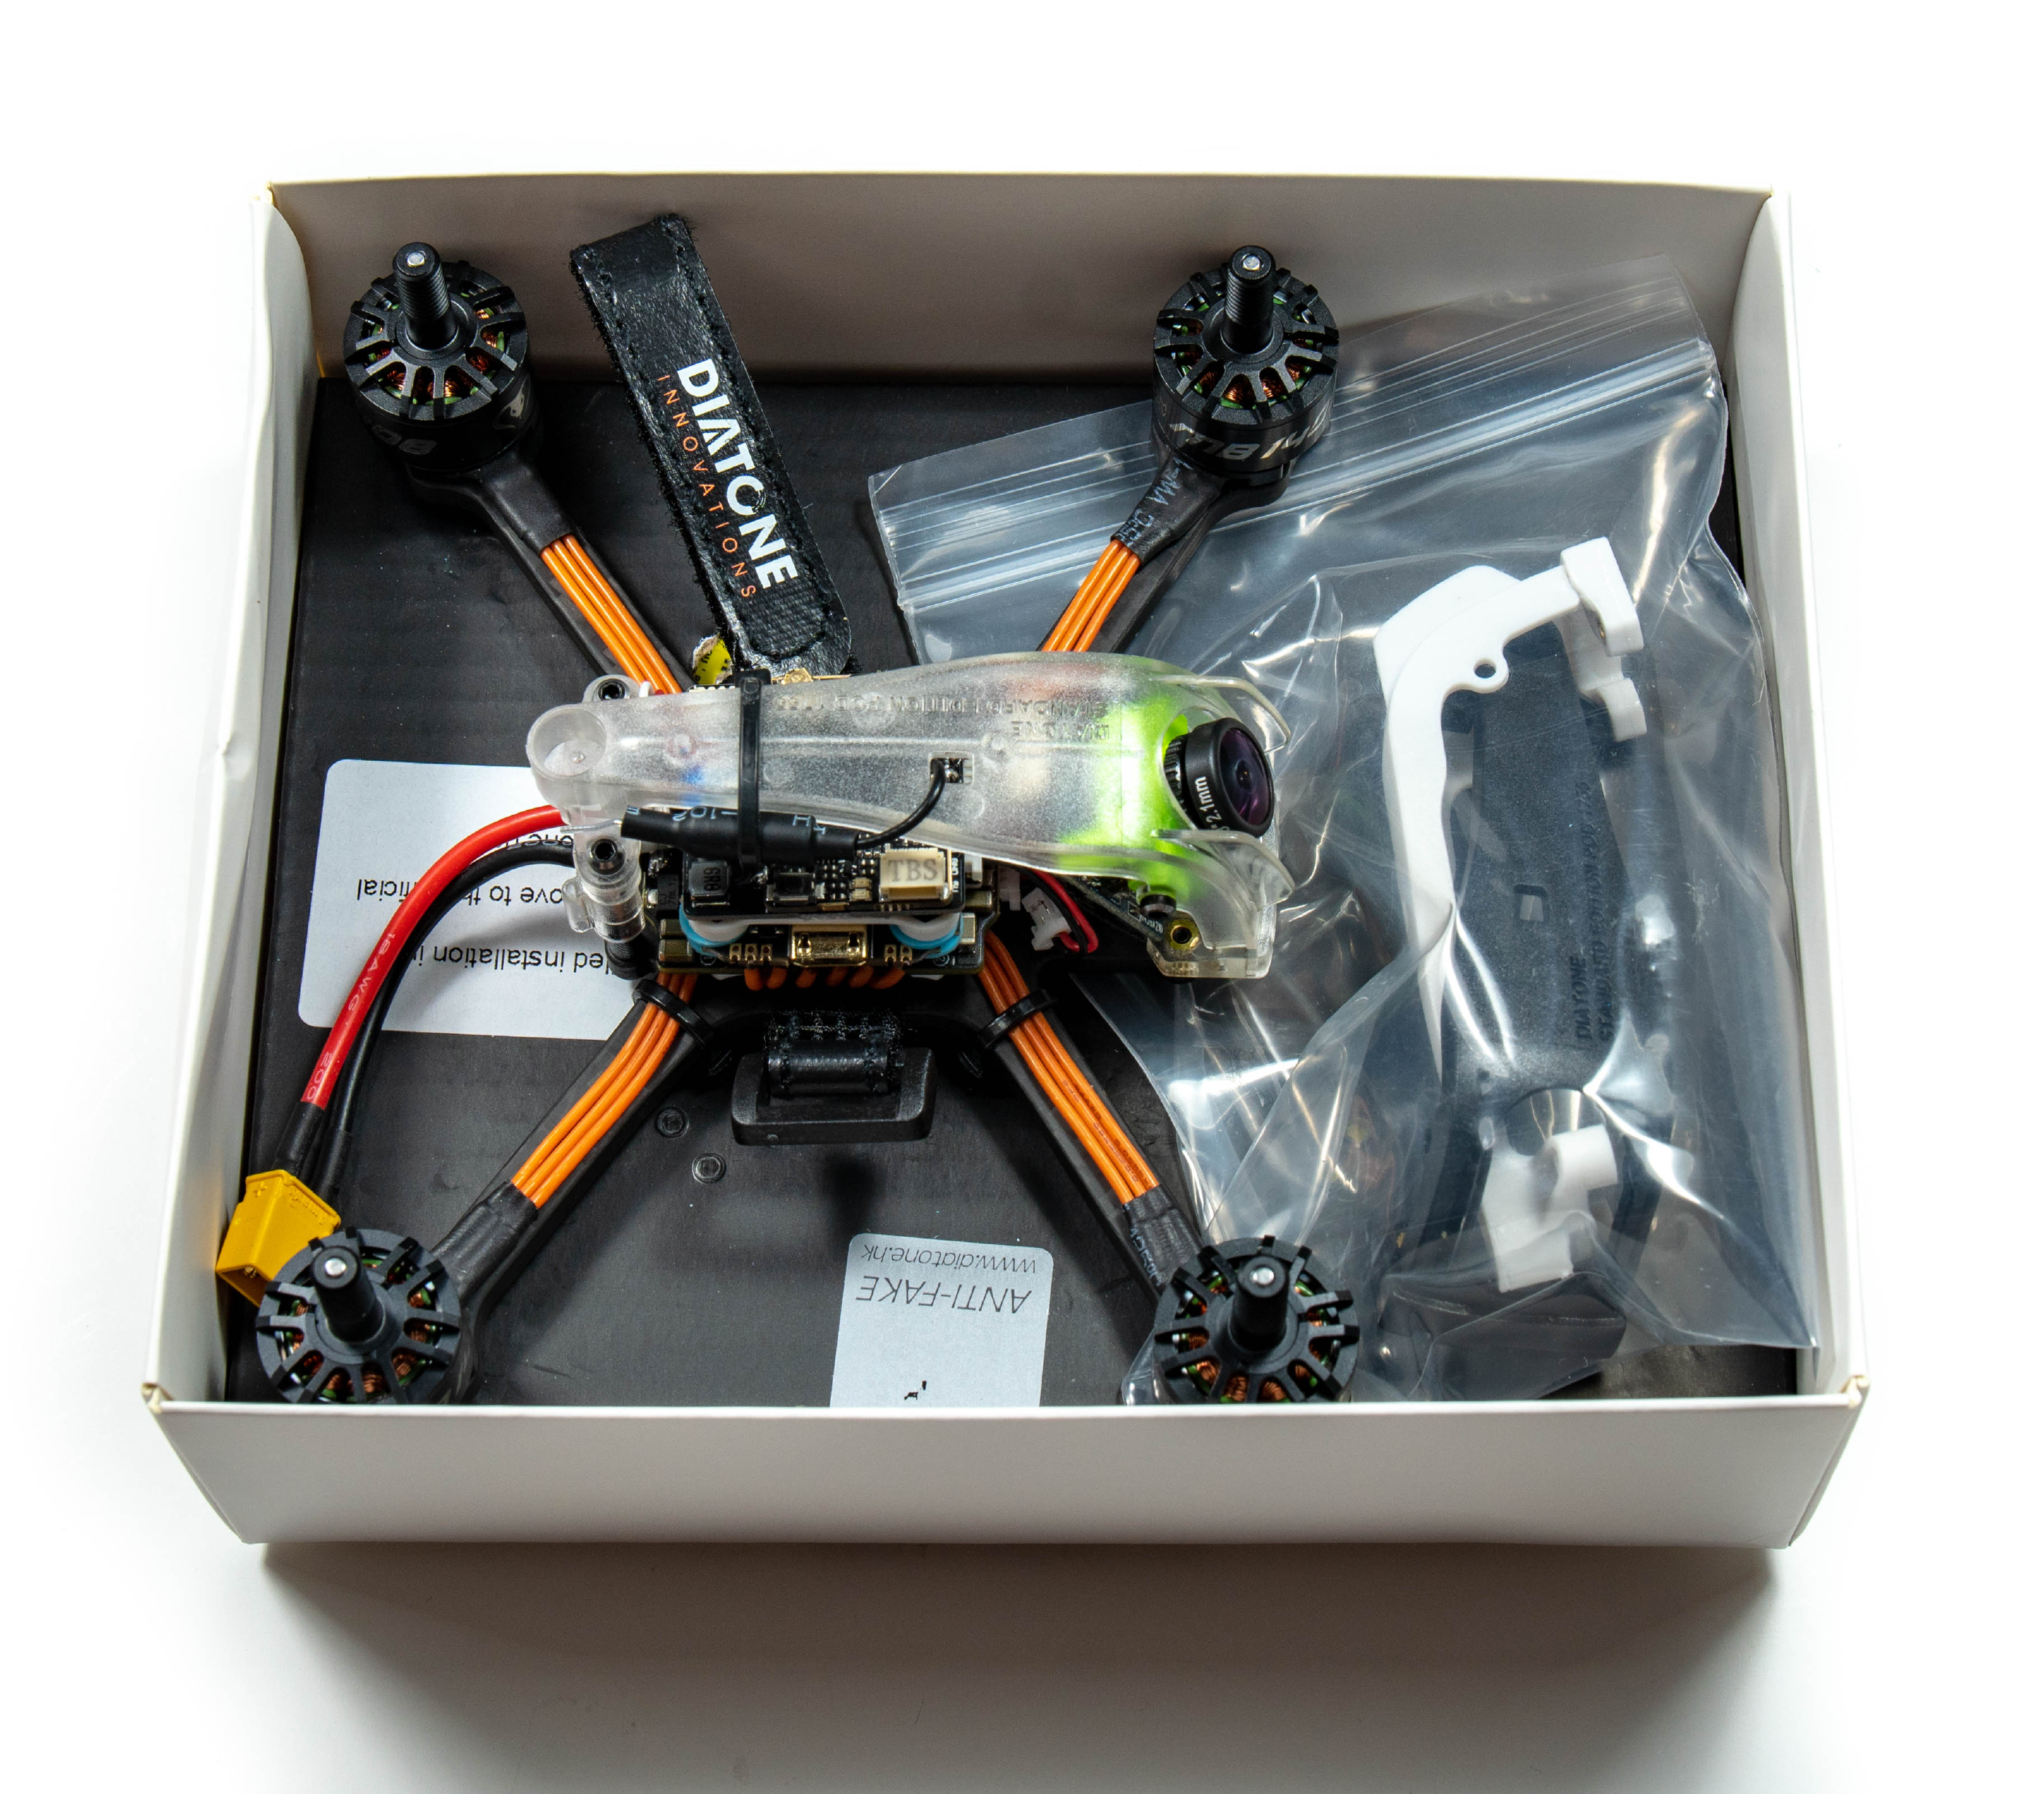
Underneath the stickers we can see the drone itself and an assortment of spares that come with the drone.
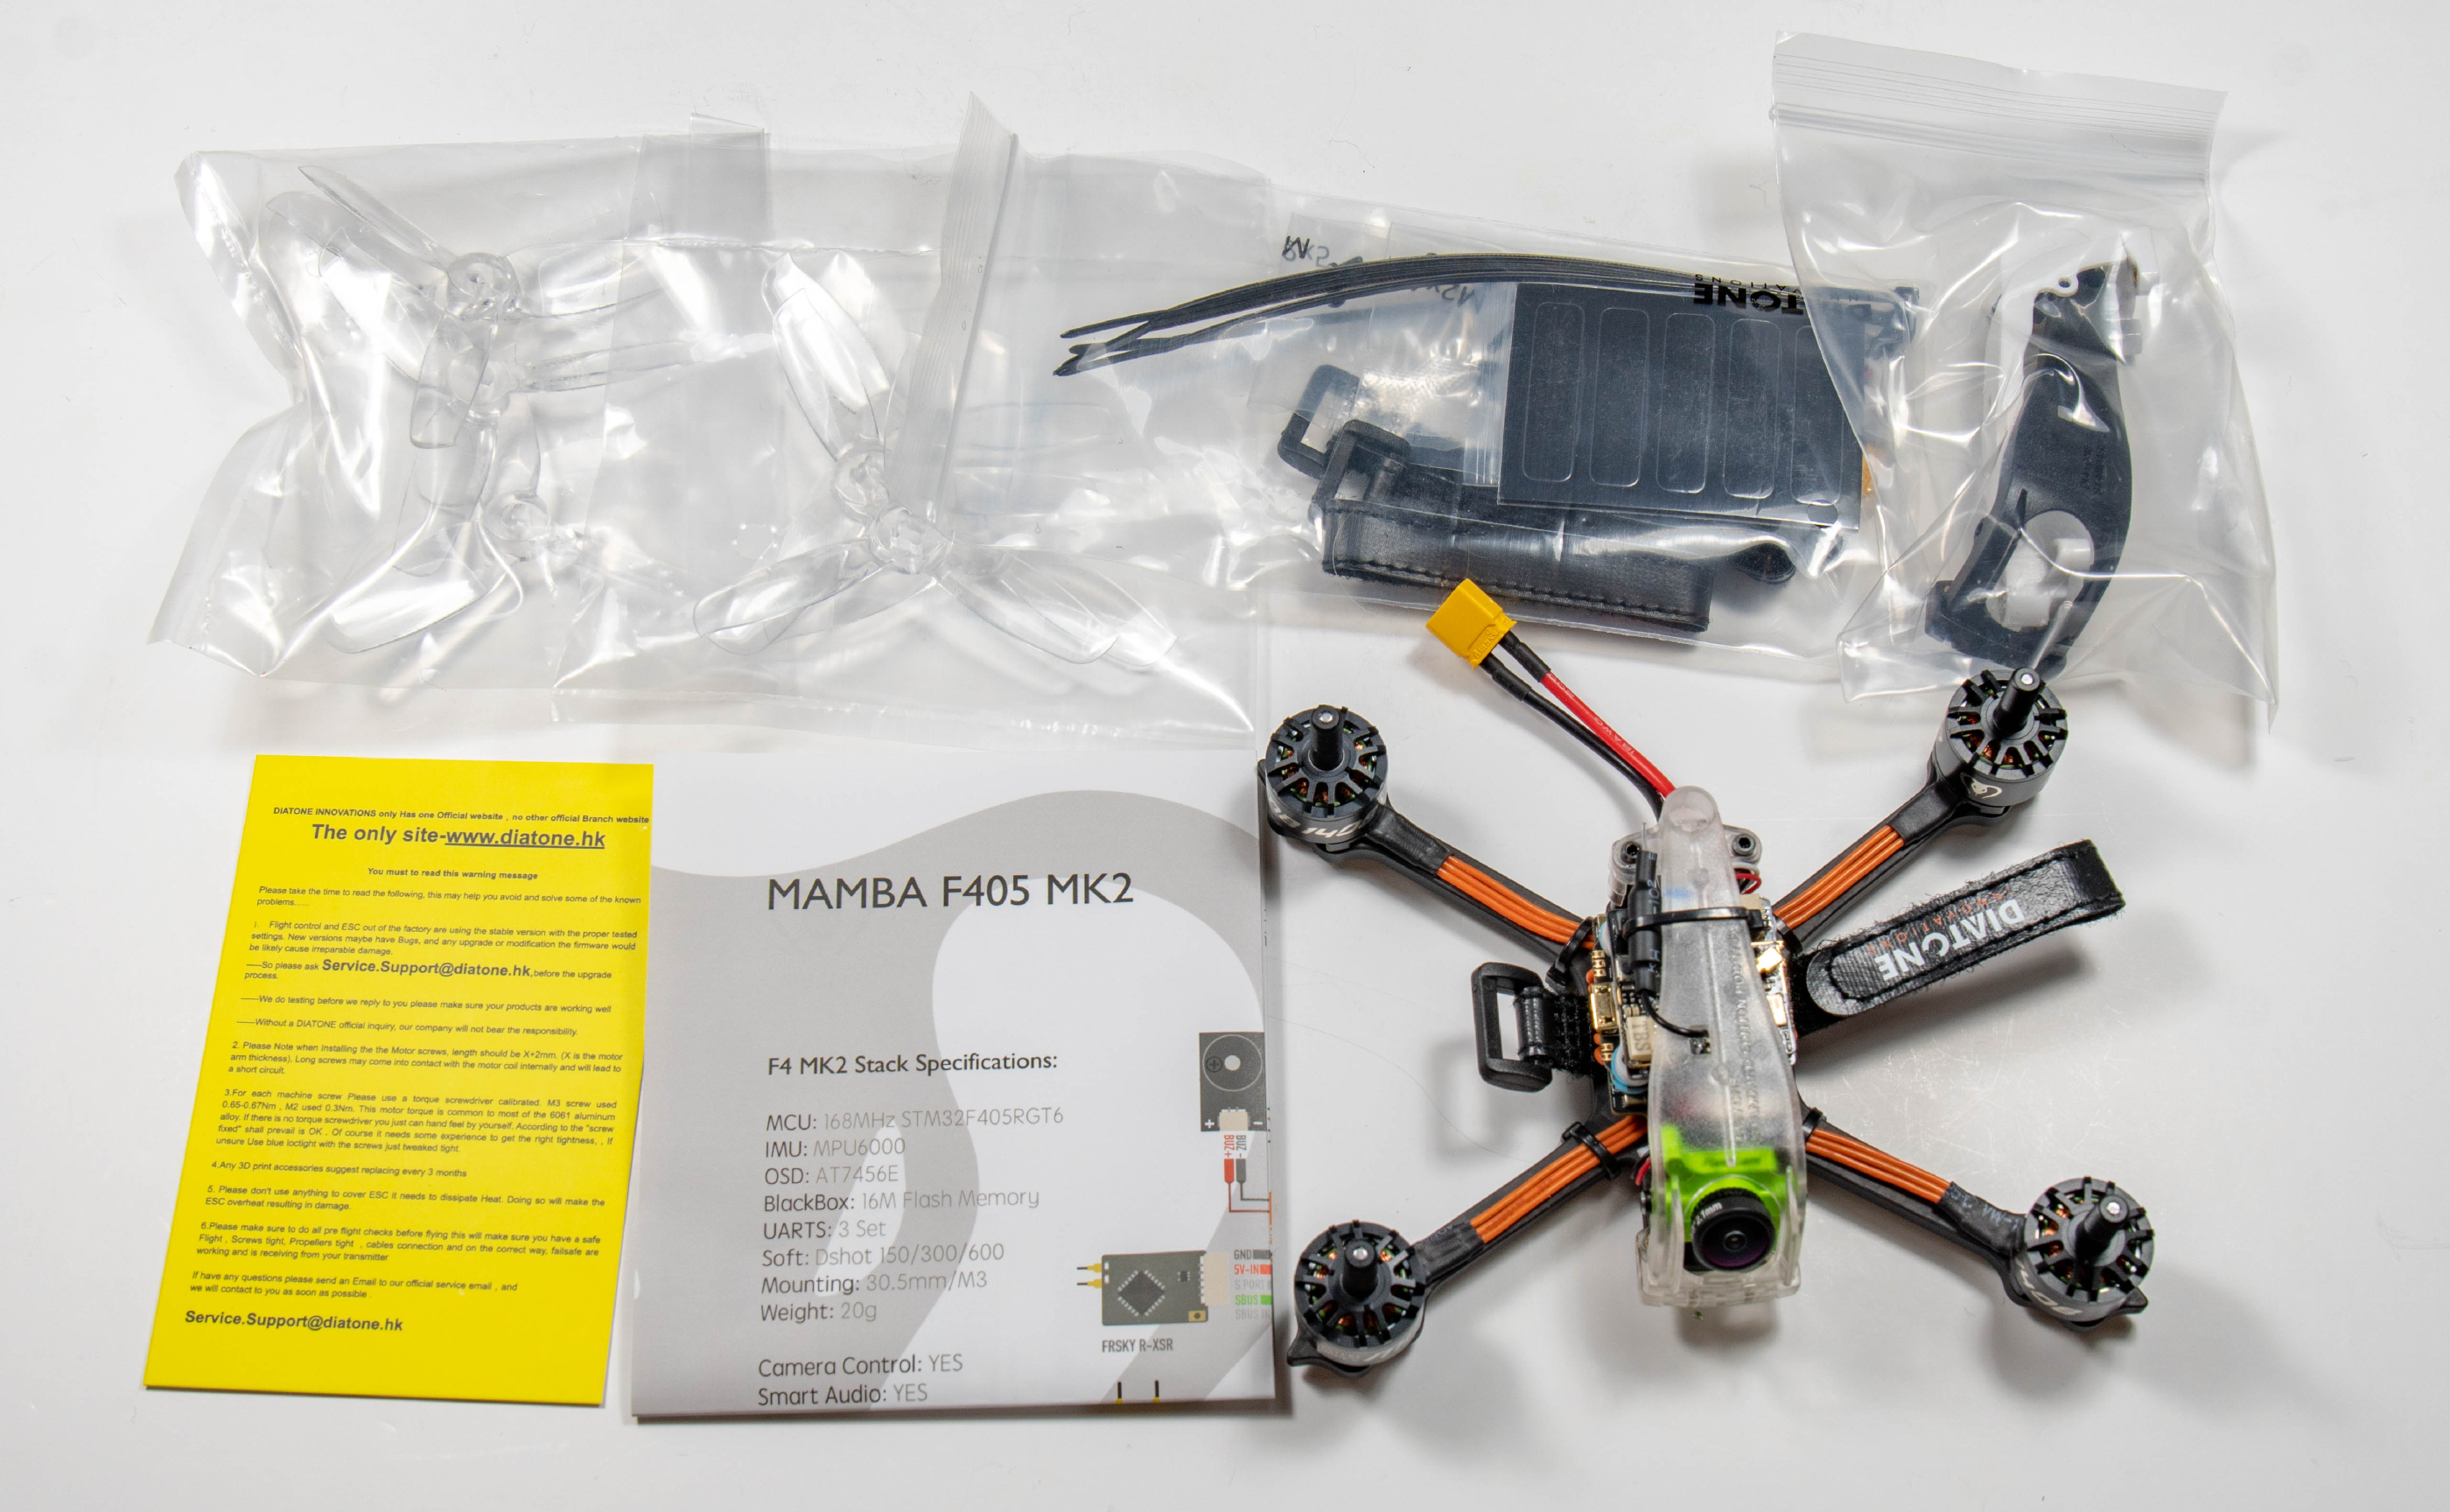
Taking all of those items out of the box we can see there’s some manuals, 2 different sets of propellers, a spare canopy and a bag full of accessories which we’ll go over.
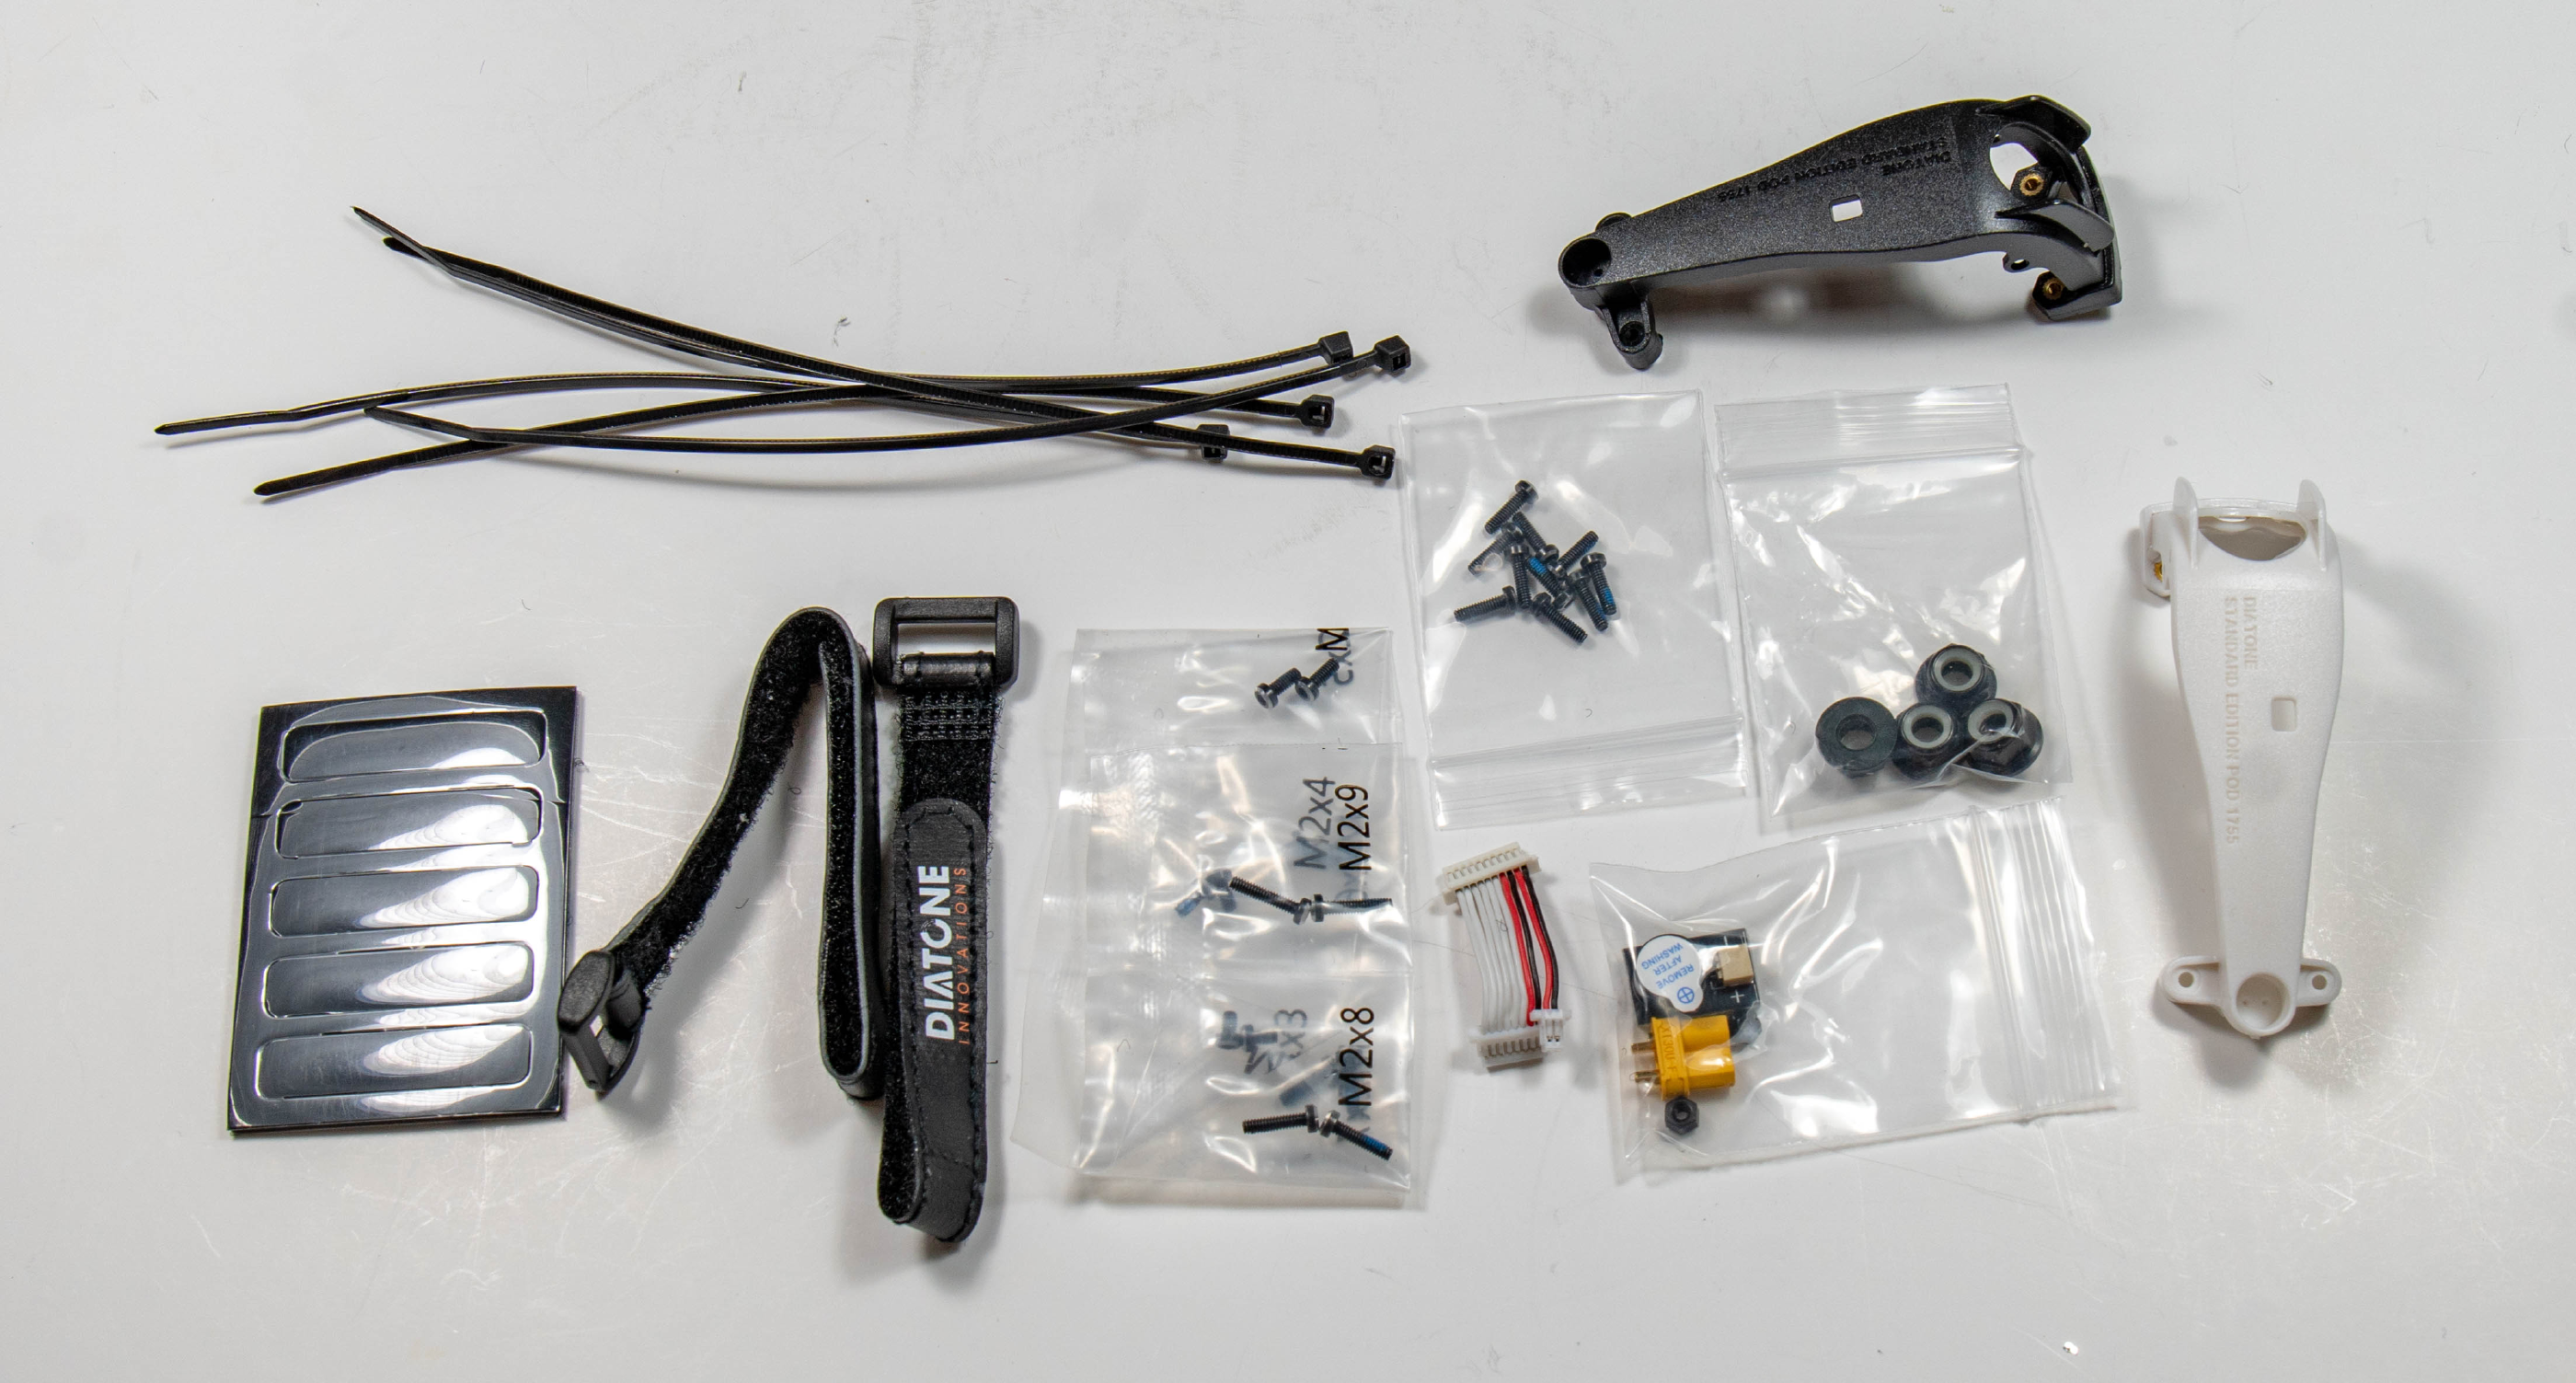
So inside the bag we have some cable-ties, presumably for attaching your receiver and antennas to the drone somewhere. We also have sticky pads which are placed on the bottom of the frame to seat the battery, some battery straps and a whole assortment of spare screws for the drone. There’s also spare ESC to FC power wires, a spare XT60, a buzzer and all of the required prop nuts. Surprisingly we actually have another spare canopy, totaling 3 canopies so you can customize the drone with a transparent, white or black canopy depending on the look you’re going for.
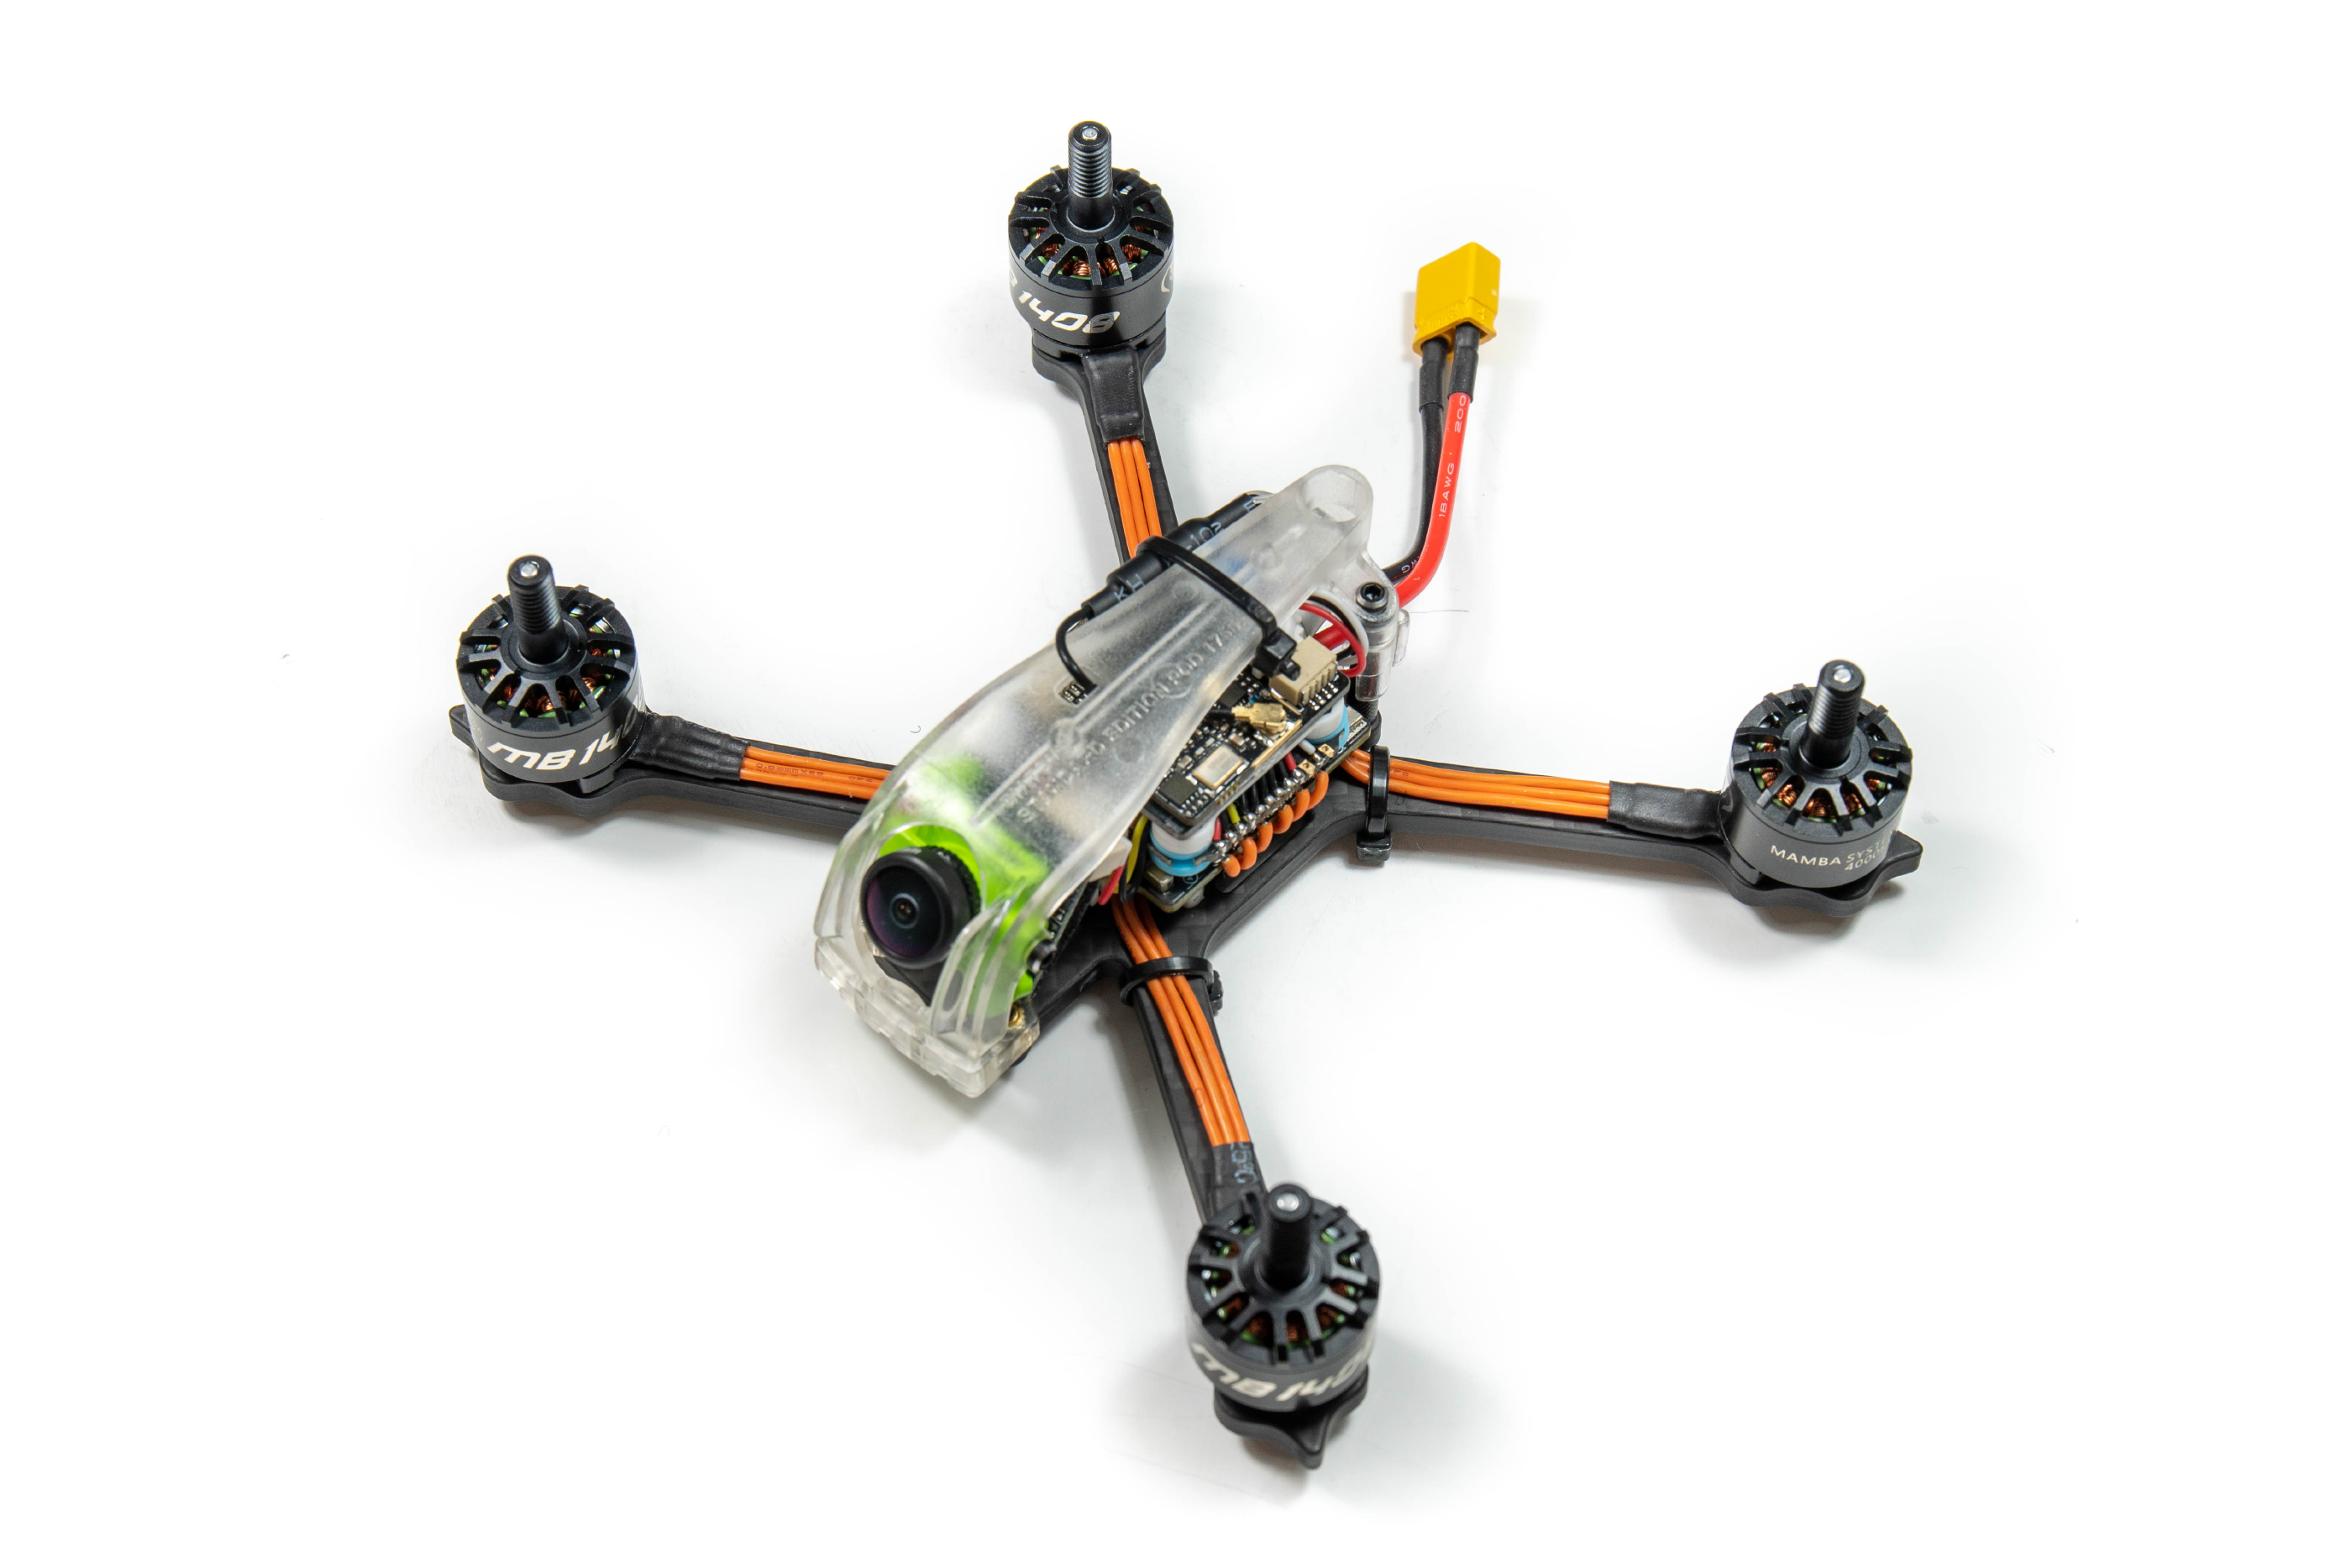
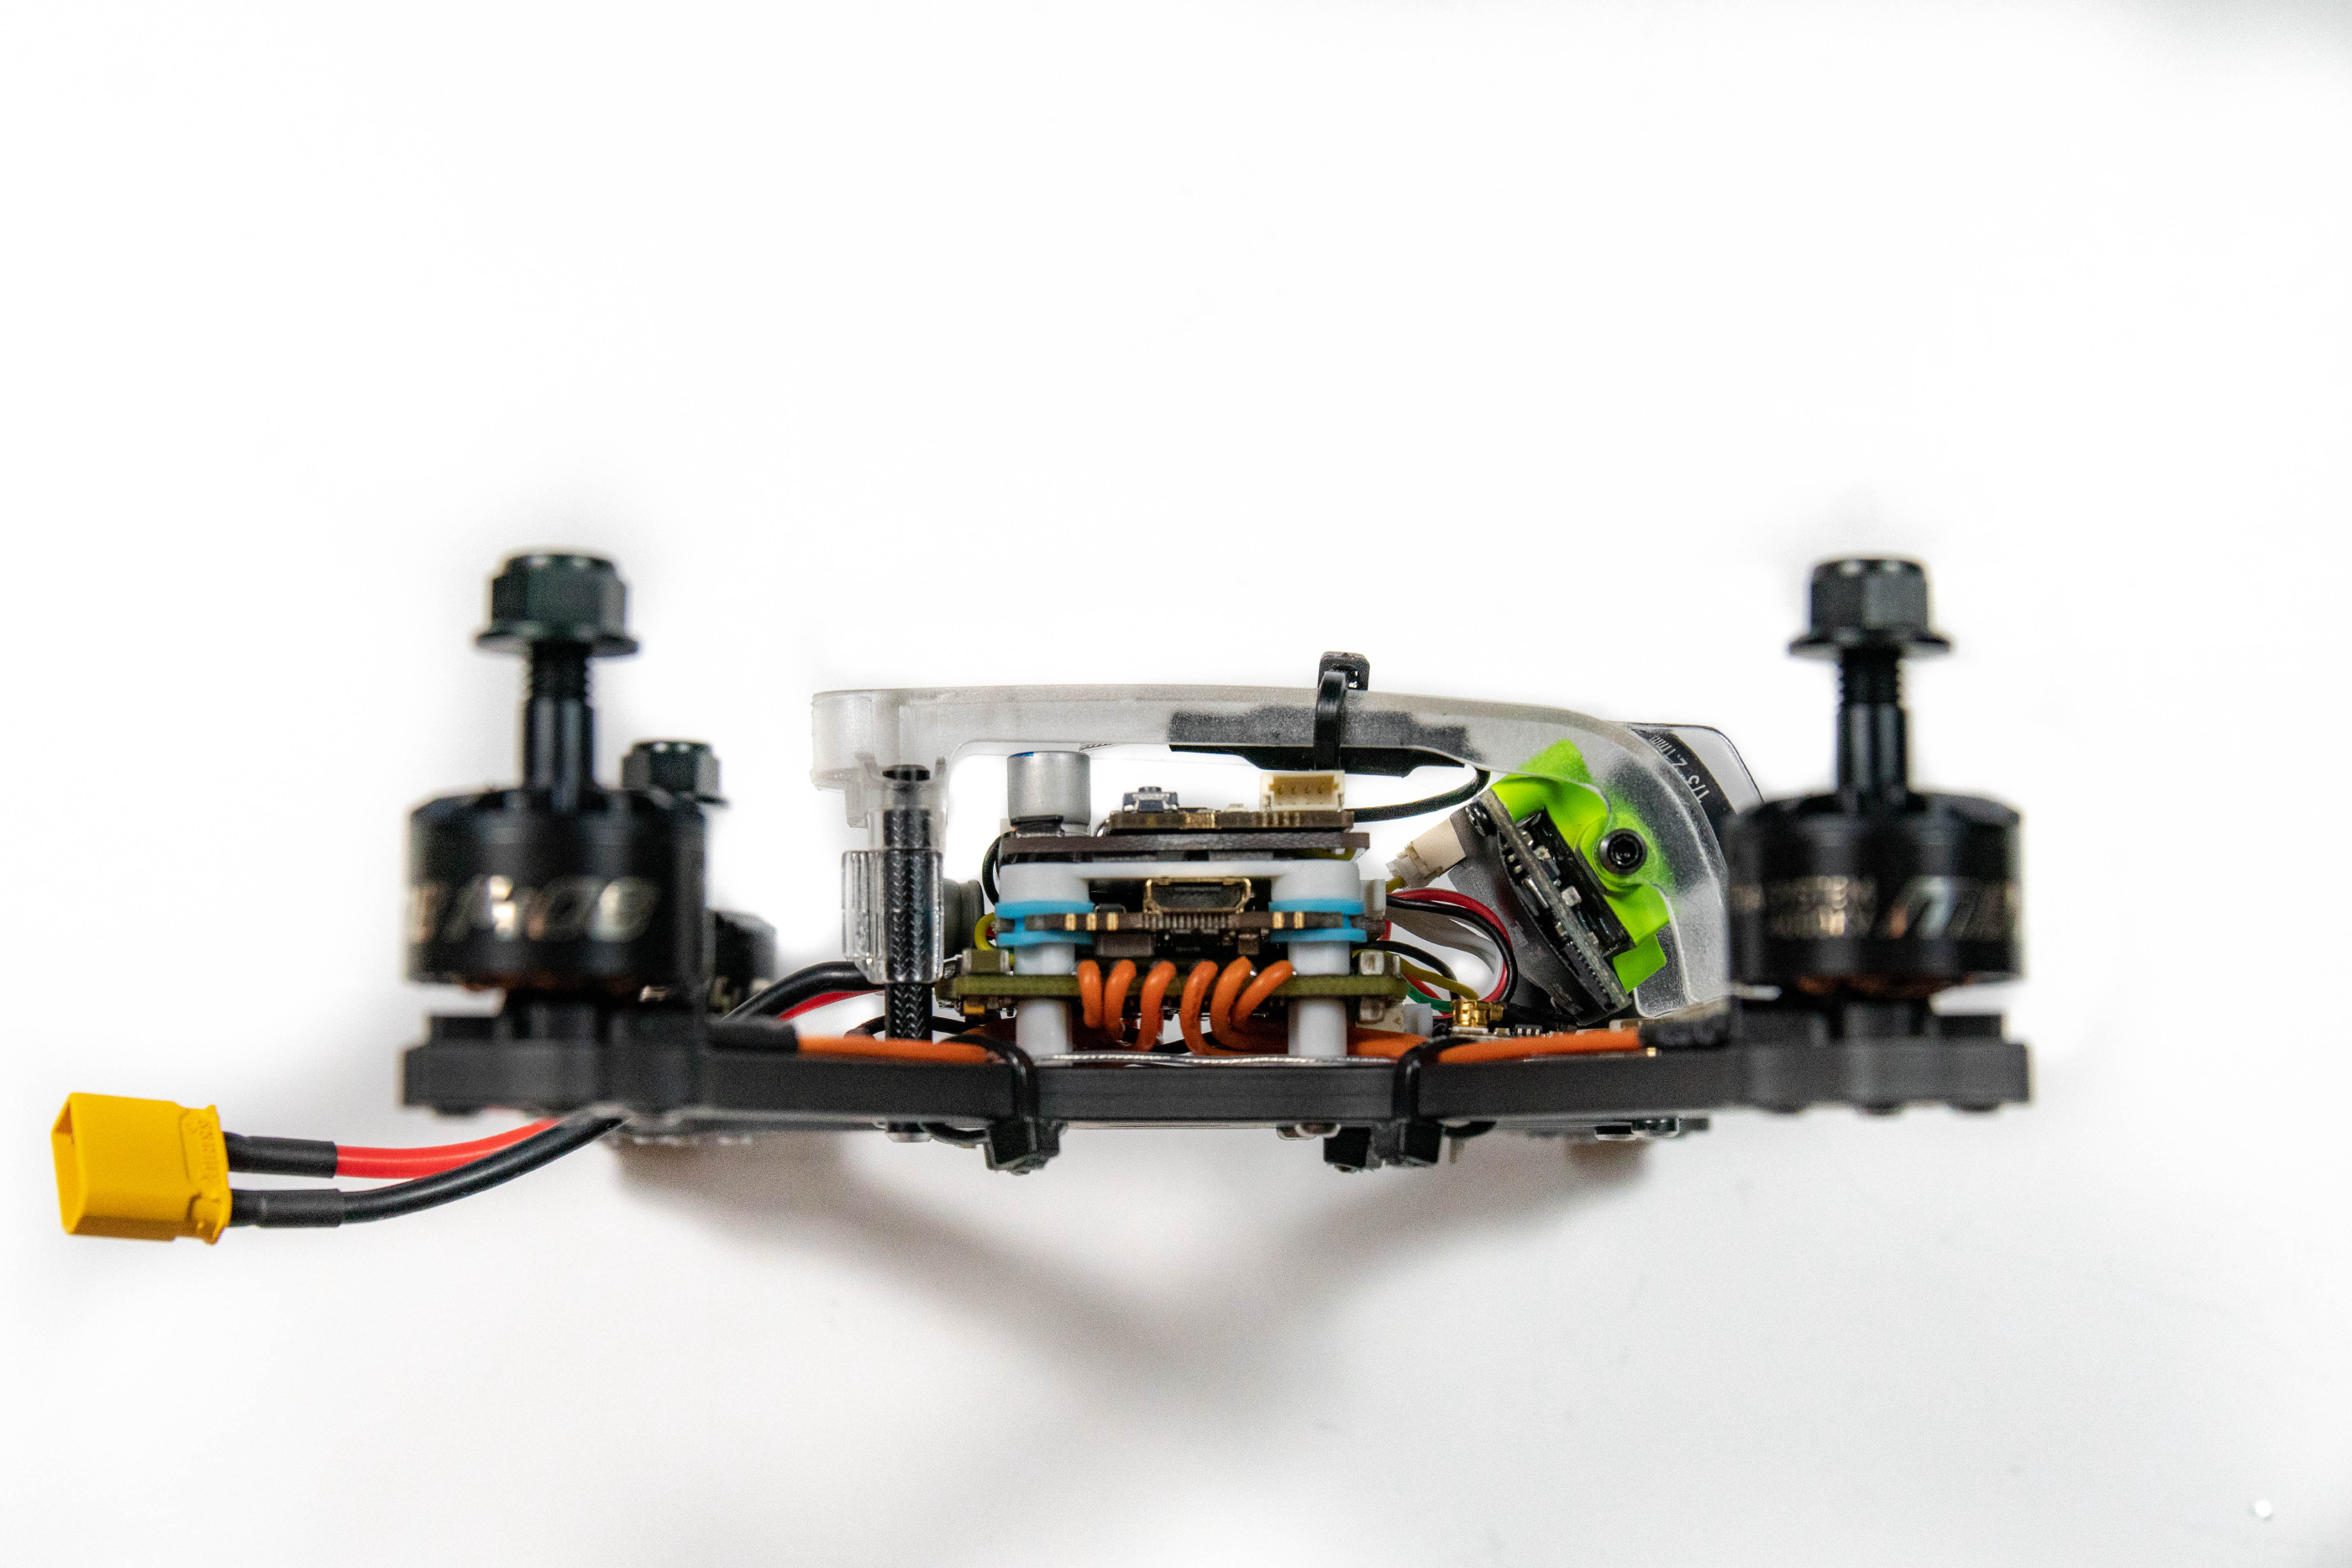
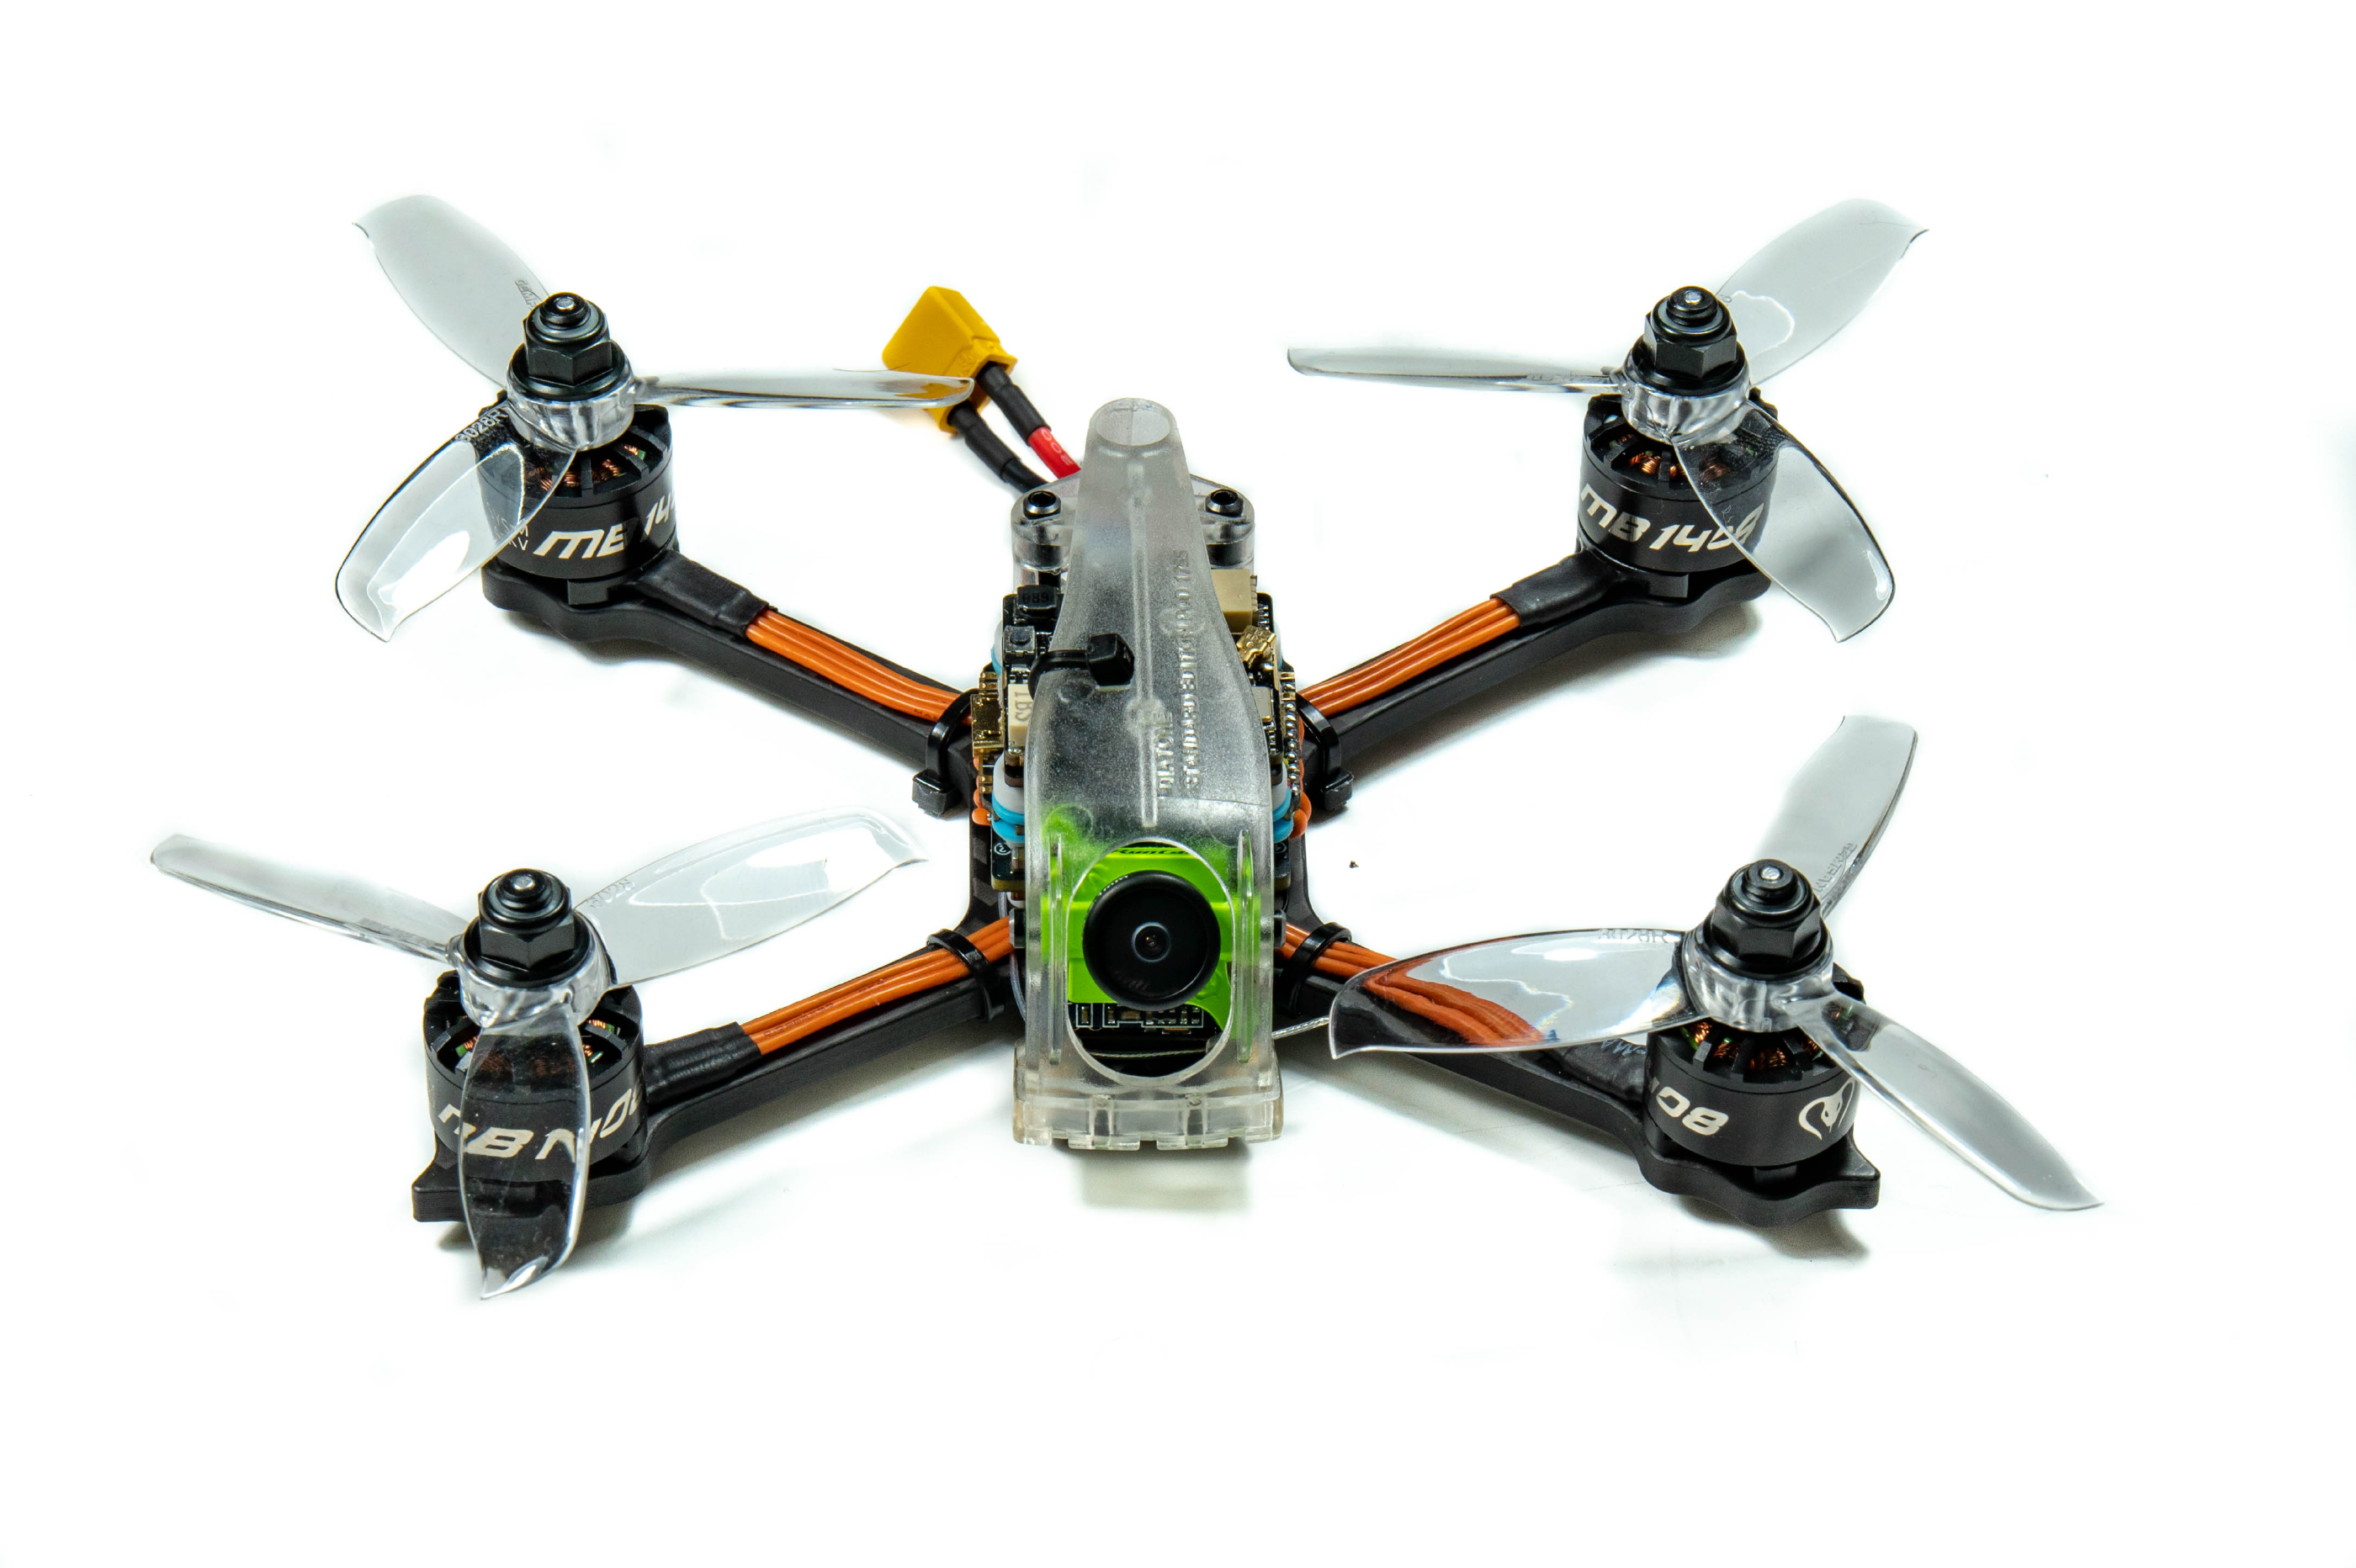
So let’s take a look at the drone, out of the box we can see a very tidy build by the engineers at Diatone who have very neatly put this together.
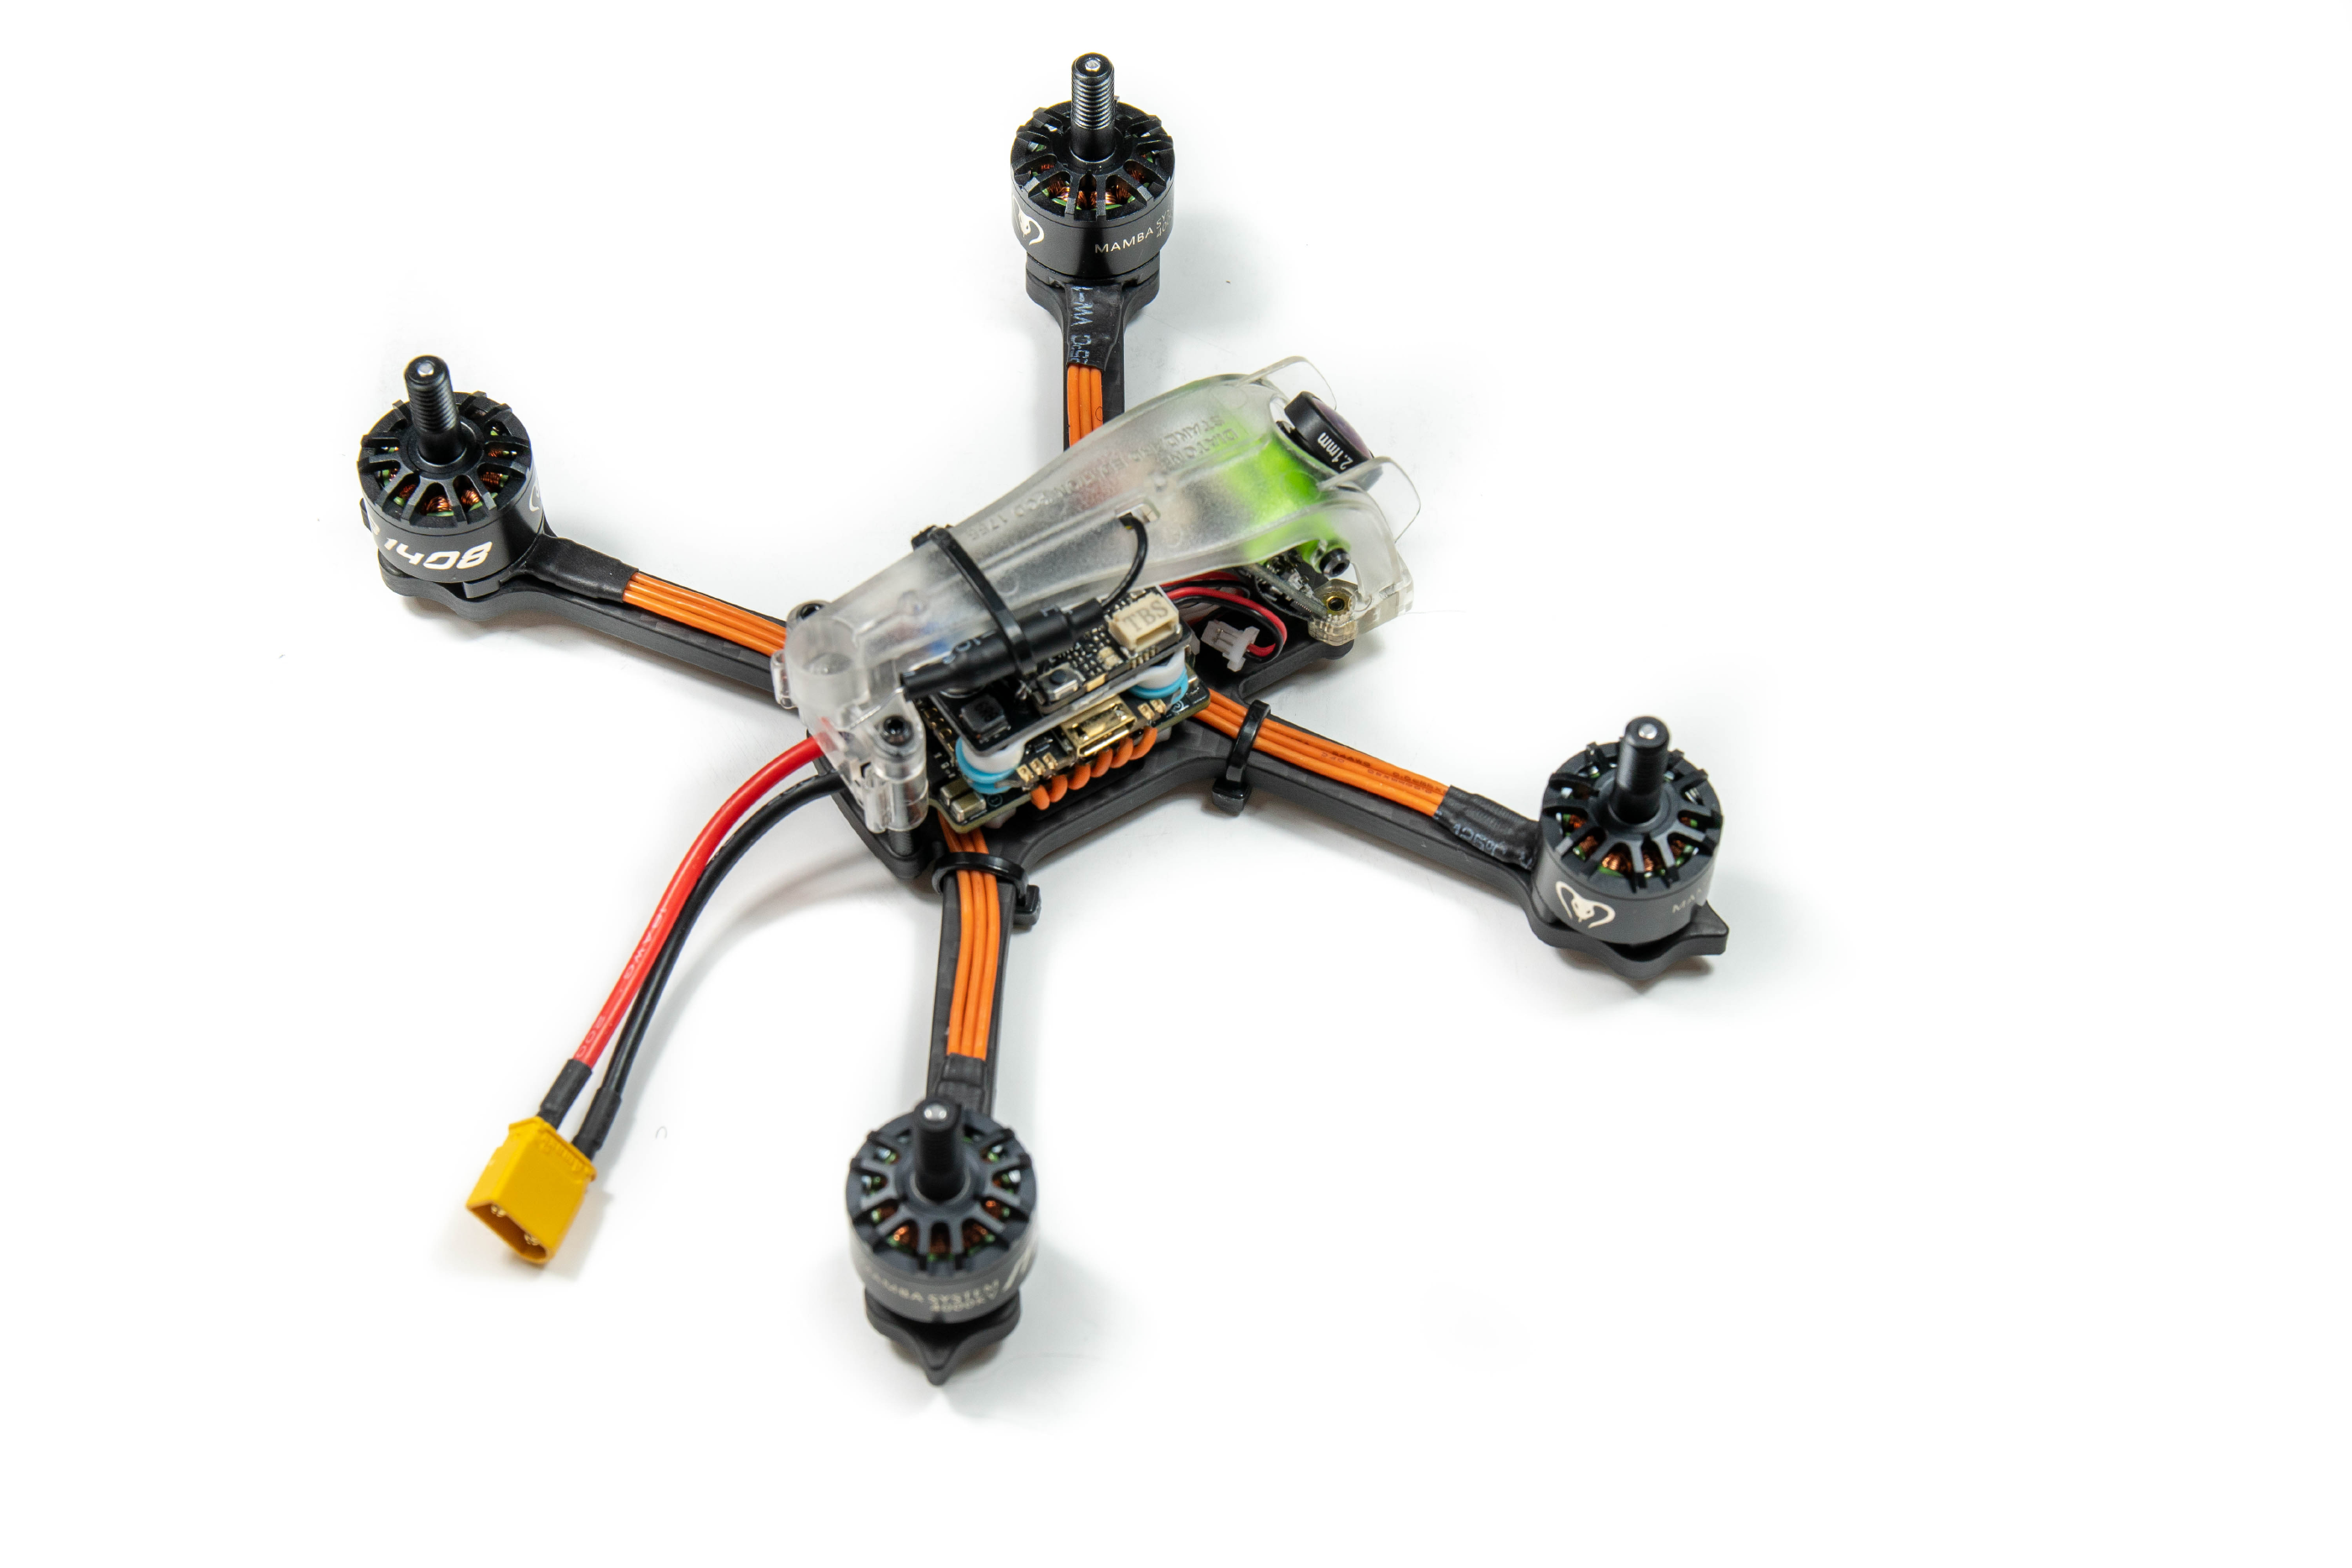
Cable ties have been used in various places to ensure wires are kept snug which helps keep it looking tidy but also stops stuff moving in the event of a crash, which of course is always going to happen.
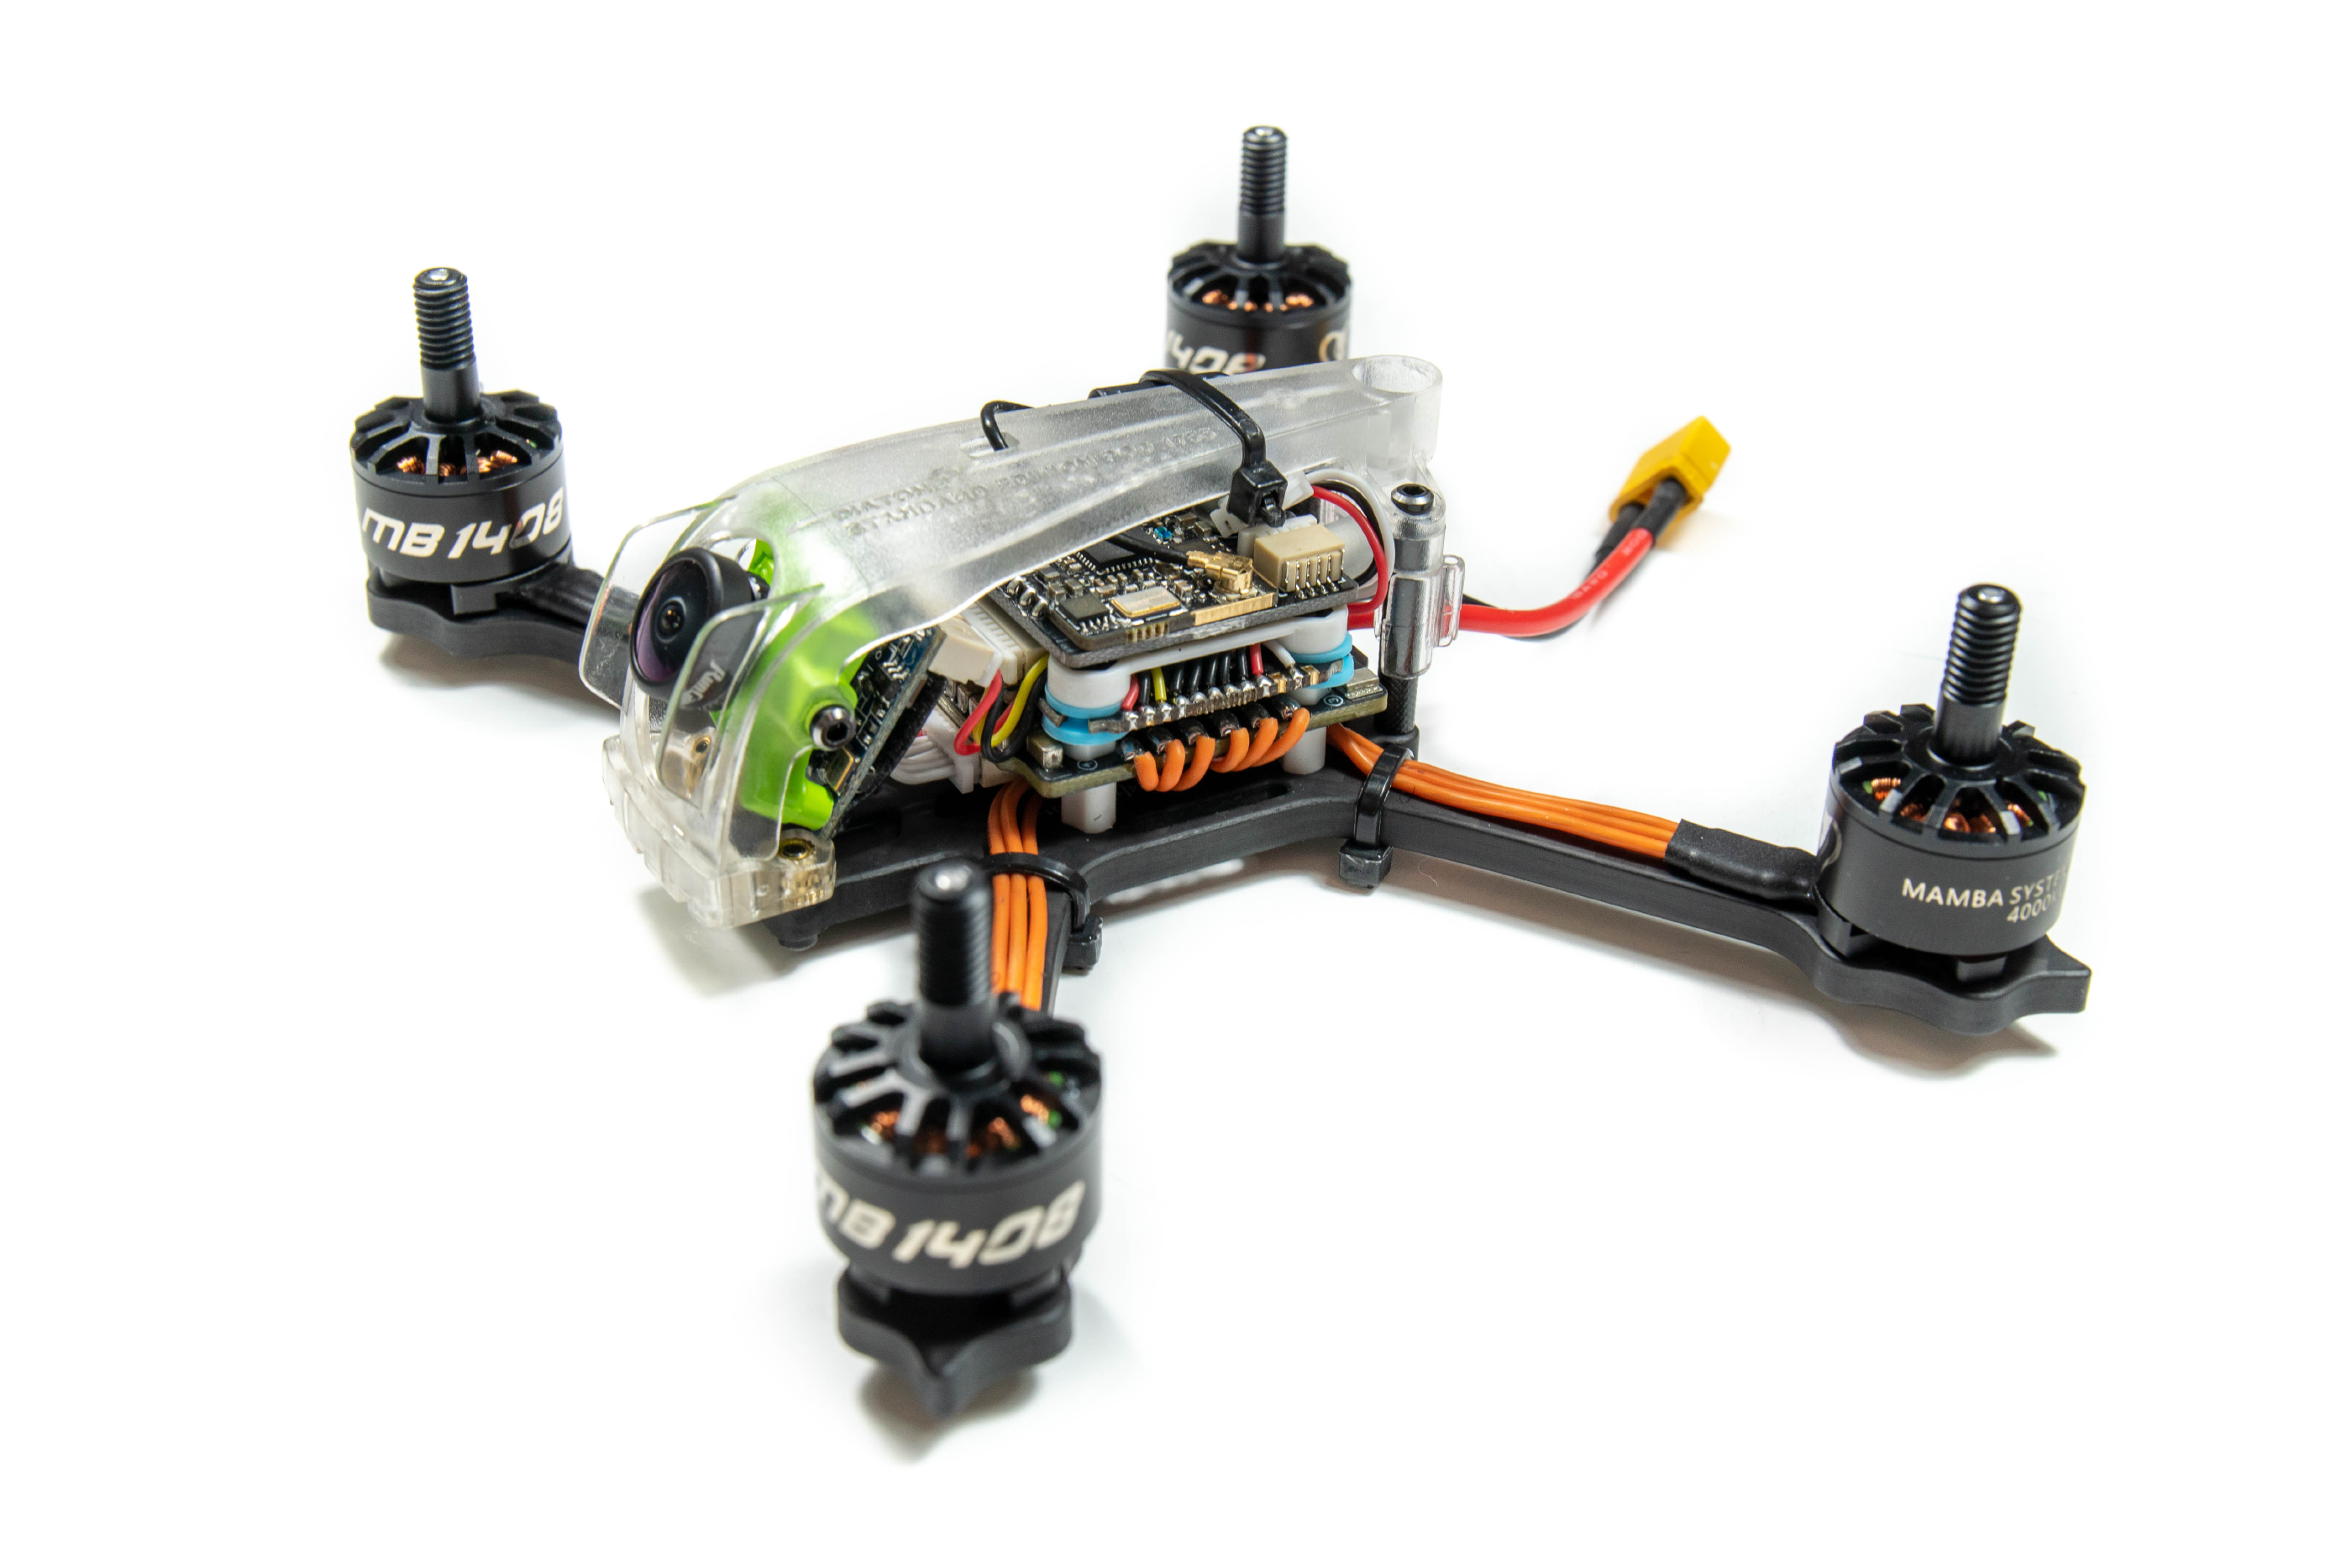
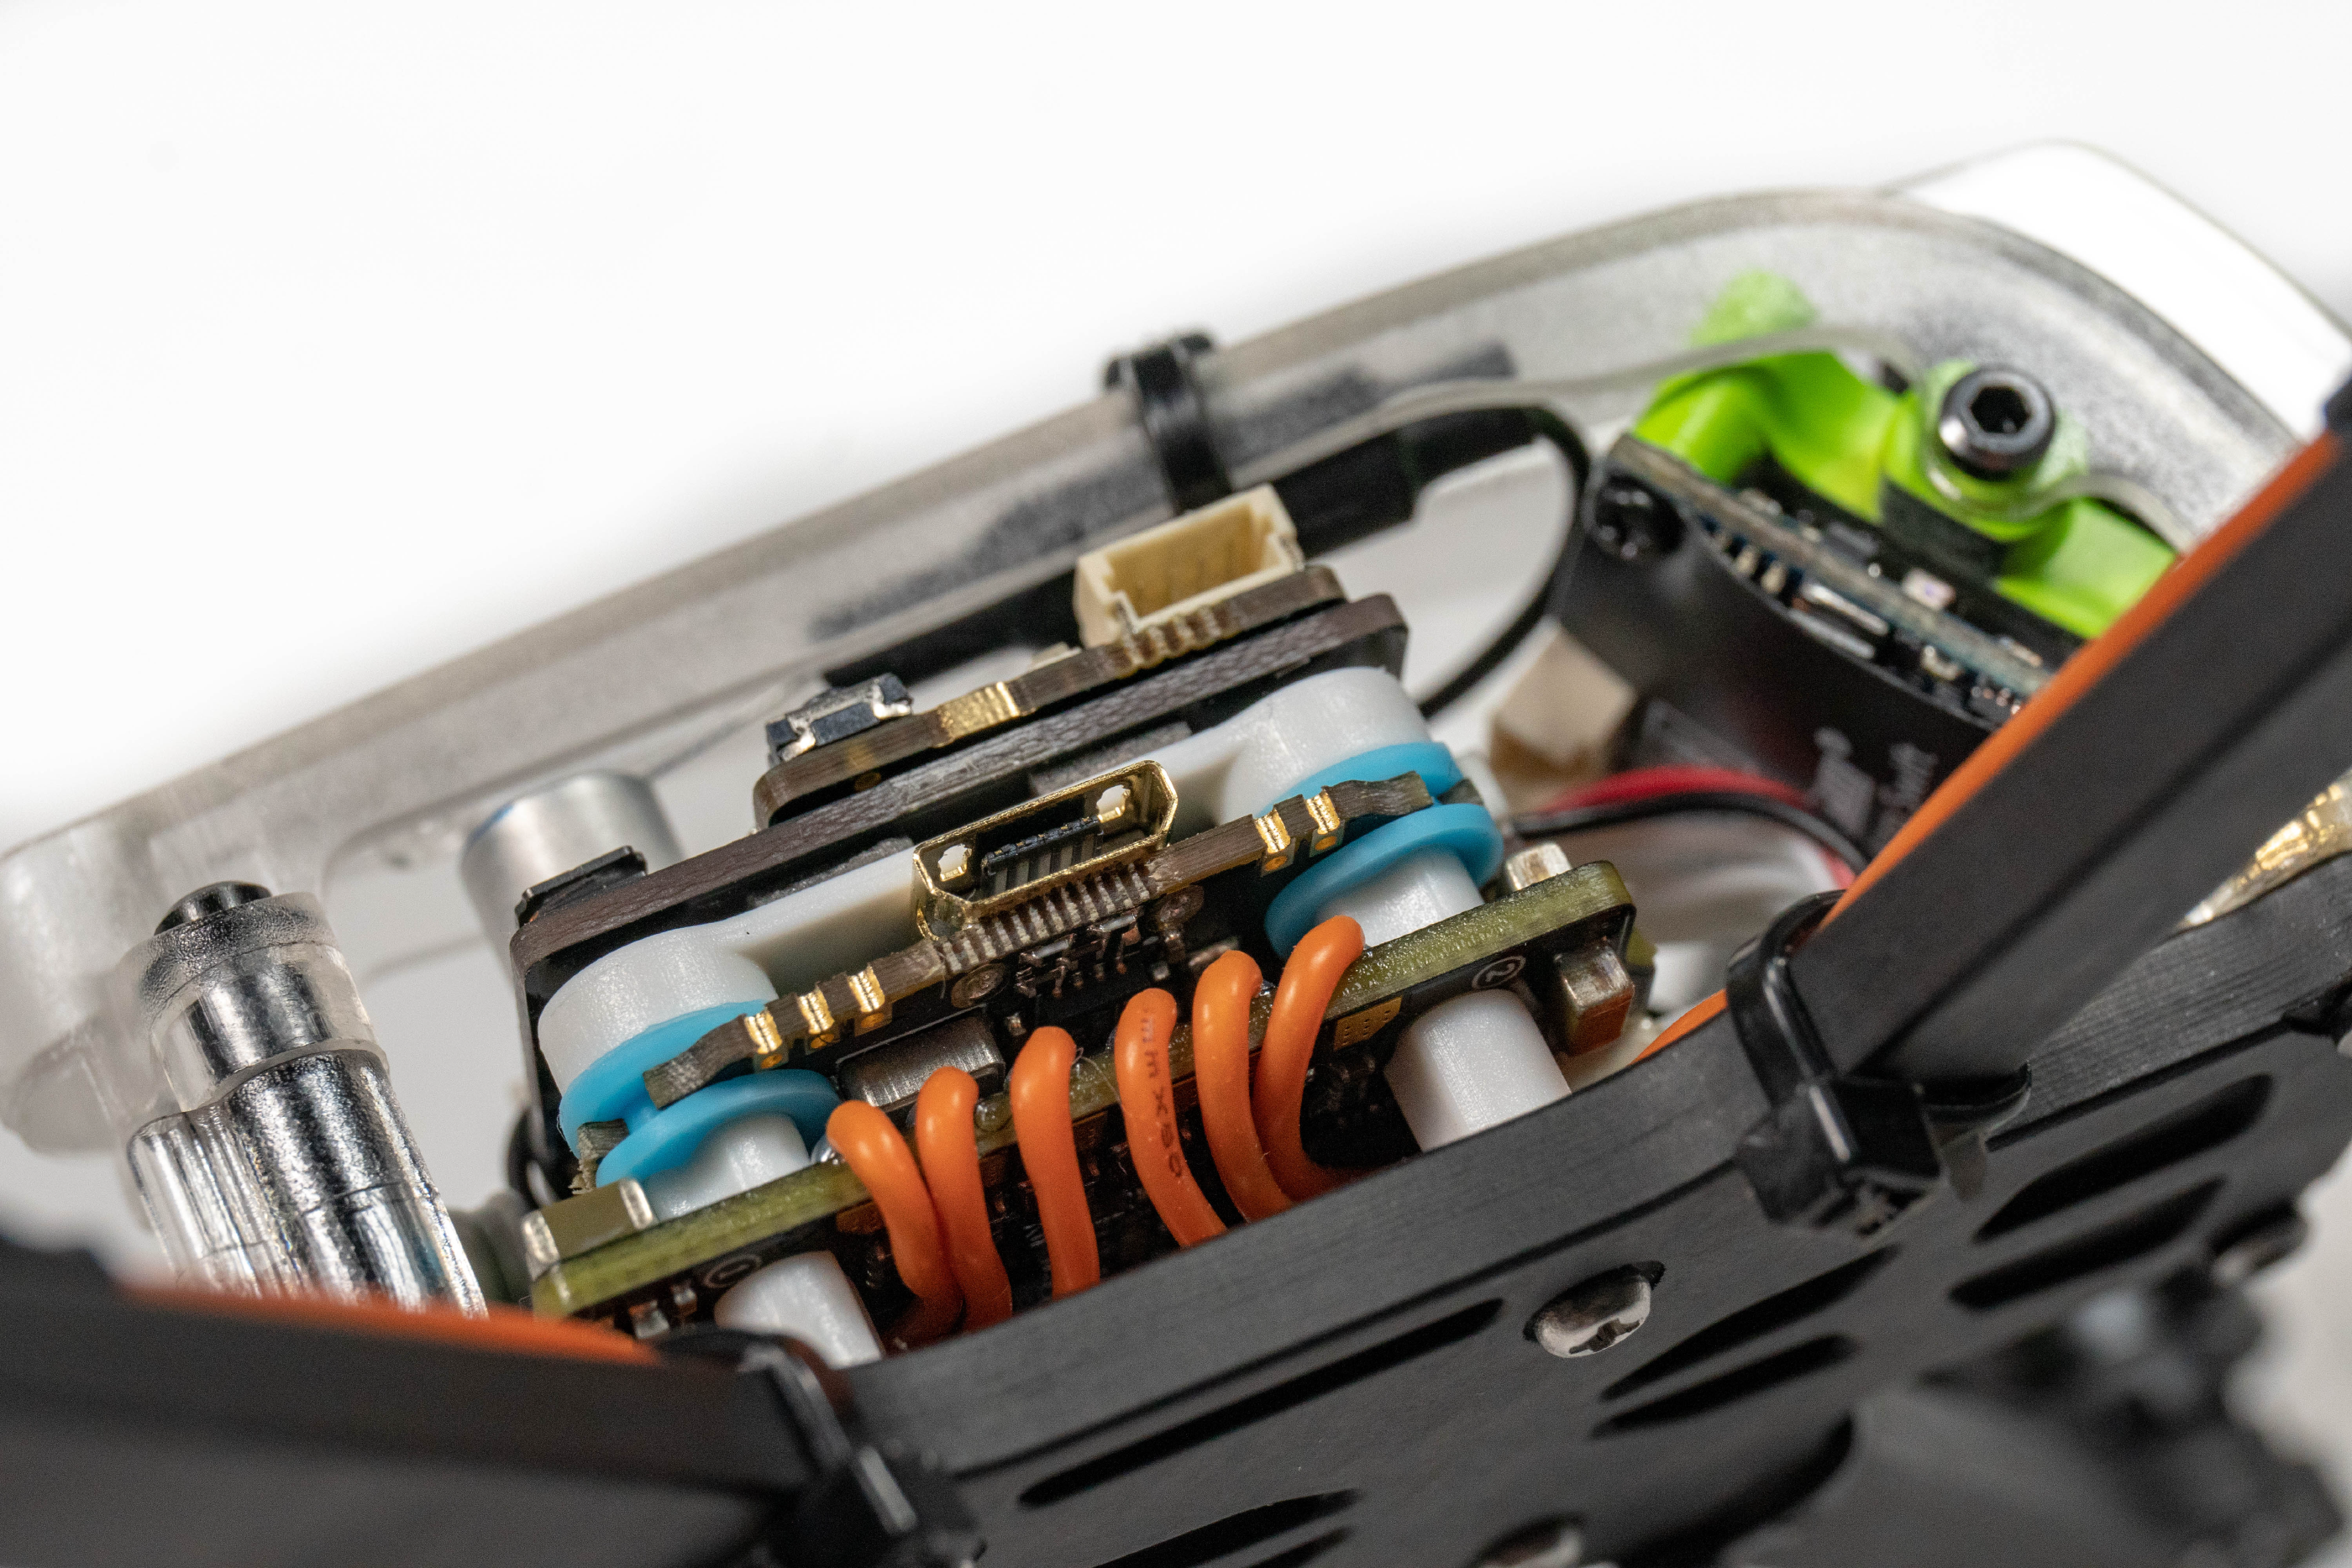
Looking at the side of the stack we can see the motor wires are neatly routed underneath the ESC before coming out the side. The rest of the wires are also neatly contained in the stack so if you were to hit something in a crash sideways there’s very little wires you can snag or rip.
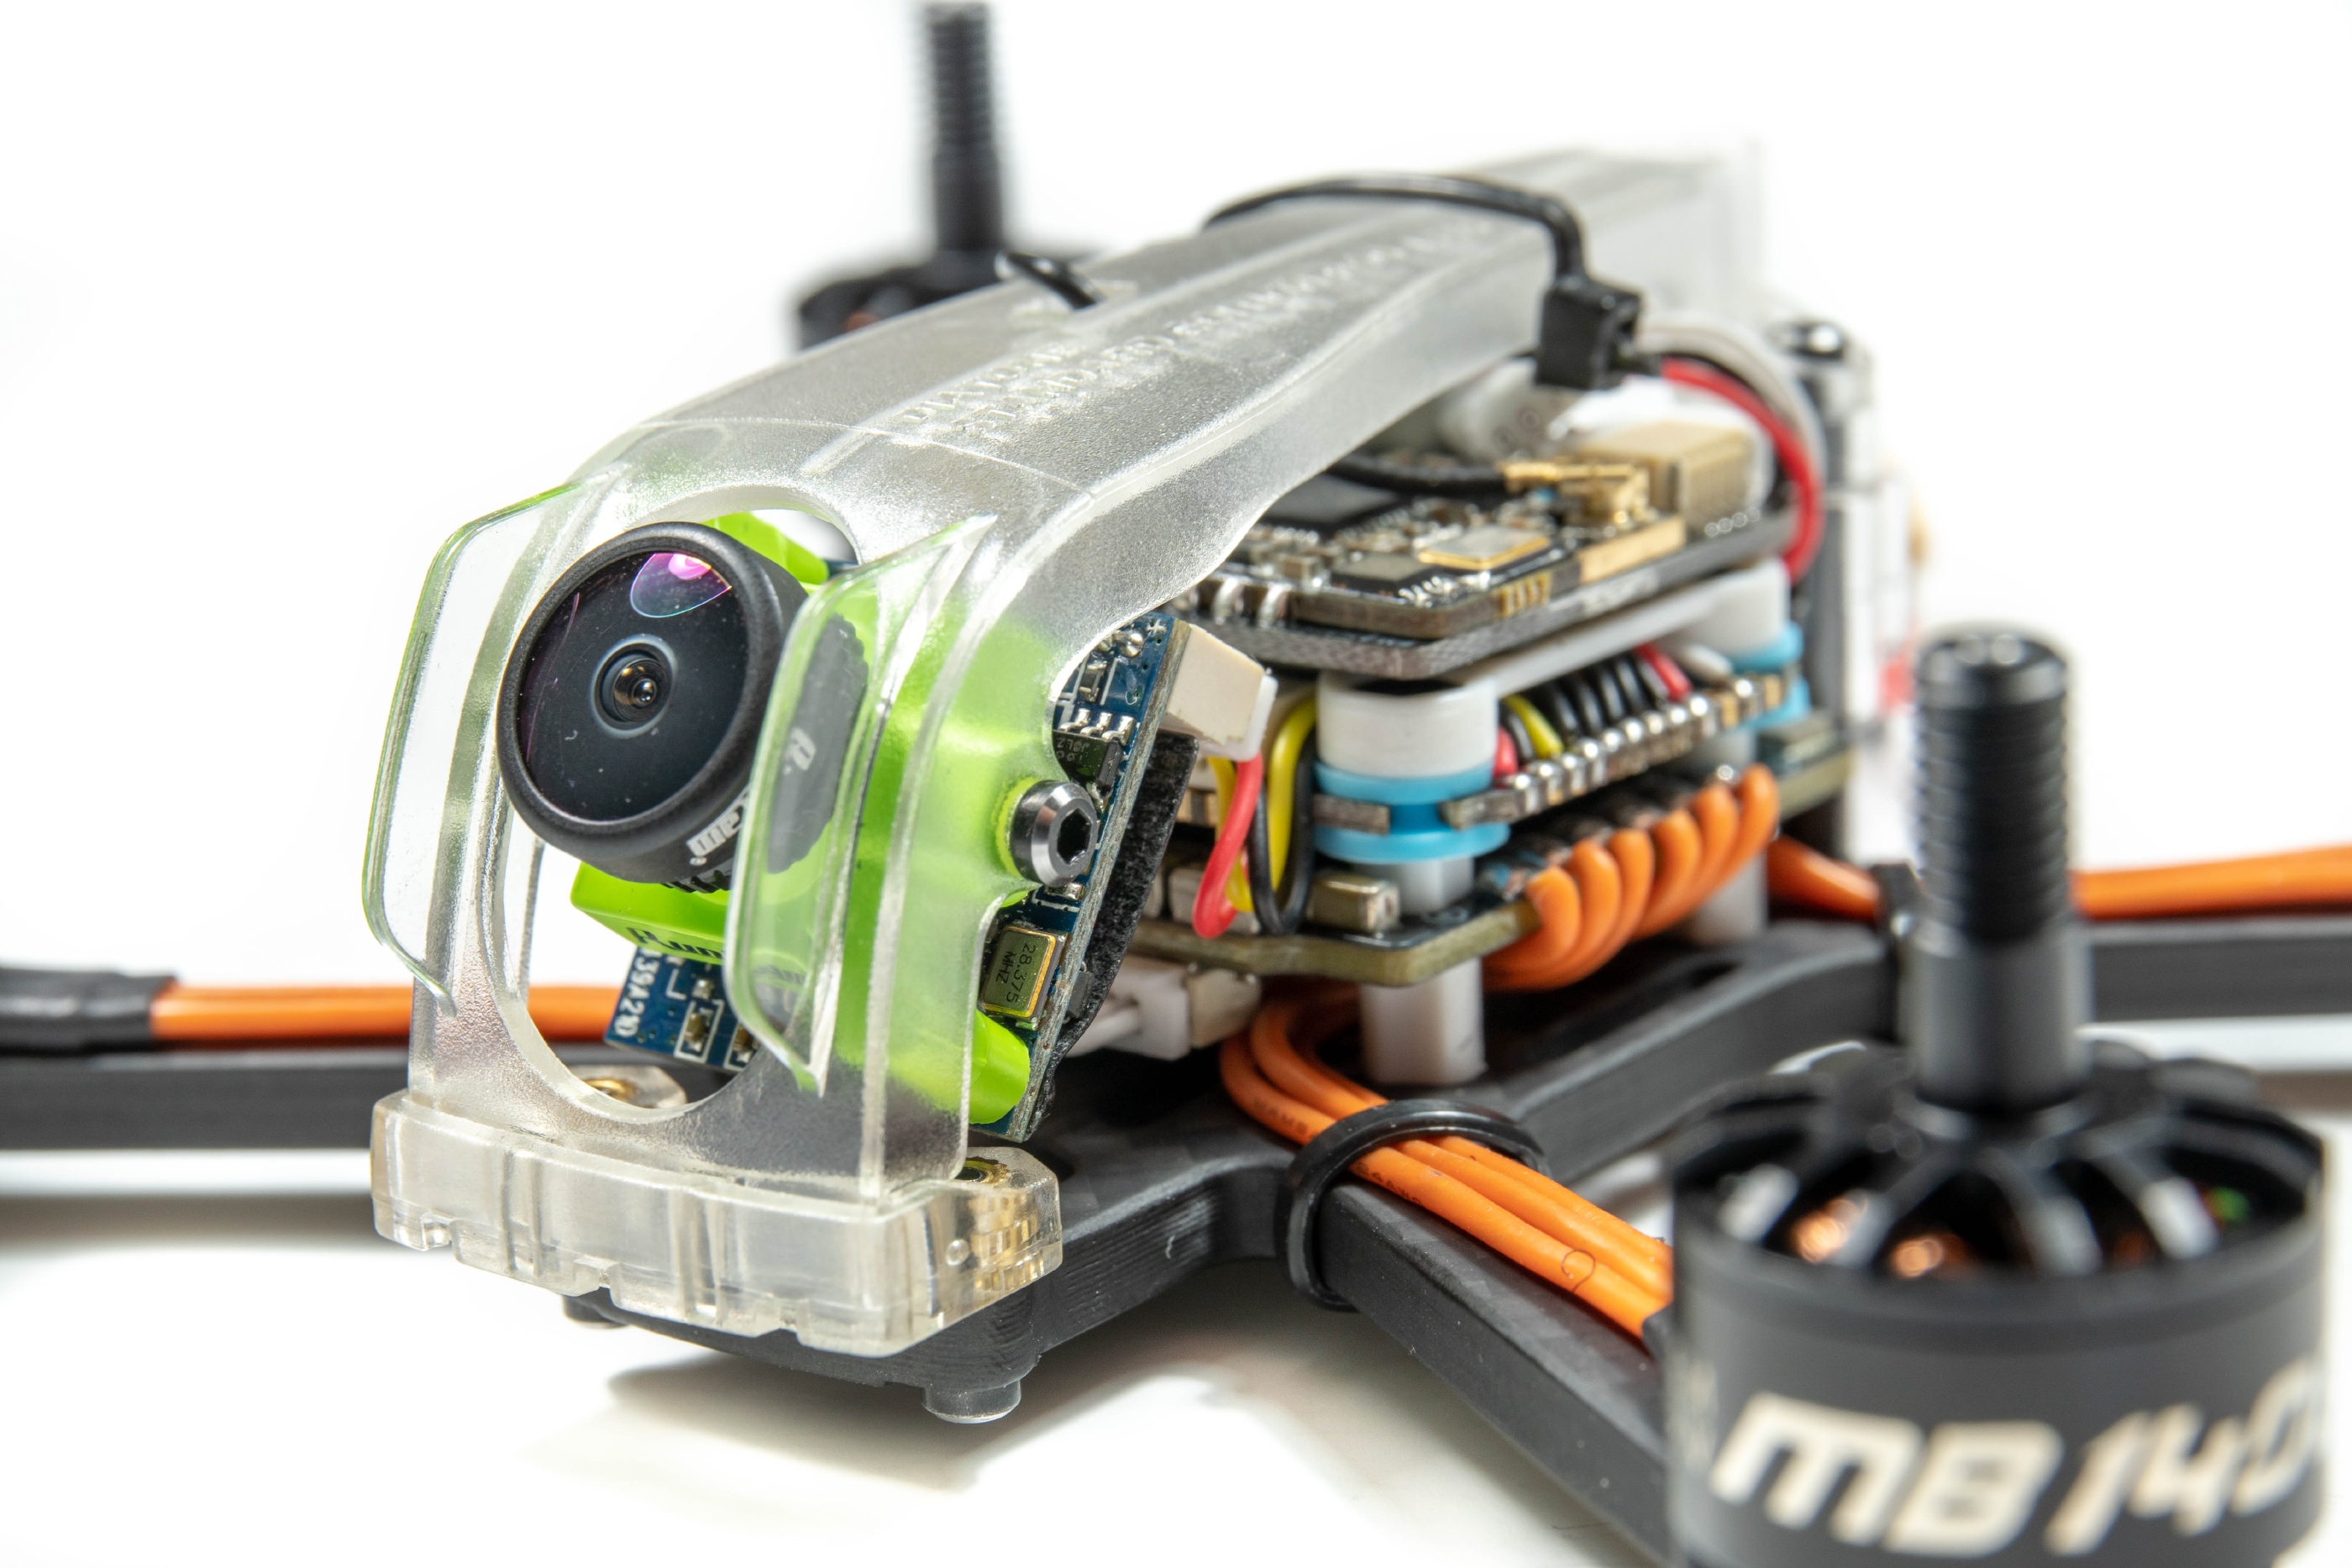
Moving towards the front of the drone we can see the Runcam camera provided, as well as a varying amount of tilt available depending on your flying style, easily adjusted by the provided screw. You’ll also see the camera lens has some protected which is also great, it should be enough to stop the lens being hit or damaged.
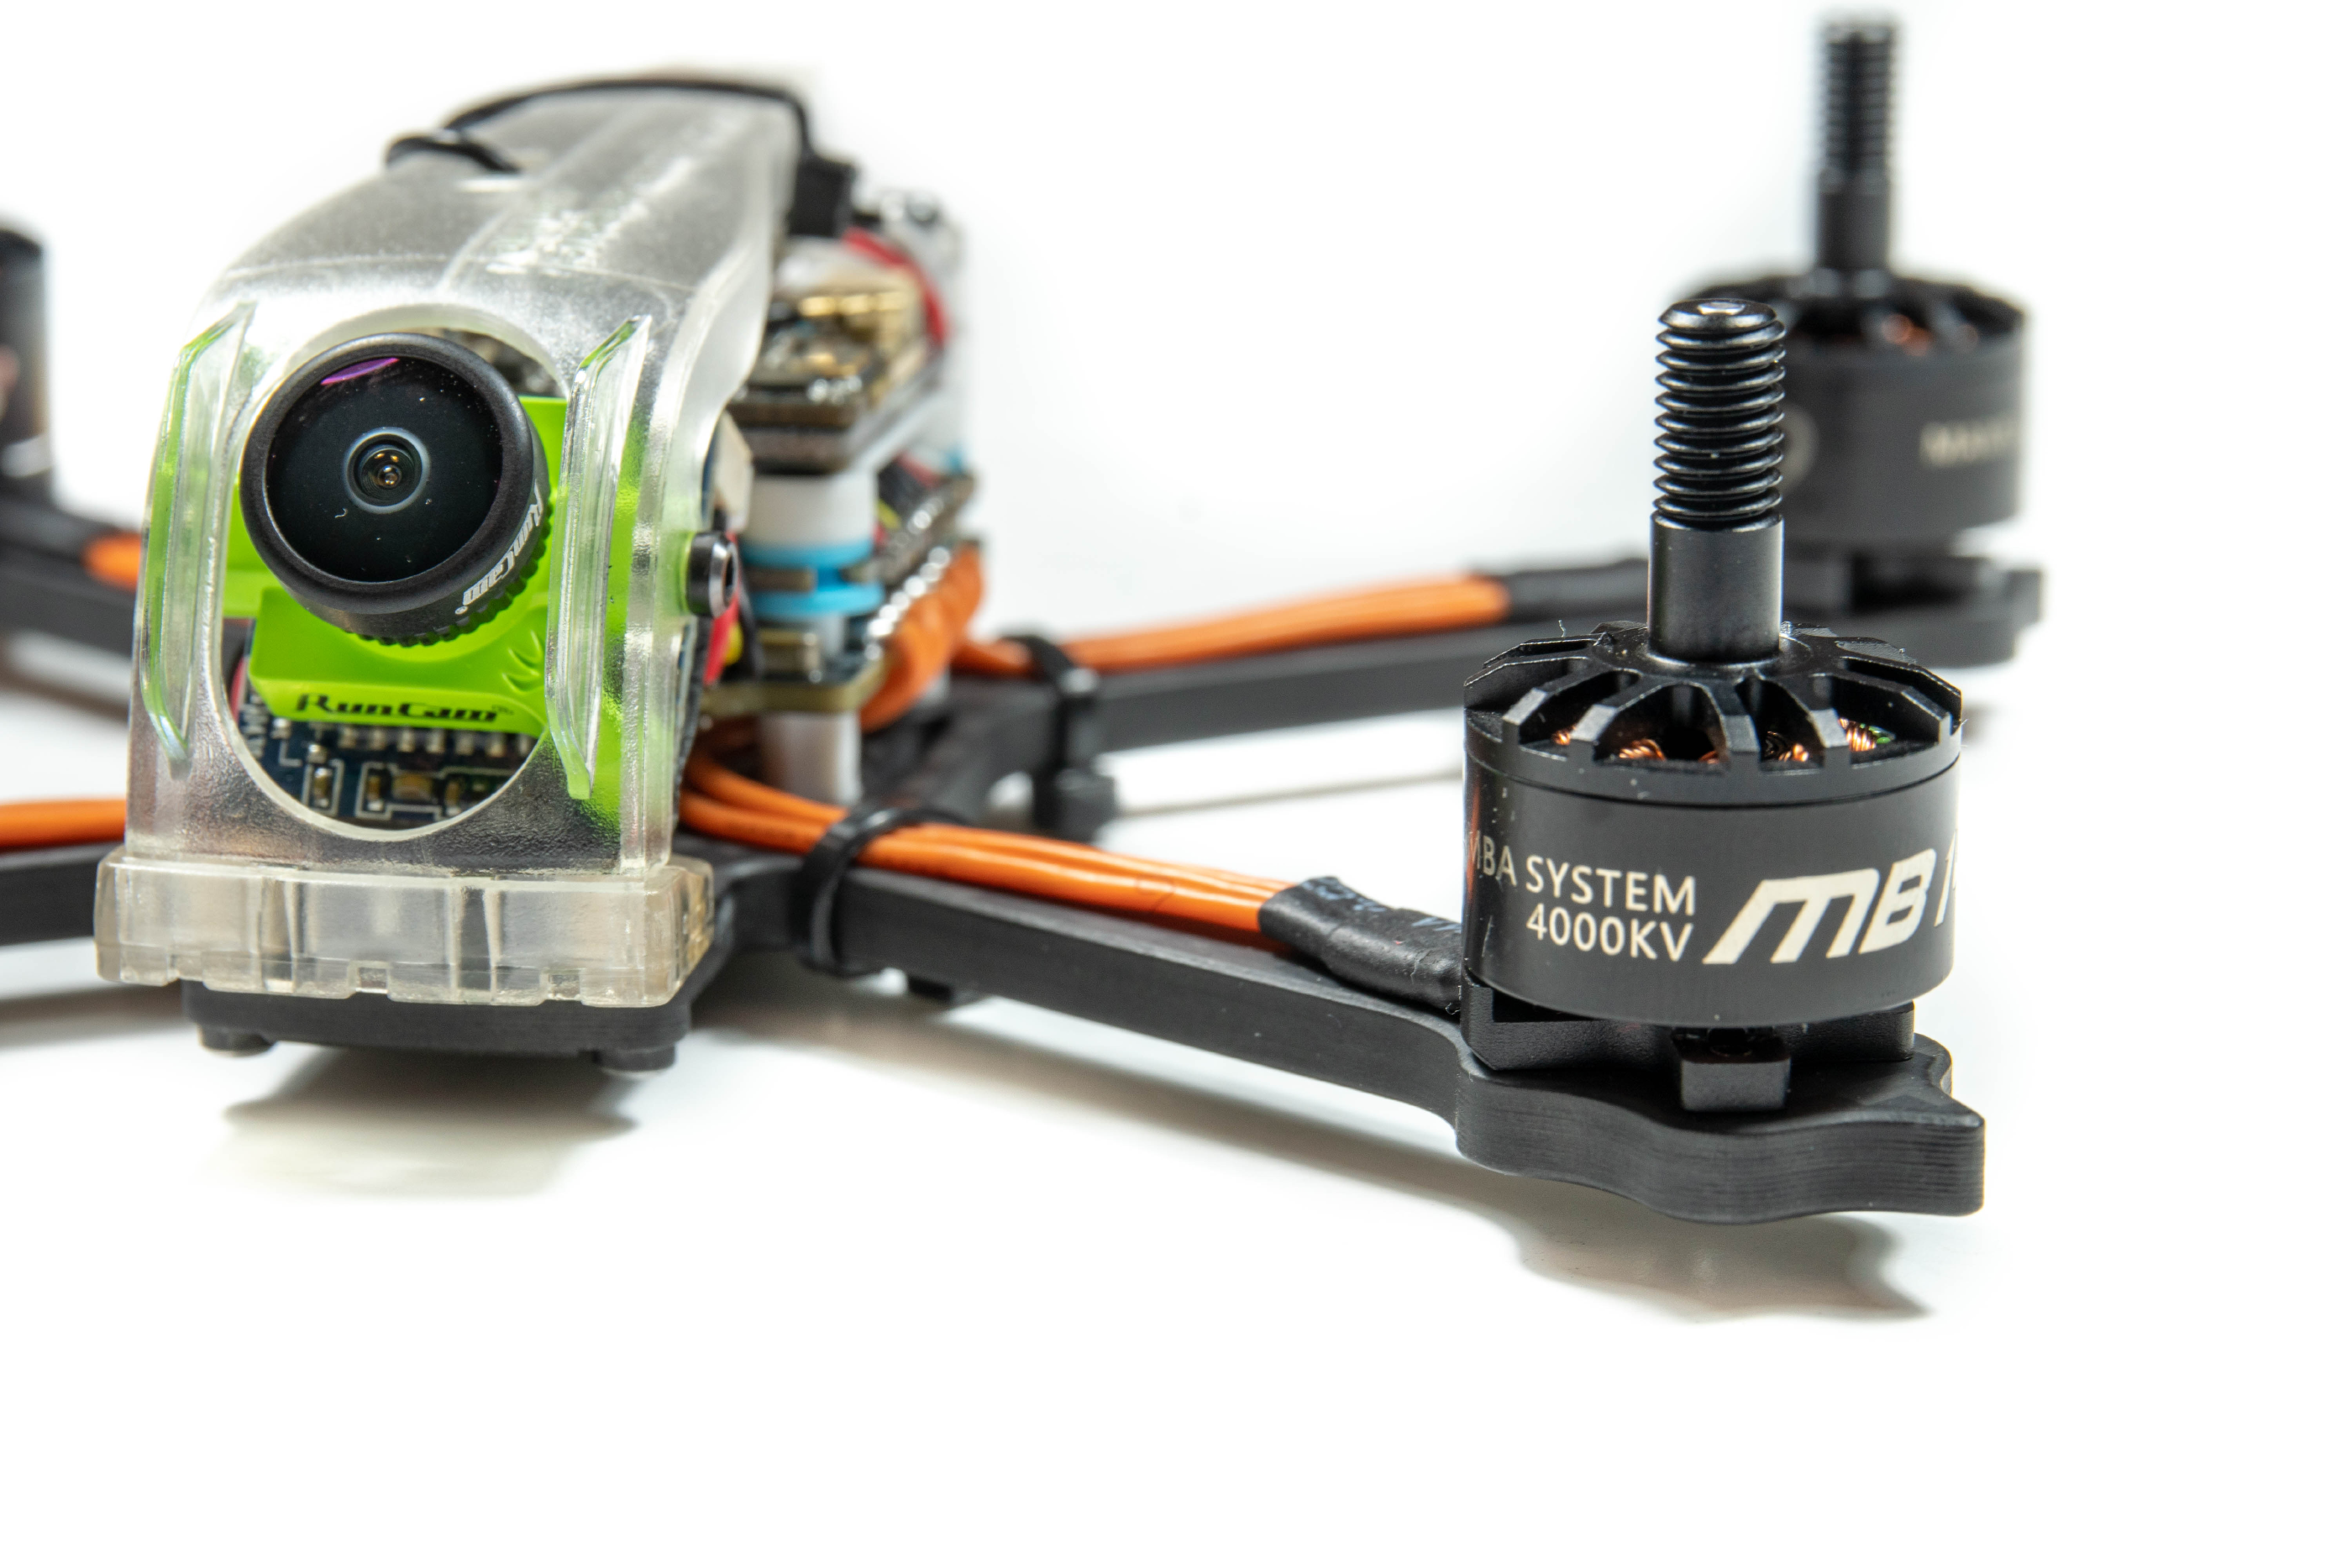
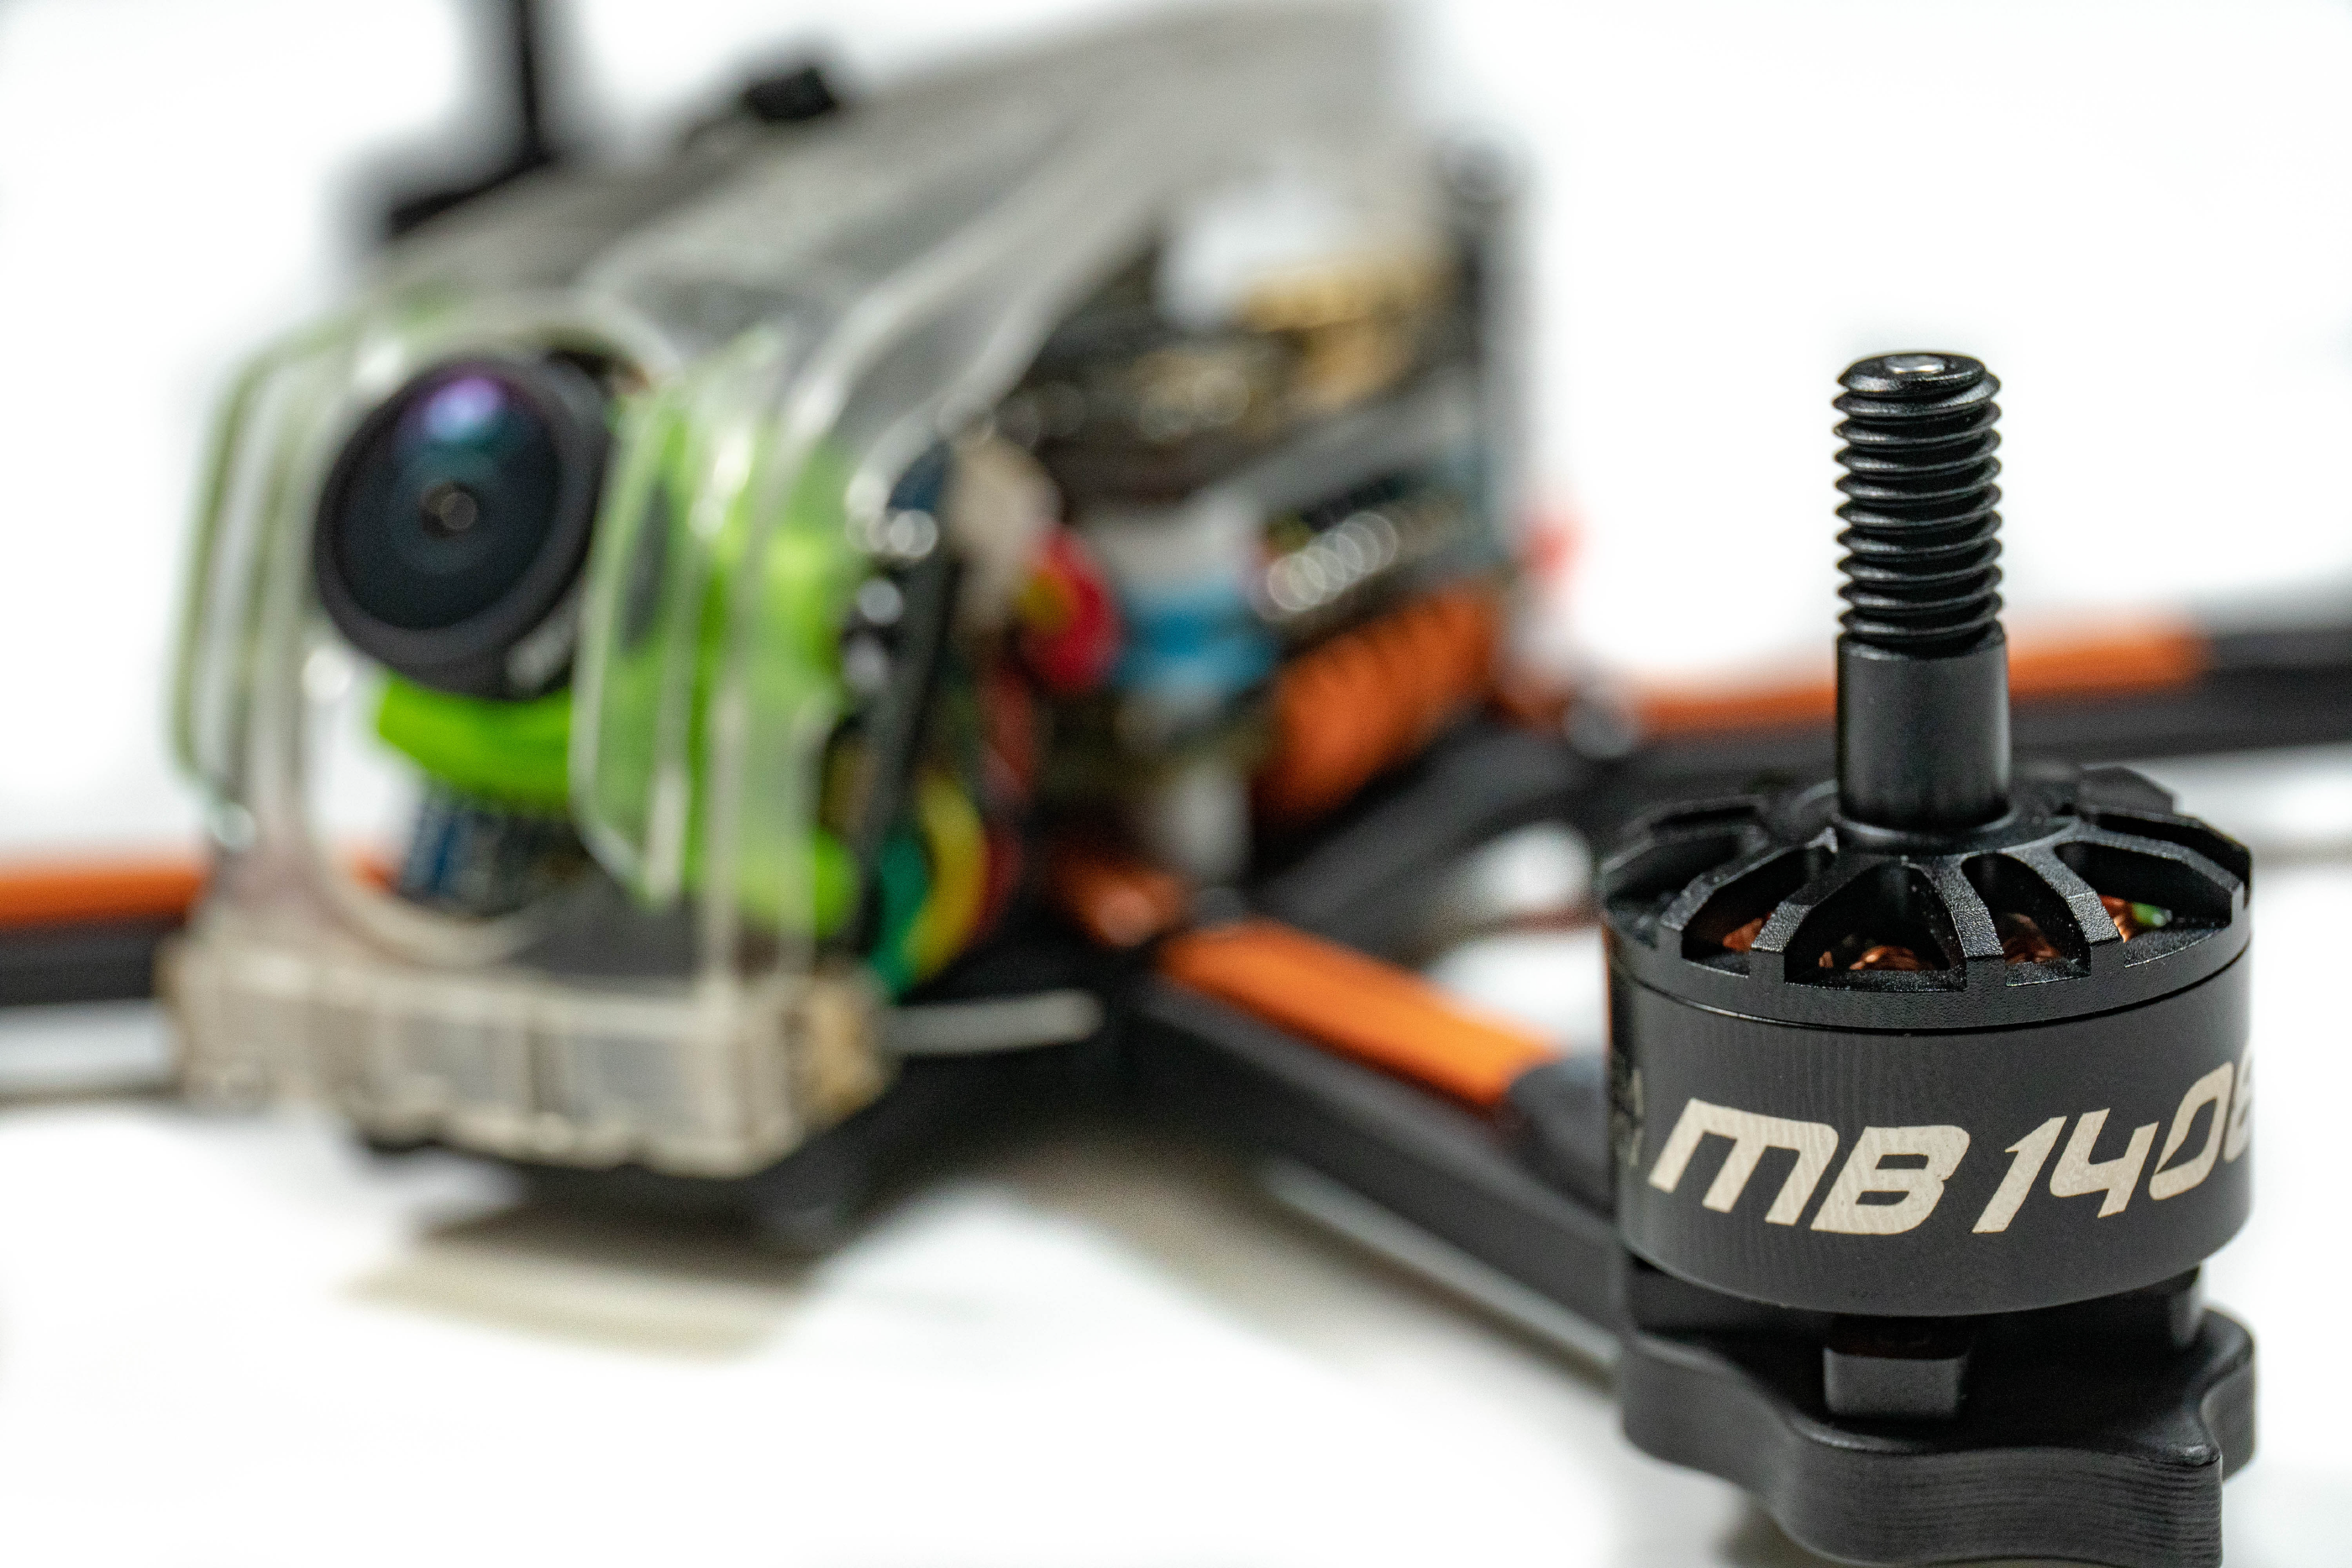
The motors provided are a good size - some beefy 1408 size 4000kv motors, which can be ran on both 3s and 4s - so if you are wanting something a bit more docile to start with you can fly it on 3s and when you gain more confidence with it and want a power boost simply switch up to some 4s packs to rip around.
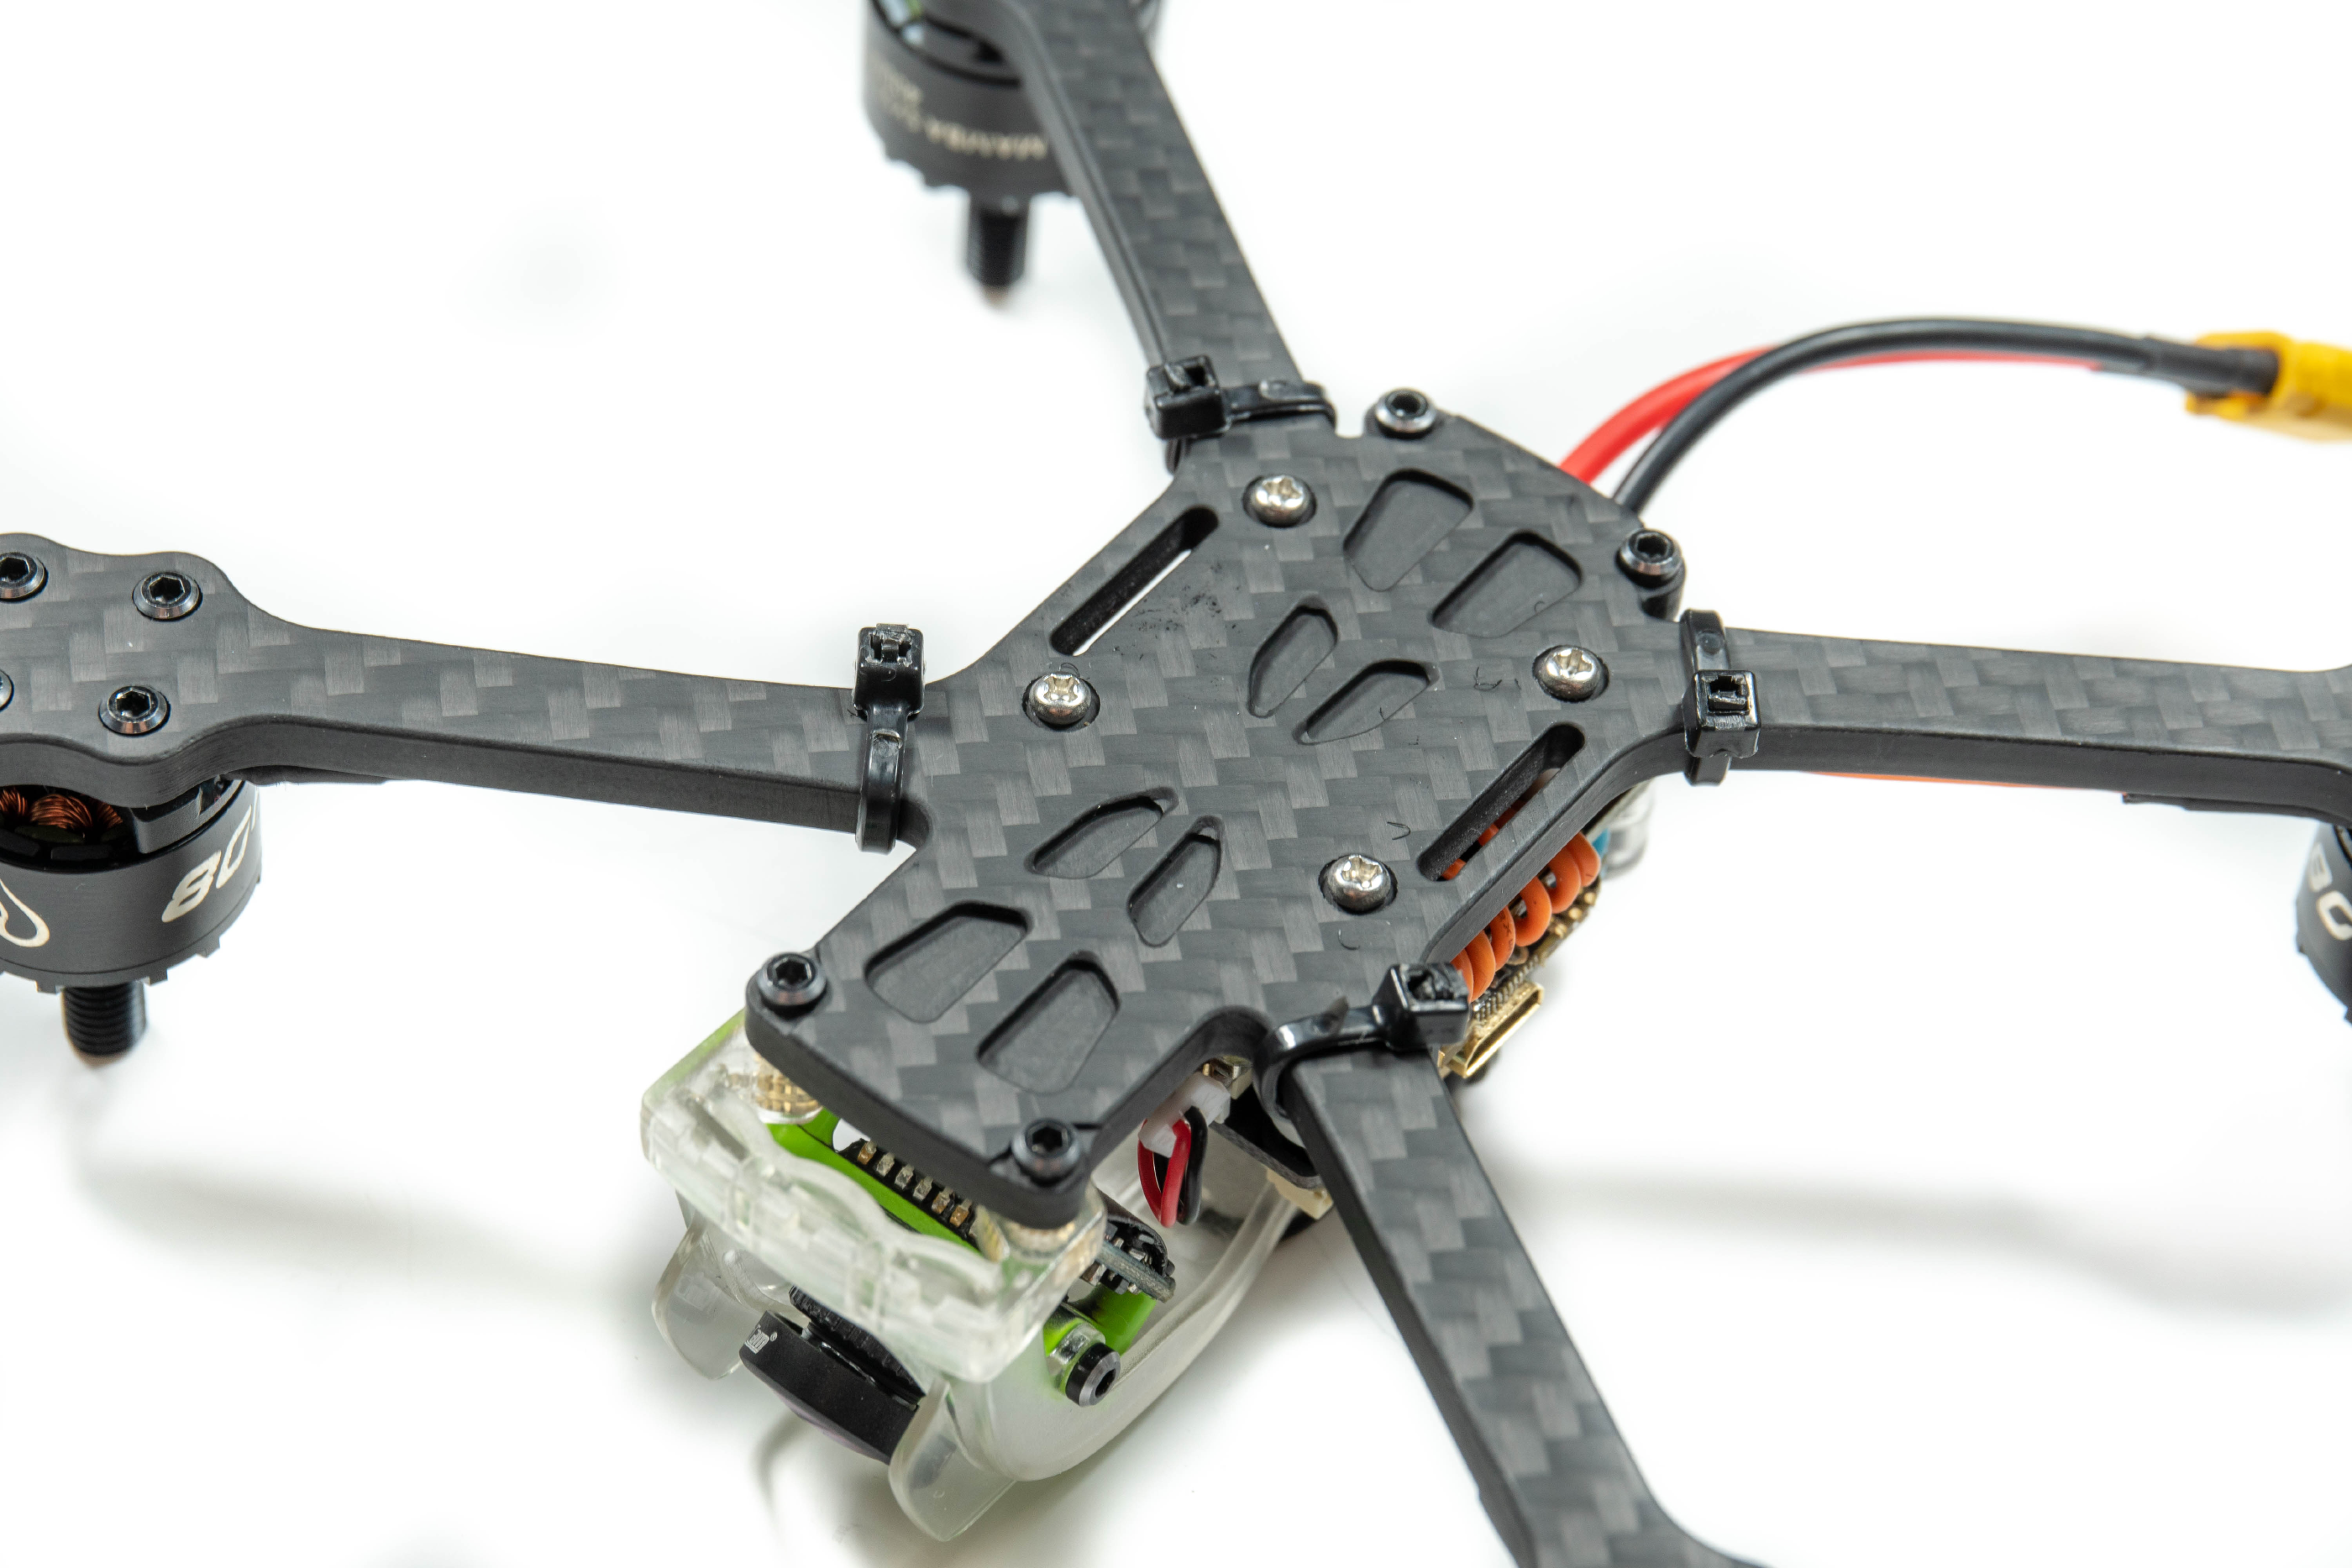
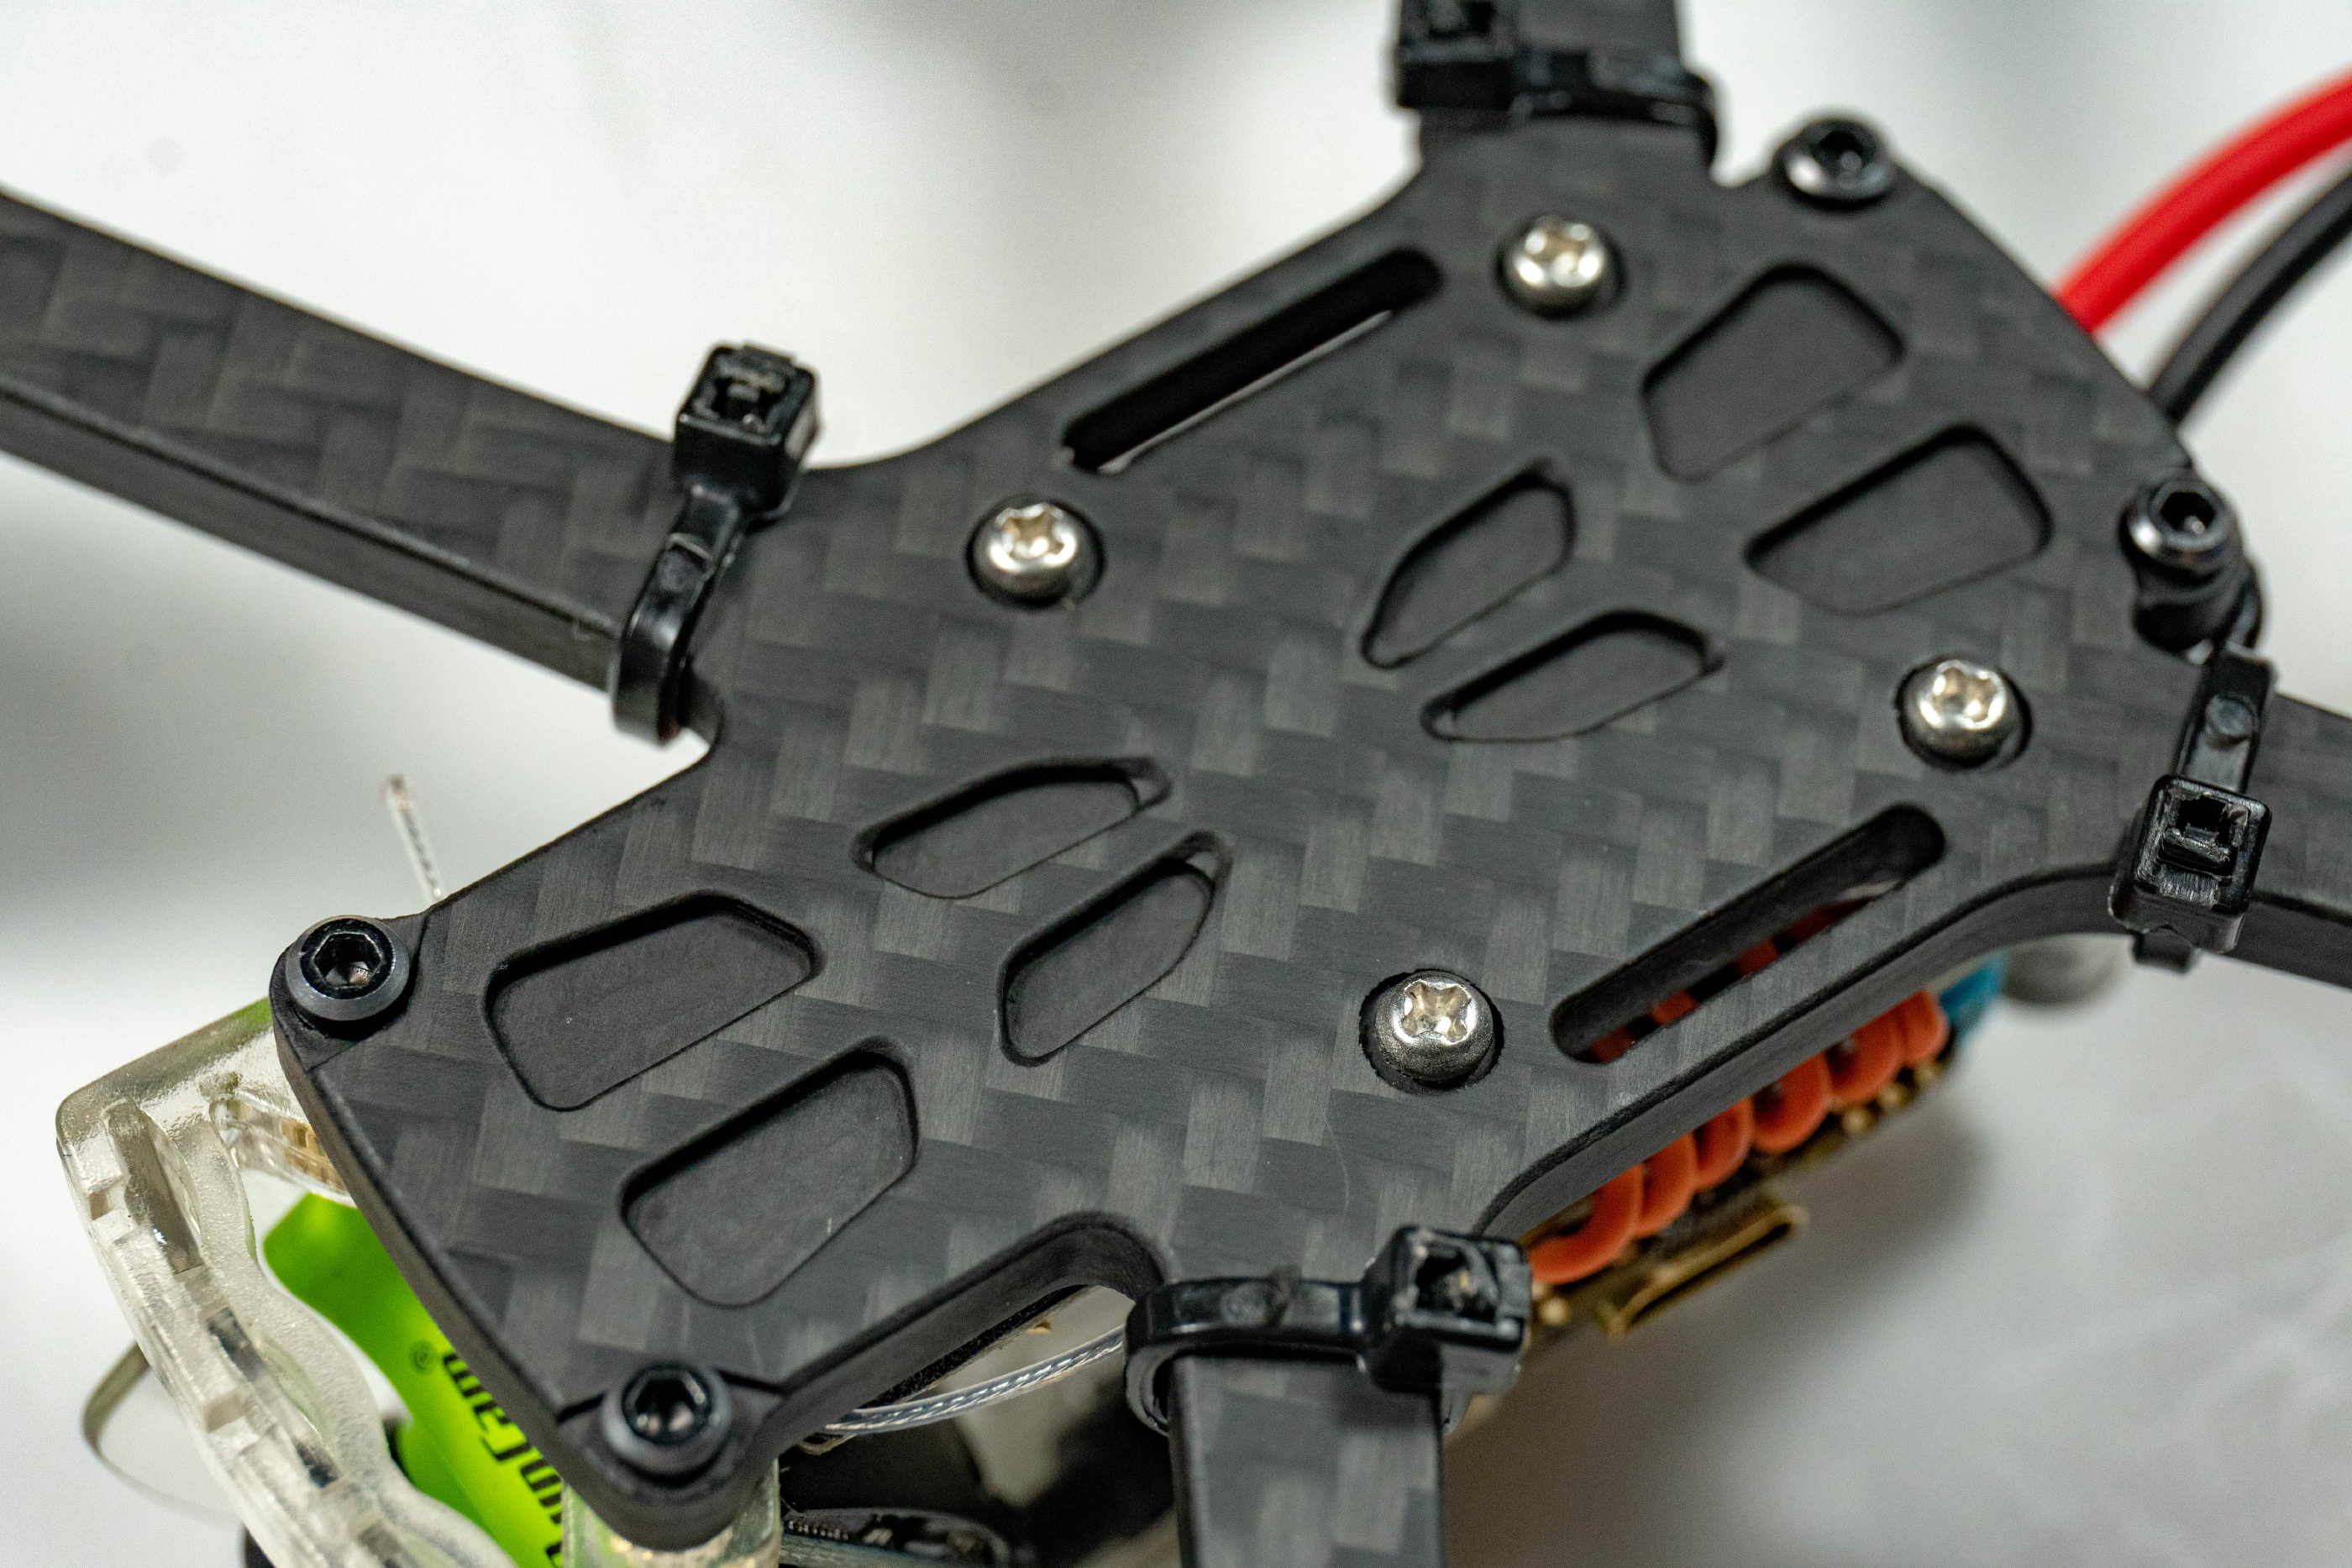
This is where I am VERY impressed with the Diatone build. The whole build is neat, but that’s something you’d expect from a ARTF drone. However, the attention to detail in the milling of this carbon is second to none. Not only are the recessed carbon areas aesthetically pleasing you’re also going to be saving a bit of weight. The finish of this area is absolutely amazing not a single machining mark in sight.
For those with a keen eye you may also notice that all of the bolts are also recessed which is a nice touch.
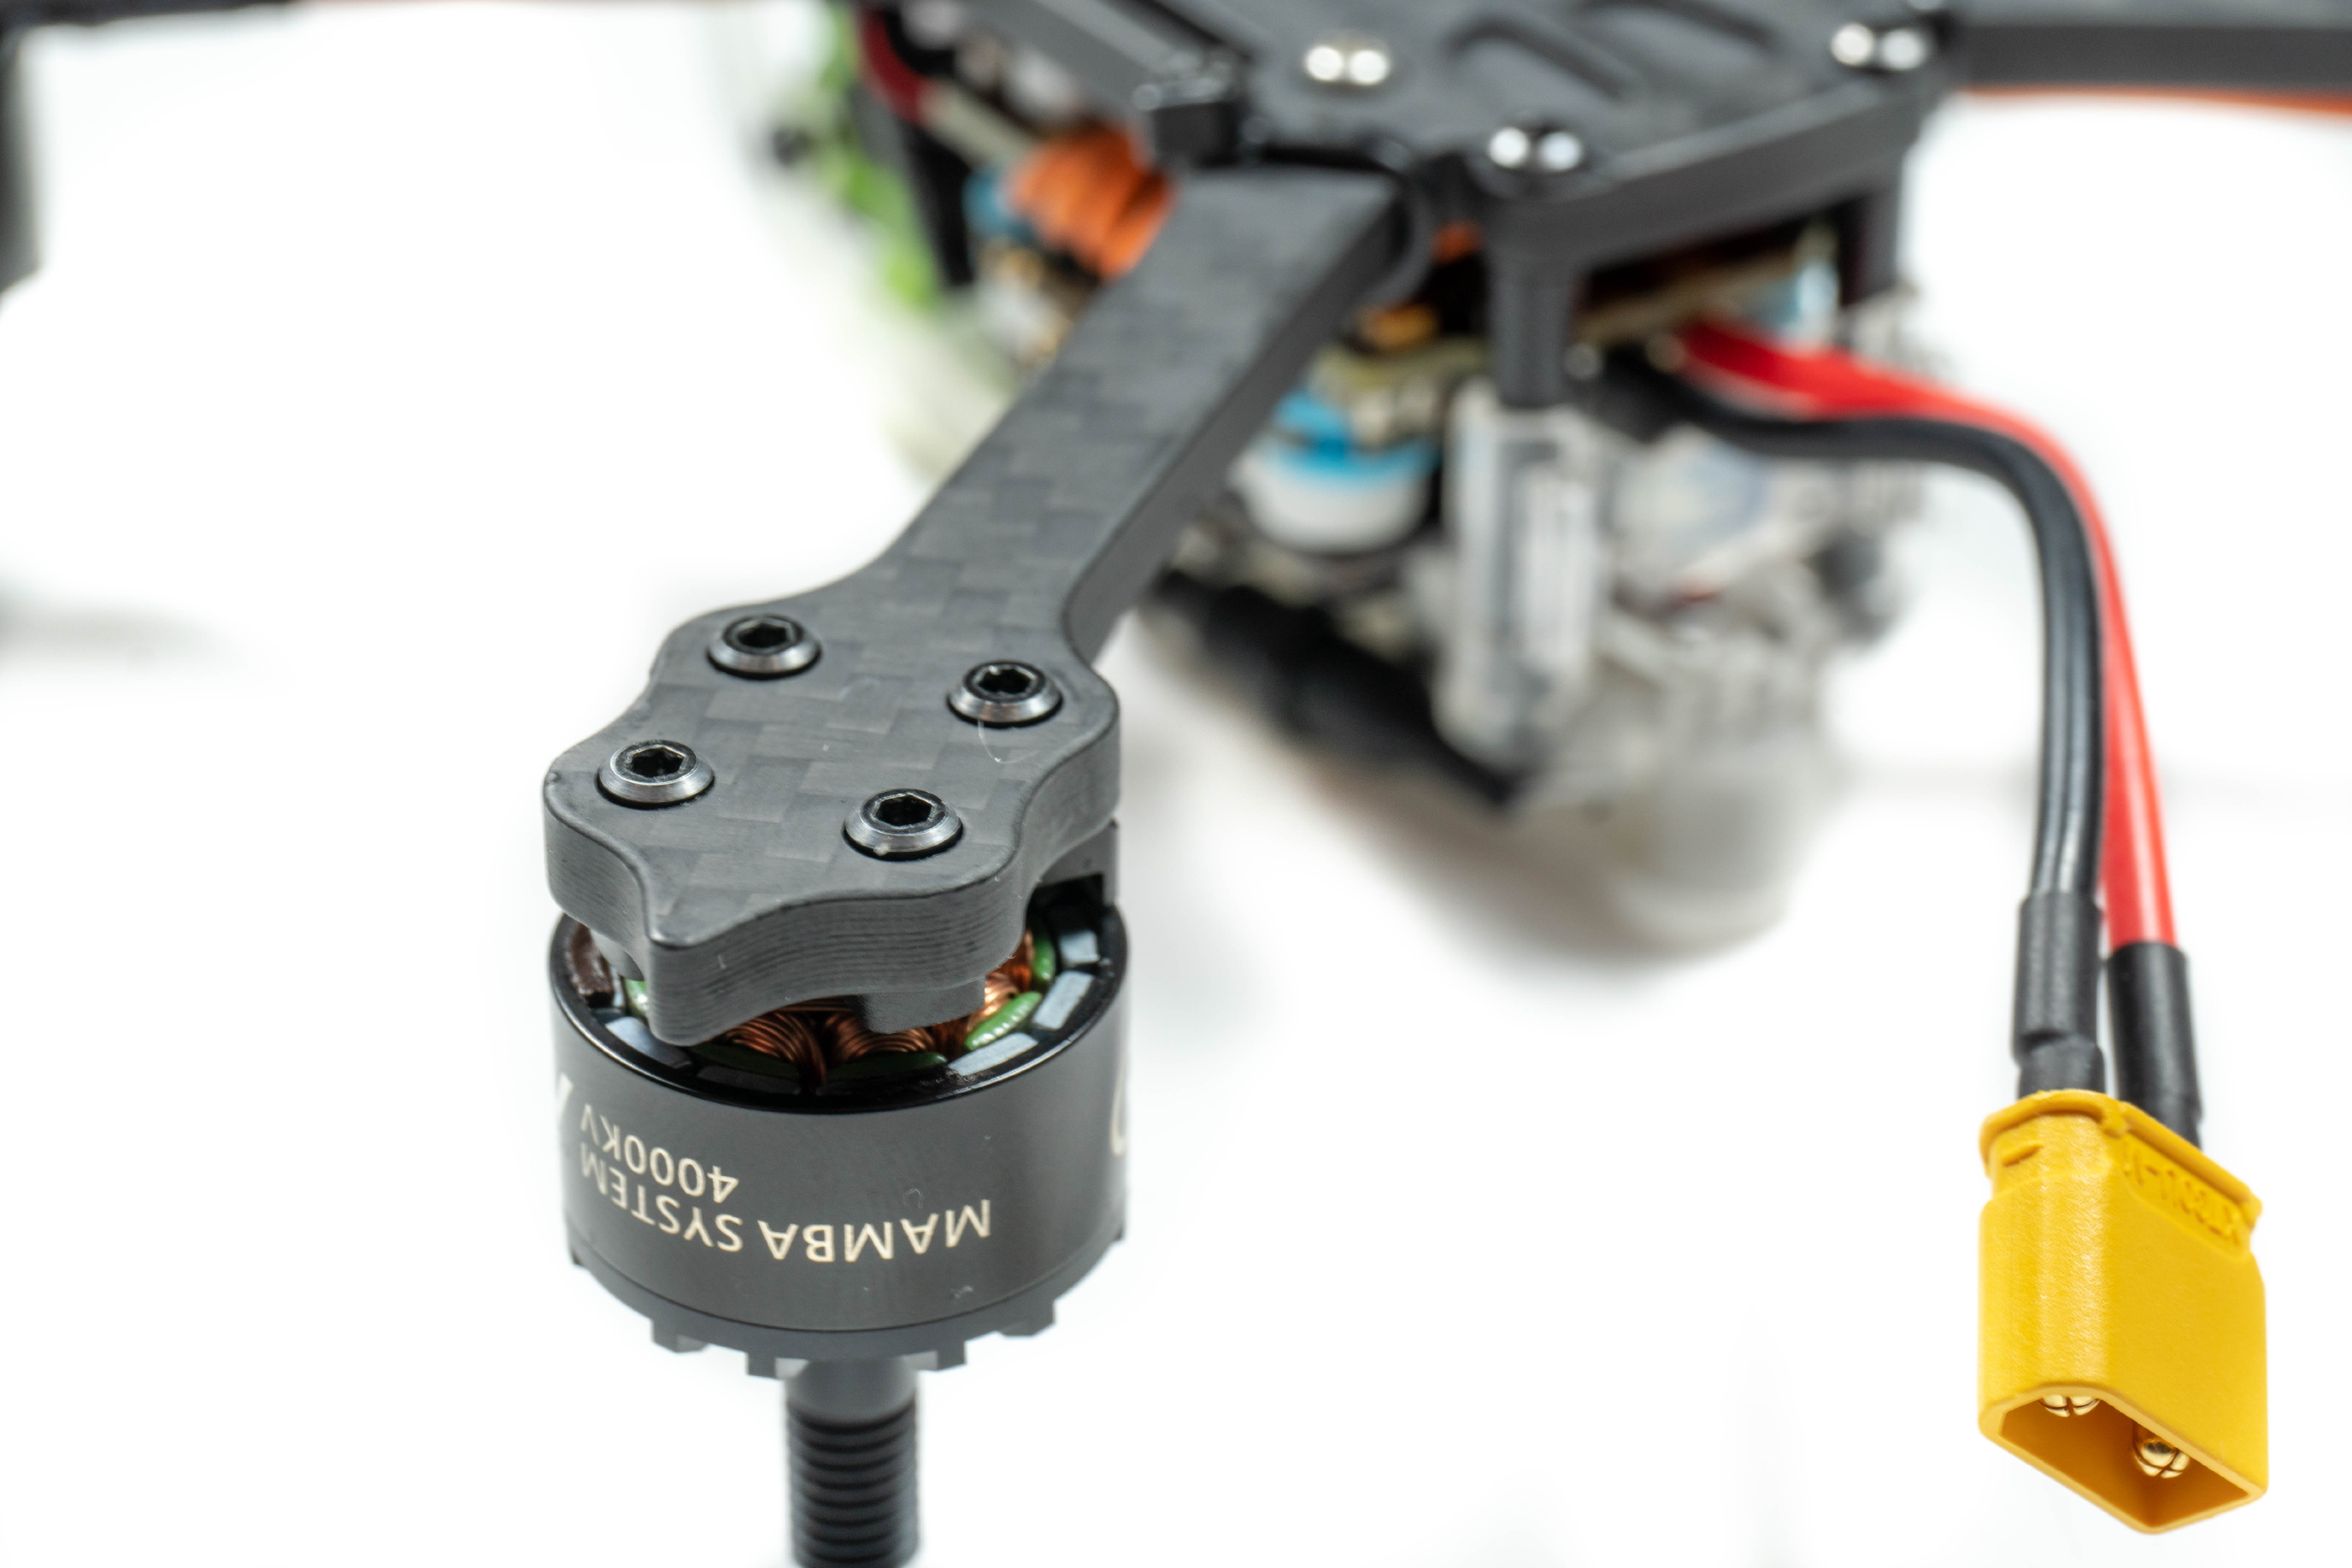
Similarly, the motor bolts are also recessed which is really really nice. A good indicator of how good the carbon or finish is can be seen on the very edges of the carbon - you can see all of the edges are smoothed off and then coated. This actually will add a bit of strength to the carbon and help stop it de-laminating.
Build Log
So, we’ve talked about it enough and it must be time to get on installing the receiver and flying it right? Yep, exactly!
It’s going to be a much smaller build log than usual as we only have to add in and solder one component, but actually this is going to be tricky and I’ll explain why further down.
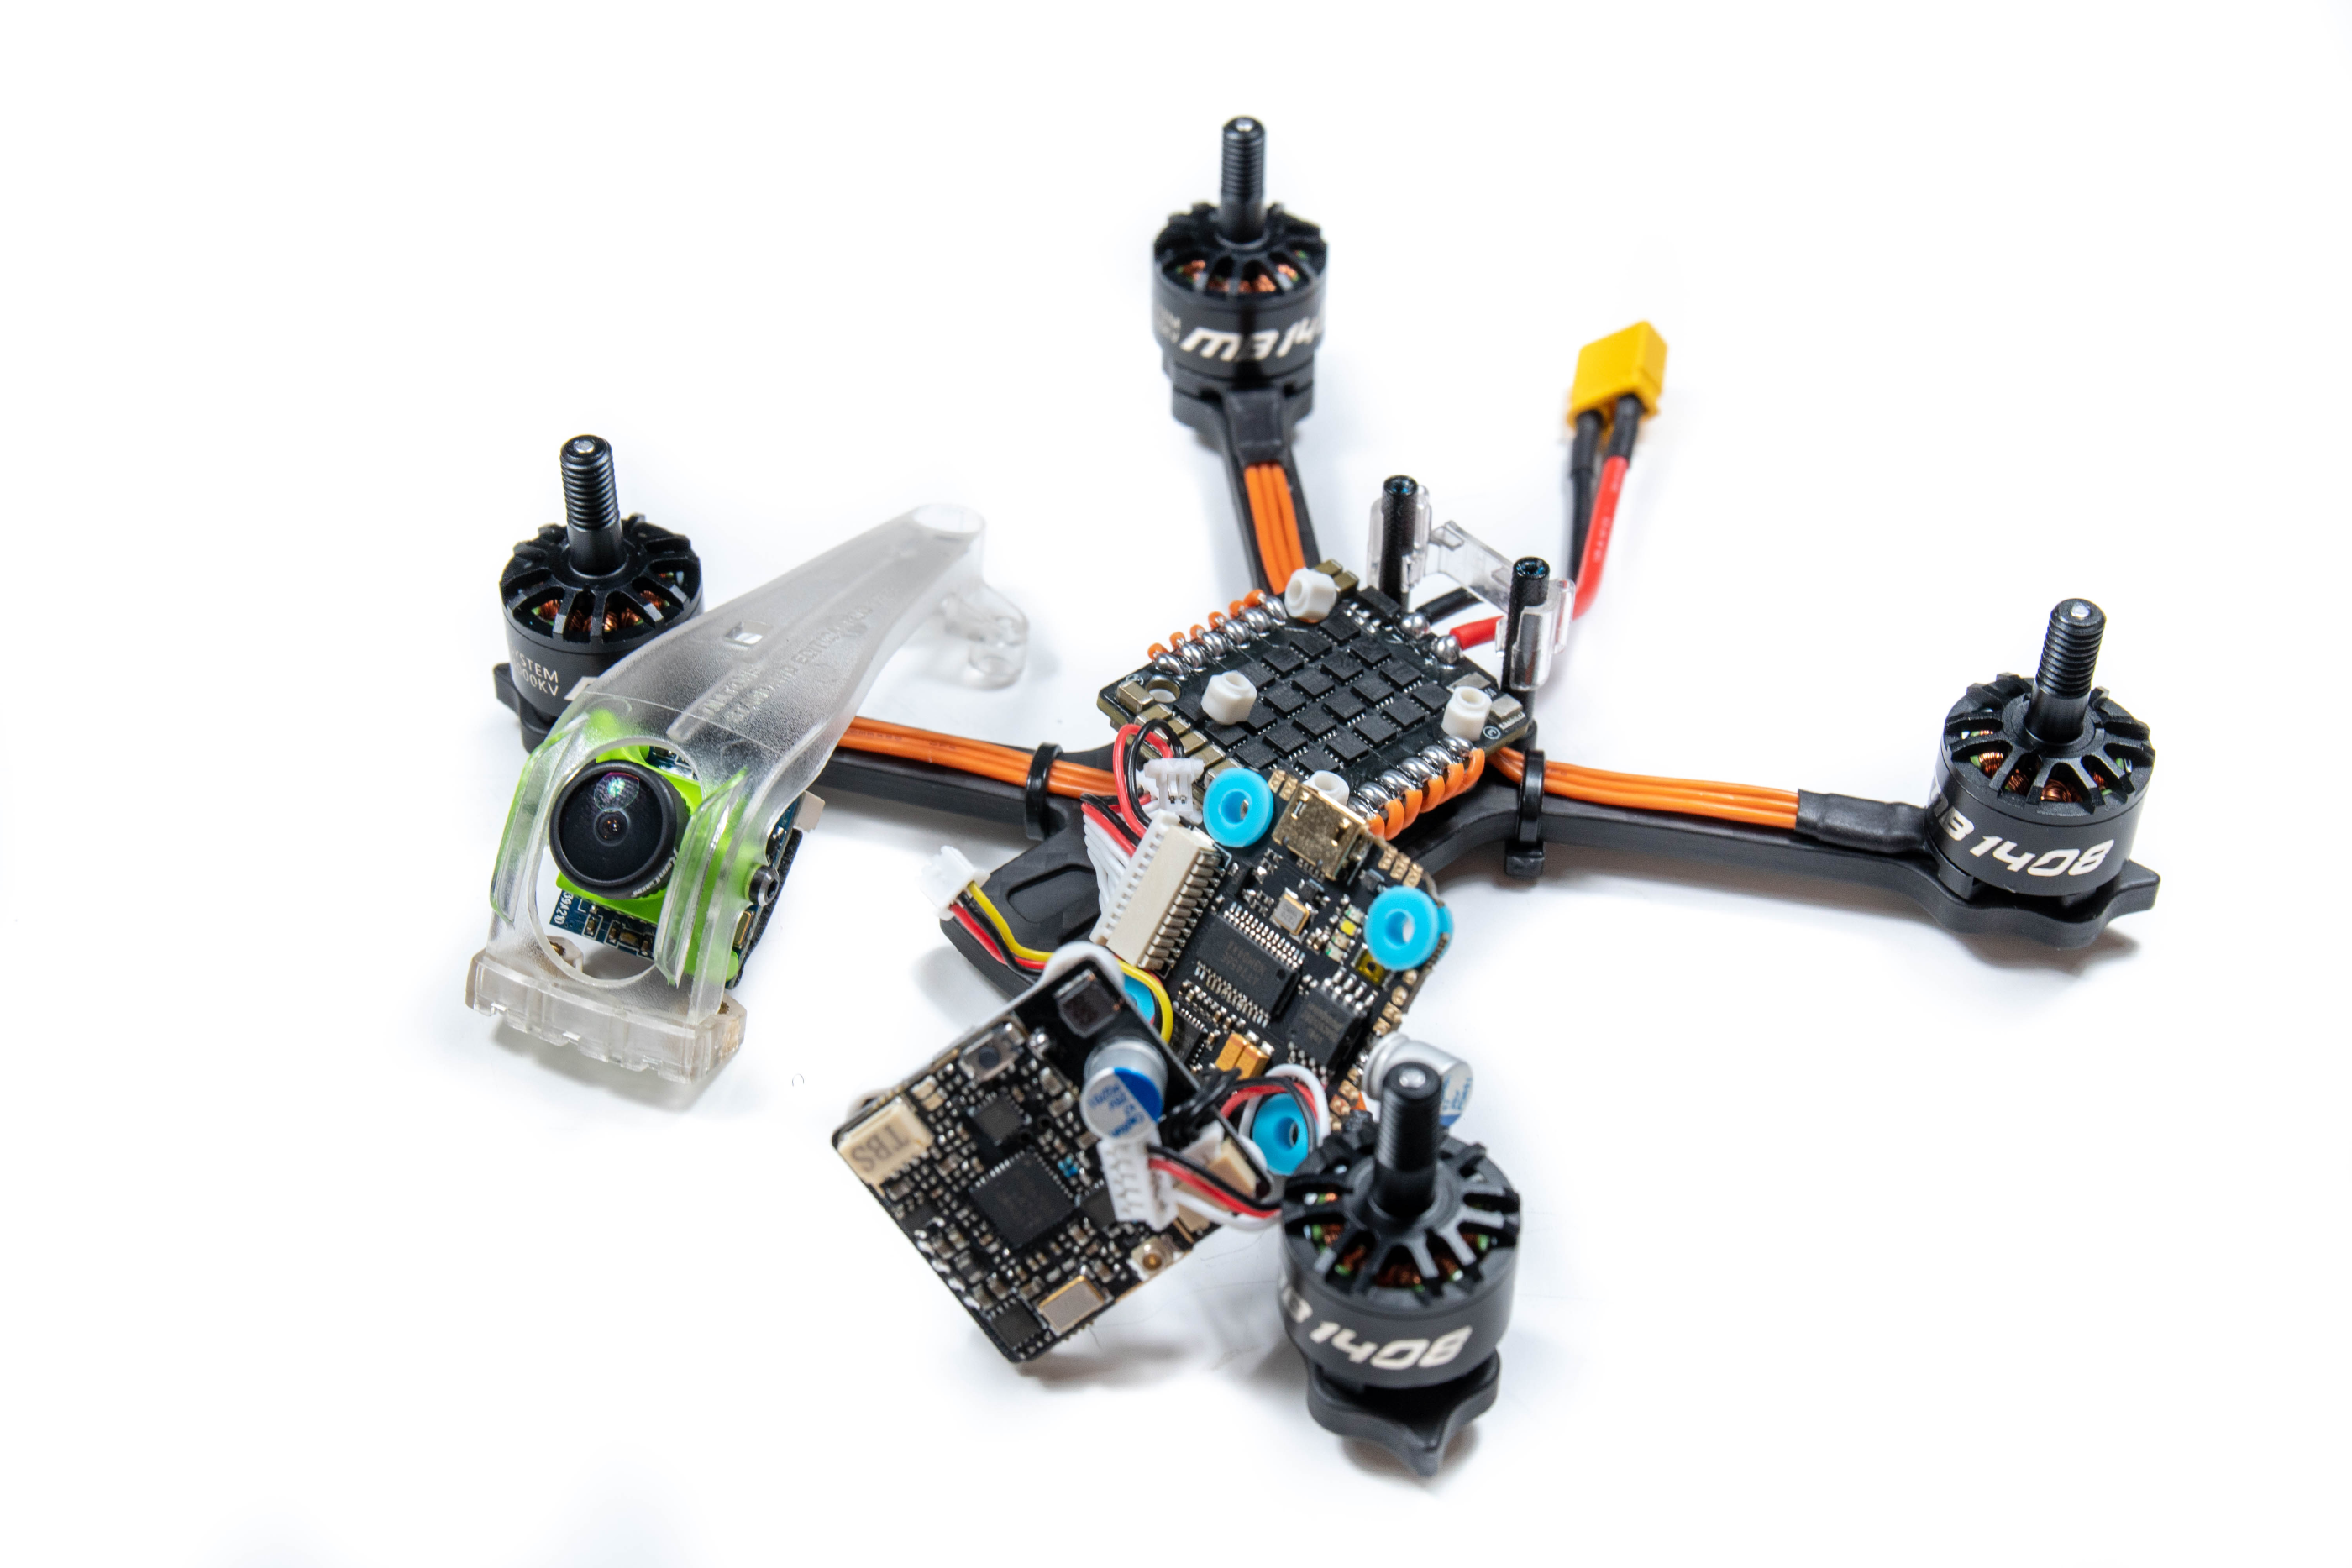
First things first is to remove the canopy and remove the stack screws in order to get to the Flight Controller. I would recommend taping your stack to the frame to not lose any of the white standoffs, they’re easy to misplace and also have a specific rotation to not crush any components on the ESC or FC so be careful reassembling this!
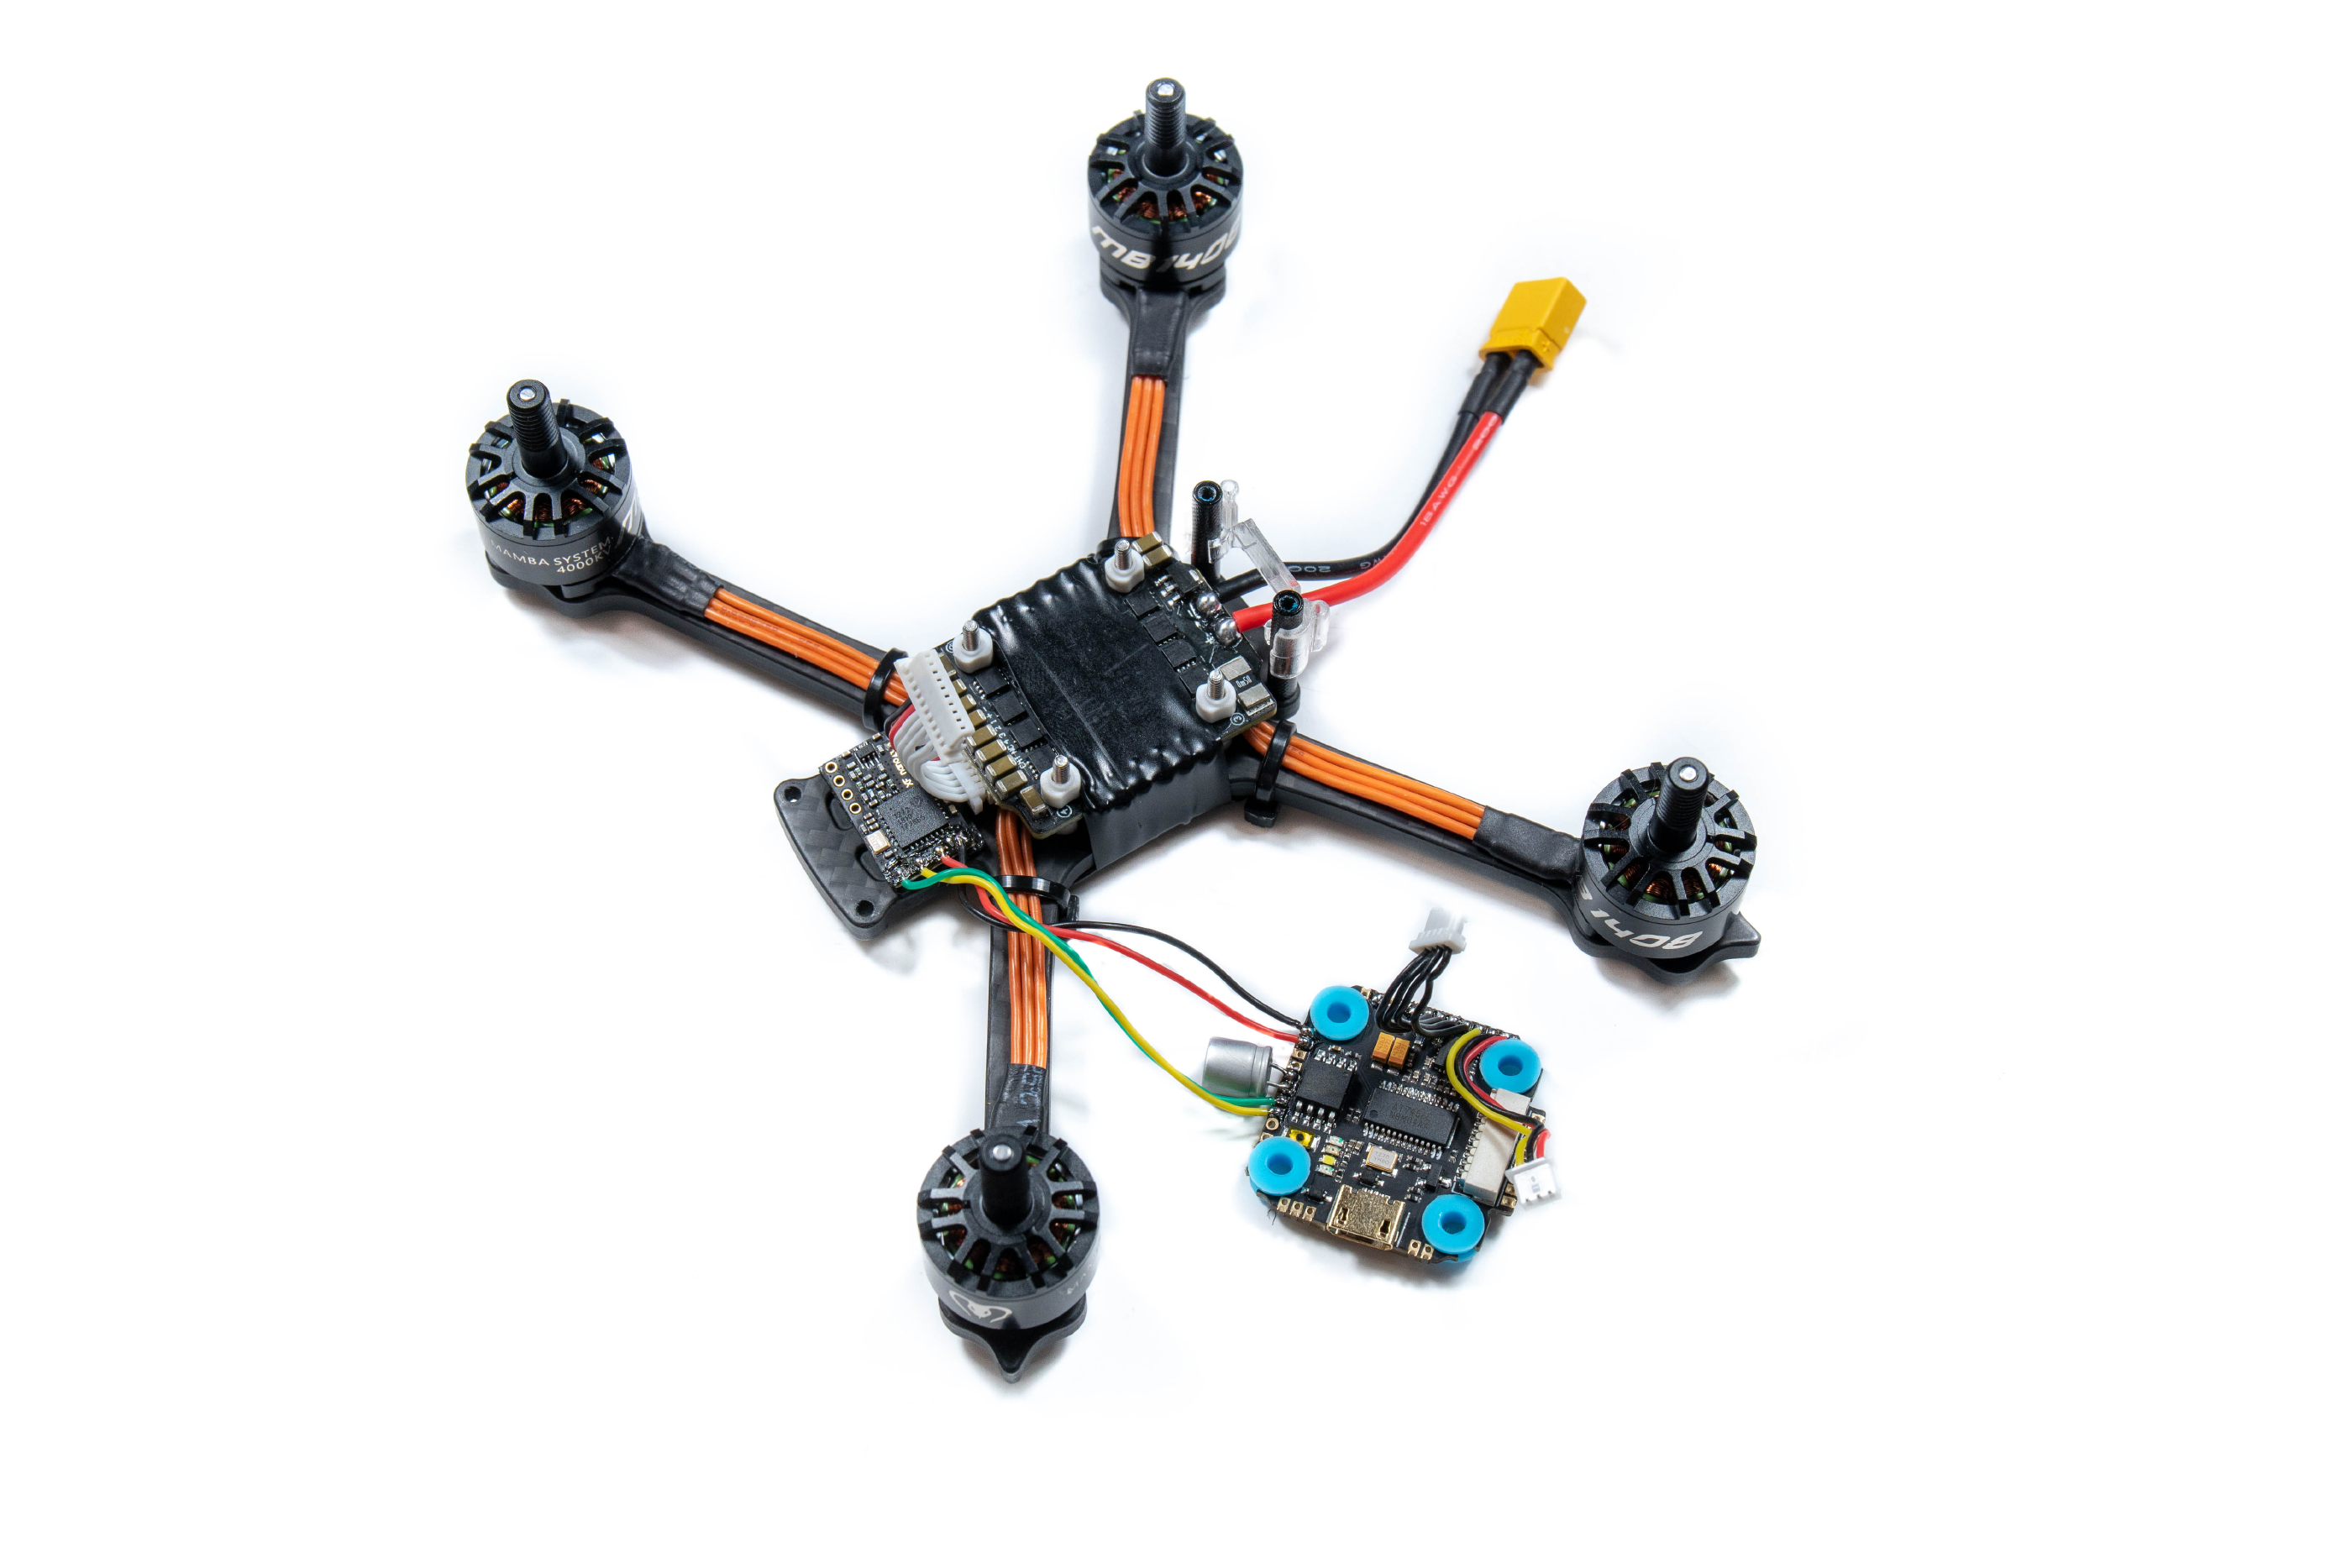
I then also unplugged the VTX and camera to give myself a bit more room. The next step is to solder up your receiver. In this instance I’m using a TBS Crossfire Nano receiver and so for this I use all 4 wires. If you are using SBUS or other alternatives I recommend you consult the manual for the correct wiring, we’ll move onto how you set this up in Betaflight a bit further down.
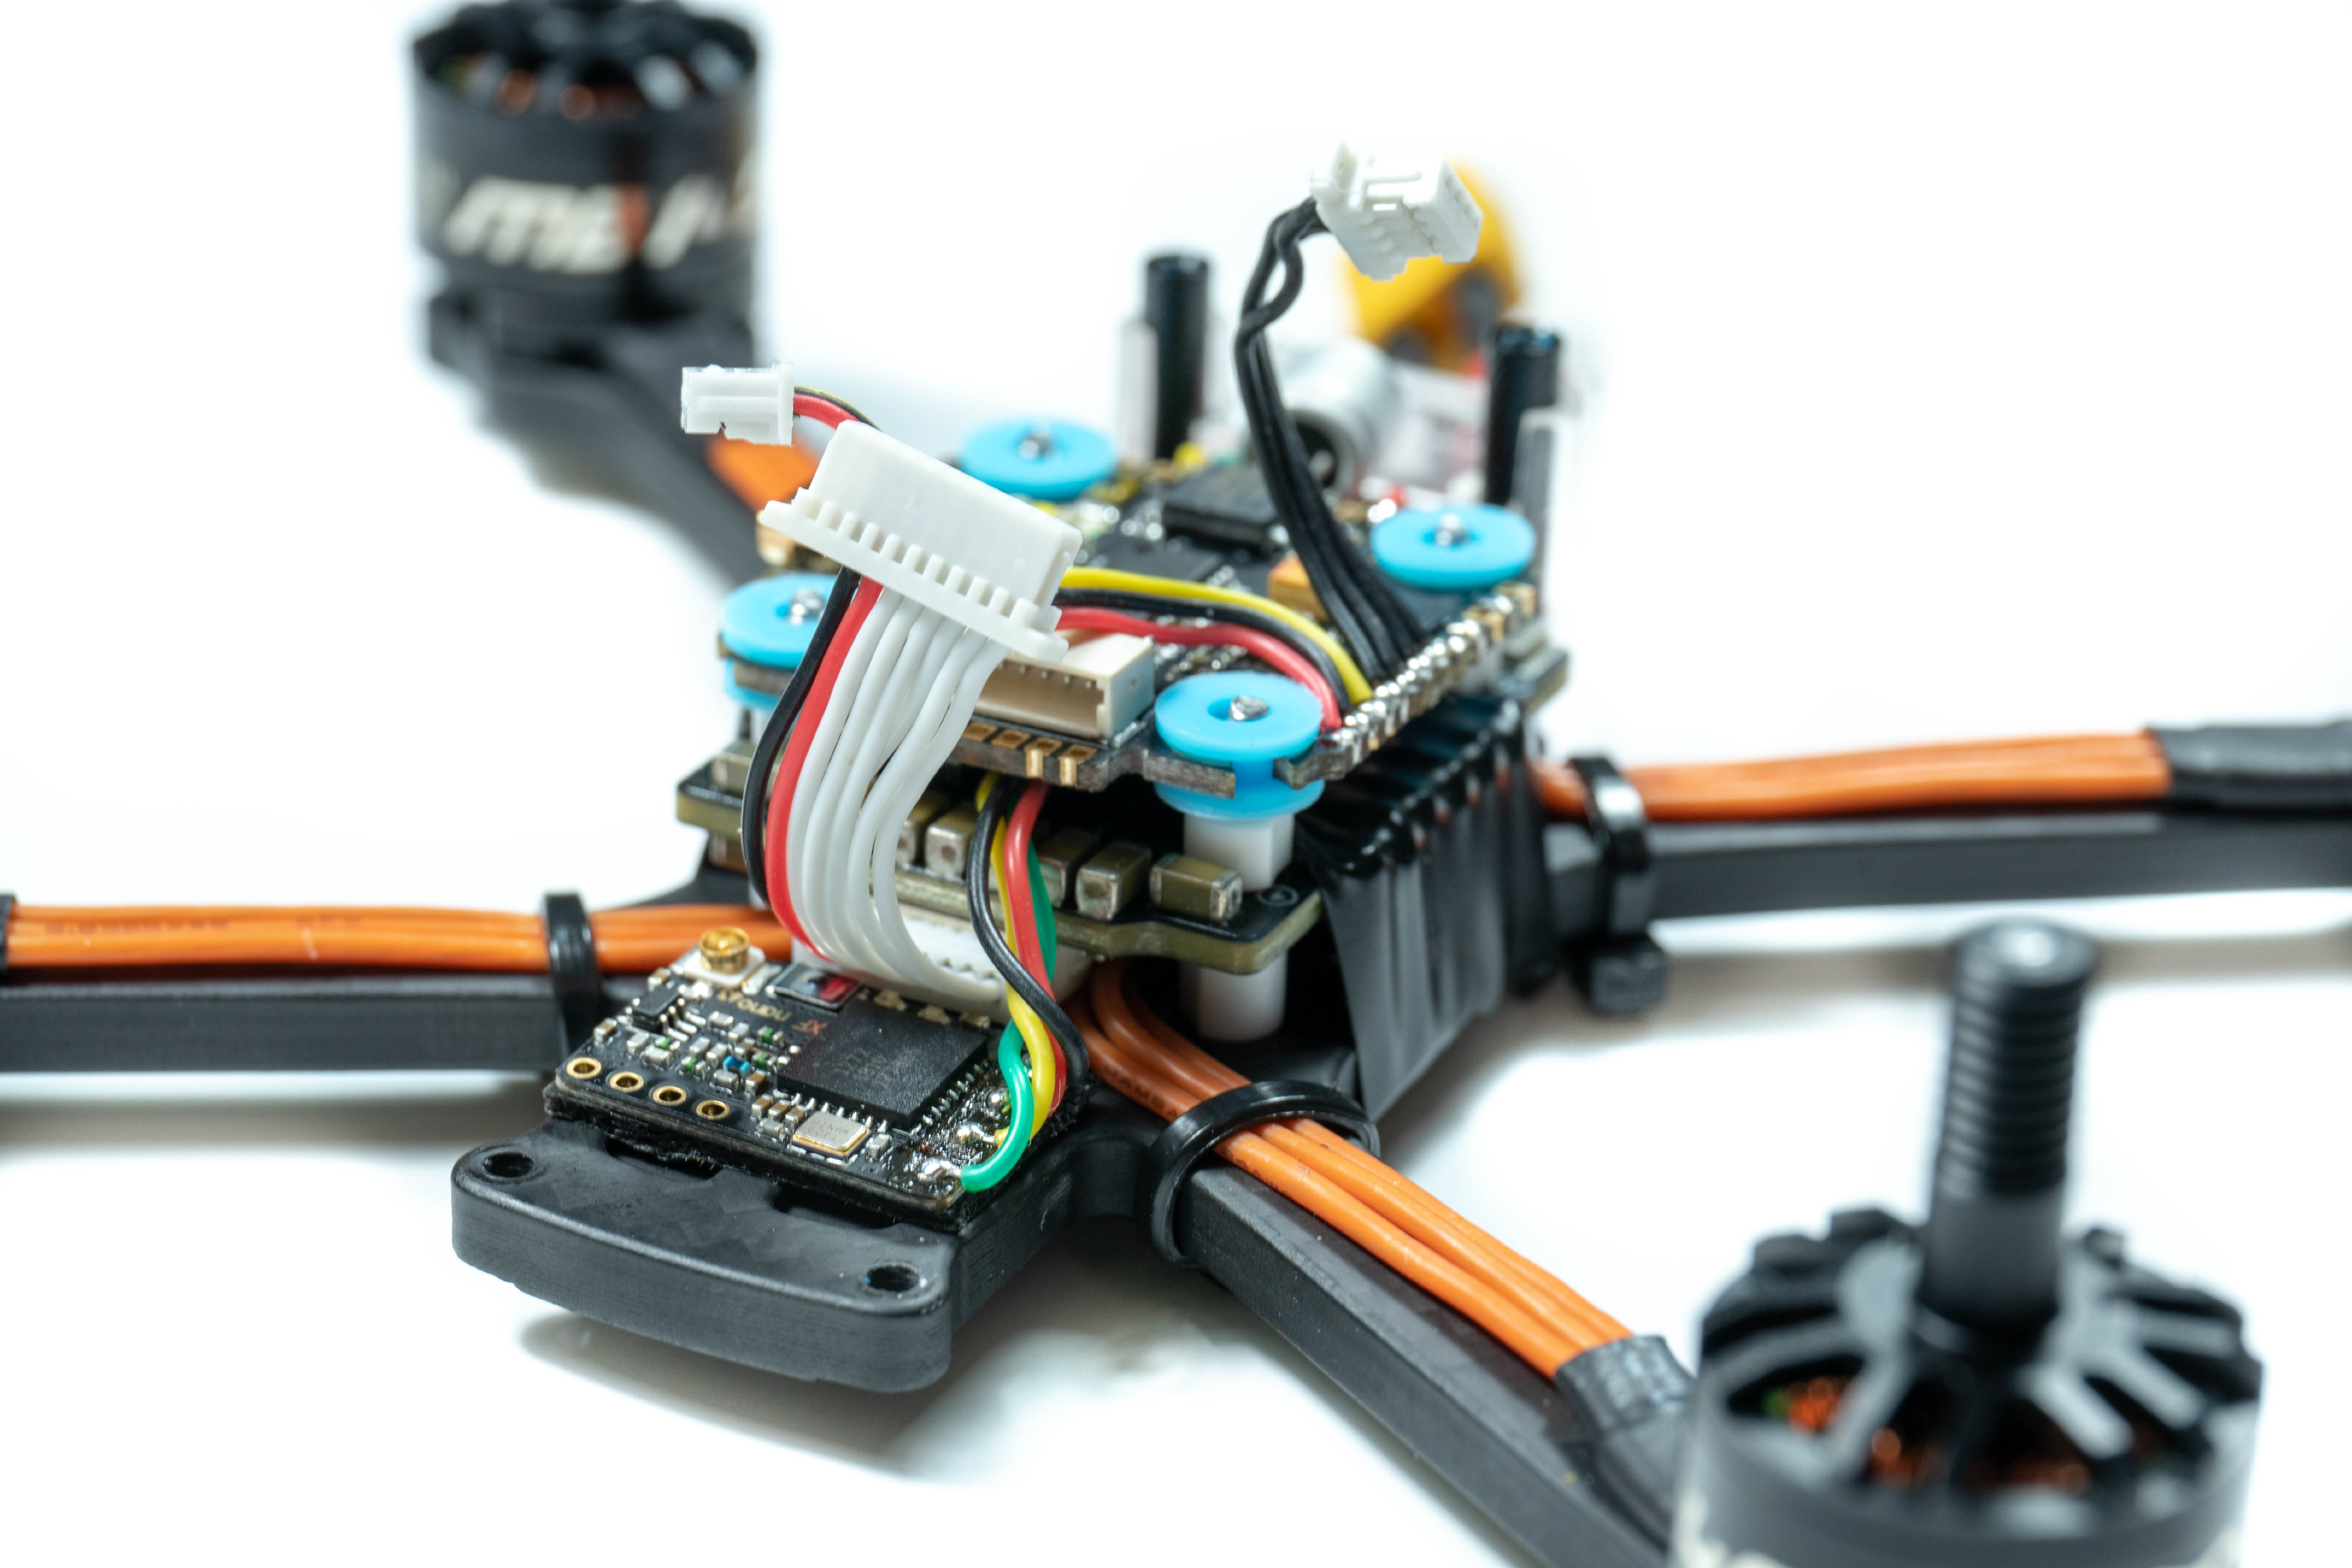
As you can see I’ve opted to put it just in front of the stack, which will sit nicely just below the camera. I recommend using some double-sided foam tape to stick the receiver down and stop it from moving or shorting with anything. There’s not really enough room on top of the video transmitter to put it there so I would put it here if possible.
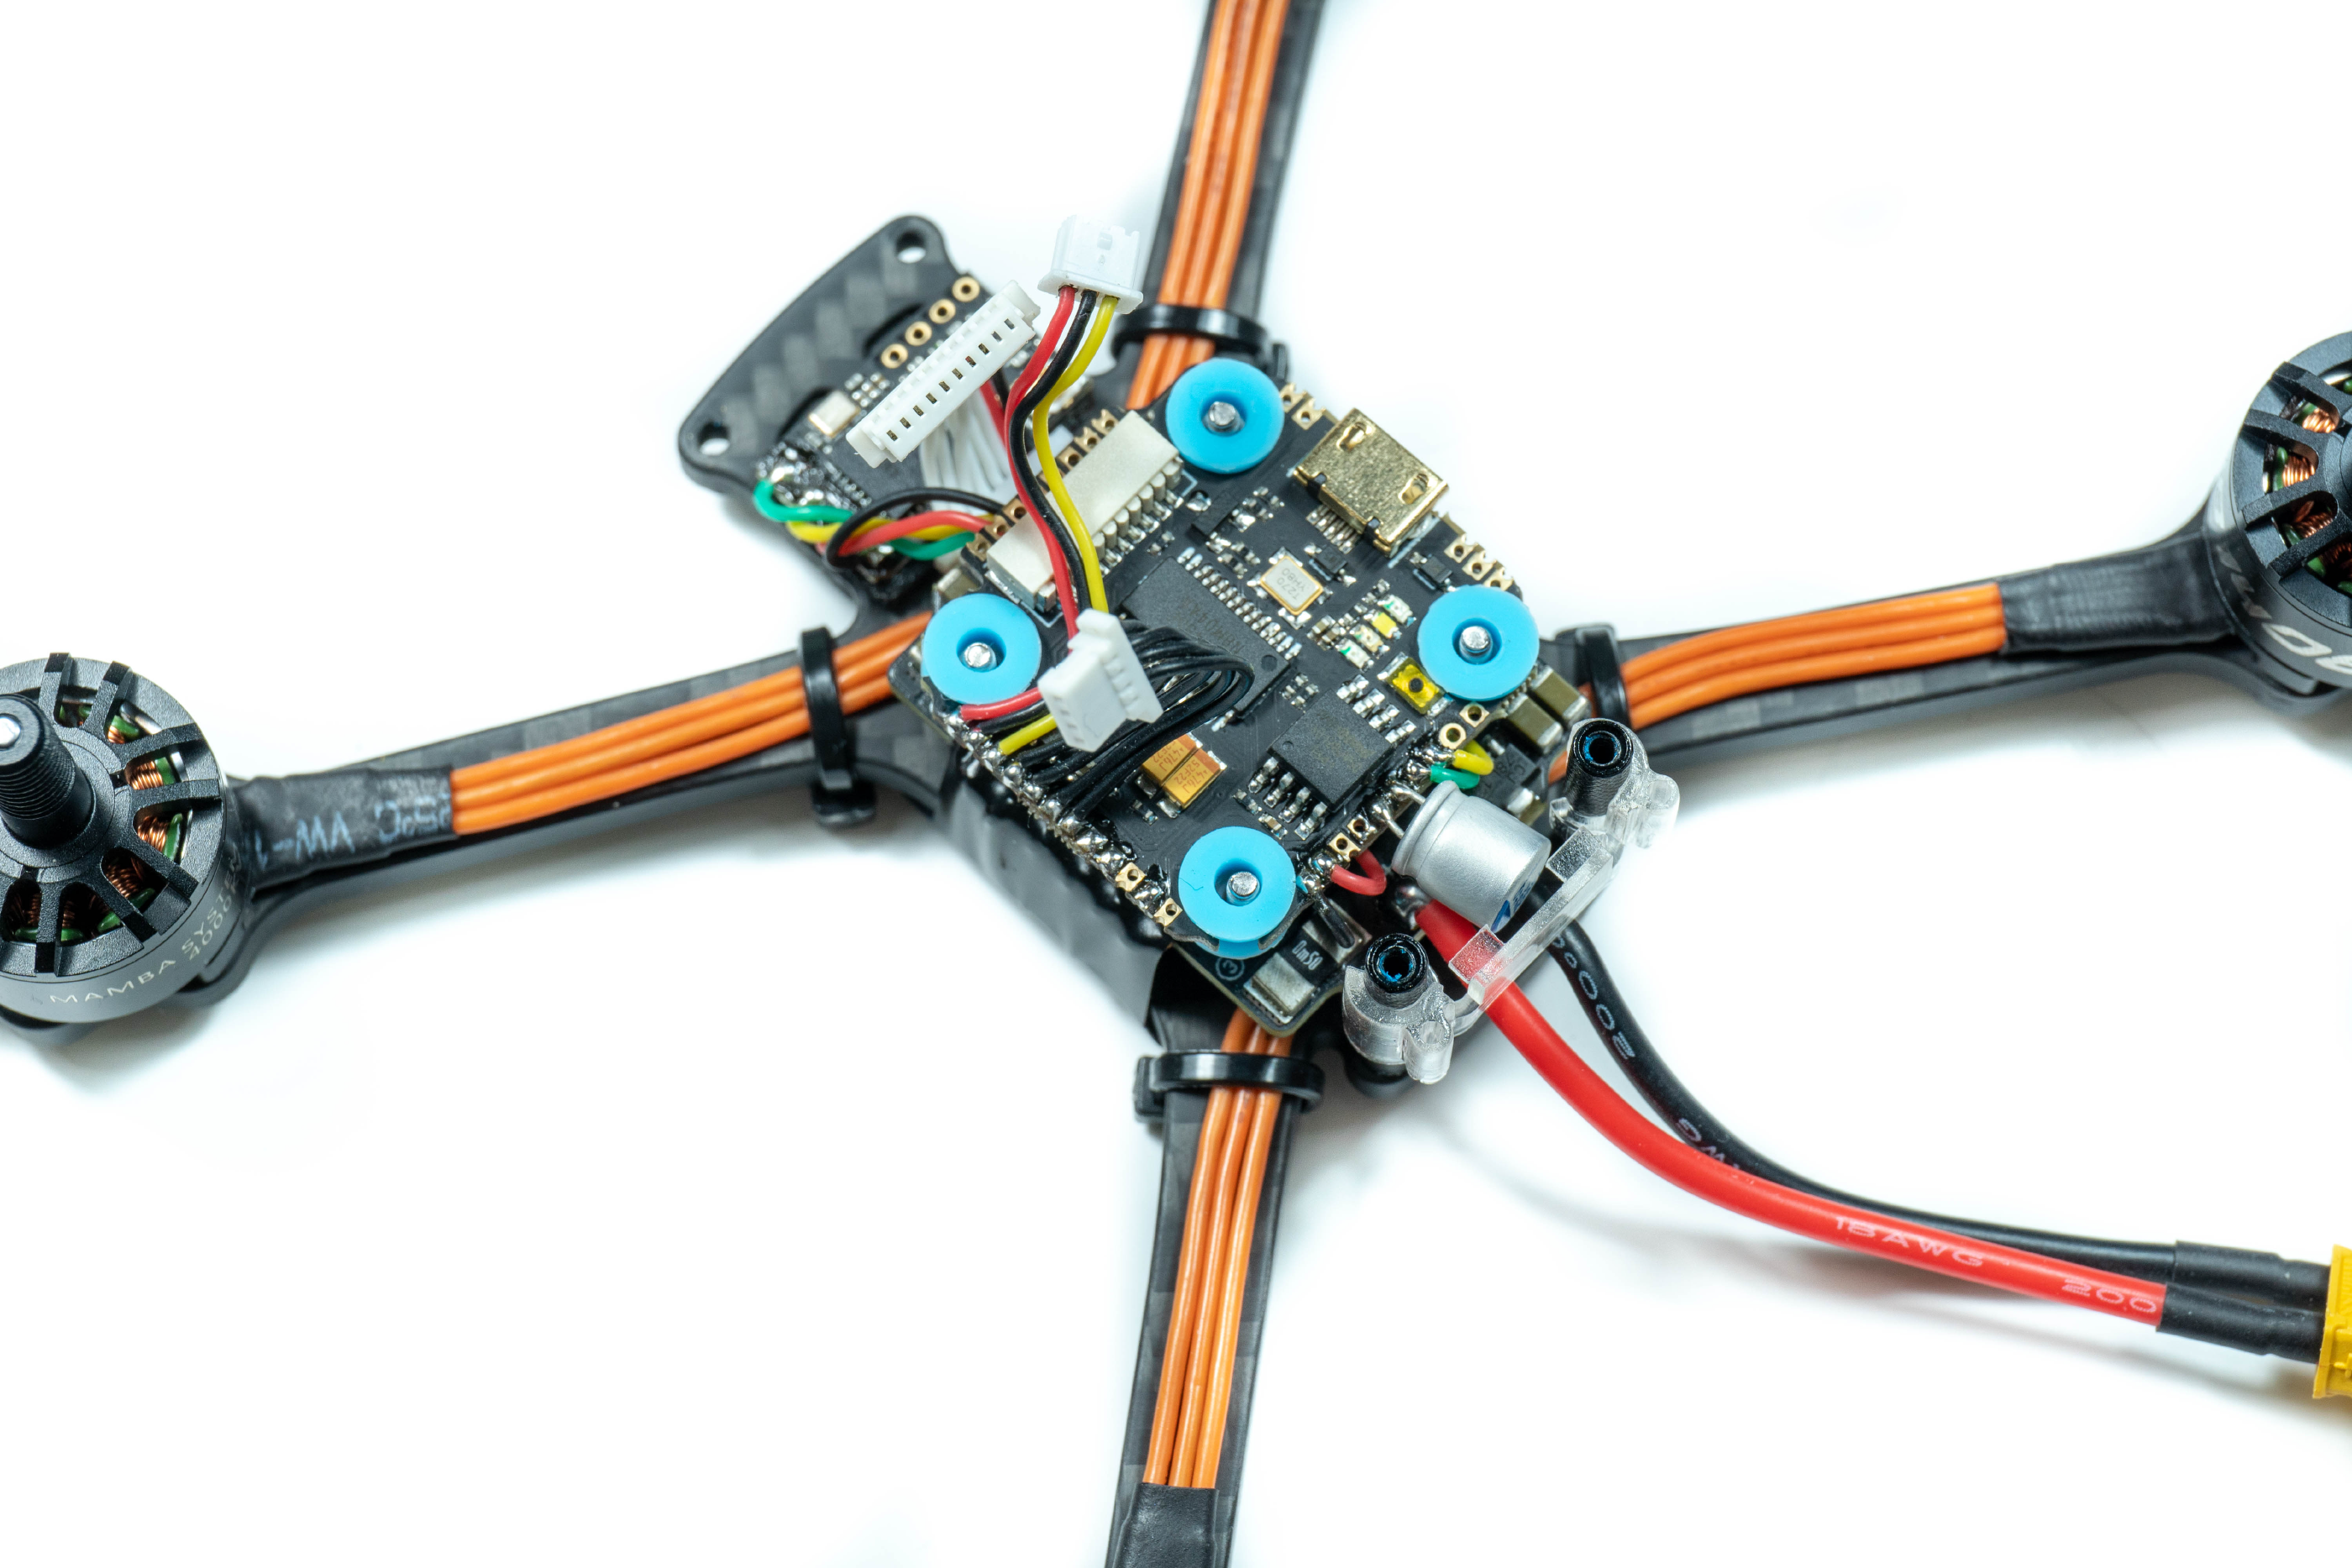
A top down view of the receiver installed and all of the wires put back neatly ready for the last board in the stack to go back on.
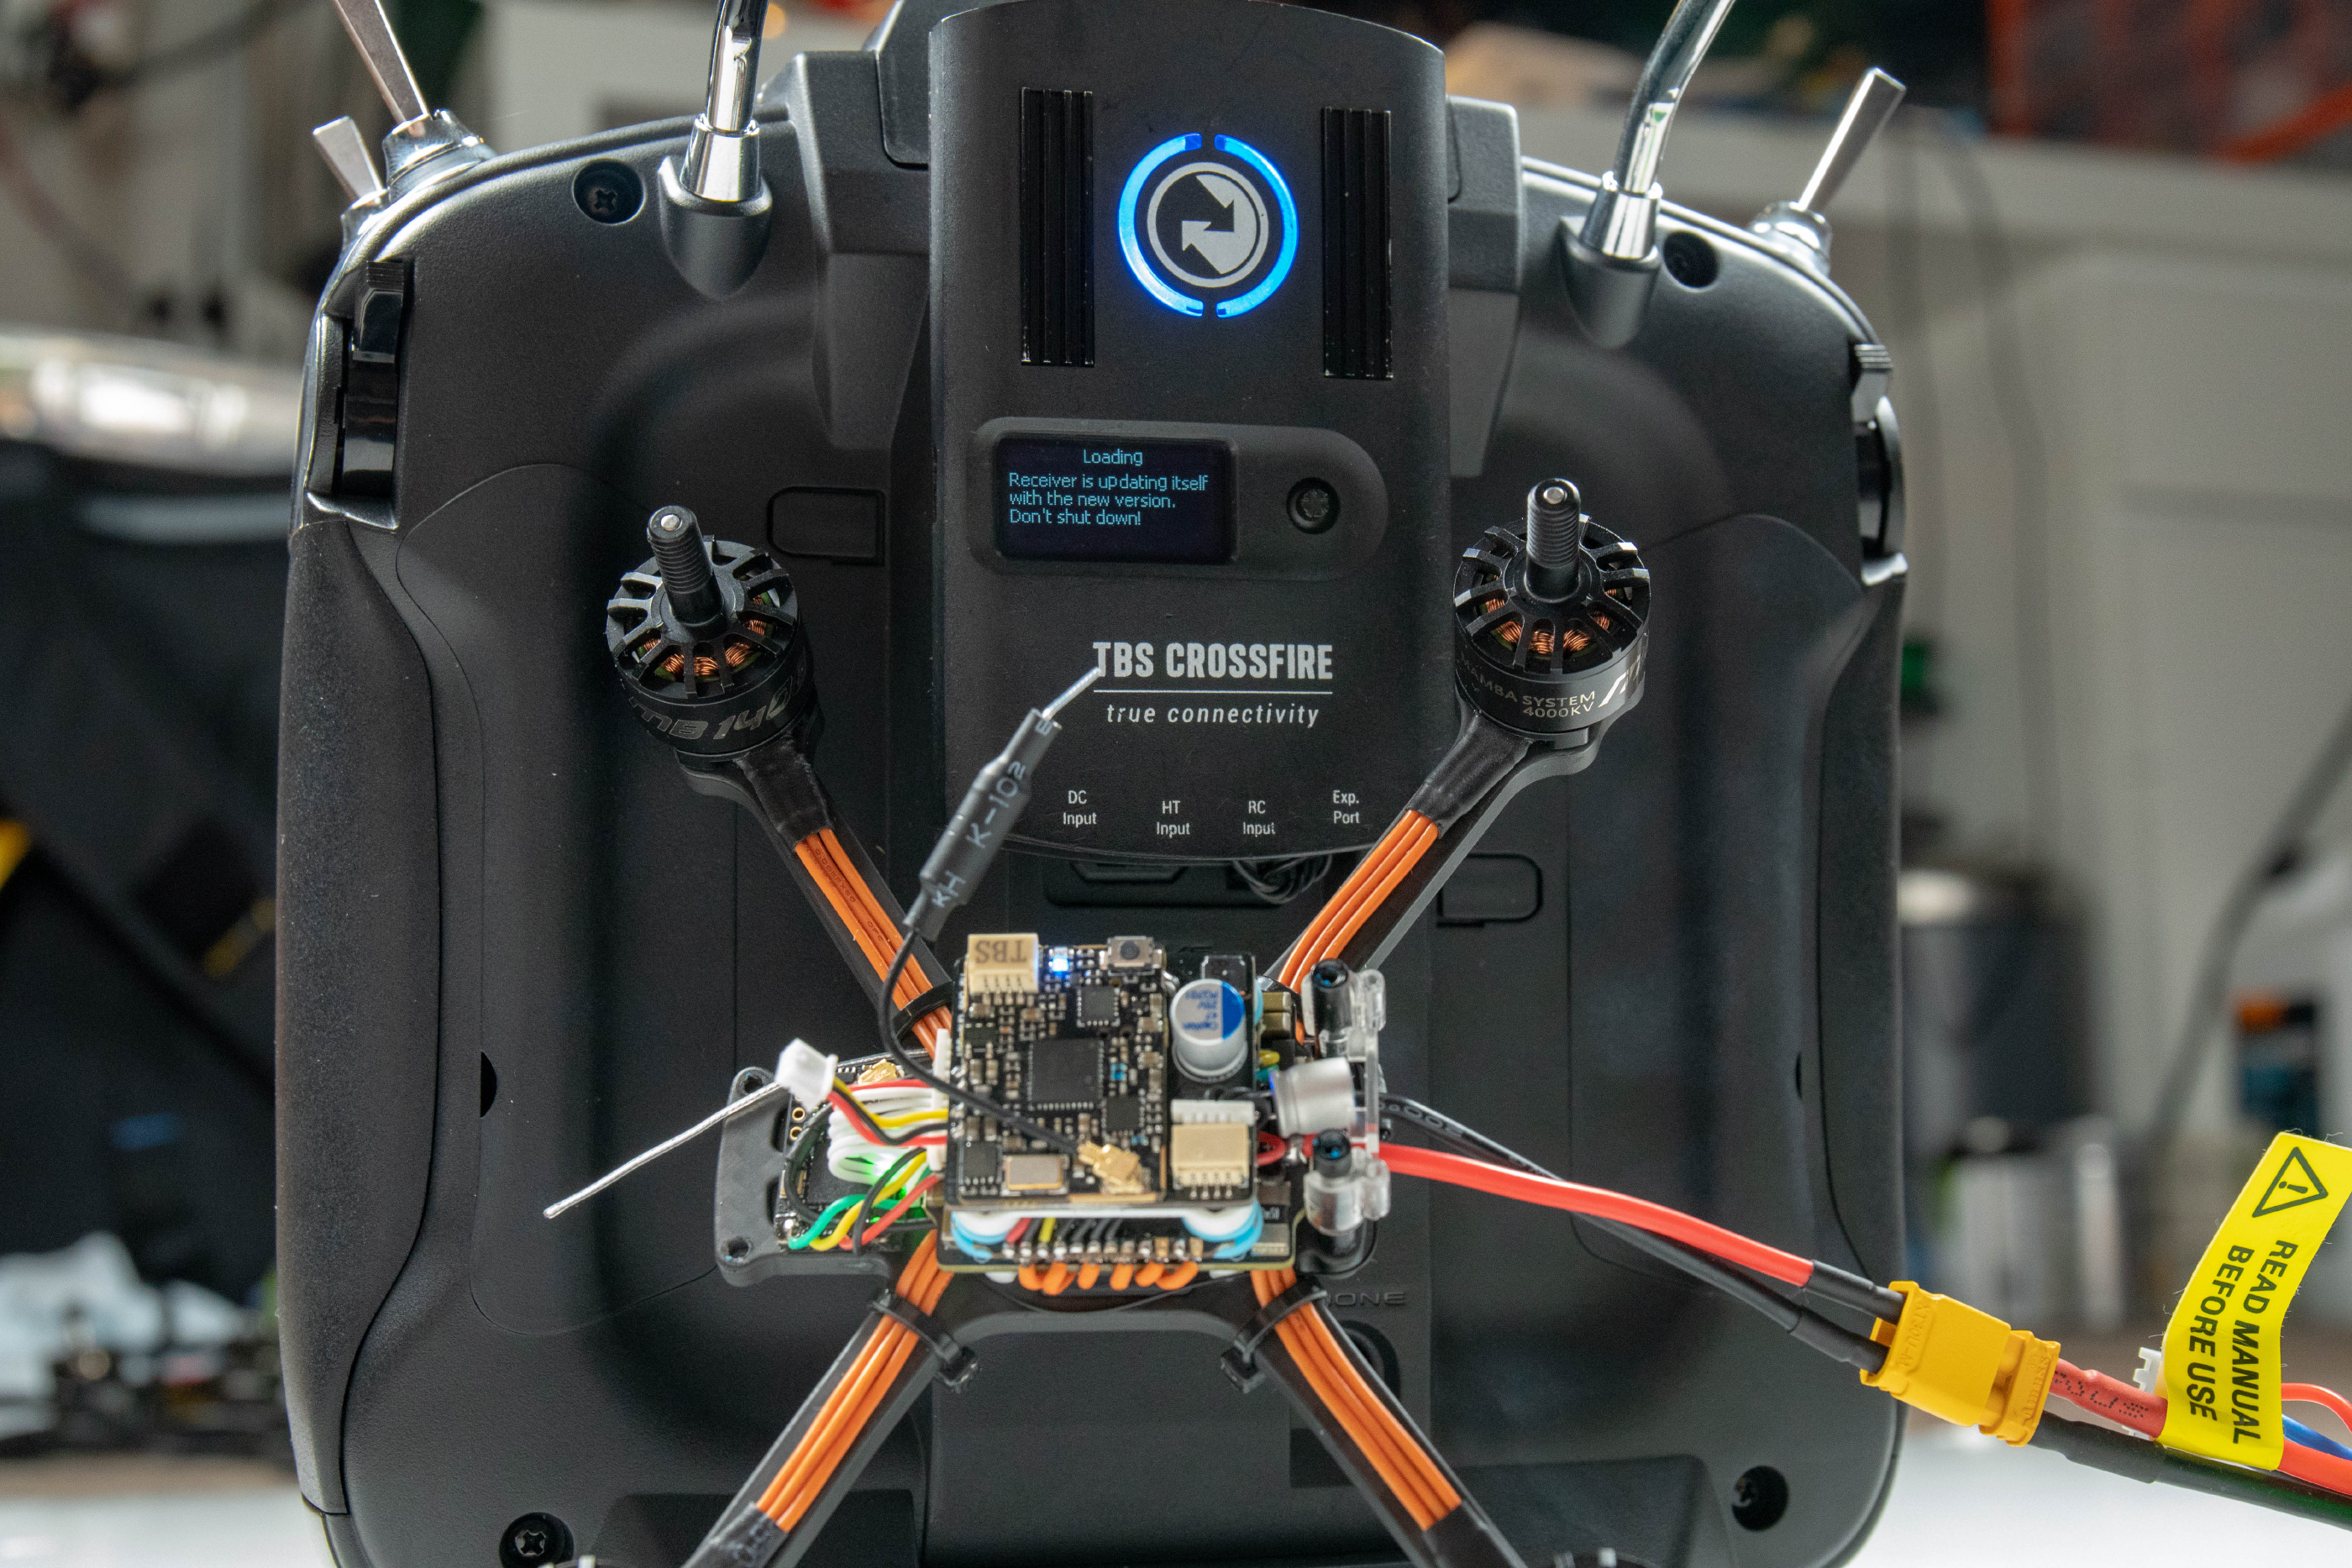
In order to get the receiver working we have to bind it to our Crossfire module which also means updating the receiver, this is a super easy and automatic process, but I figured I’d show you a rough idea of how it’s done.
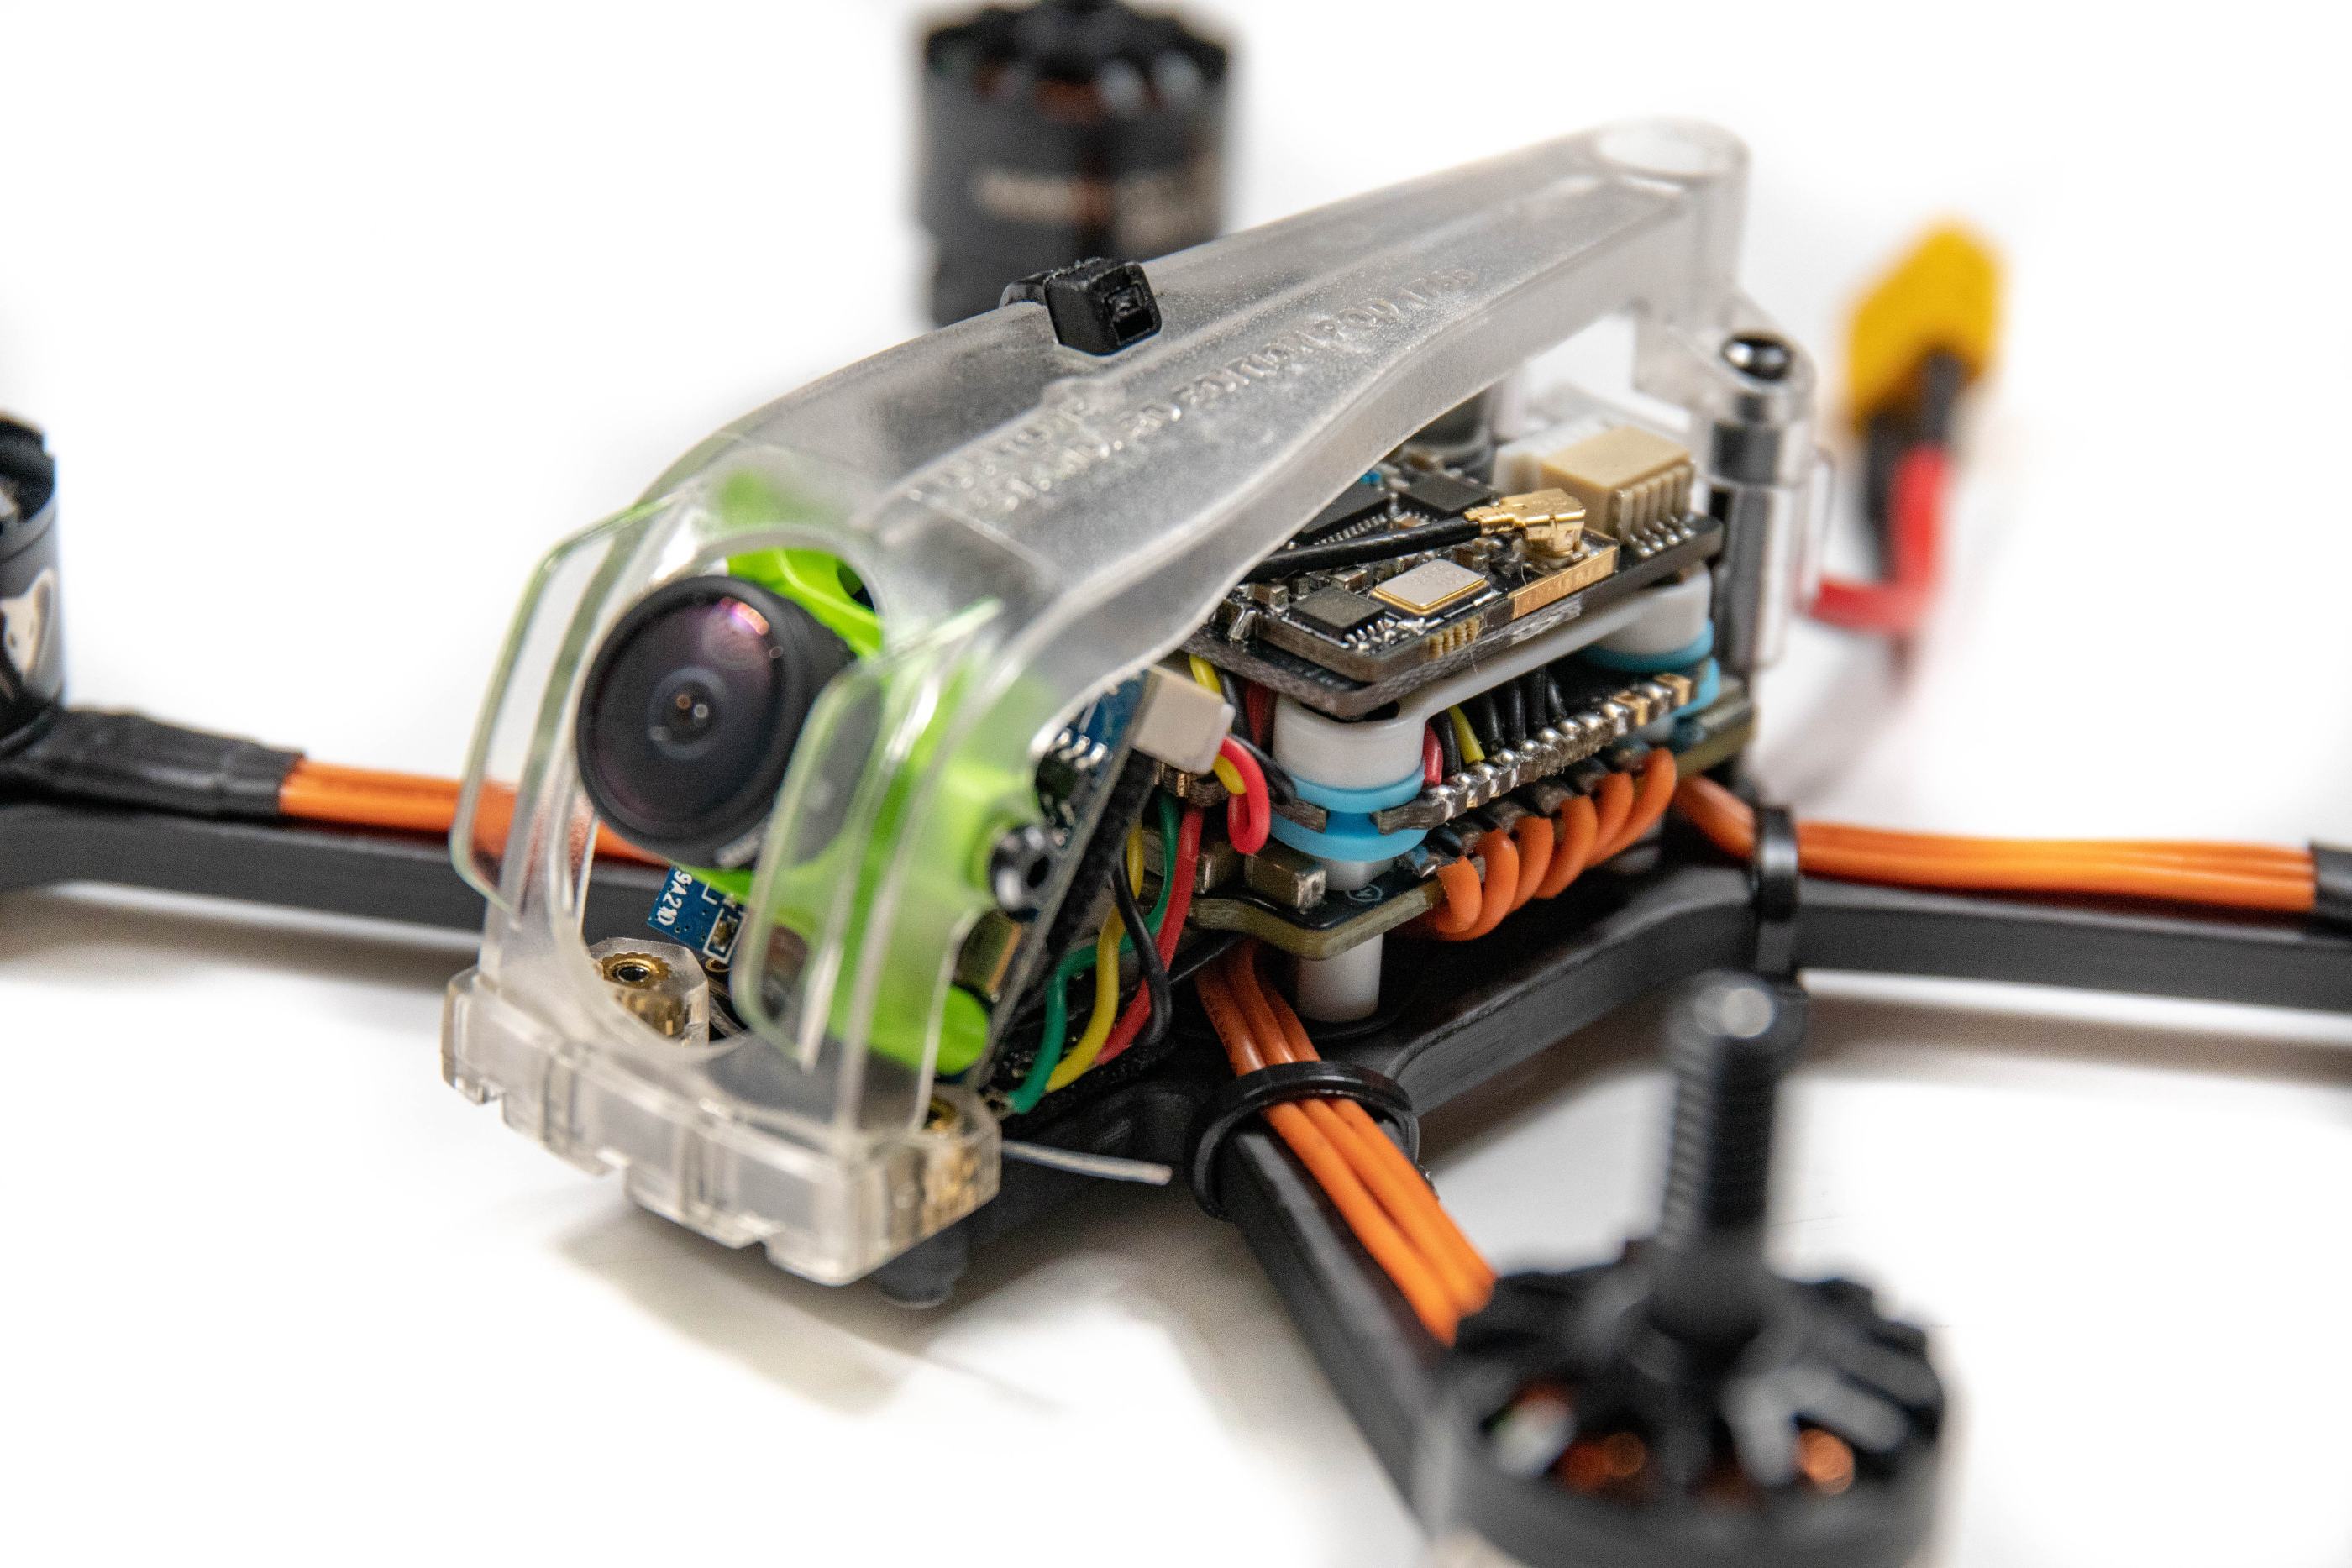
As you can possible see here just below the camera there’s a white wire - this is actually the antenna - the antenna on the crossfire receivers are very long as the active length is much longer due to being a much lower frequency than your traditional 2.4Ghz receivers. What I have done here is just wrap the antenna wires around the flight controller stack and they just sit in place. It won’t be optimal placement for good reception but there will be absolutely no issues with this method at the short range <500m that we’re flying.
Betaflight Setup
In order for the receiver to work in Betaflight we need to do a few more steps in the software so that the flight controller can correctly receive the data.
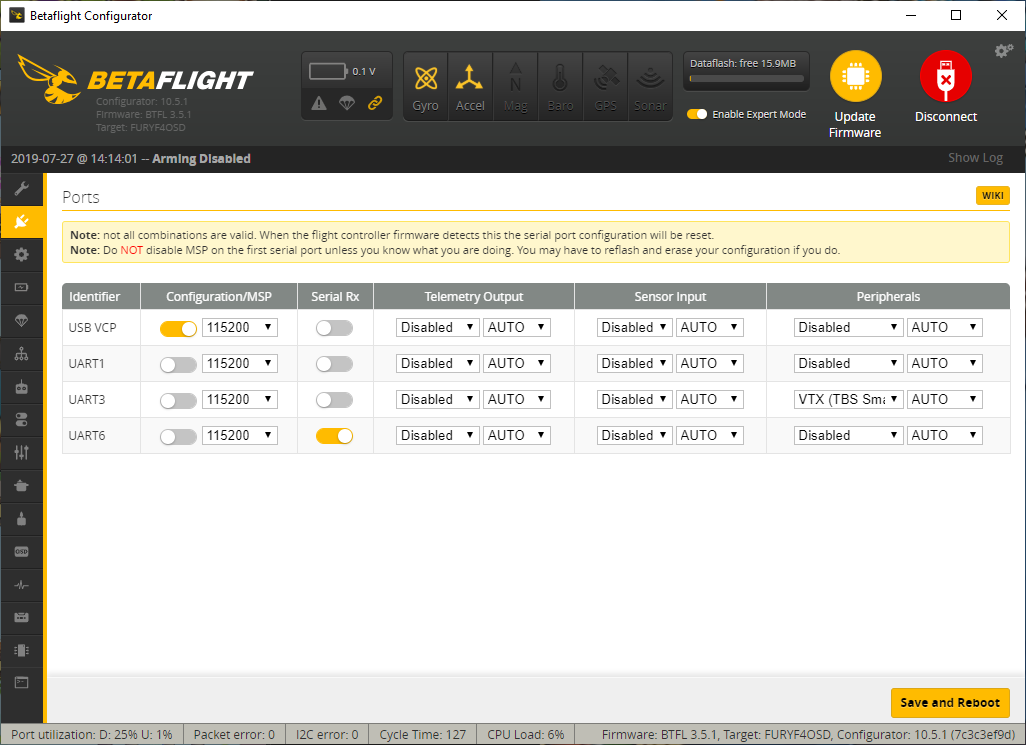
The first thing you should always do is set the Ports tab Serial RX field to whichever UART you have soldered it to - you cannot select a serial receiver in the next step until this is done! Here we are using UART6.
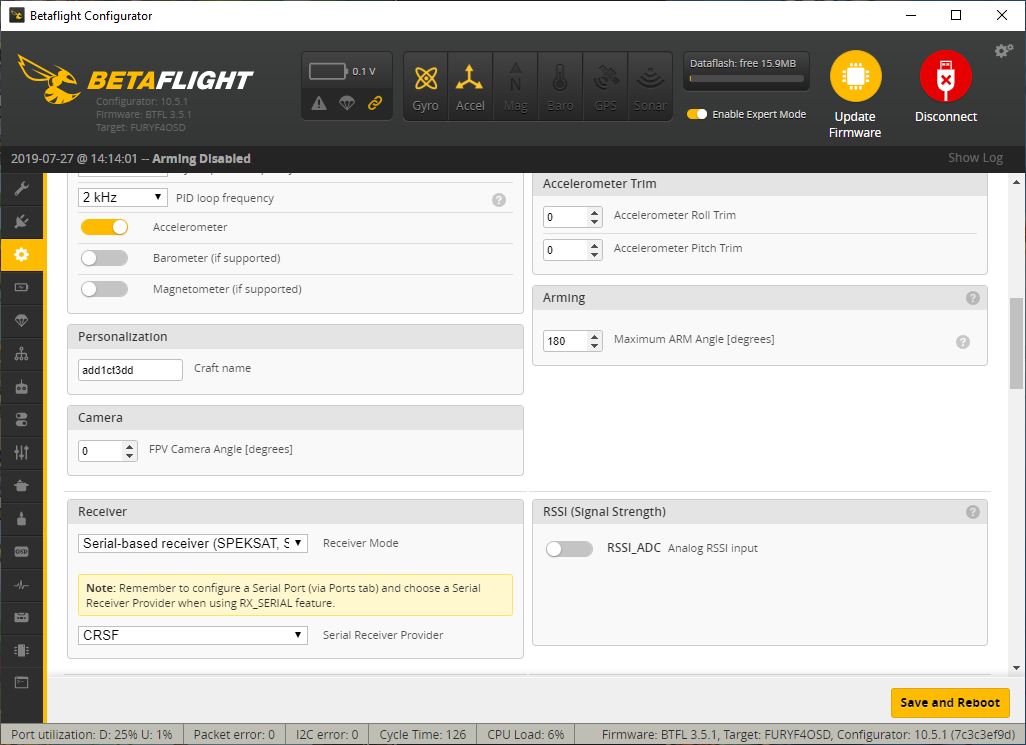
Once you have saved that we can then change the Receiver to be serial-based receiver and we’re also going to be using the CRSF protocol which gives us a bit more speed and accuracy over SBUS.
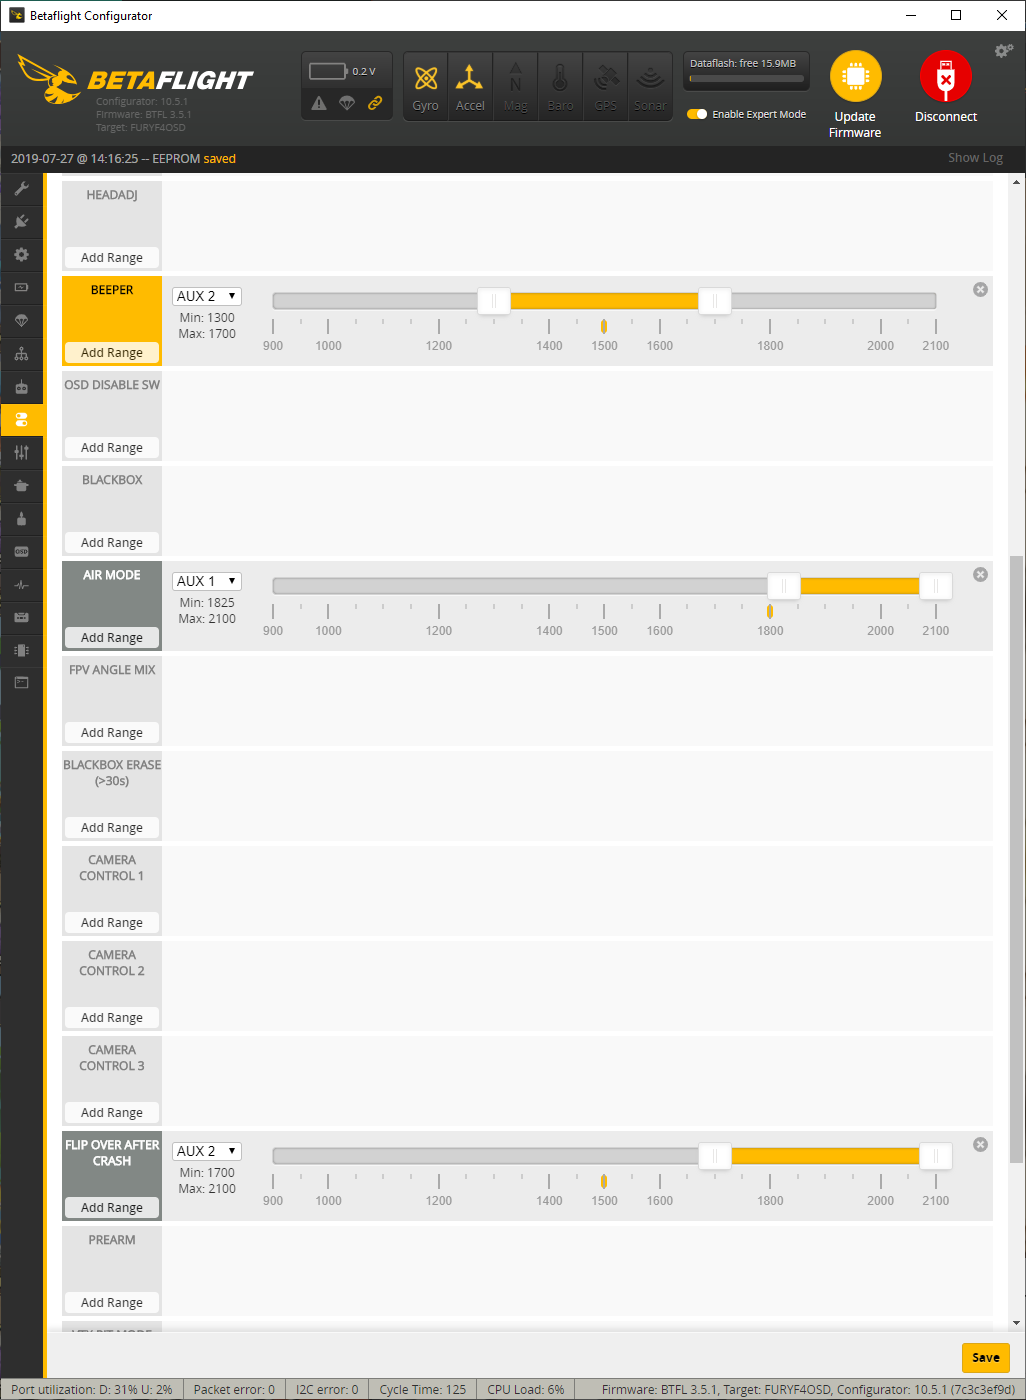
Some additional changes I like to do is make sure Beeper, Turtle mode and Airmode are all setup and ready to be used - these are what I would call mandatory features to fly. Turtle mode is especially useful if you crash and need to flip the drone to take off again, or get stuck in a tree. And the beeper works using the motors (this is why I have not installed the provided buzzer), so that if you did crash in a place you weren’t sure where you ’landed’, you can just flick the switch and the motors will beep to make it much easier to find.
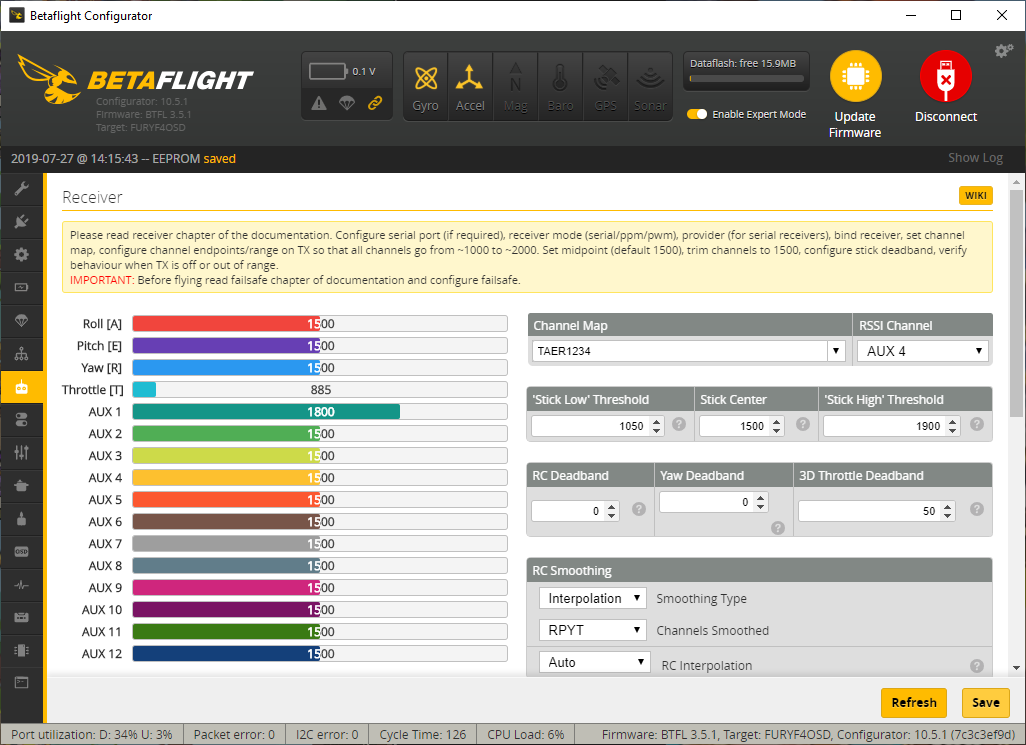
And finally you can verify that your receiver is working, all channels are correct and that they are all moving in the right direction by going to the Receiver tab and move the sticks. You may need to plug in the battery for the receiver to have power - in this instance make sure to REMOVE YOUR PROPS!
Extra Media
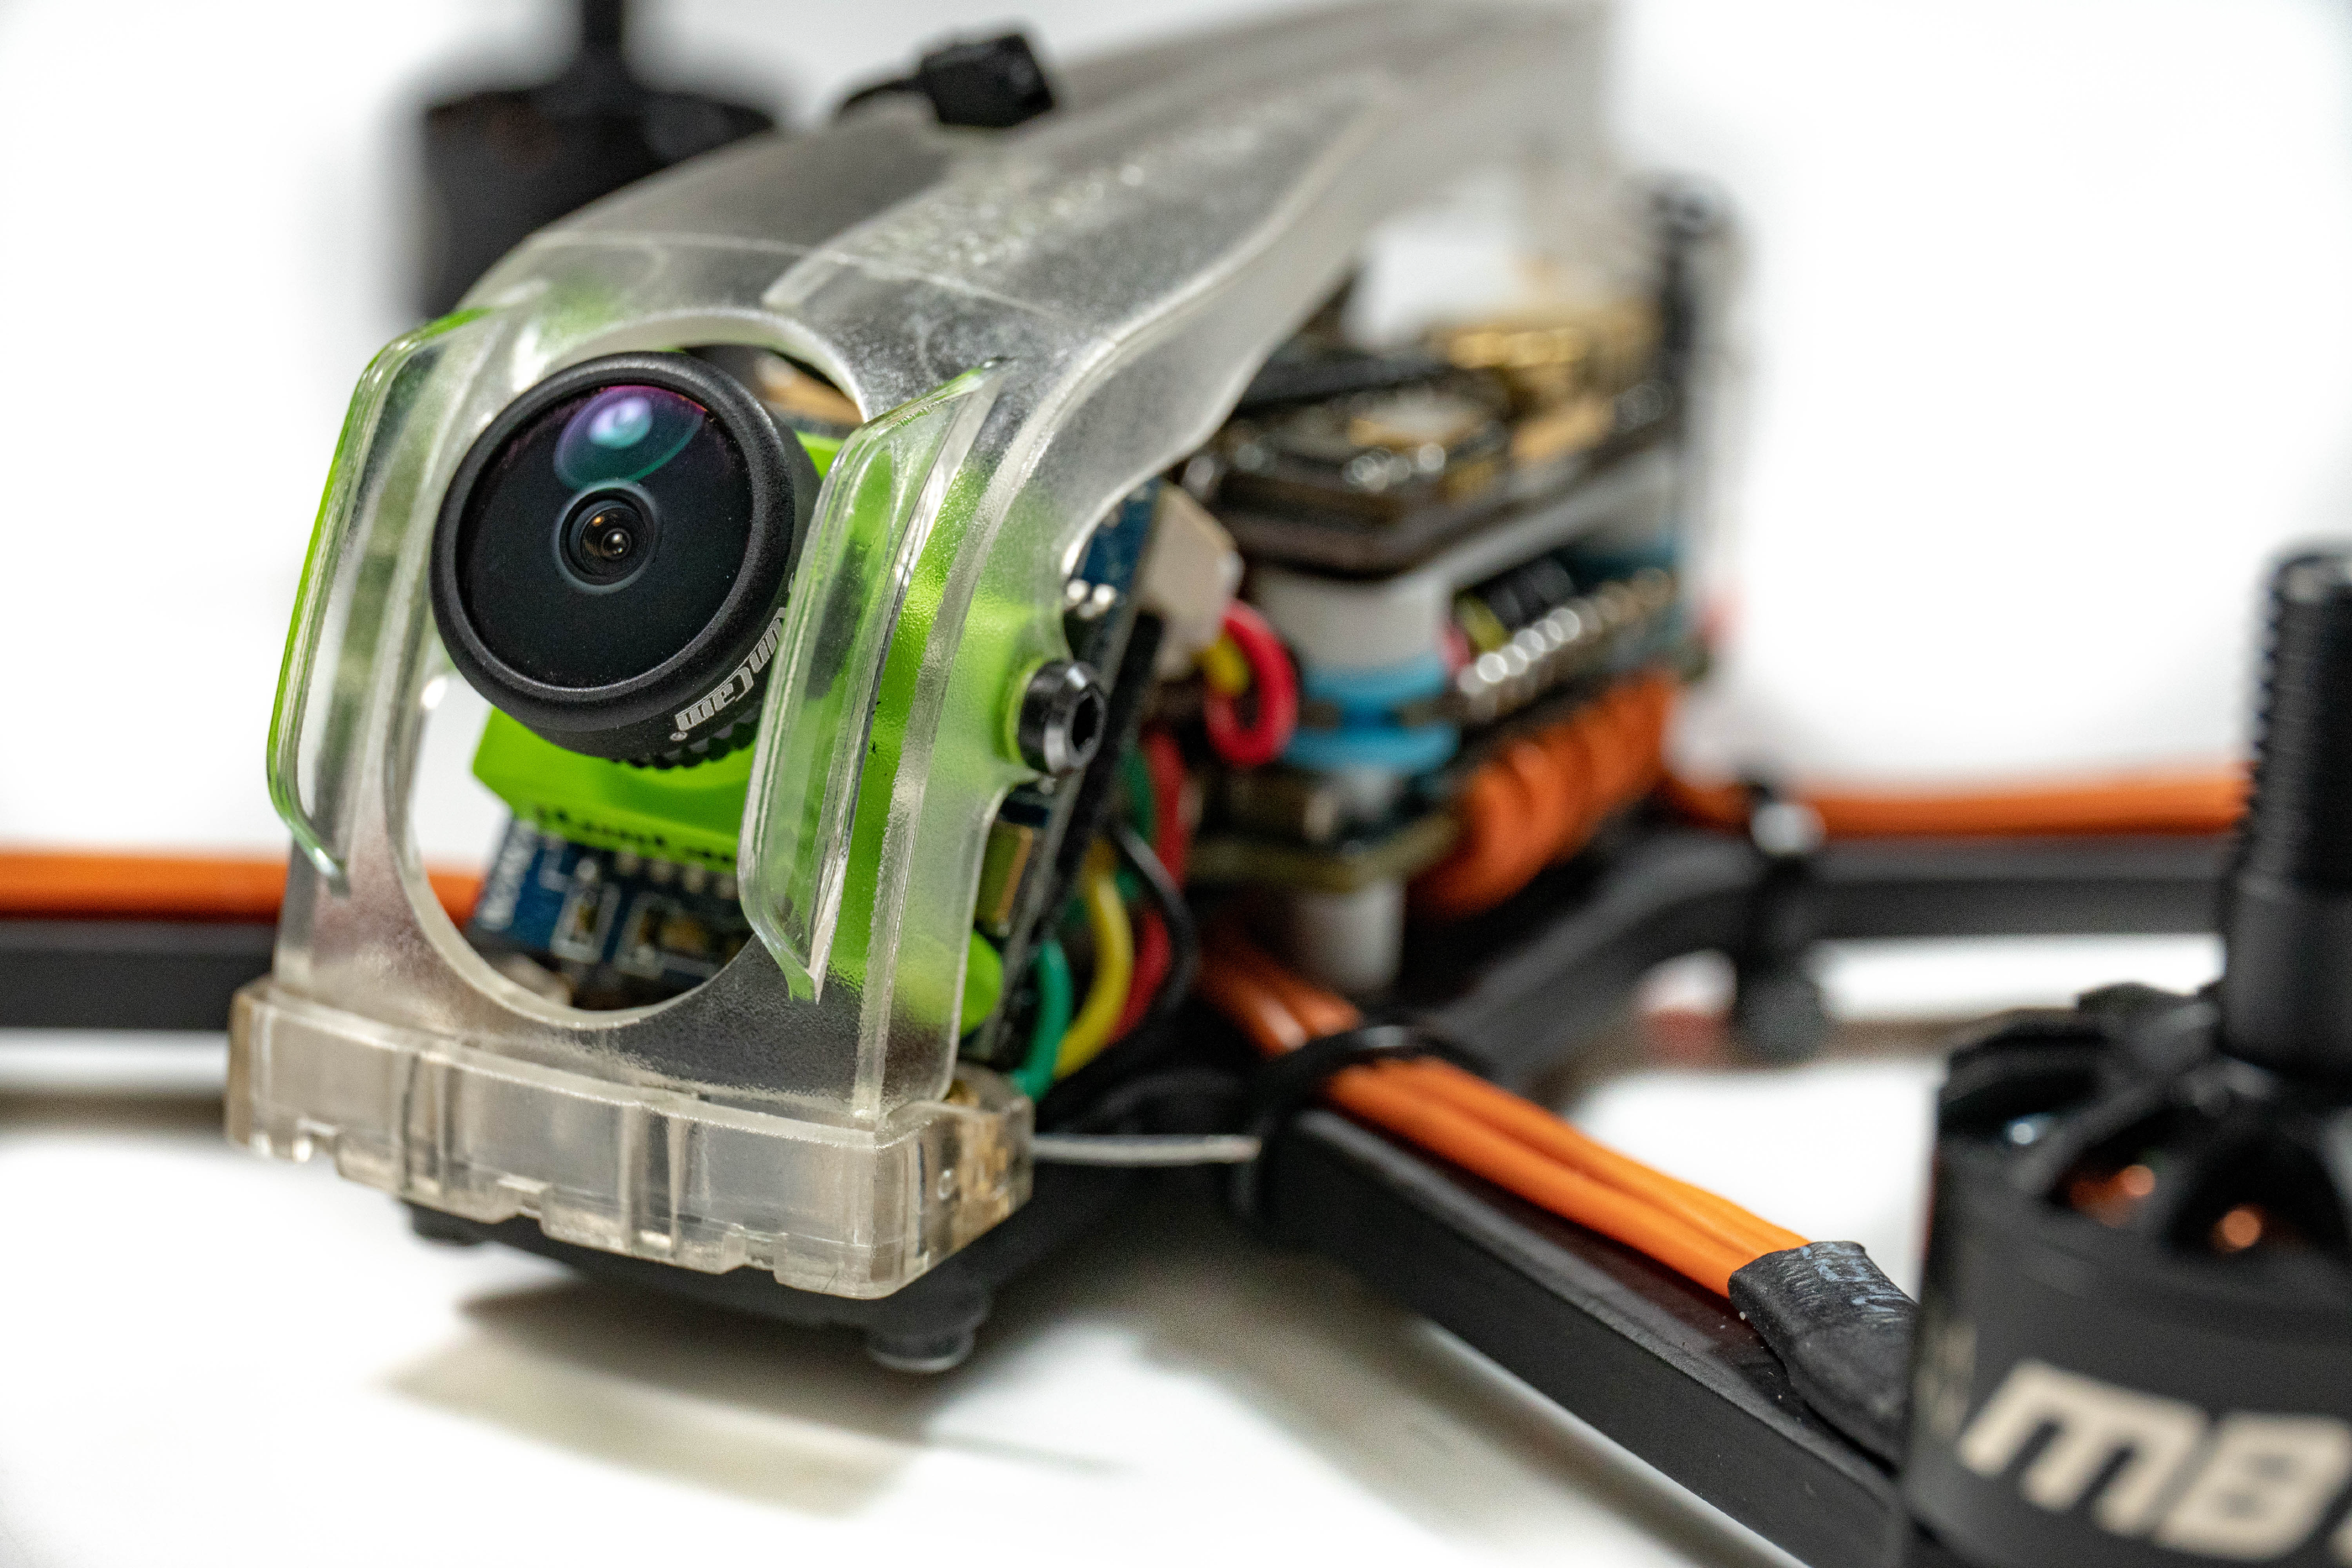
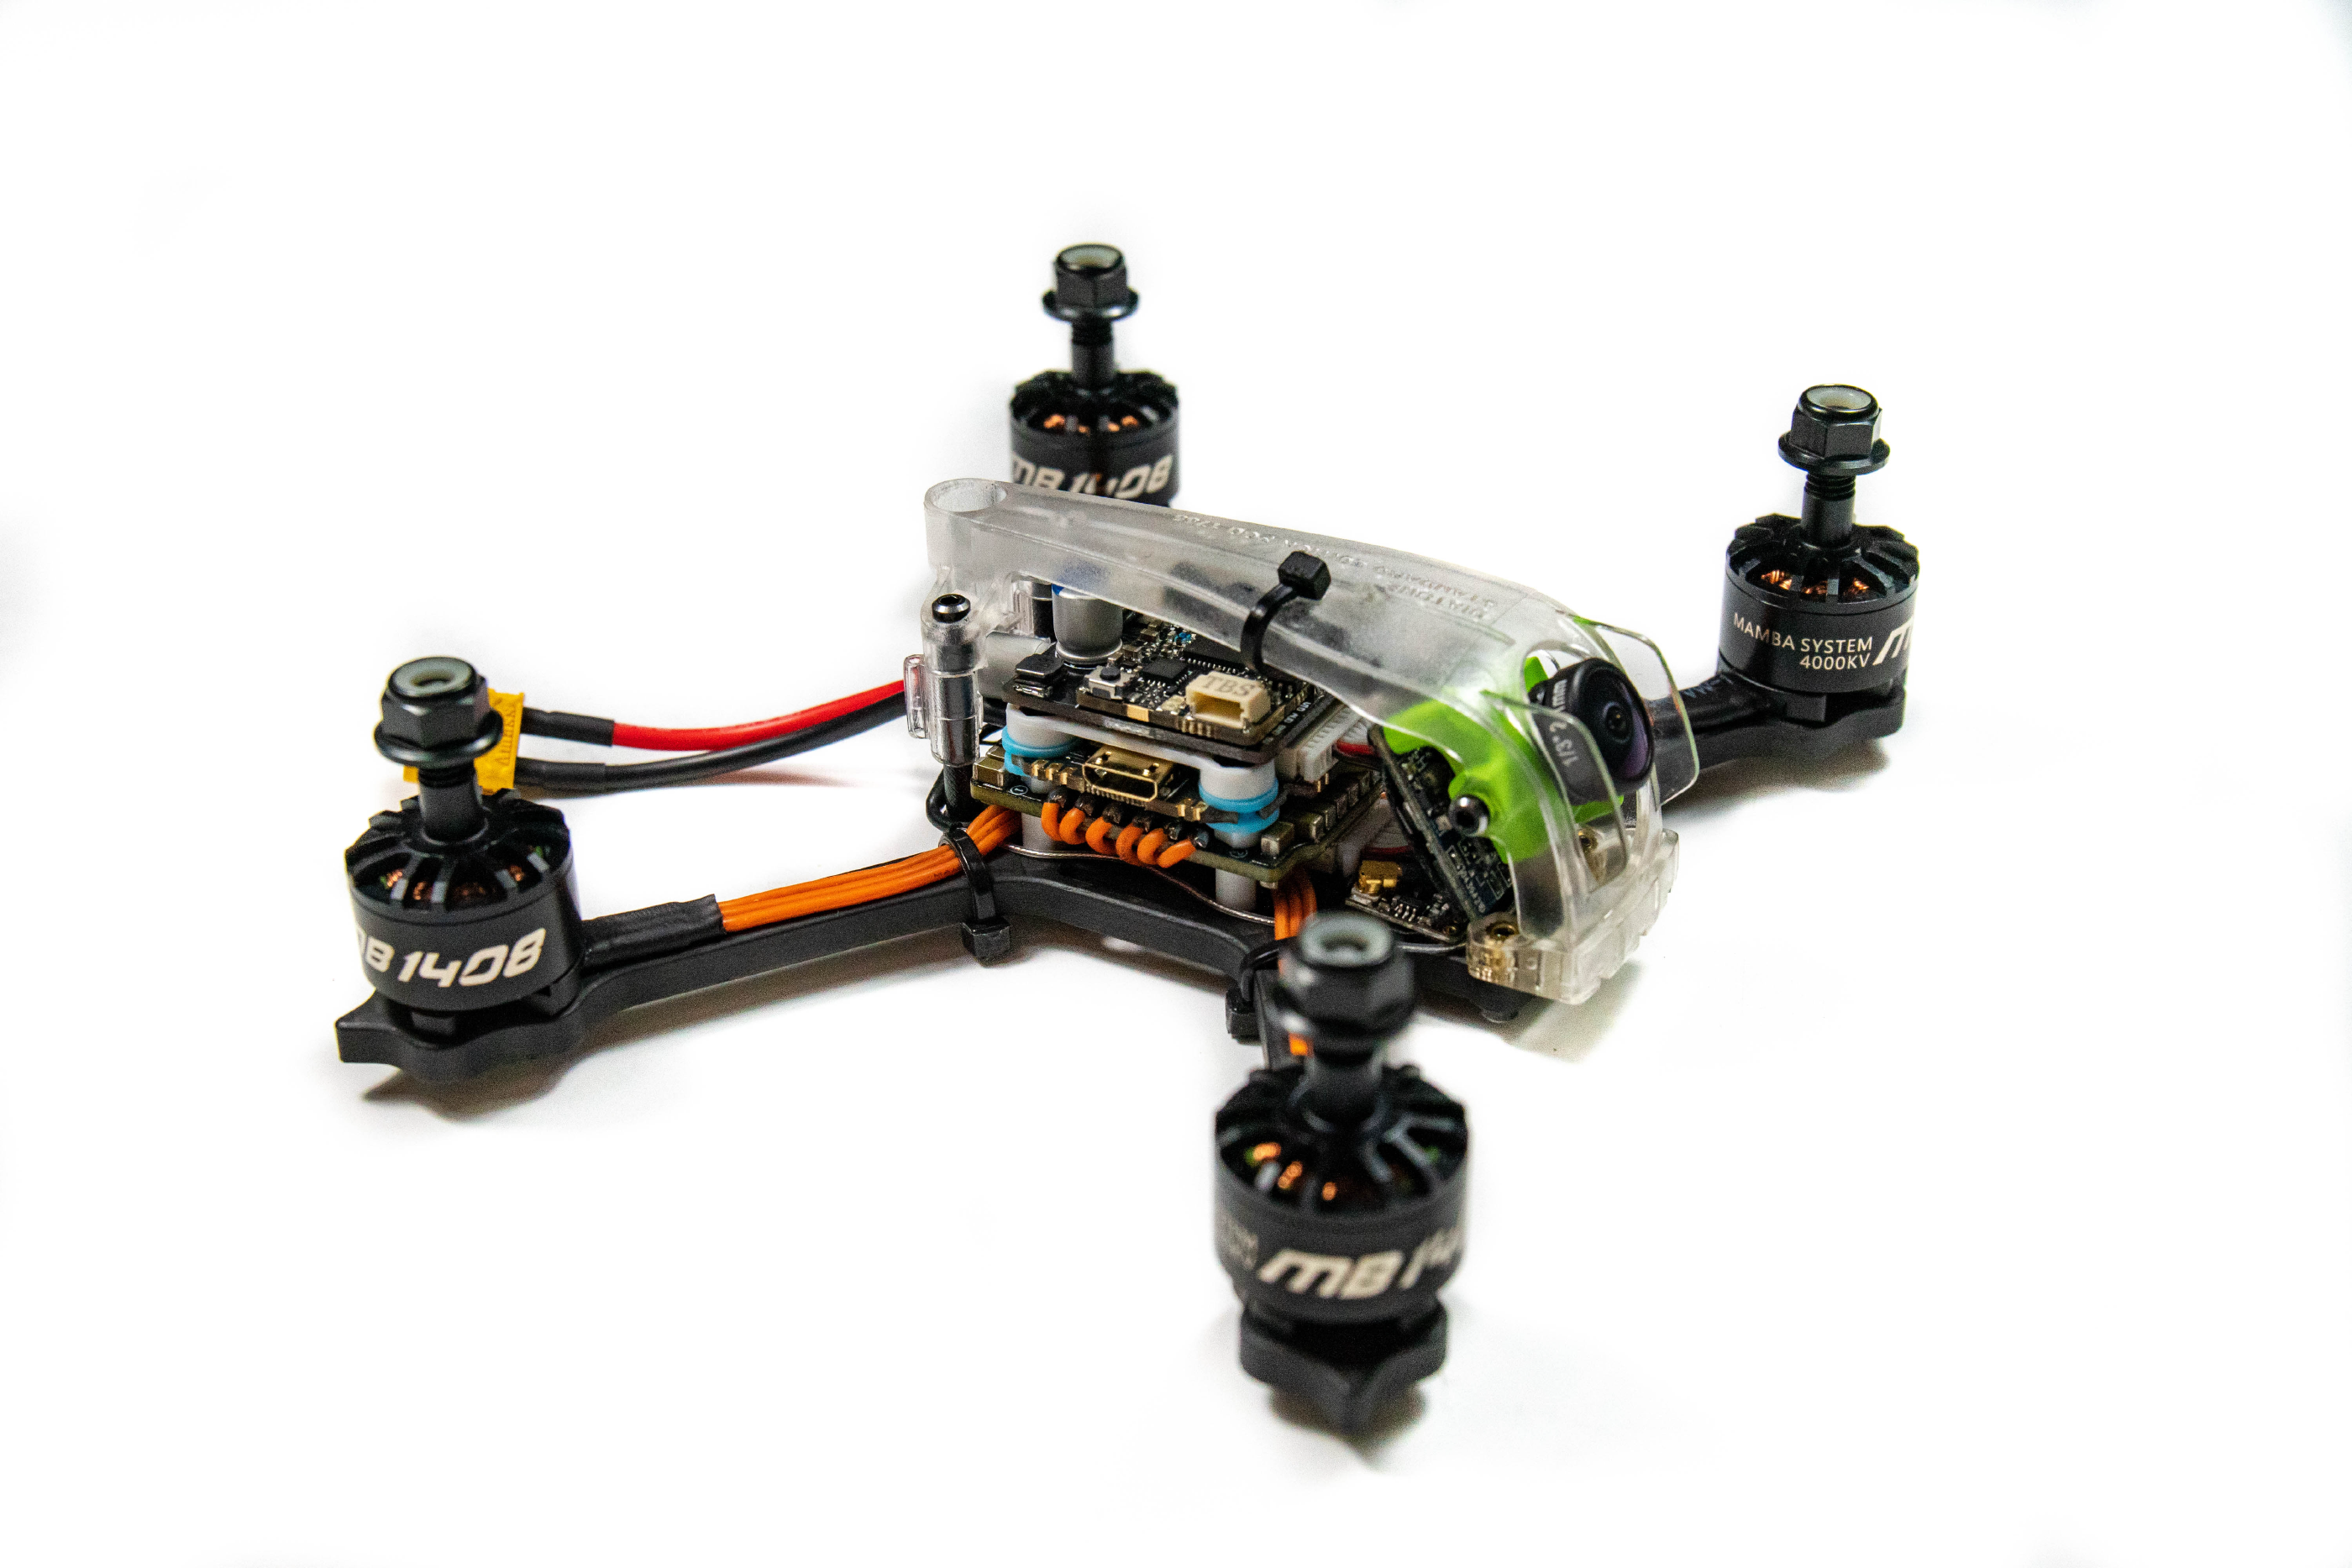
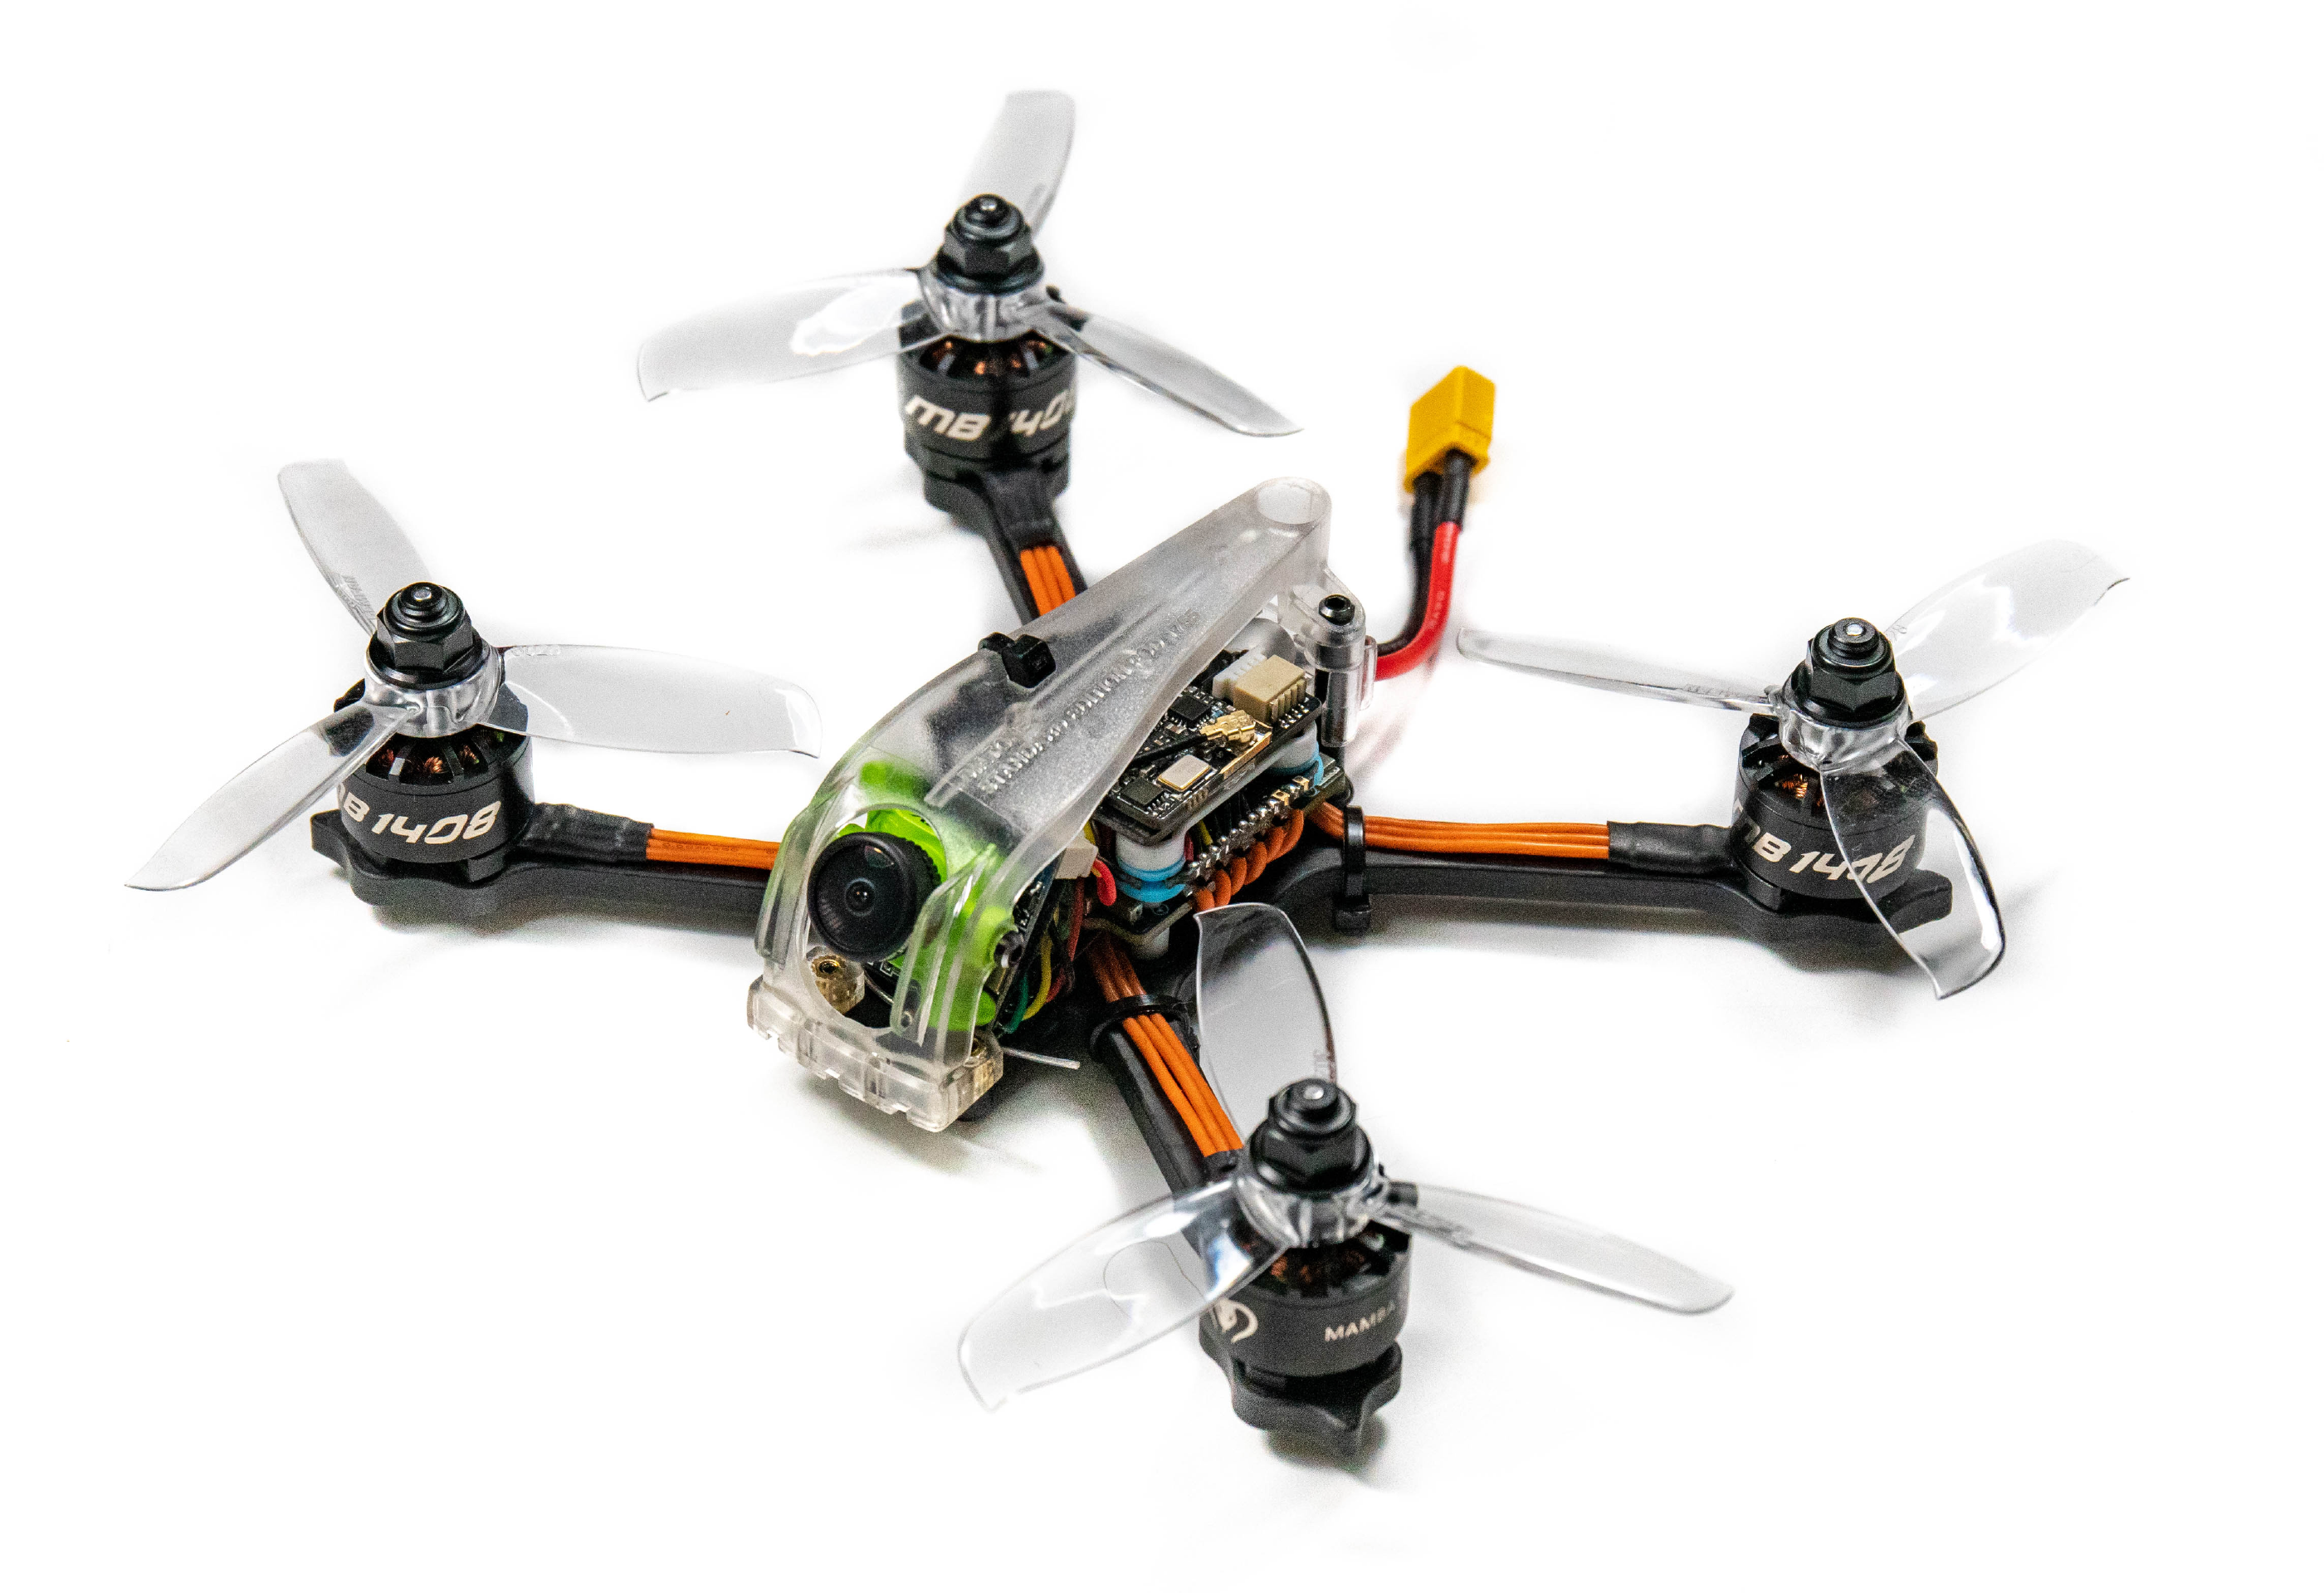
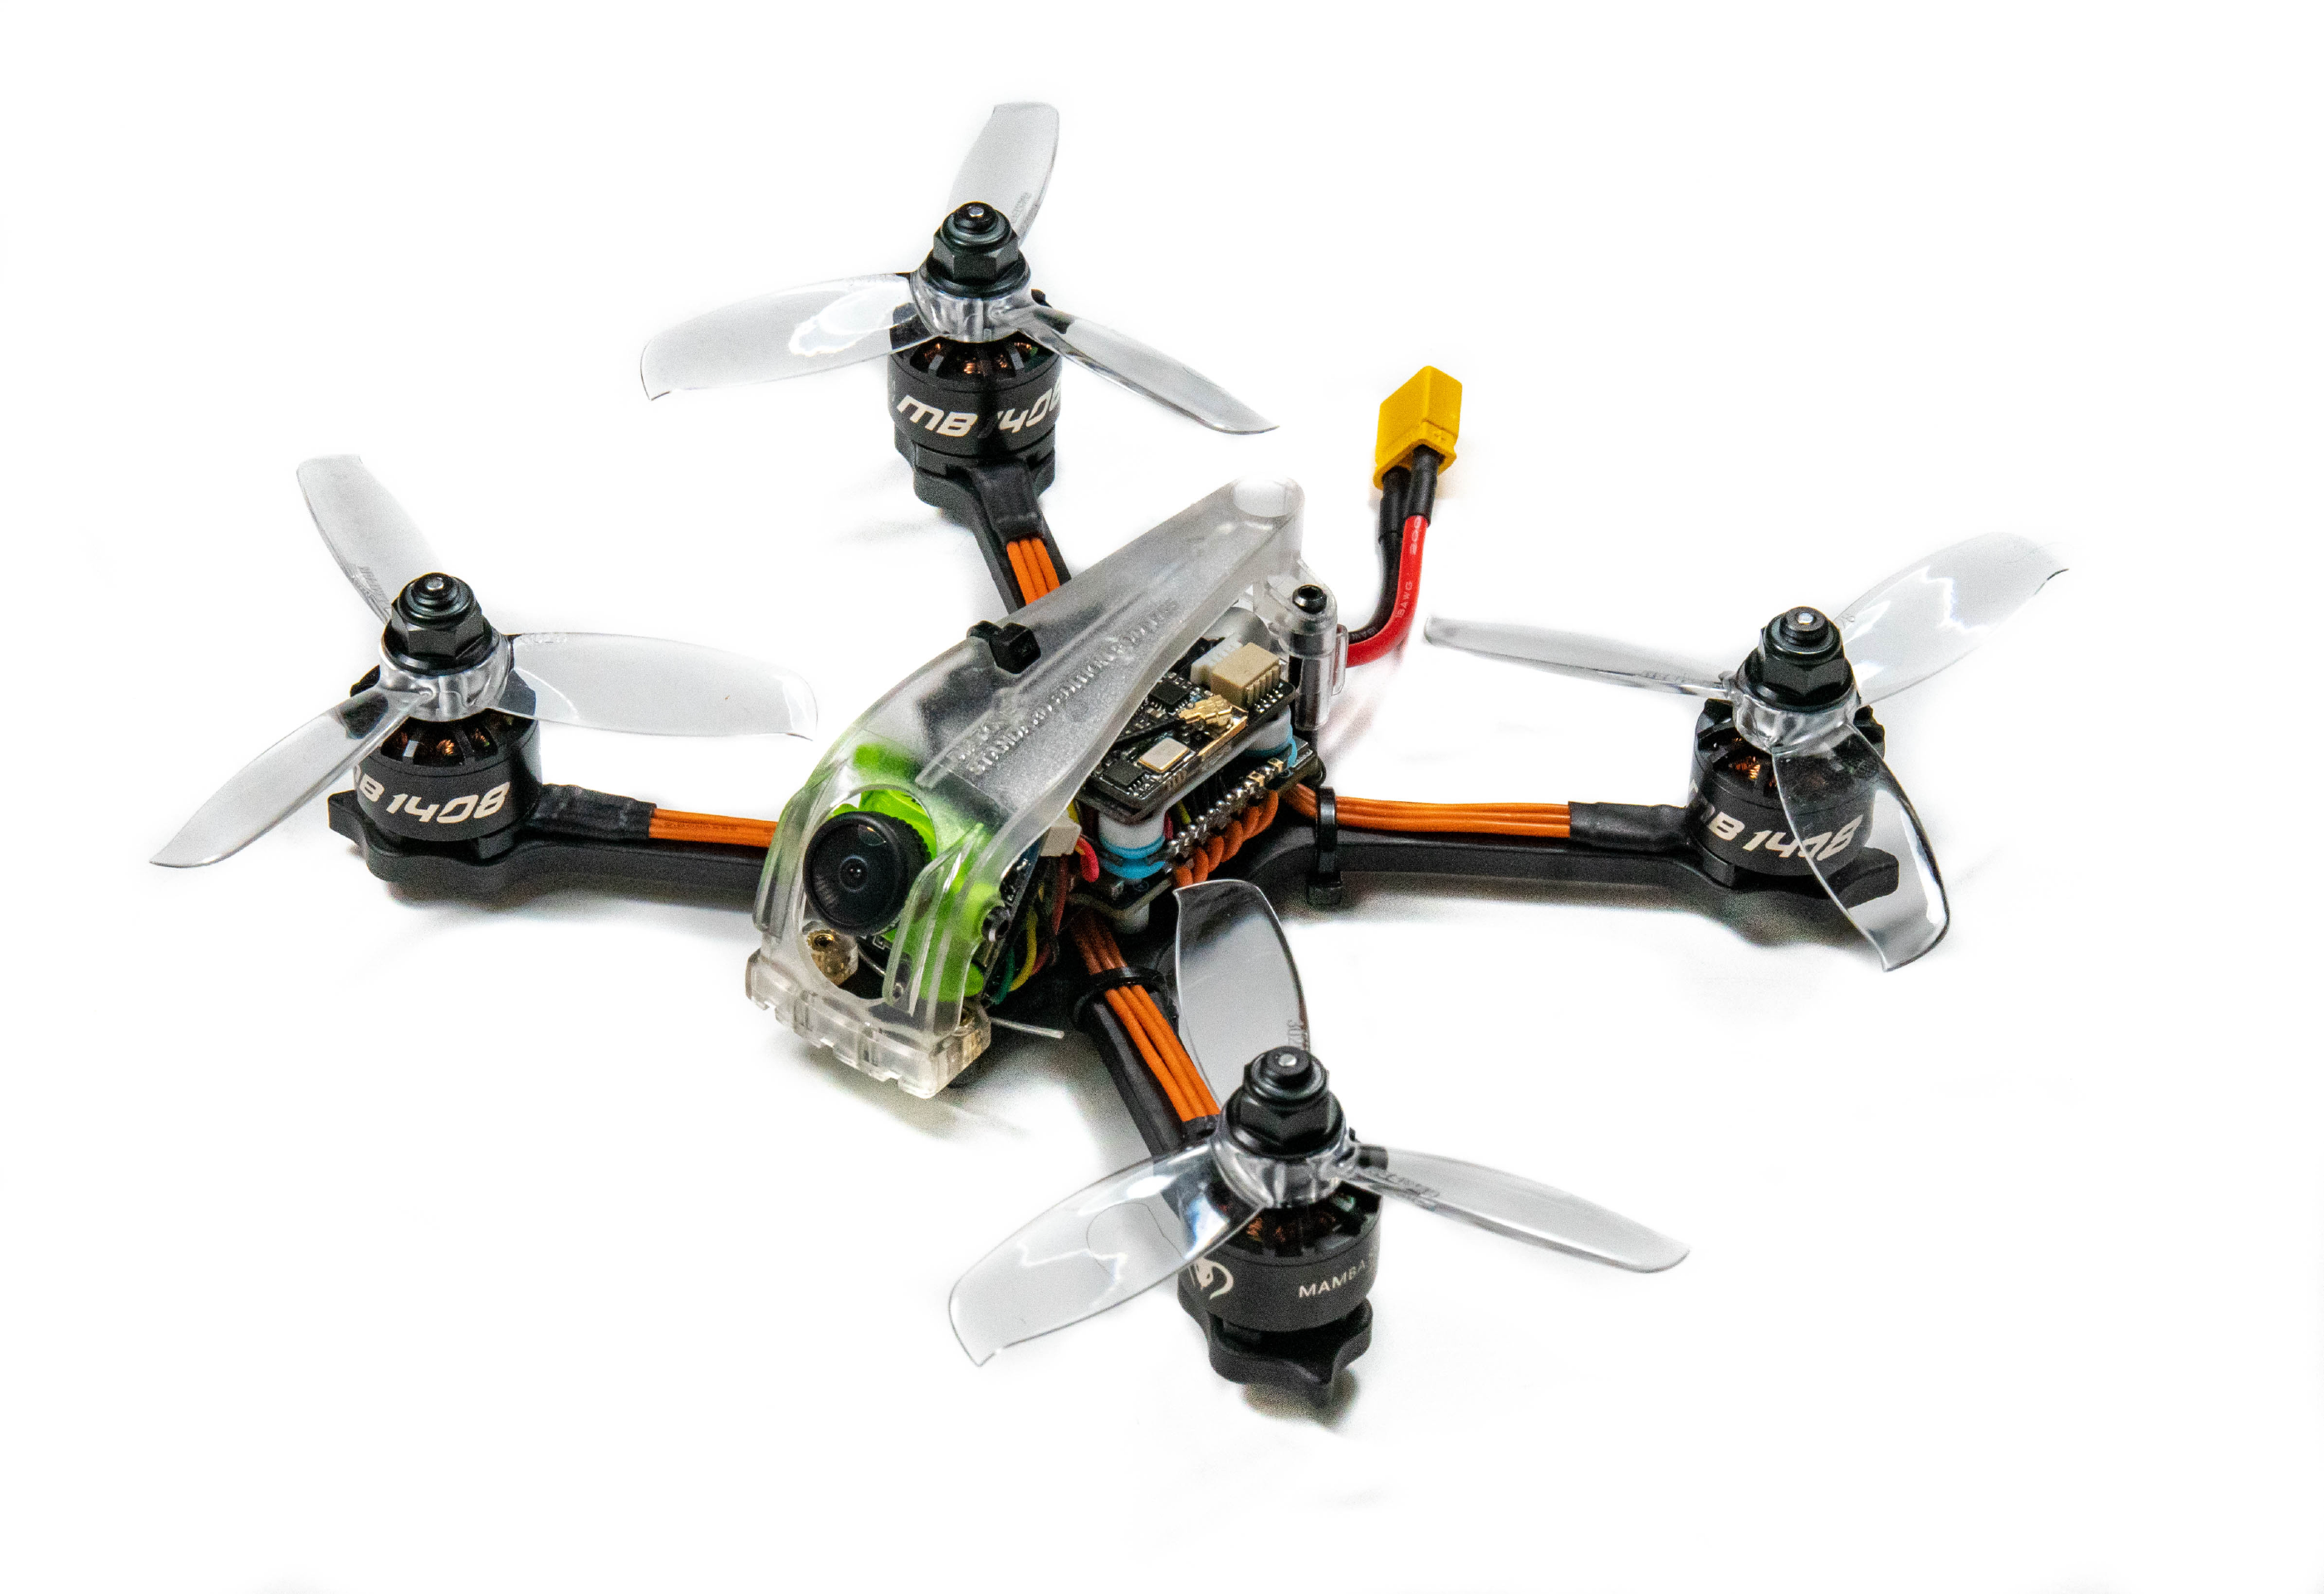
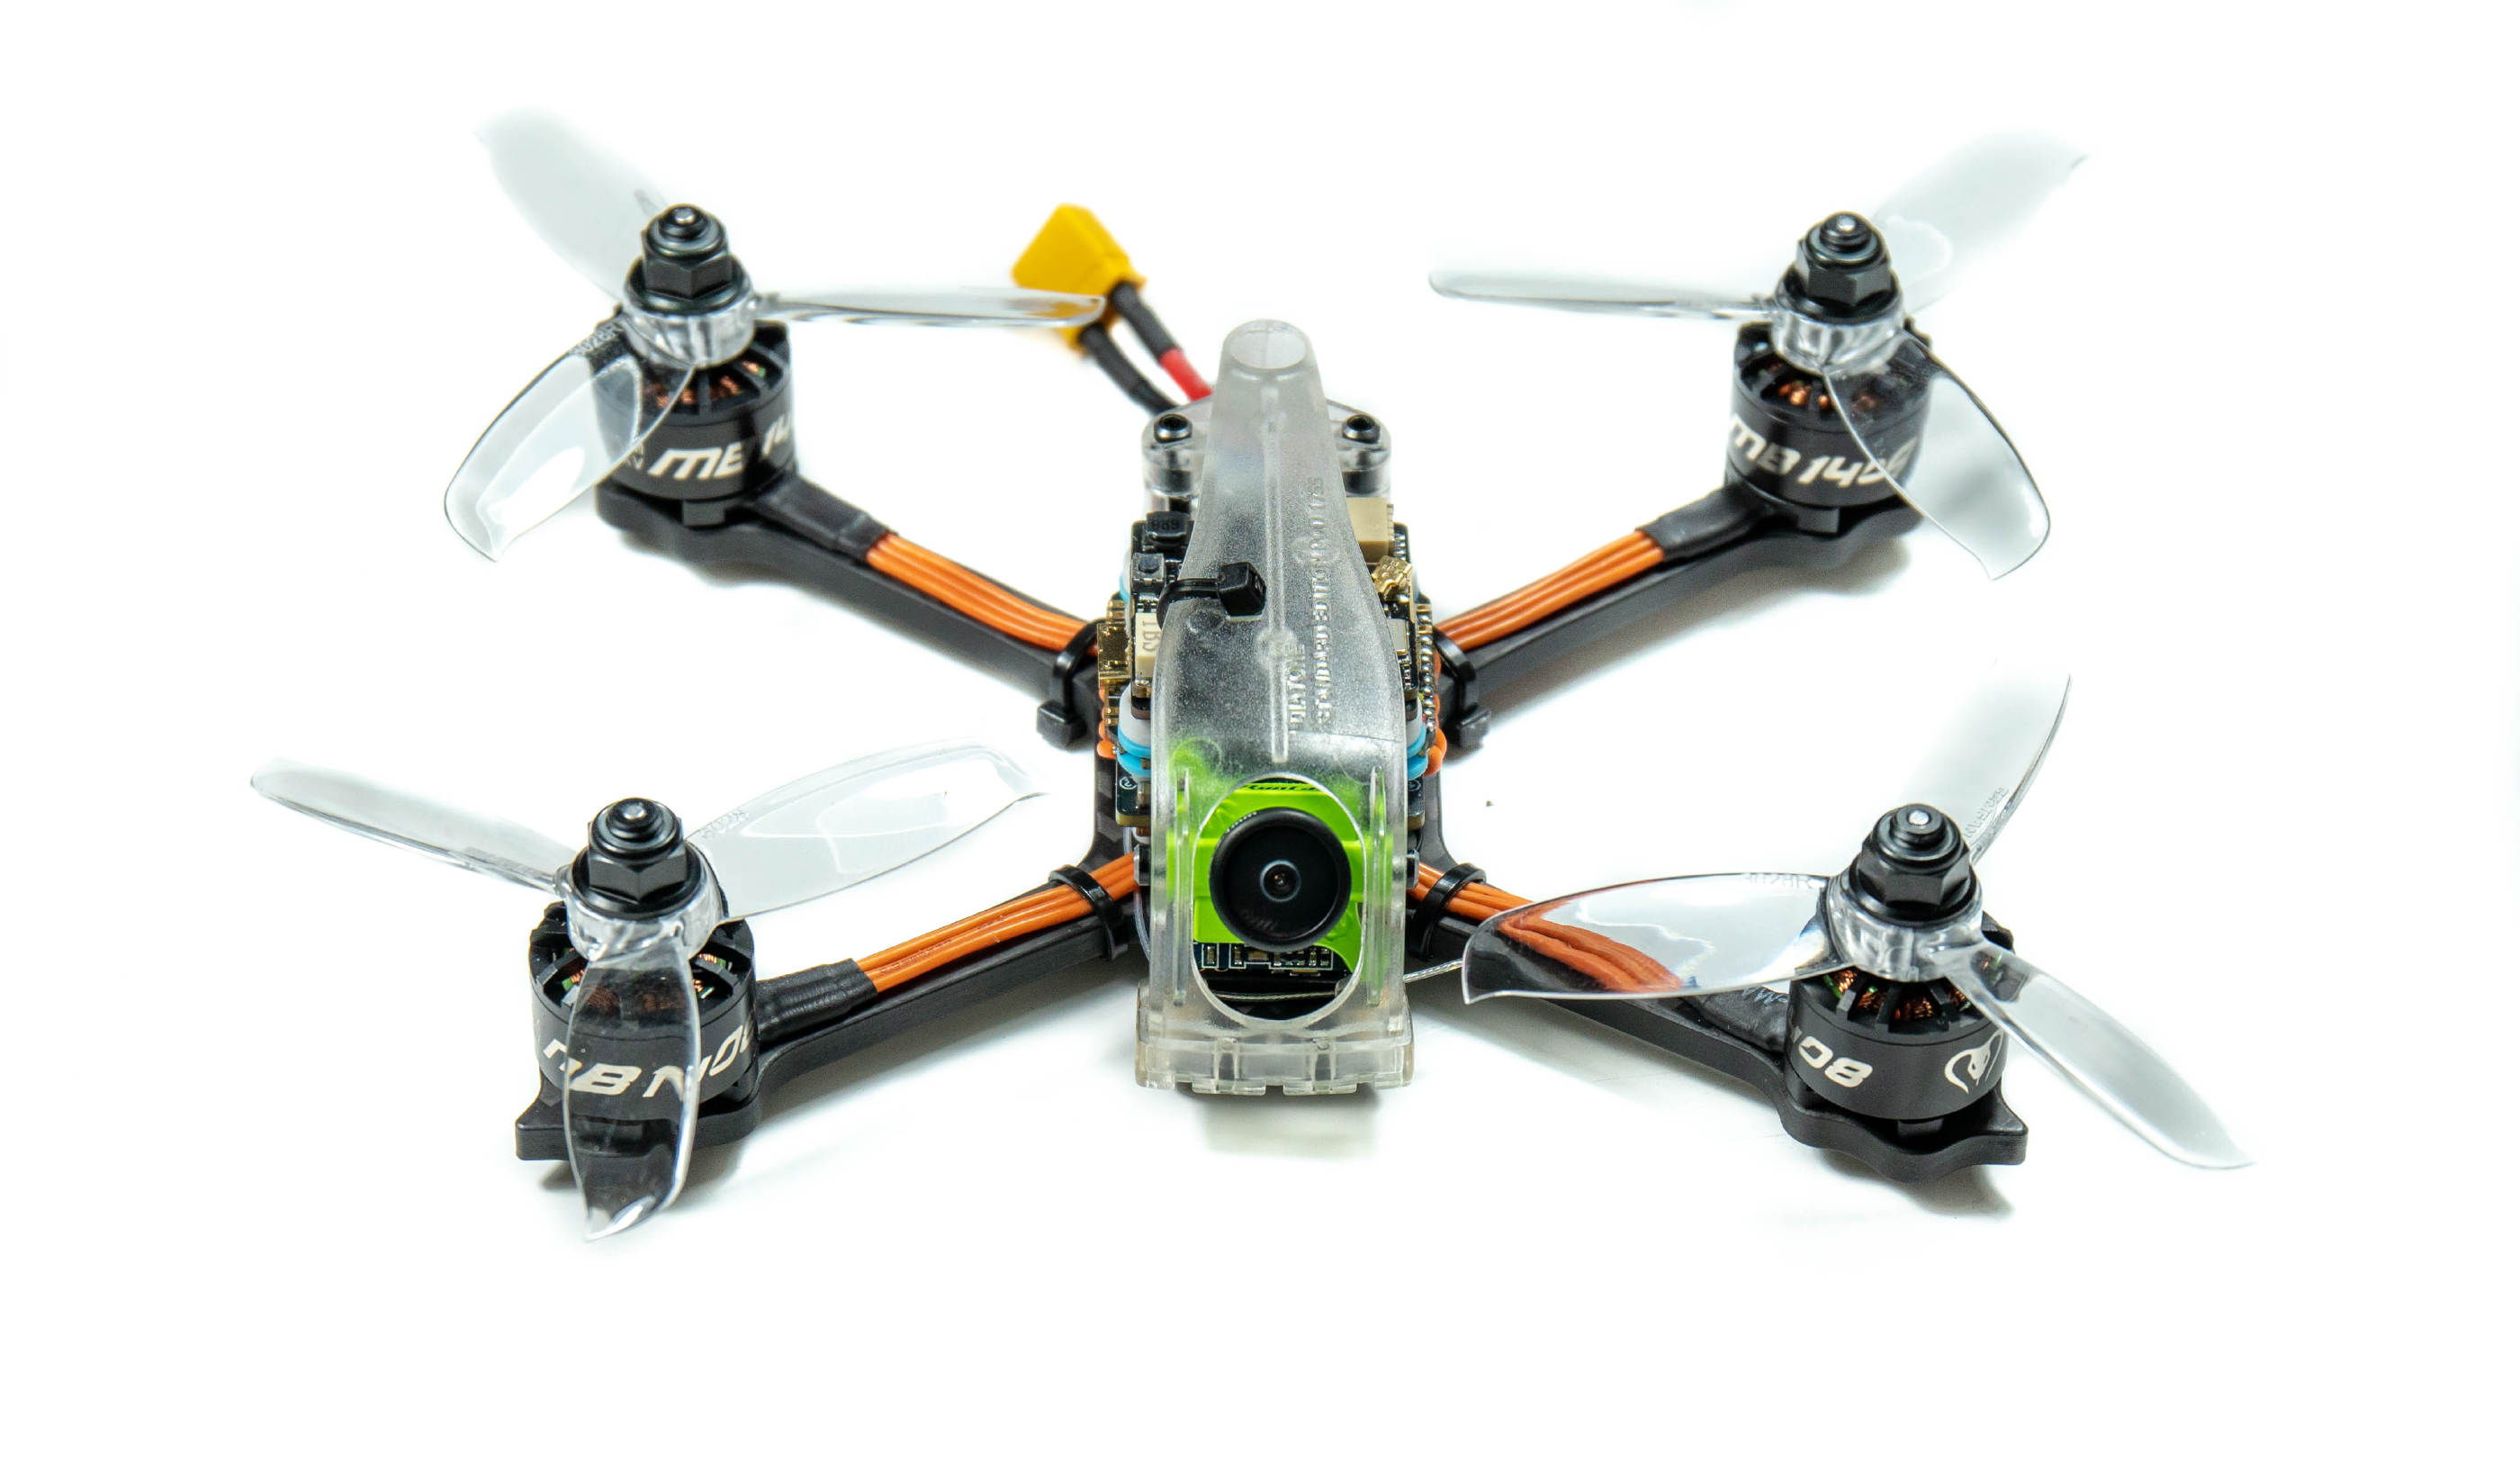
Here’s some extra cool photos of the build.
Flying Footage
Final Thoughts
So what do I think of the R349, having had it for a few months and putting it through its paces? Well, it’s really really good! I feel like it has great power and control, and in many instances is much easier to fly faster than a 5 inch - I’ve always thought this. One thing I will say which many people disagree with, but some also agree with - it will never replace 5" drones in racing, and that is purely down to top speed and battery life. Even with changing battery sizes and props, at full race pace I could not get much over 2 minutes, but certainly not the 2 minutes 30 required for UK racing events. Top end also lacks a little so while it would be perfect for the indoor racing, it may be left behind at outdoor events.
Overall this is a REALLY well built drone, giving a newcomer a great entry into drone racing or freestyling, or for those already well-versed in the hobby something fun to fly around in smaller locations or with just less worry about breaking stuff when crashing due to it being so light!
Would I recommend this? Absolutely!
The Diatone 2019 GT R349 TBS Edition 135mm 3inch 4s Racing Drone is available from Banggood and other retailers!