Reviews
Betaflight Hive Backpack Review
Posted on October 6, 2018 • 16 min read • 3,262 words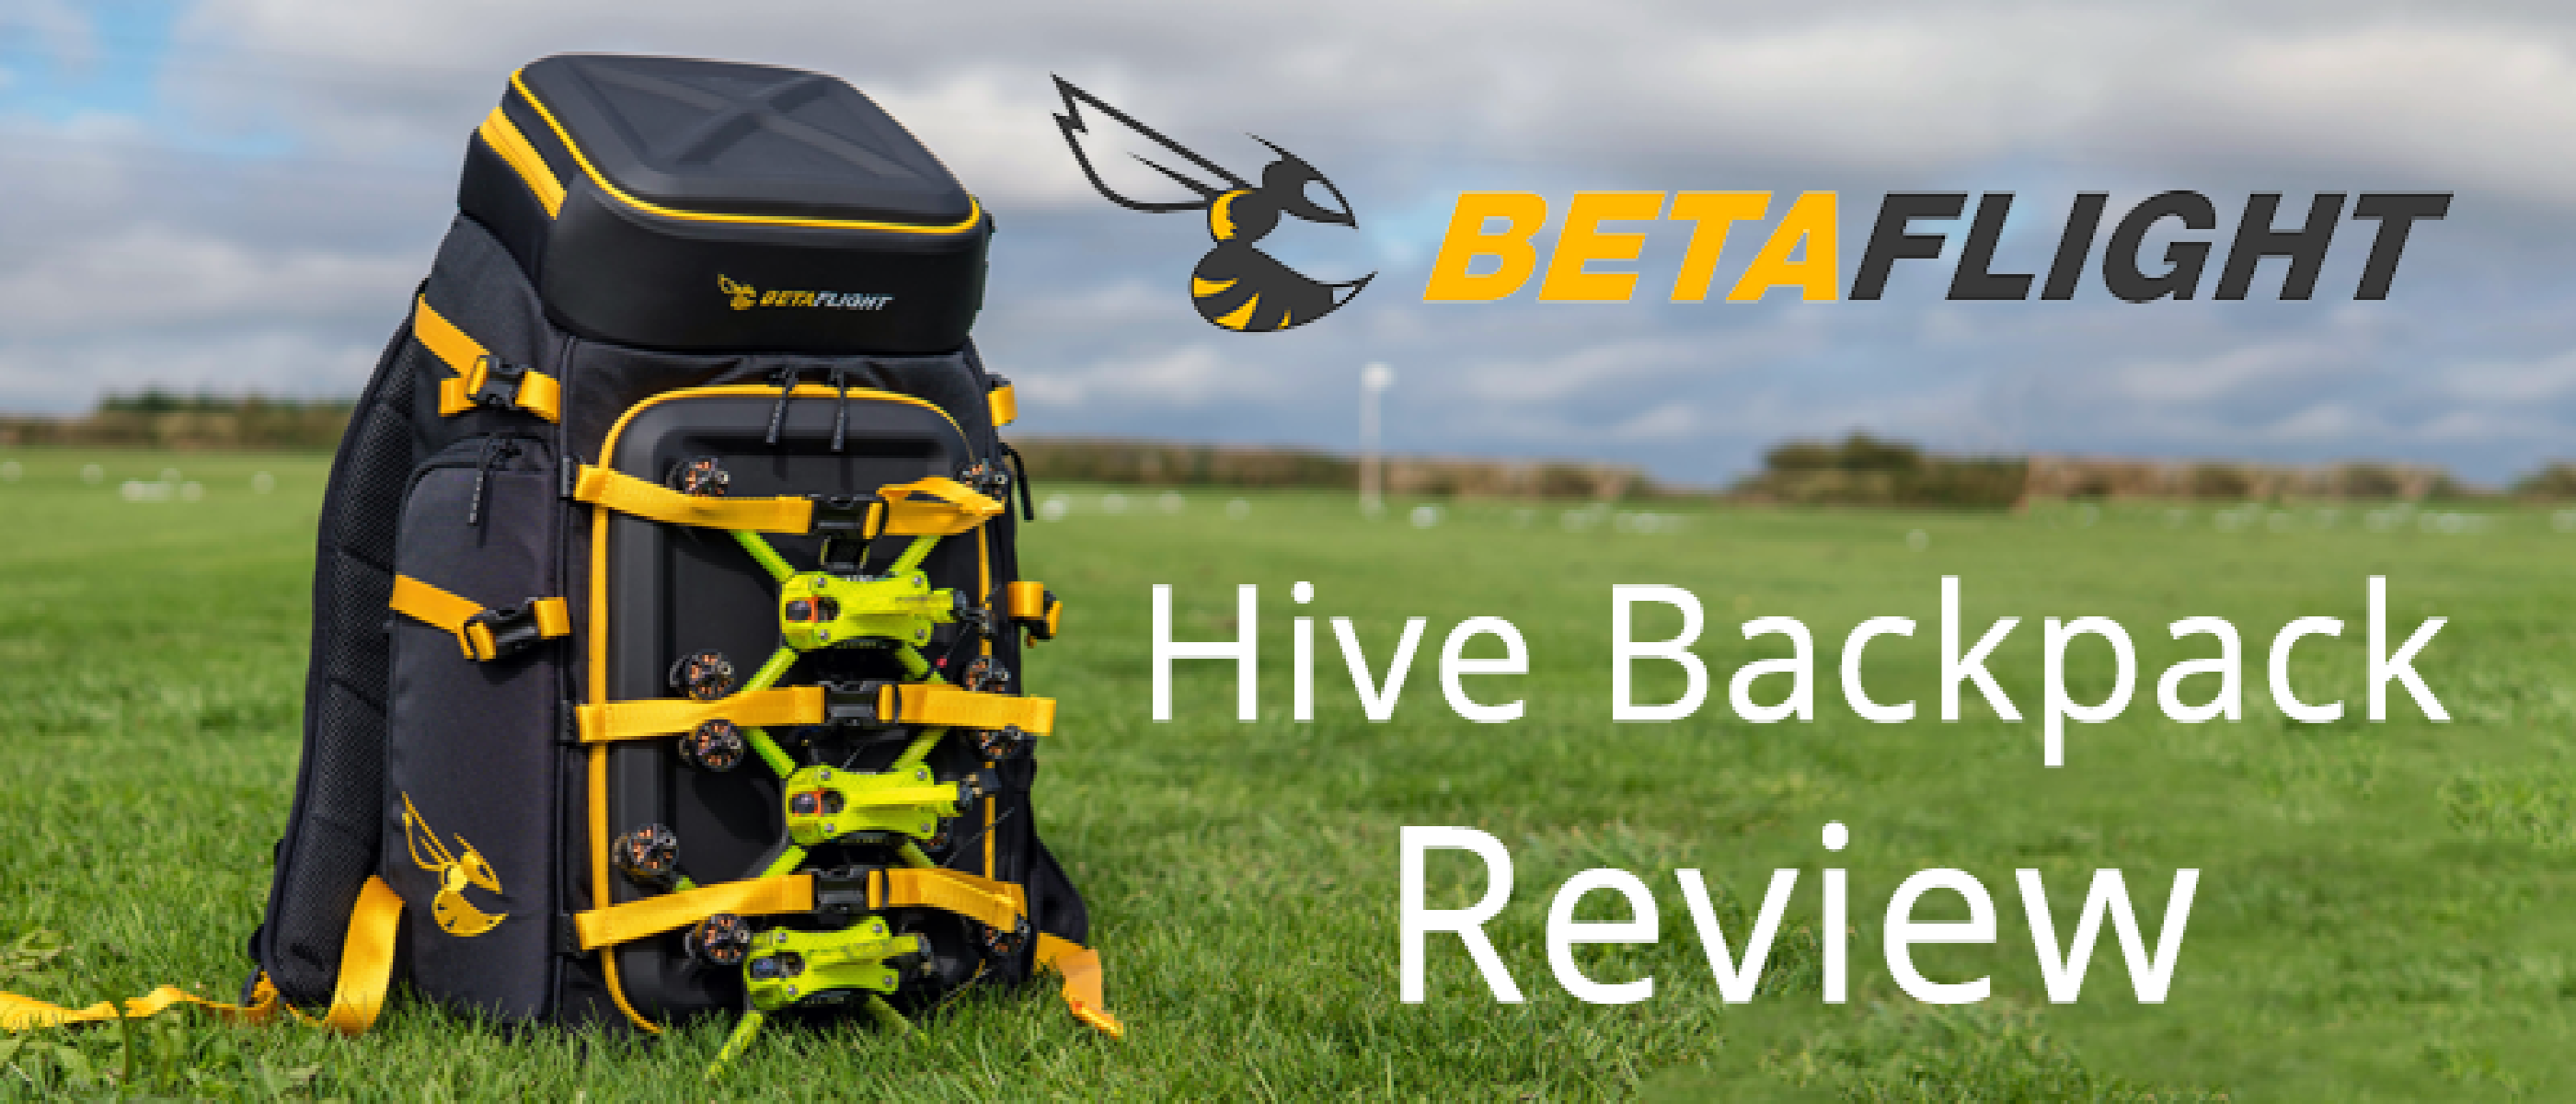
FPVModel reached out to me a couple of months ago and asked if I was interested in reviewing their backpack that was made in collaboration with the Betaflight team. Getting your equipment to and from the field, races and even abroad is no easy task - and I am one to appreciate good storage options after competing in dozens of races myself, as well as taking full gear across into the US and Europe for international races. As you’ve probably also seen, I’ve reviewed other available backpacks, so I was definitely keen on seeing what this new backpack could offer and how it would differ or fit into a market that is quite crowded already. So I of course said yes to reviewing the product, and here we are after 2 months of extensive testing using it as my primary backpack.
Note: if you don’t want to read the entire review, skip to the end. There’s also a $30 coupon to save some money when buying it.
Product Description
This is the Betaflight Hive Backpack. The design of this bag has taken many months and even after we released it for pre-orders, customer suggestions kept making us go back to the “final” prototype and add some of their suggestions. In reality, this is not just a backpack that was designed by us but its more of a backpack that has been designed and then re-designed by users like you. We do our best to listen to your feedback and that is proven in the design of this backpack. Requests for hard shell covers, reverse the orientation of the side pockets, make the hand held carry bag into a lipo-safe fire-resistant bag are just a few of the suggestion that we went back and updated during the design process. After reviewing the final, final prototype we here at FPV Model feel like the user suggestions we’ve received from our clients and friends on facebook, have helped make certain that this bag has the best quality and features available. We think you-re gonna like them.
The overall design of this backpack is geared towards those that are serious fliers and have multiple quads and many tools and accessories that they carry with them while traveling by air or even just to the local field.
Betaflight Hive Backpacks are performance tested, at fully loaded capacity, using our strict control standards. Before we offer this product for sale, it is put through test to ensure its strength, durability, and dependability that is represented by the most demanding frequent travelling quad pilots. This attention to quality results in us (FPV Model) and (Betaflight) being able to offer the best warranty in the industry. Click here for the backpack warranty or download the PDF.
Features:
- International carry-on size compatibility for air travel.
- Dedicated lap-top pocket
- Dedicated fireproof lipo bag
- Elastic daisy chain tool panel for your hex drivers and other hand held tools.
- Large interior pocket for carrying props with hard shell cover on the bag for added protection from outside forces.
- 1680D ballistic nylon bag material for long life durability.
- Featuring the best zippers in the market made by YKK to ensure long lasting zipper life.
- Contoured adjustable padded harness with height adjustable chest strap.
- Rain cover that pulls out from bottom panel pocket for fast rain protection.
- Exterior Dimensions: 56 x 34 x 18cm
Product Walkthrough
So let’s get on with the unboxing and our first experiences with the backpack. From the product description and price tag we can see there’s high quality materials used.
A decent box to prevent damage in transit, not sure what else we can say here.. :)
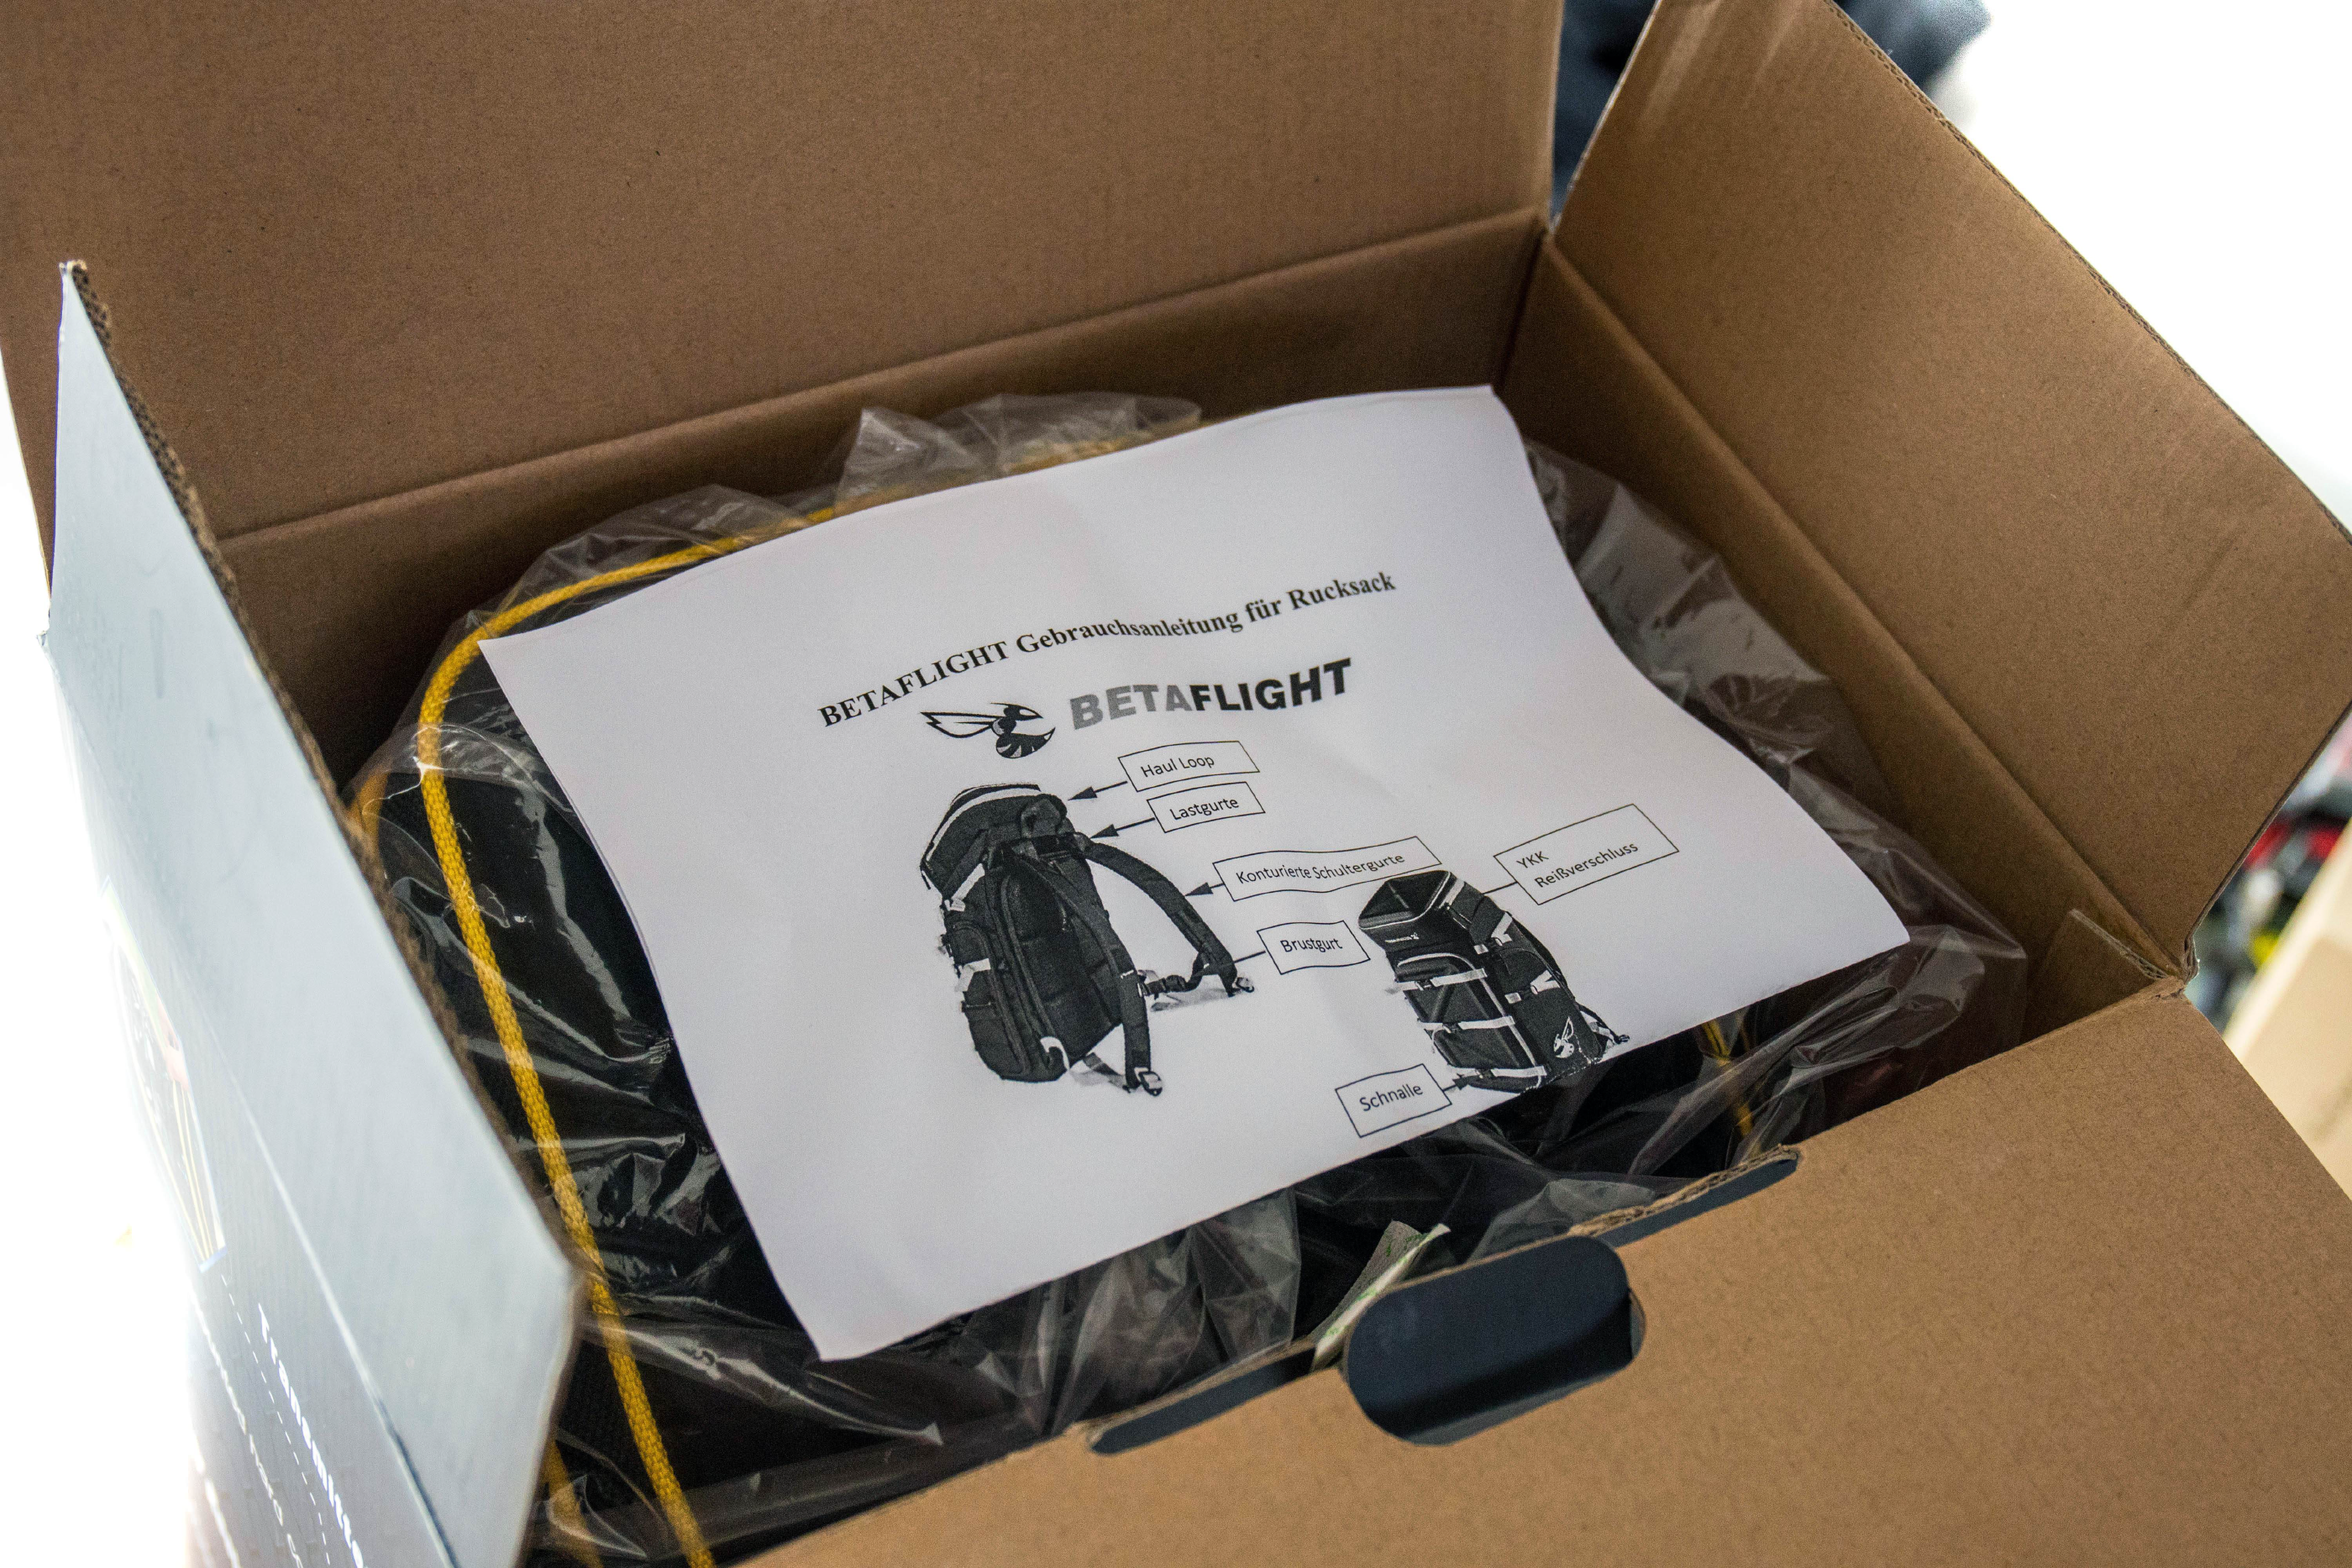
Inside we’ve got more packaging as well as a basic diagram outlining all of the available storage areas there are just in case you happen to miss one of them.
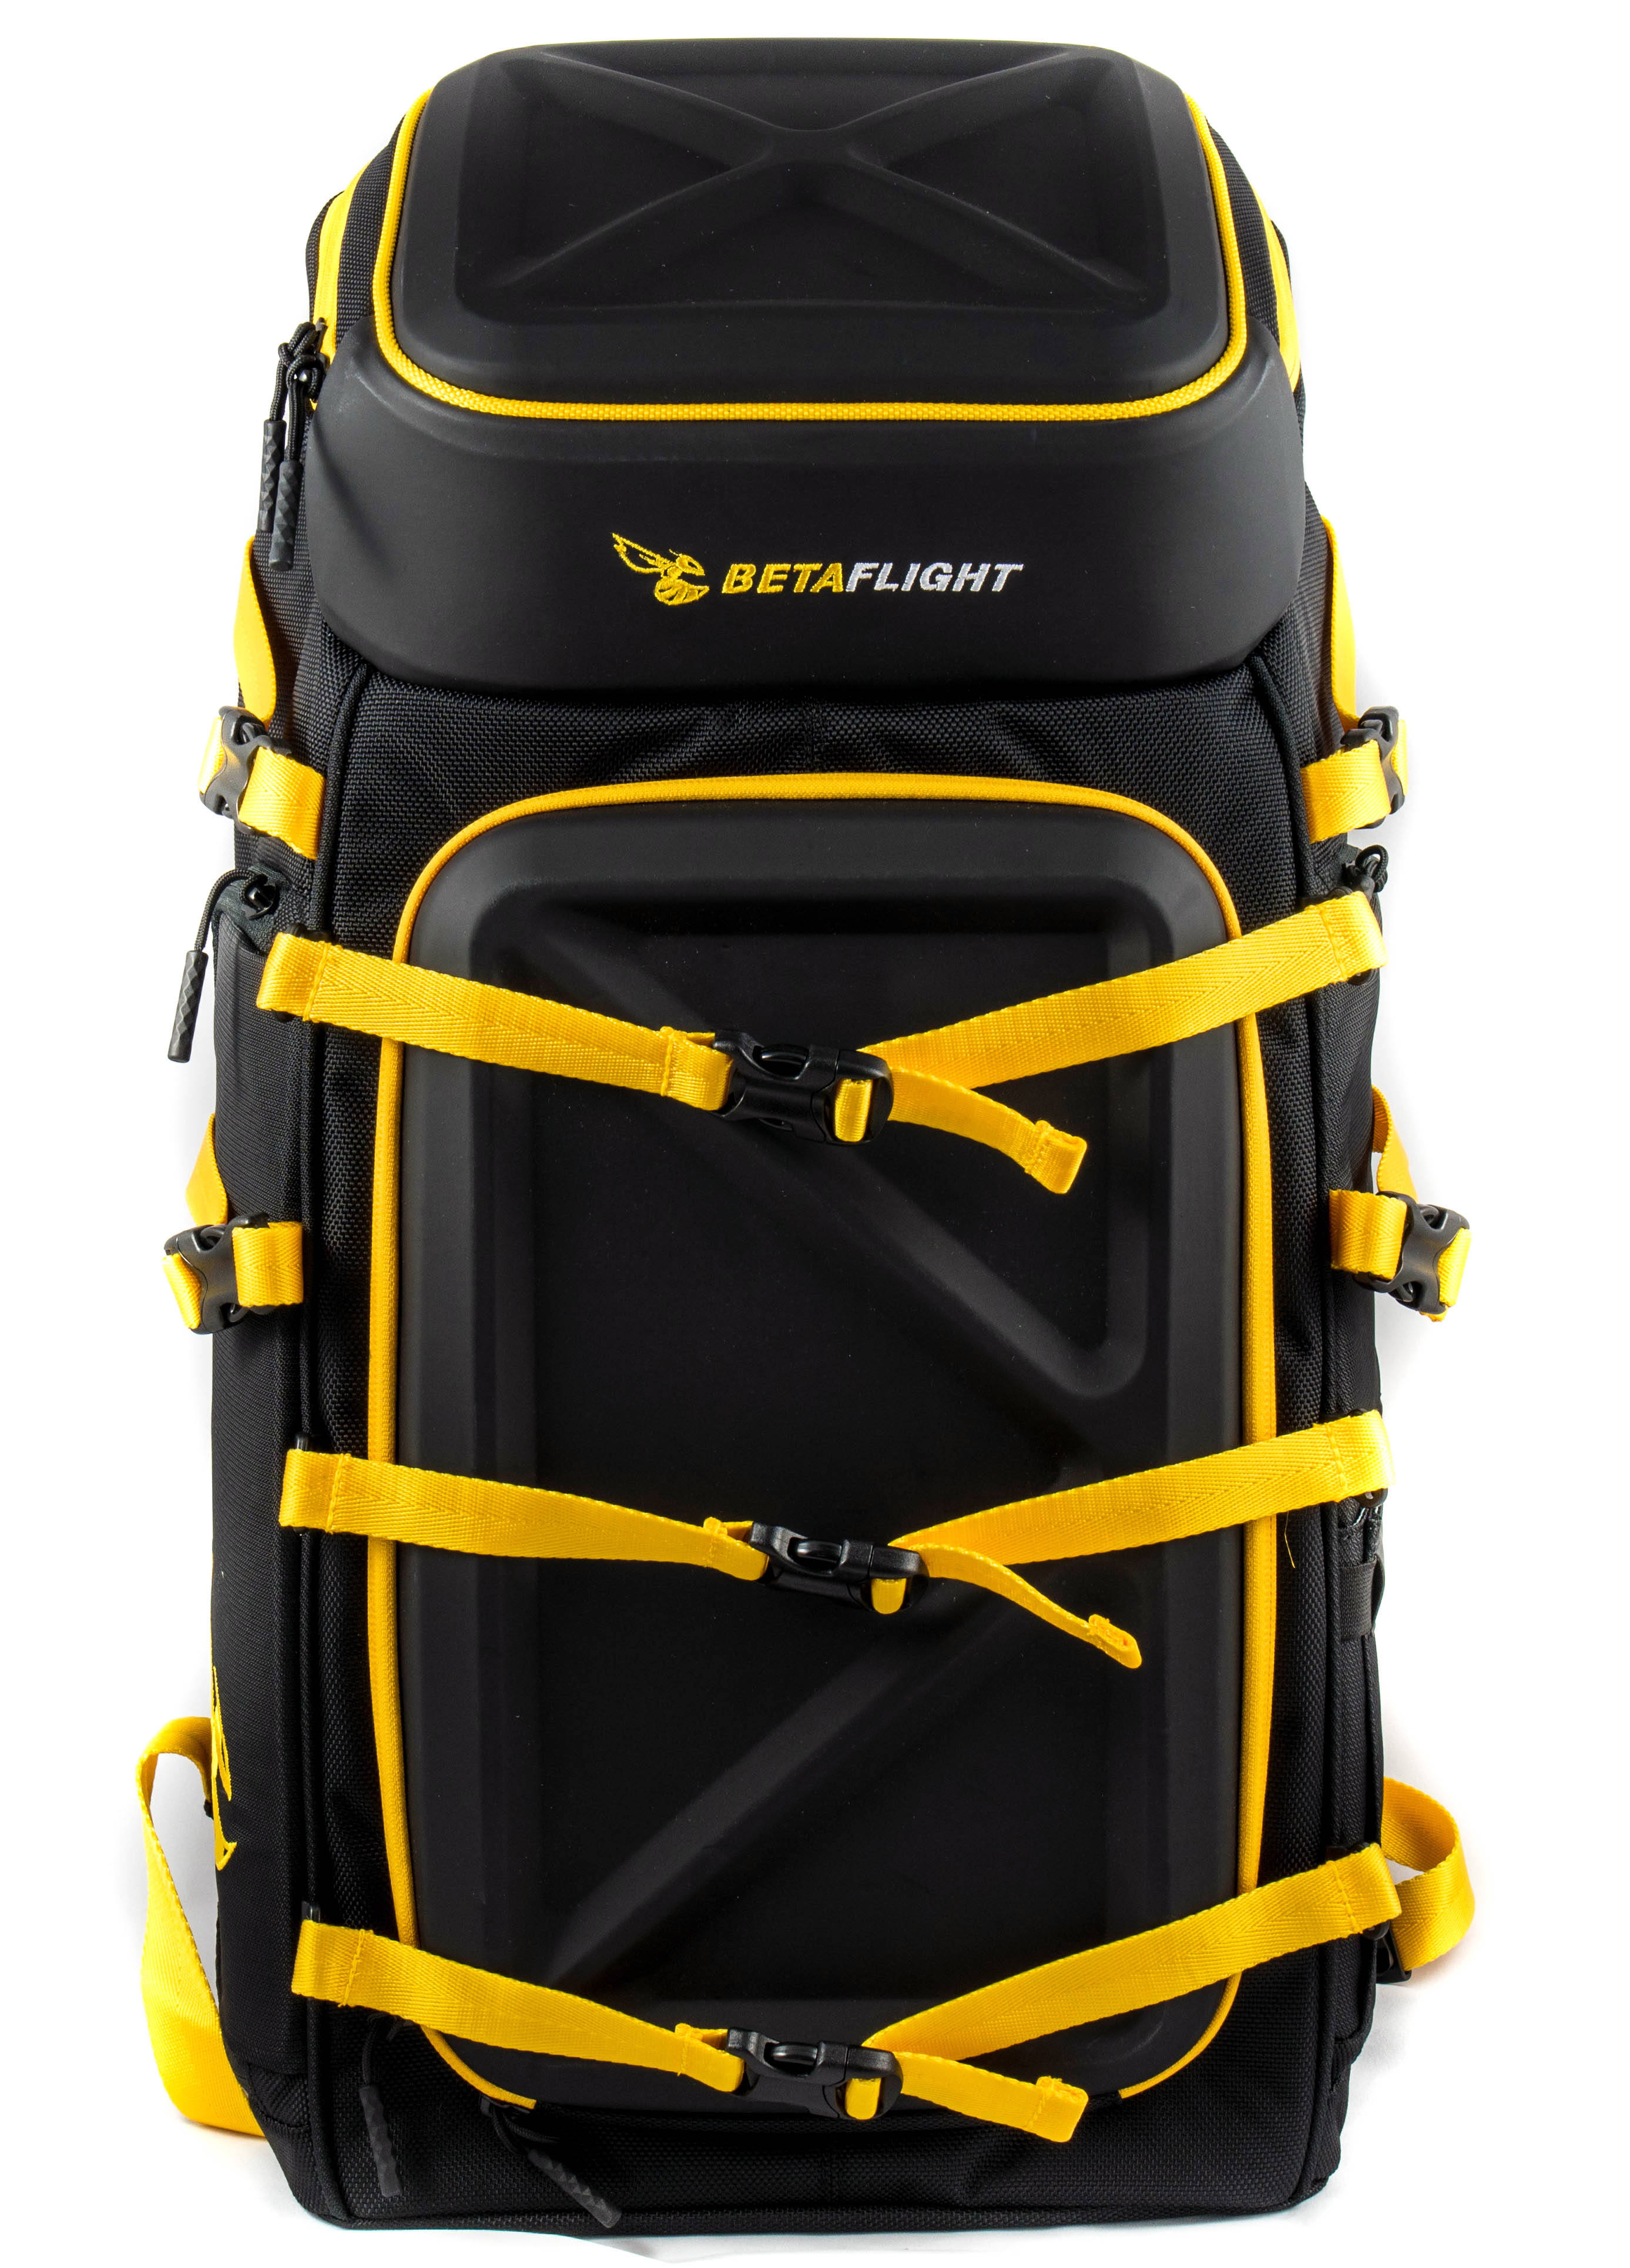
Out of the packaging the backpack looks great - right away we can see there’s at least potential to fit 3 quads to the backpack if we assume 1 strap per drone. Each strap is adjustable in length but will also move up or down the entire bag depending where exactly you want the straps to be. Right at the top you’ll see the space allocated for the transmitted with a nice stitched logo embossed on the front. What may not be clear in the photo, ignoring the side storage, is that there’s also a pocket where the front armor is - towards the bottom left of the backpack you’ll notice 2 zips that allow you to fold back this pocket revealing even more front storage space. The only downside to this of course is that if you are carrying drones on the backpack then you’ll have to take them off most likely in order to access anything substantial in here.
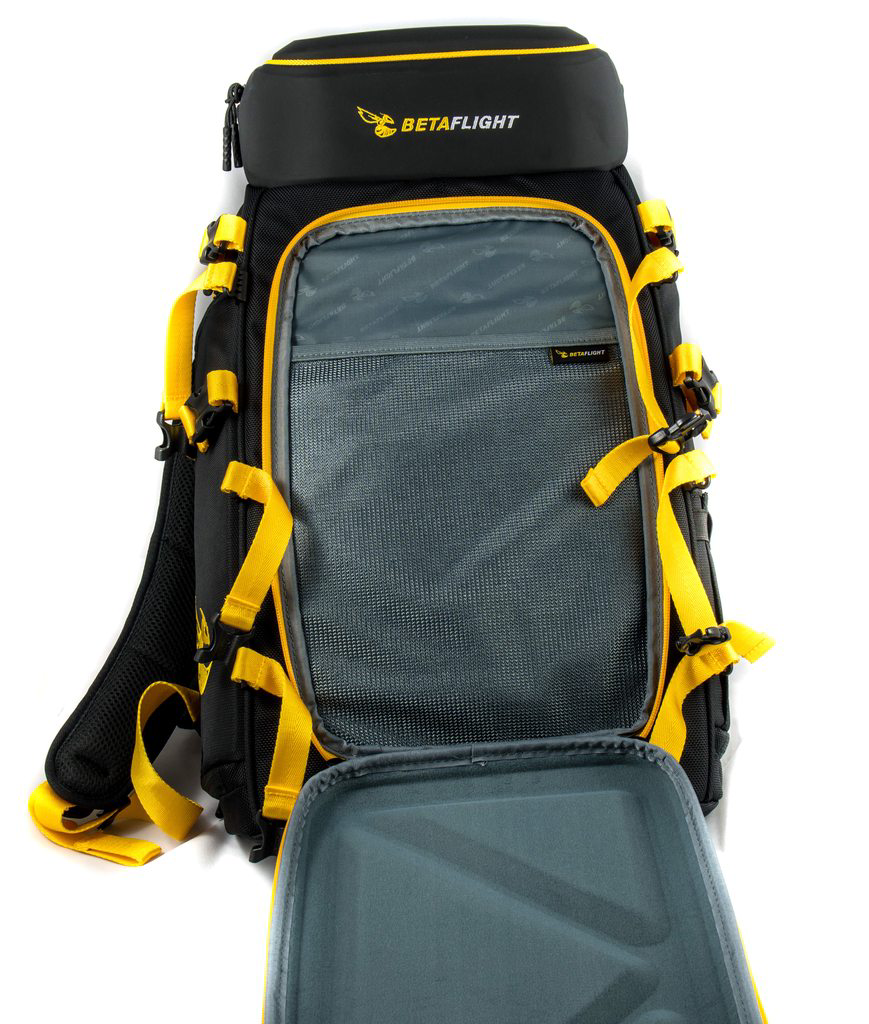
Inside the front storage area we can see there’s indented armor but this also means there’s a good depth to the storage and it is also rigid - this is a very good candidate to put your propellers - something that can be relatively bulky in numbers, but seem to just get everywhere if you put them in central storage solutions. There’s space even further inside for your laptop so I would likely not bother putting one here, but you could use the pocket for cables or anything else you bring with you.
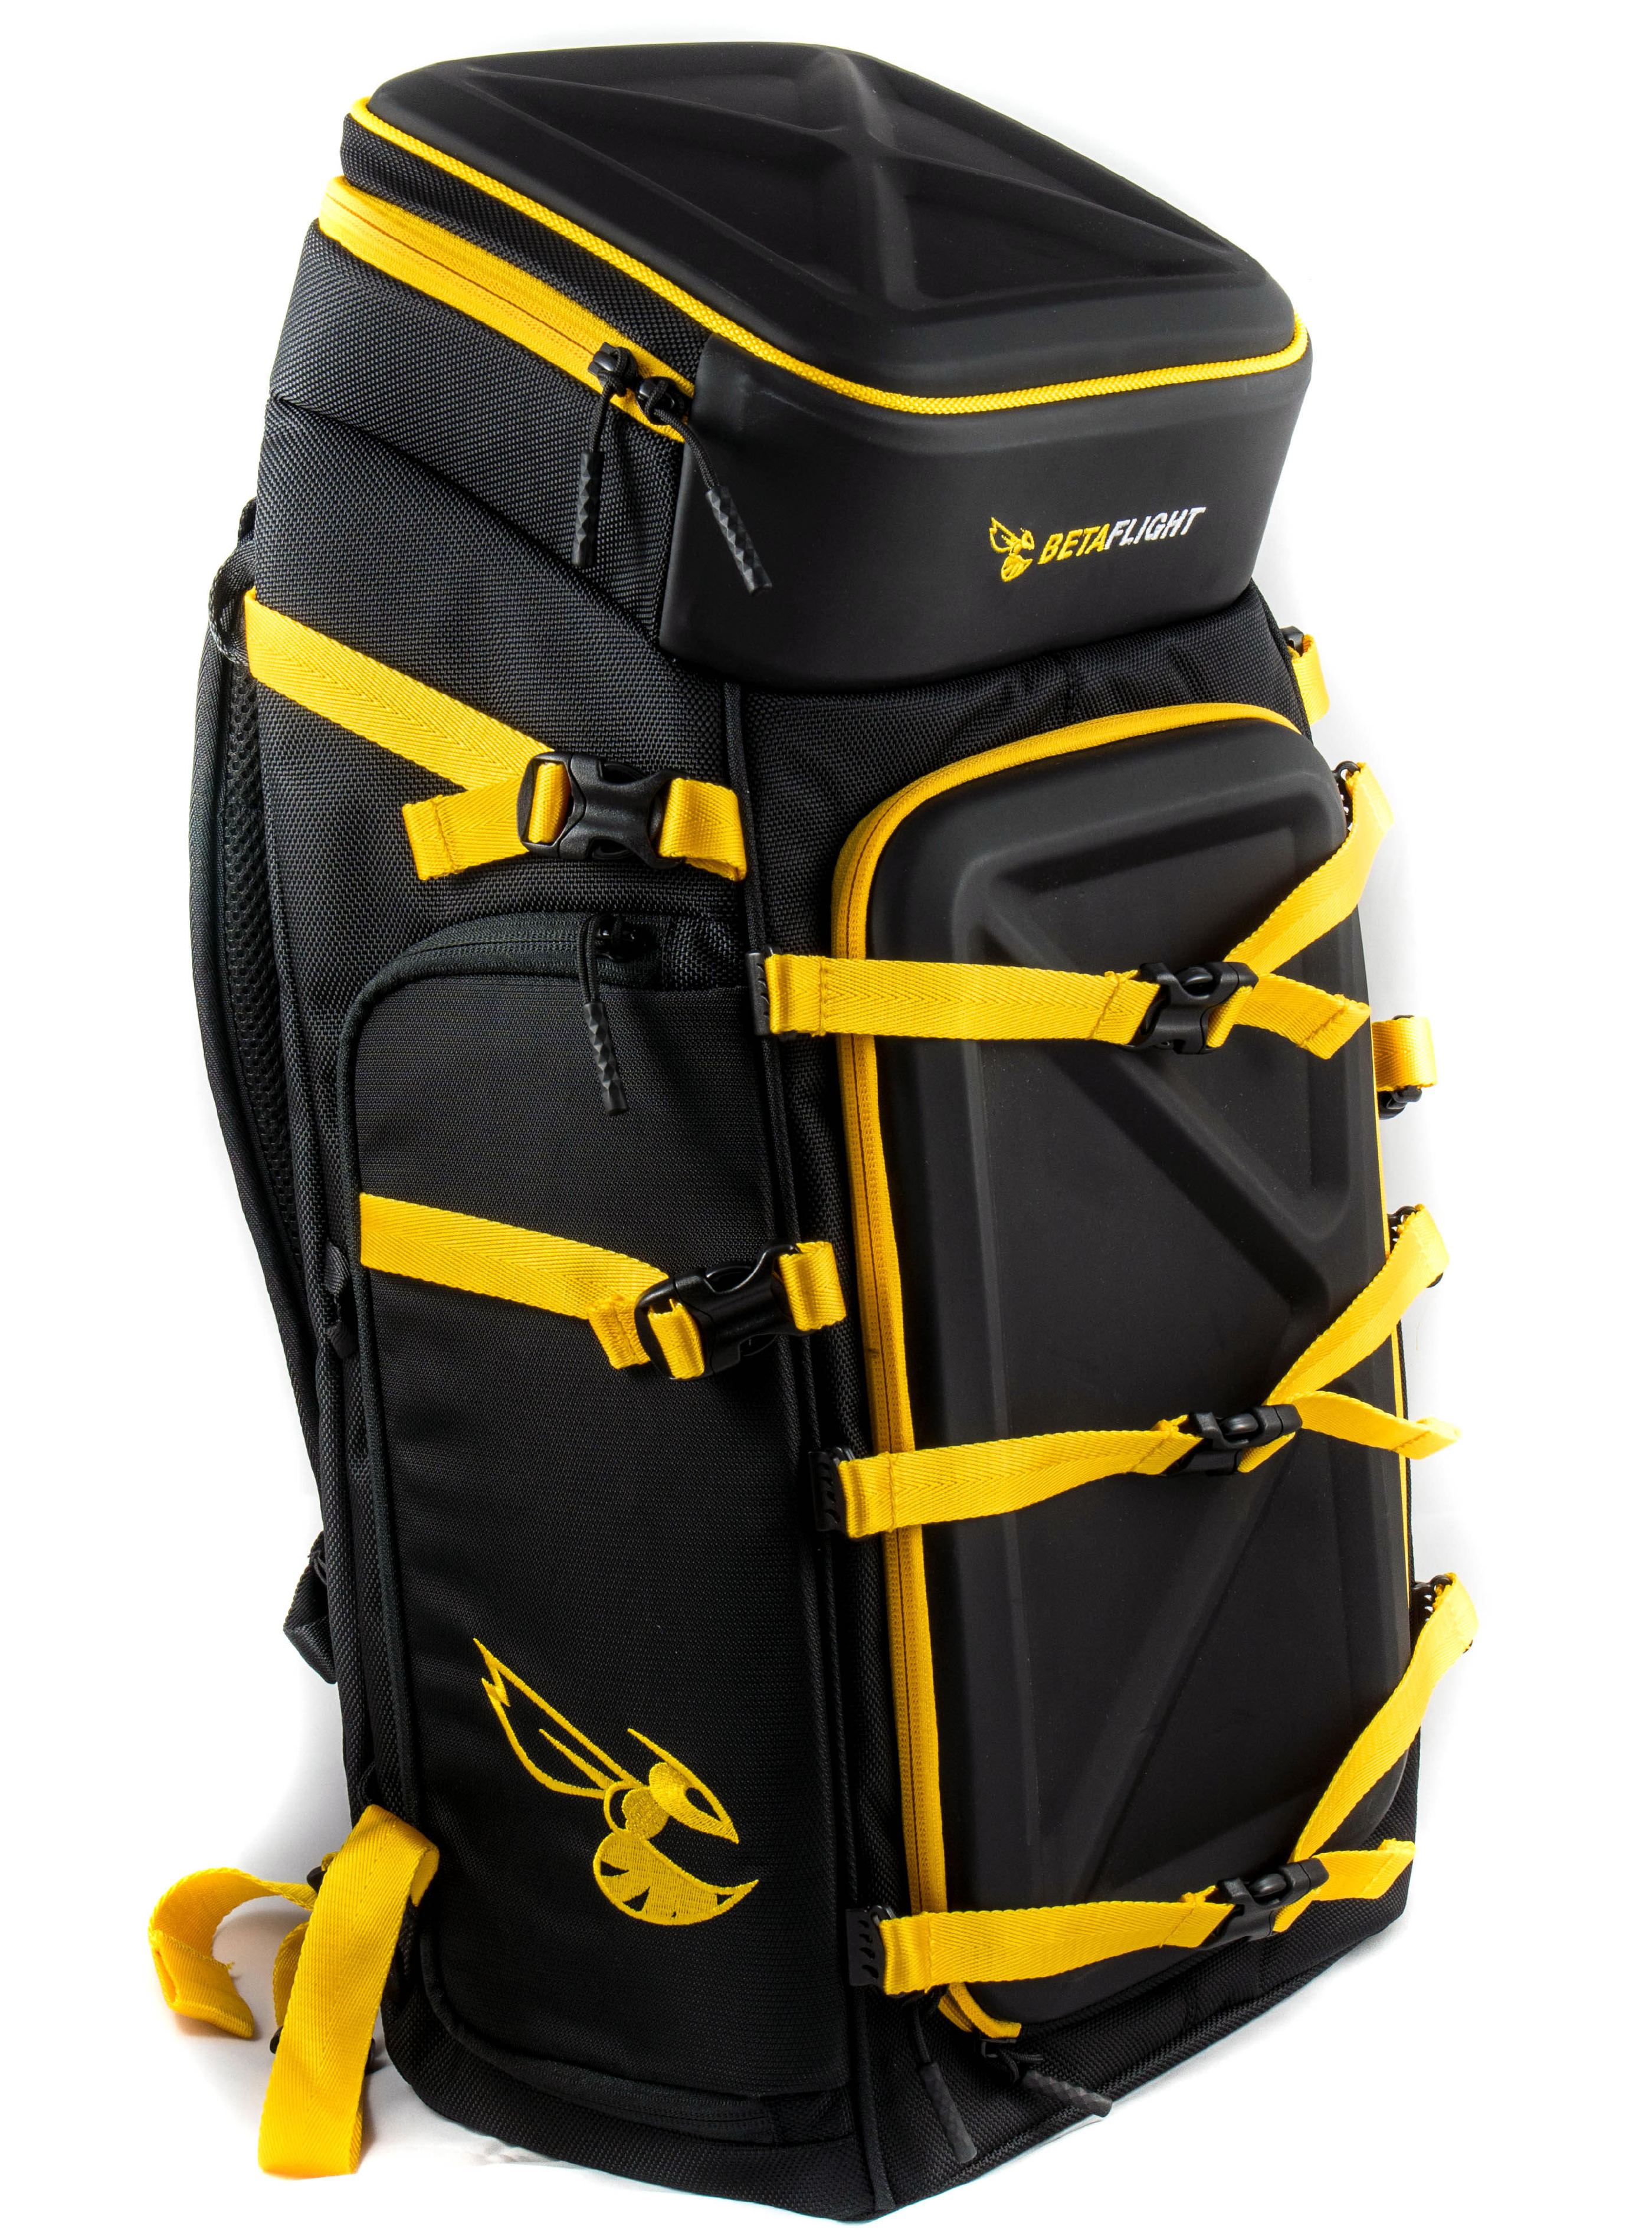
On the first side of the backpack we can see there’s another great stitched logo covering most of the side pocket. We’ve also got 2 more straps available here allowing you to strap even more quads to the outside. There’s a pocket located on the other side of the backpack so I would recommend any tripods you take with you to be mounted there instead of this side, unless of course the legs do not fit into the pocket.
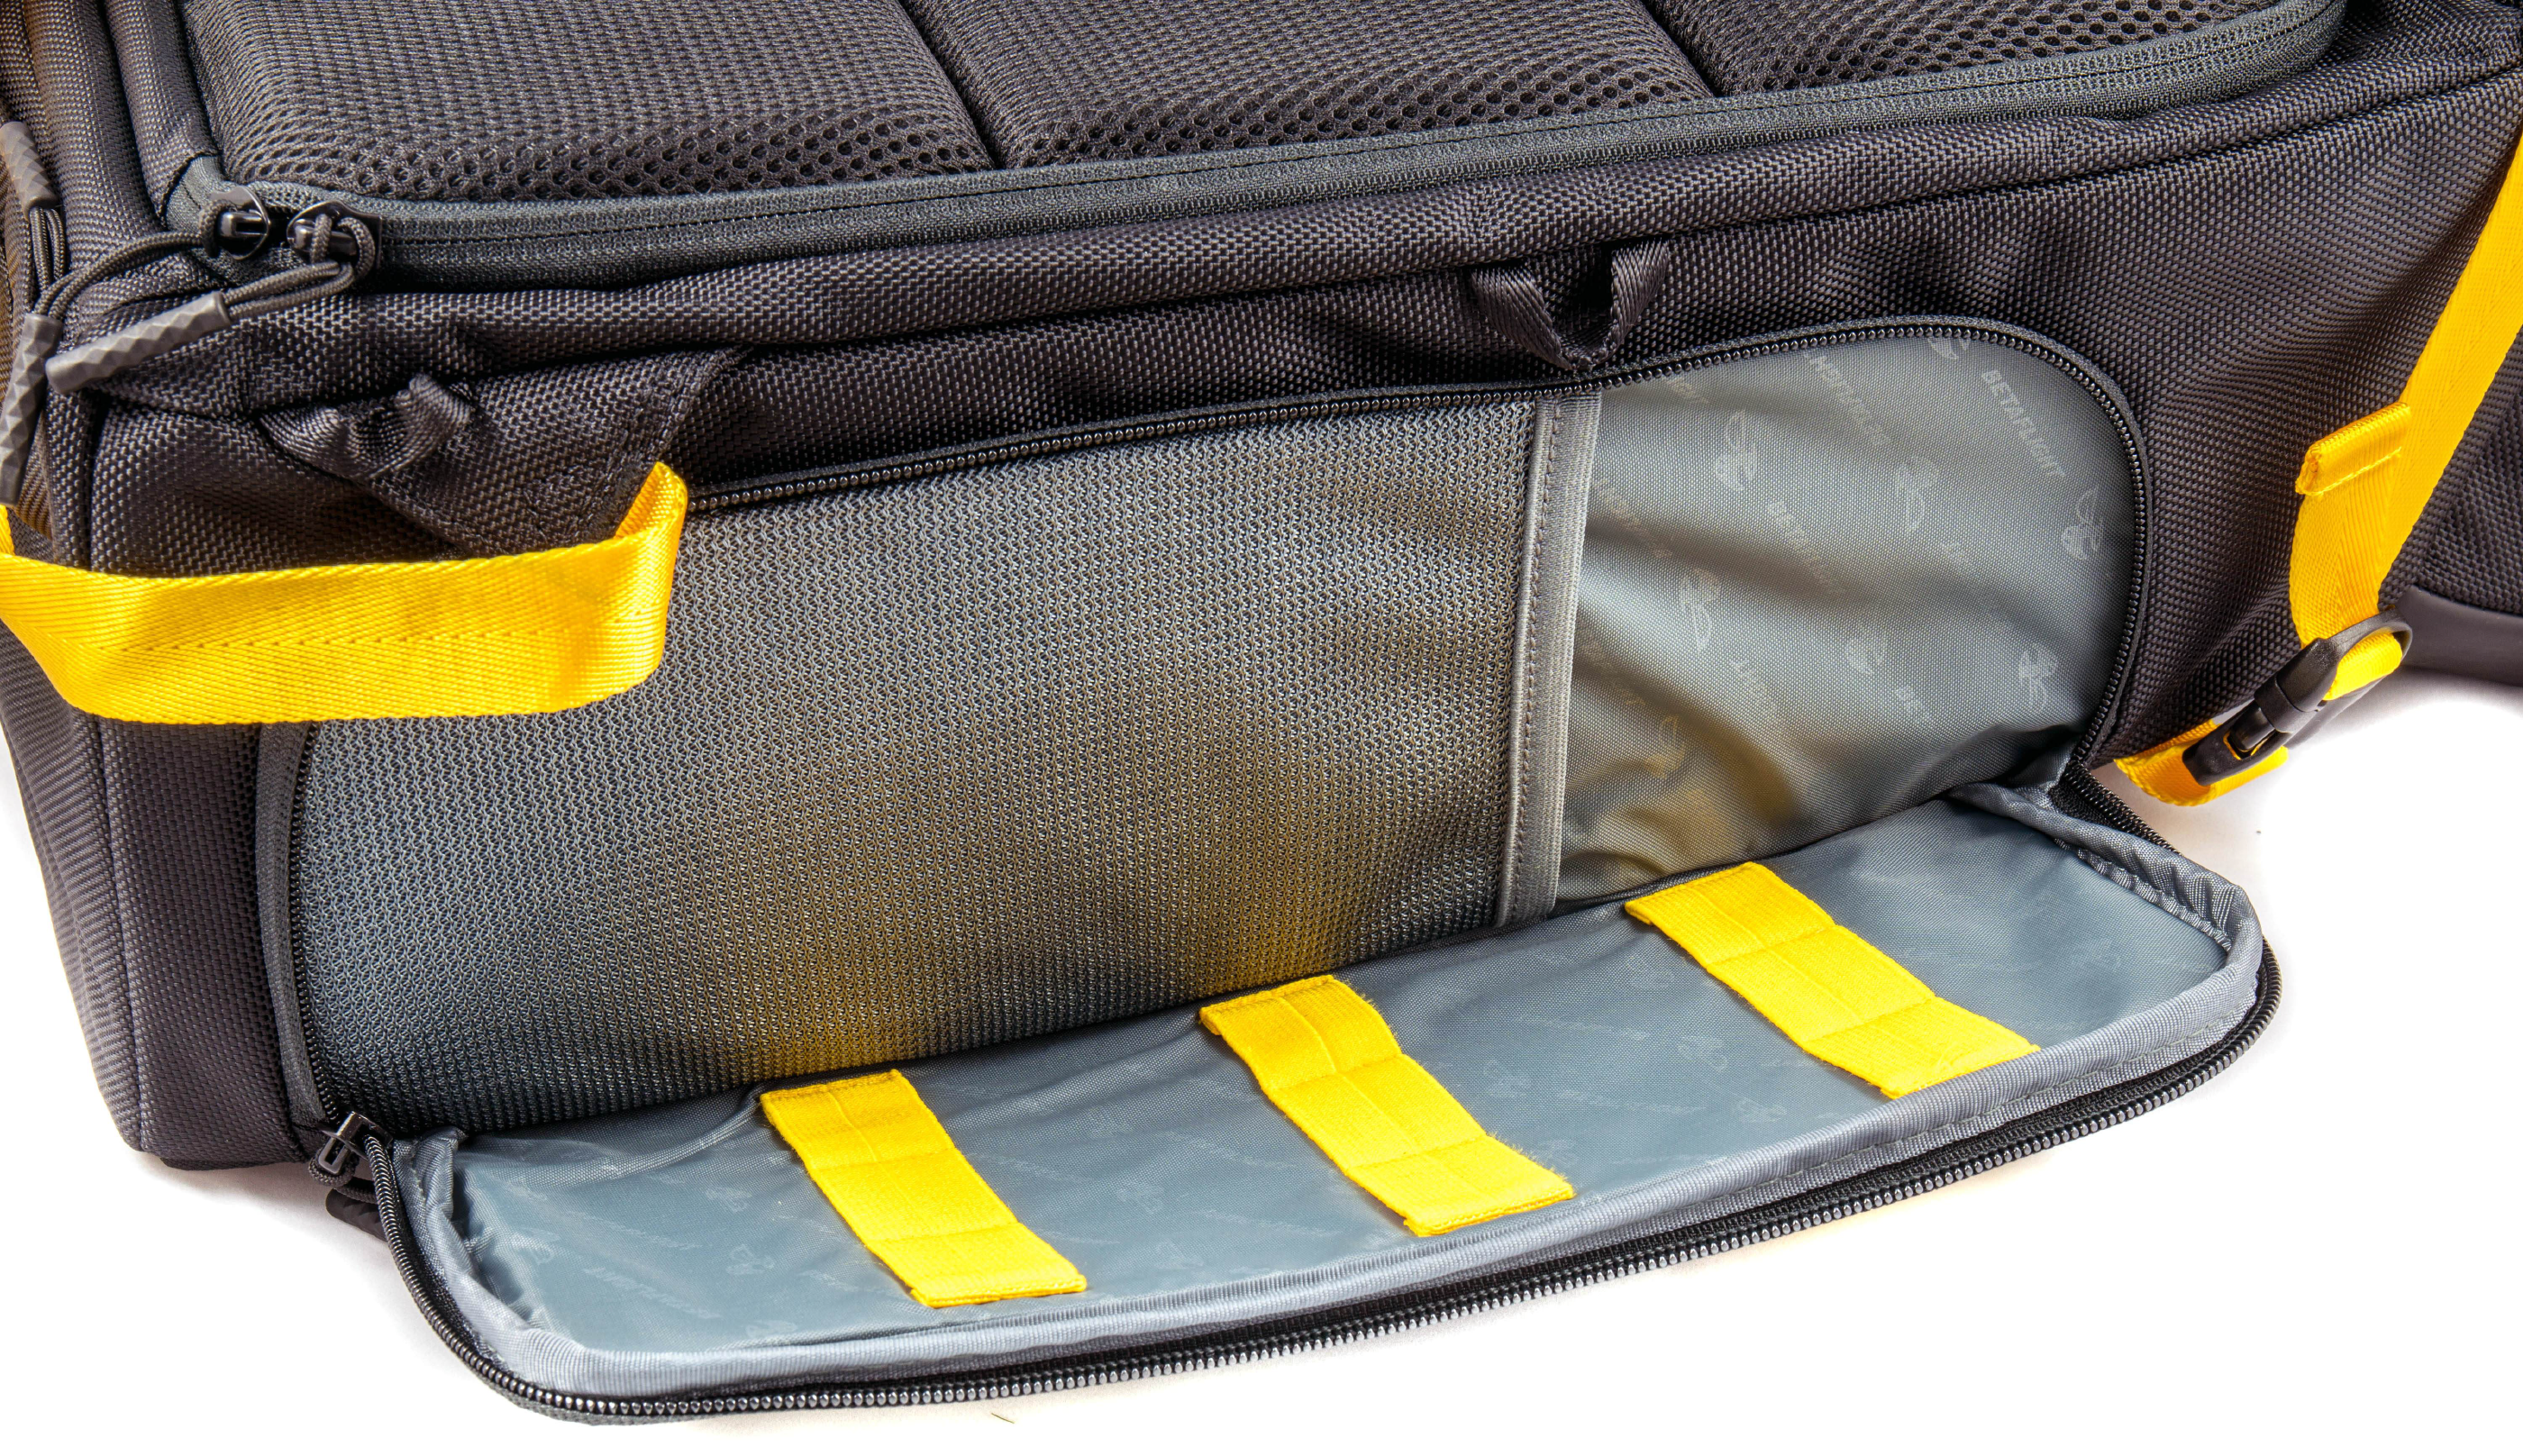
Inside the pocketed area you can see we’ve a main internal pocket as well as 3 sets of separated storage places, each with 3 slots inside. This would be a good place to put any extra tools or antennas you may bring with you to the field that you want to access at any given time without accessing the main storage area - we’ll cover why this is important when we get to it. You’ll also notice on the interior material of the backpack we have a patterned Betaflight logo across the entire material, a very nice touch aside from being top quality materials.
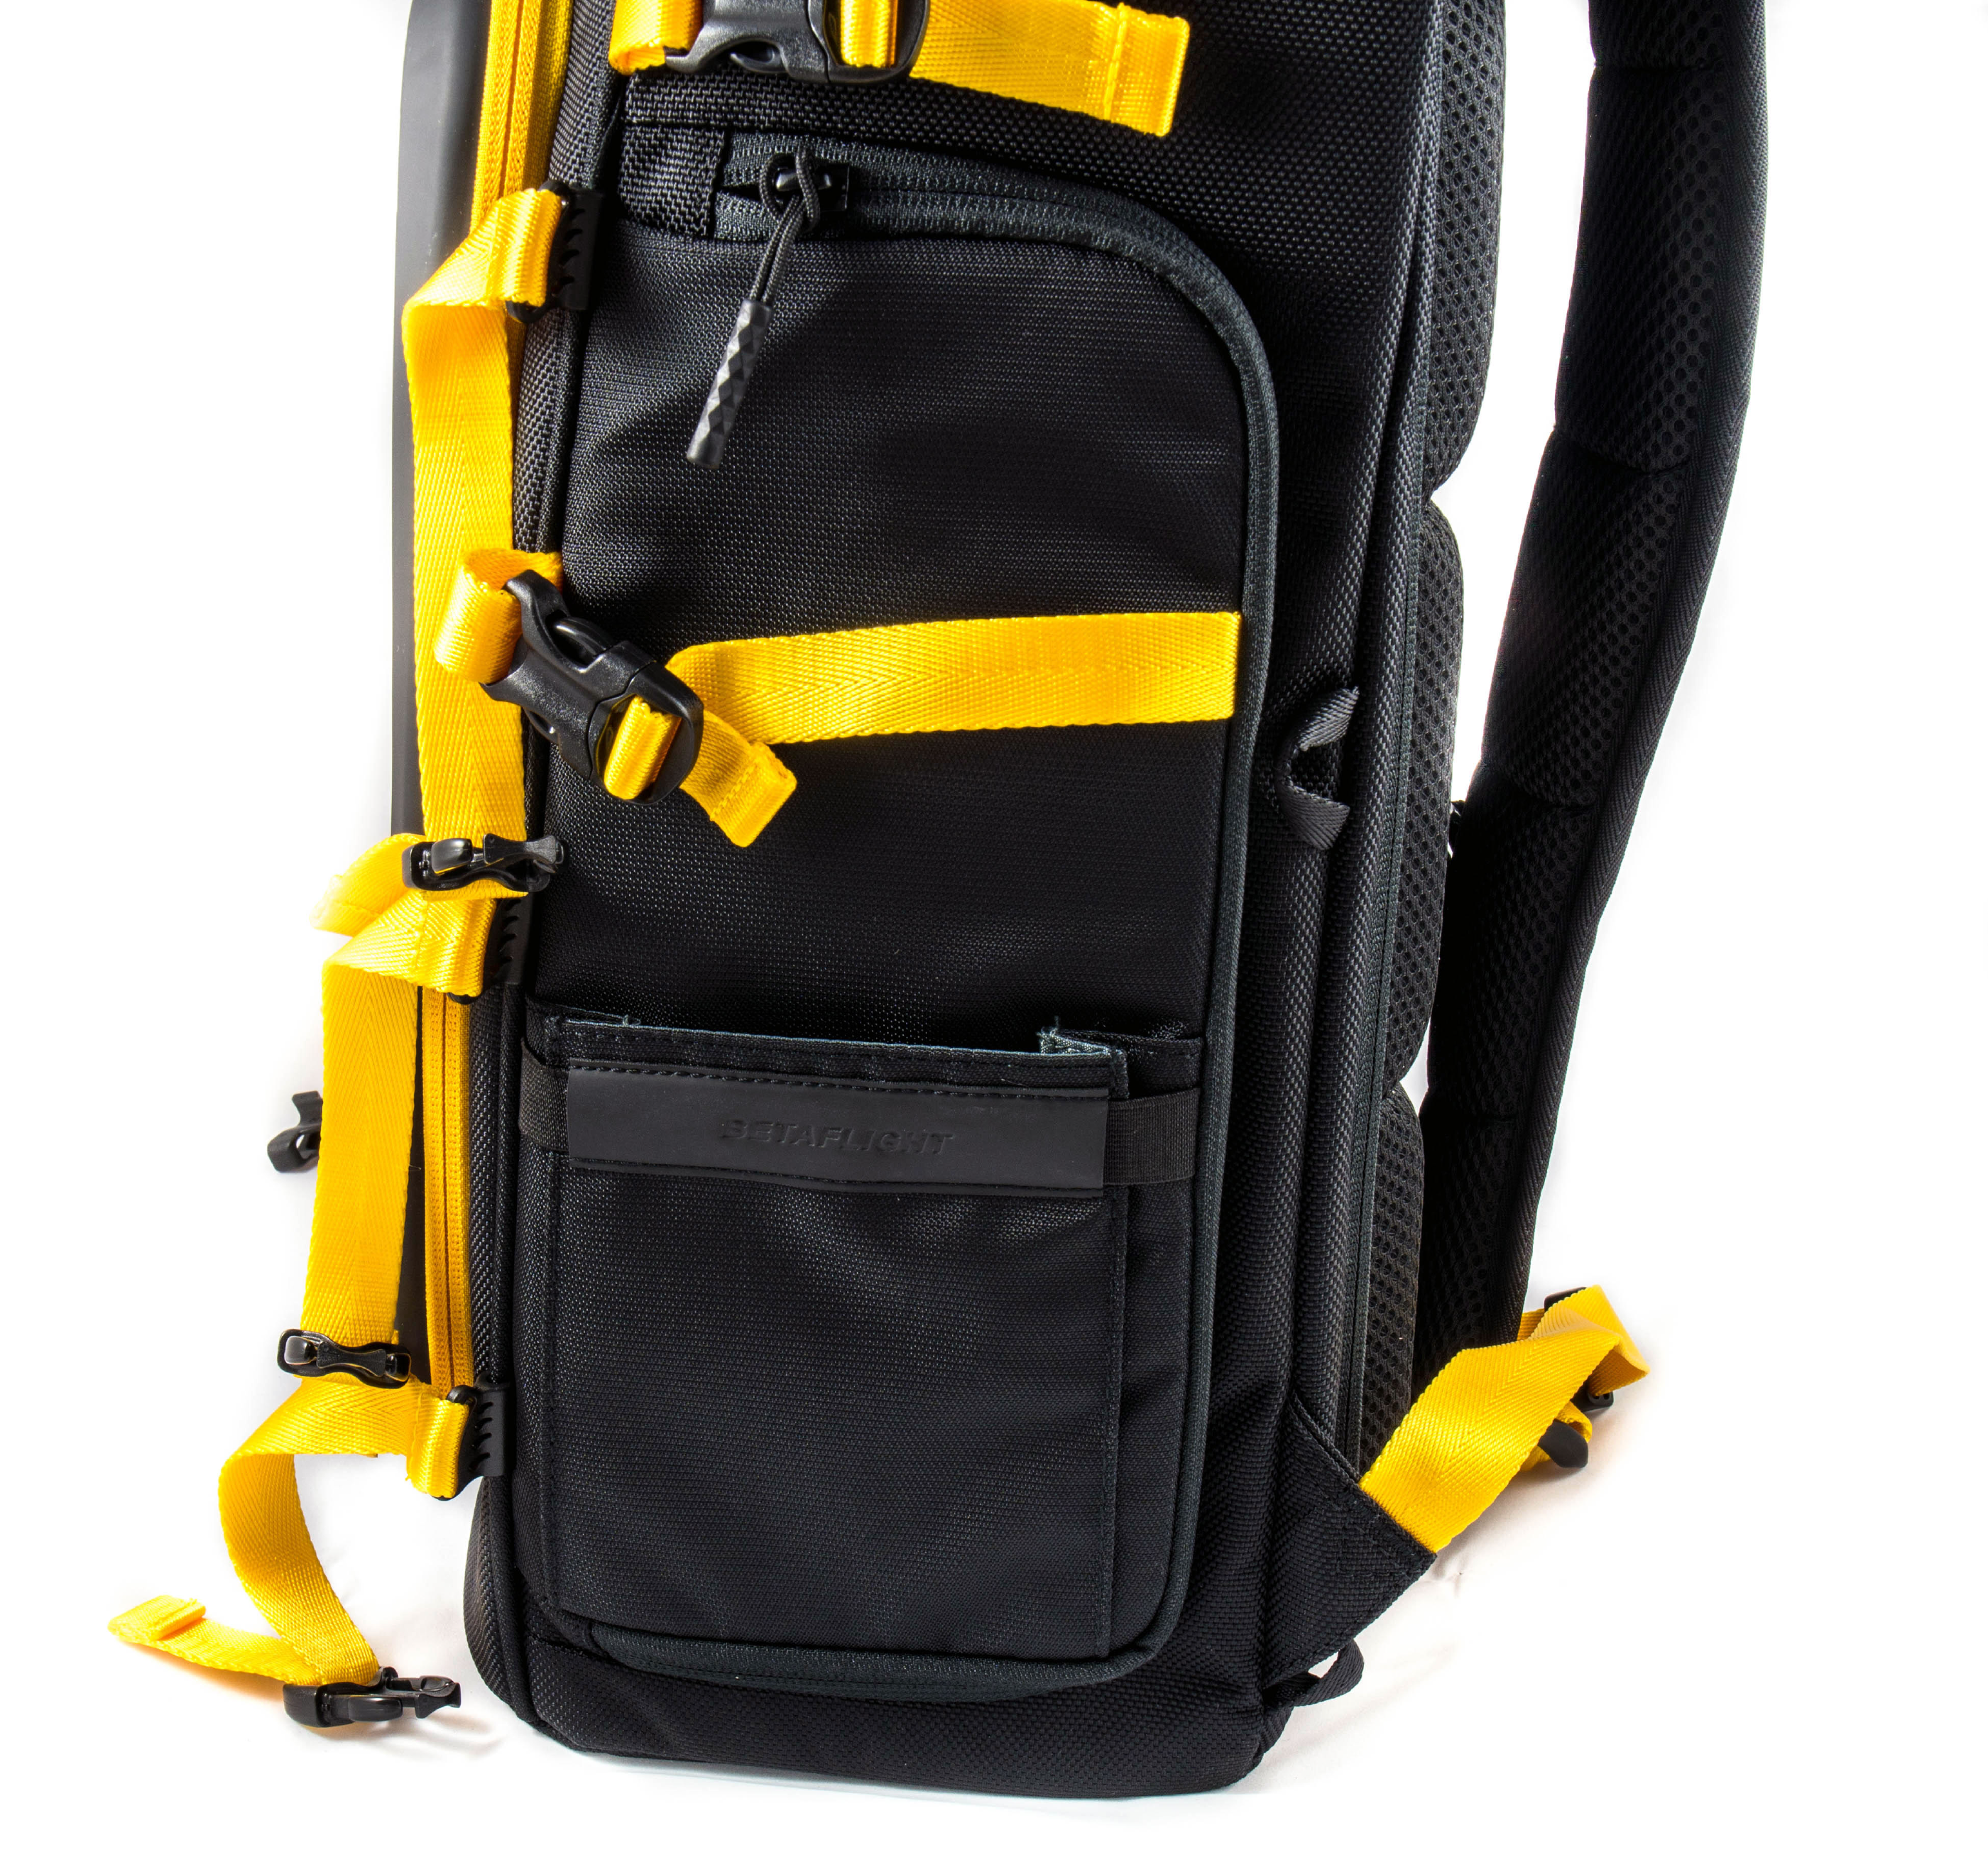
Moving onto the other side pocket we spoke about earlier and you’ll see the exterior storage area I was talking about, which would ideally carry your tripod legs or any balljoints that are situated on it. We’ve got the similar exterior 2 straps available so if the tripod is not something you carry with you then you could just carry additional drones here.
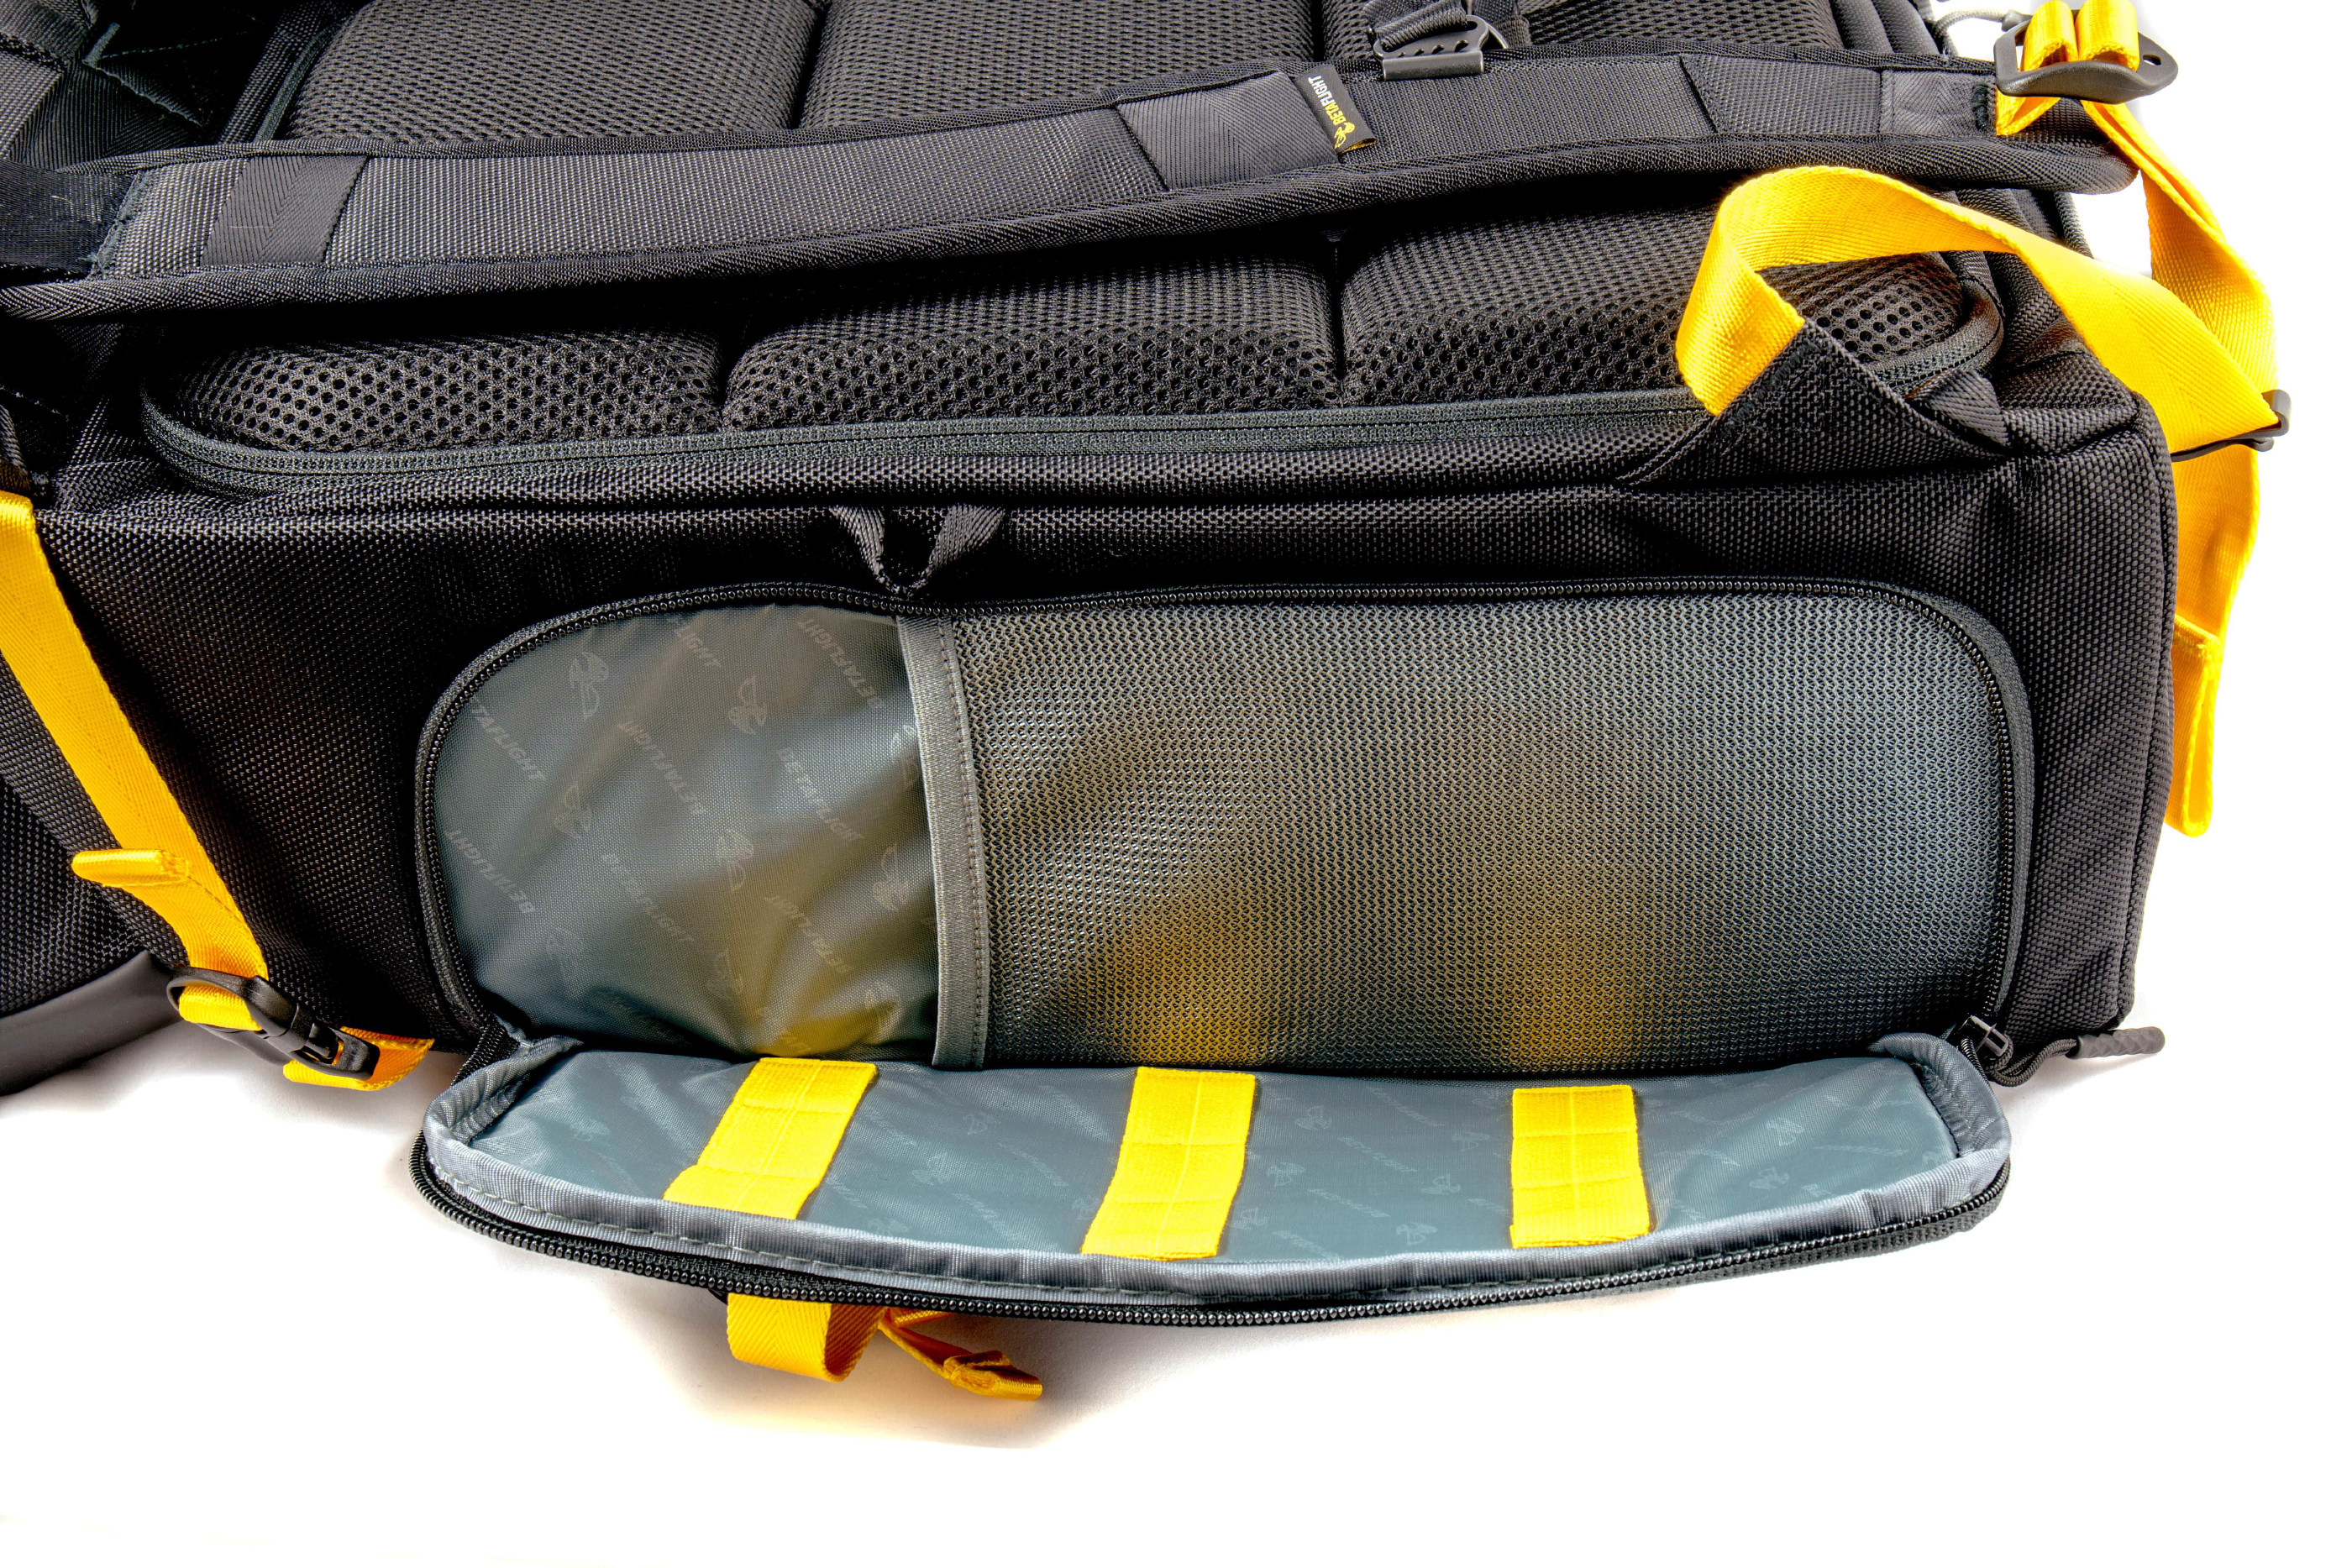
Identical to the previous side we have the exact same storage area, I will say that the pocket is not very deep, so while you do have an elastic storage, you won’t want to be putting too much in here or at least nothing bulky or you will struggle to do the zip up.
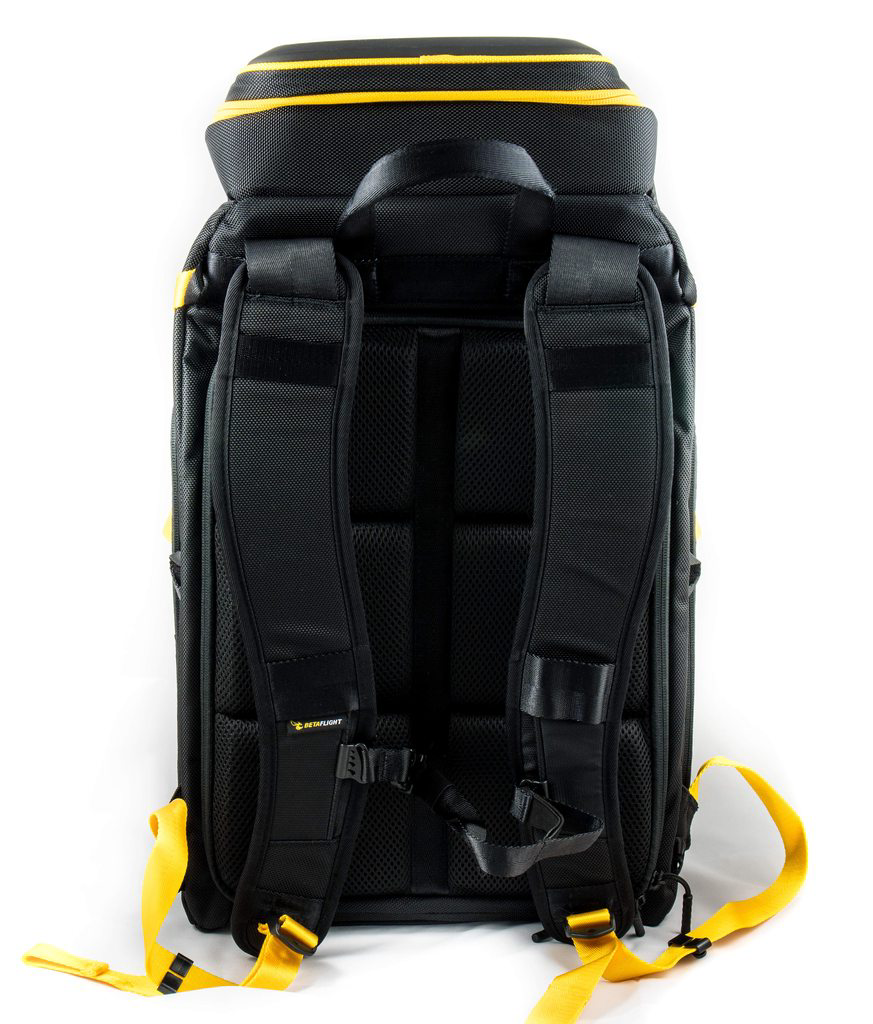
And on the back side of the backpack there’s a lot to talk about here. Firstly, you’ll notice some very wide and rugged straps - these offer a great amount of padding to make any long walking journeys you have either through the airport, up a mountain or even to a race from your car super easy. There’s also a chest strap to keep the backpack in the correct place on your body that can be moved up and down somewhat - similar to the front 3 drone straps. Another cool feature they’ve added are the bits of material around 2/3 of the way down on the strap - there’s a GoPro mount provided which allows you to record a first person view for your vlogs and other such videos you may want to make. Moving towards the padding on the backpack you’ll see 6 very well defined and very padded areas - the material used here is great and forms onto your back to create the perfect shape for long distance walking without being uncomfy. At the very bottom you’ll notice your usual large adjustment straps with clips provided to reduce the extra material from flapping around everywhere. And last but not least - you’ll notice at the very top of the photo we have a very big handle - aside from being quite large it’s thick and bulky meaning you won’t hurt your hands carrying the backpack this way even with a full backpack. This is a nice addition that actually most if not all of the other backpacks I’ve had so far fail to do.
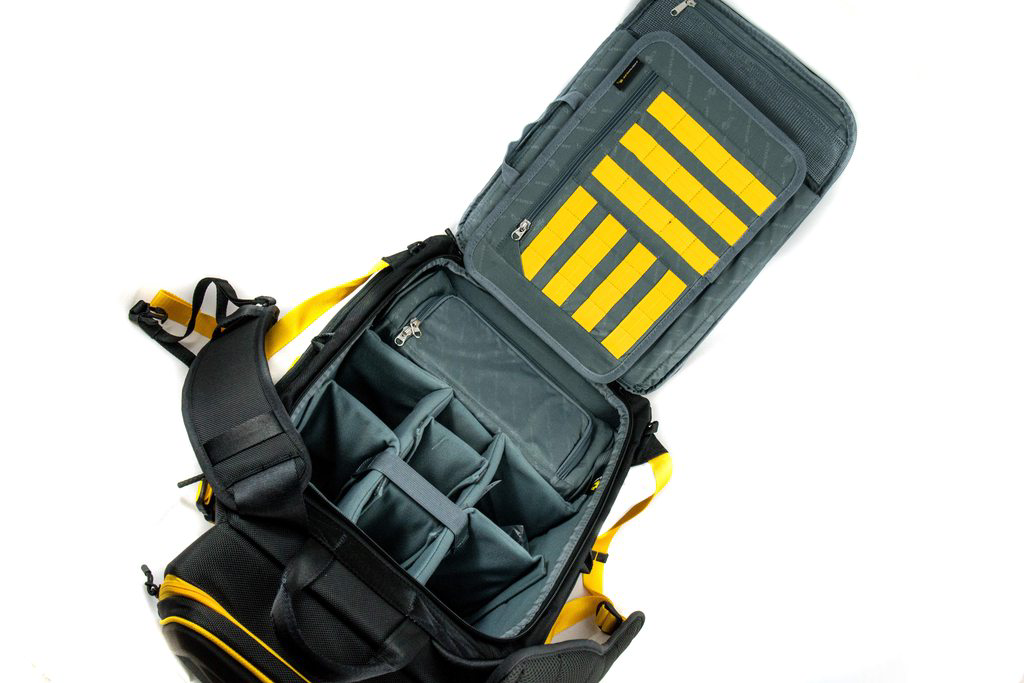
To actually get into the backpack you’ll have to use one of the 2 zips located on the back piece - before we delve into the storage options here let’s talk about this for a minute. My personal pet HATE of any backpack, are backpacks that open in this way and let me tell you why. If you carry any drones on the outside of your backpack, unless you fancy putting the weight of your backpack on them when you want to open this, you must remove the drones first - this isn’t ideal if you’re just reaching for something you don’t even need for flying - such as a laptop or something. You can try and open it up while it’s stood up, but chances are everything is going to fall out of the pockets inside, as I have experienced myself - that just leads to a frustrating experience because now you have to take the drones off to put all the stuff back.
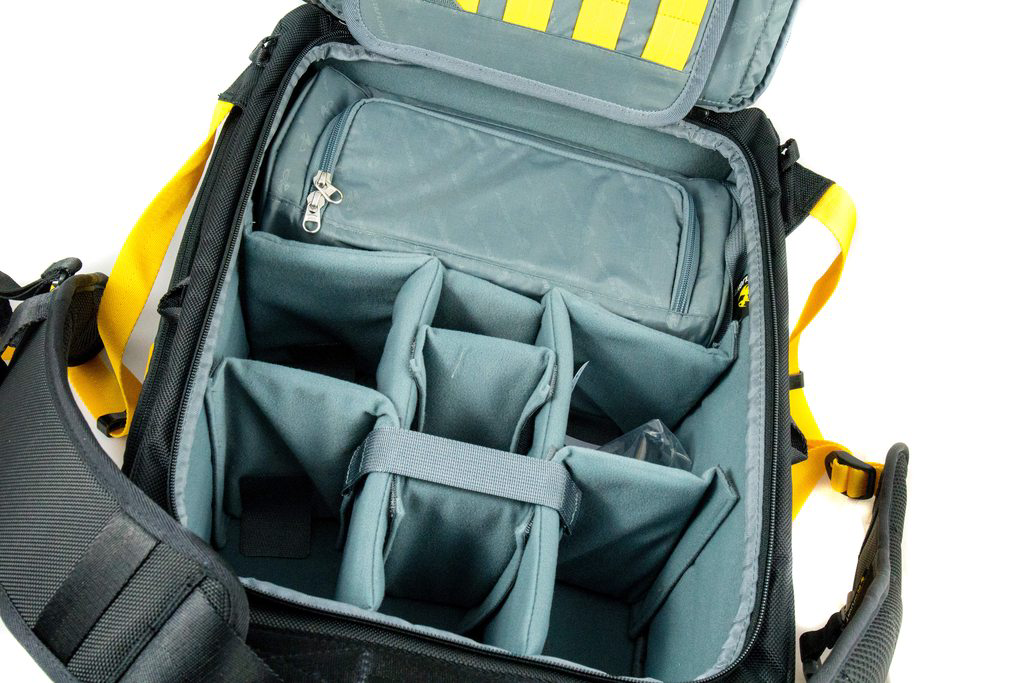
However, the rest of the storage is really well thought out - You can see we have a lot of different storage areas, all customizable of course. Right in the middle you’ll see they’ve even included a strap which secures the 2 outside pockets to the middle one. This is a great idea because the material used here is very soft, so it’s easy for the storage compartments to become disfigured or move around, but this helps to reduce that. Inside on the left-hand side you’ll also see a darker square - this is a piece of velcro that essentially sticks the pocket down to the bottom side so that none of your stuff can slide underneath. Most notably is the removal battery storage pack at the top of the photo but we’ll get onto that further down.
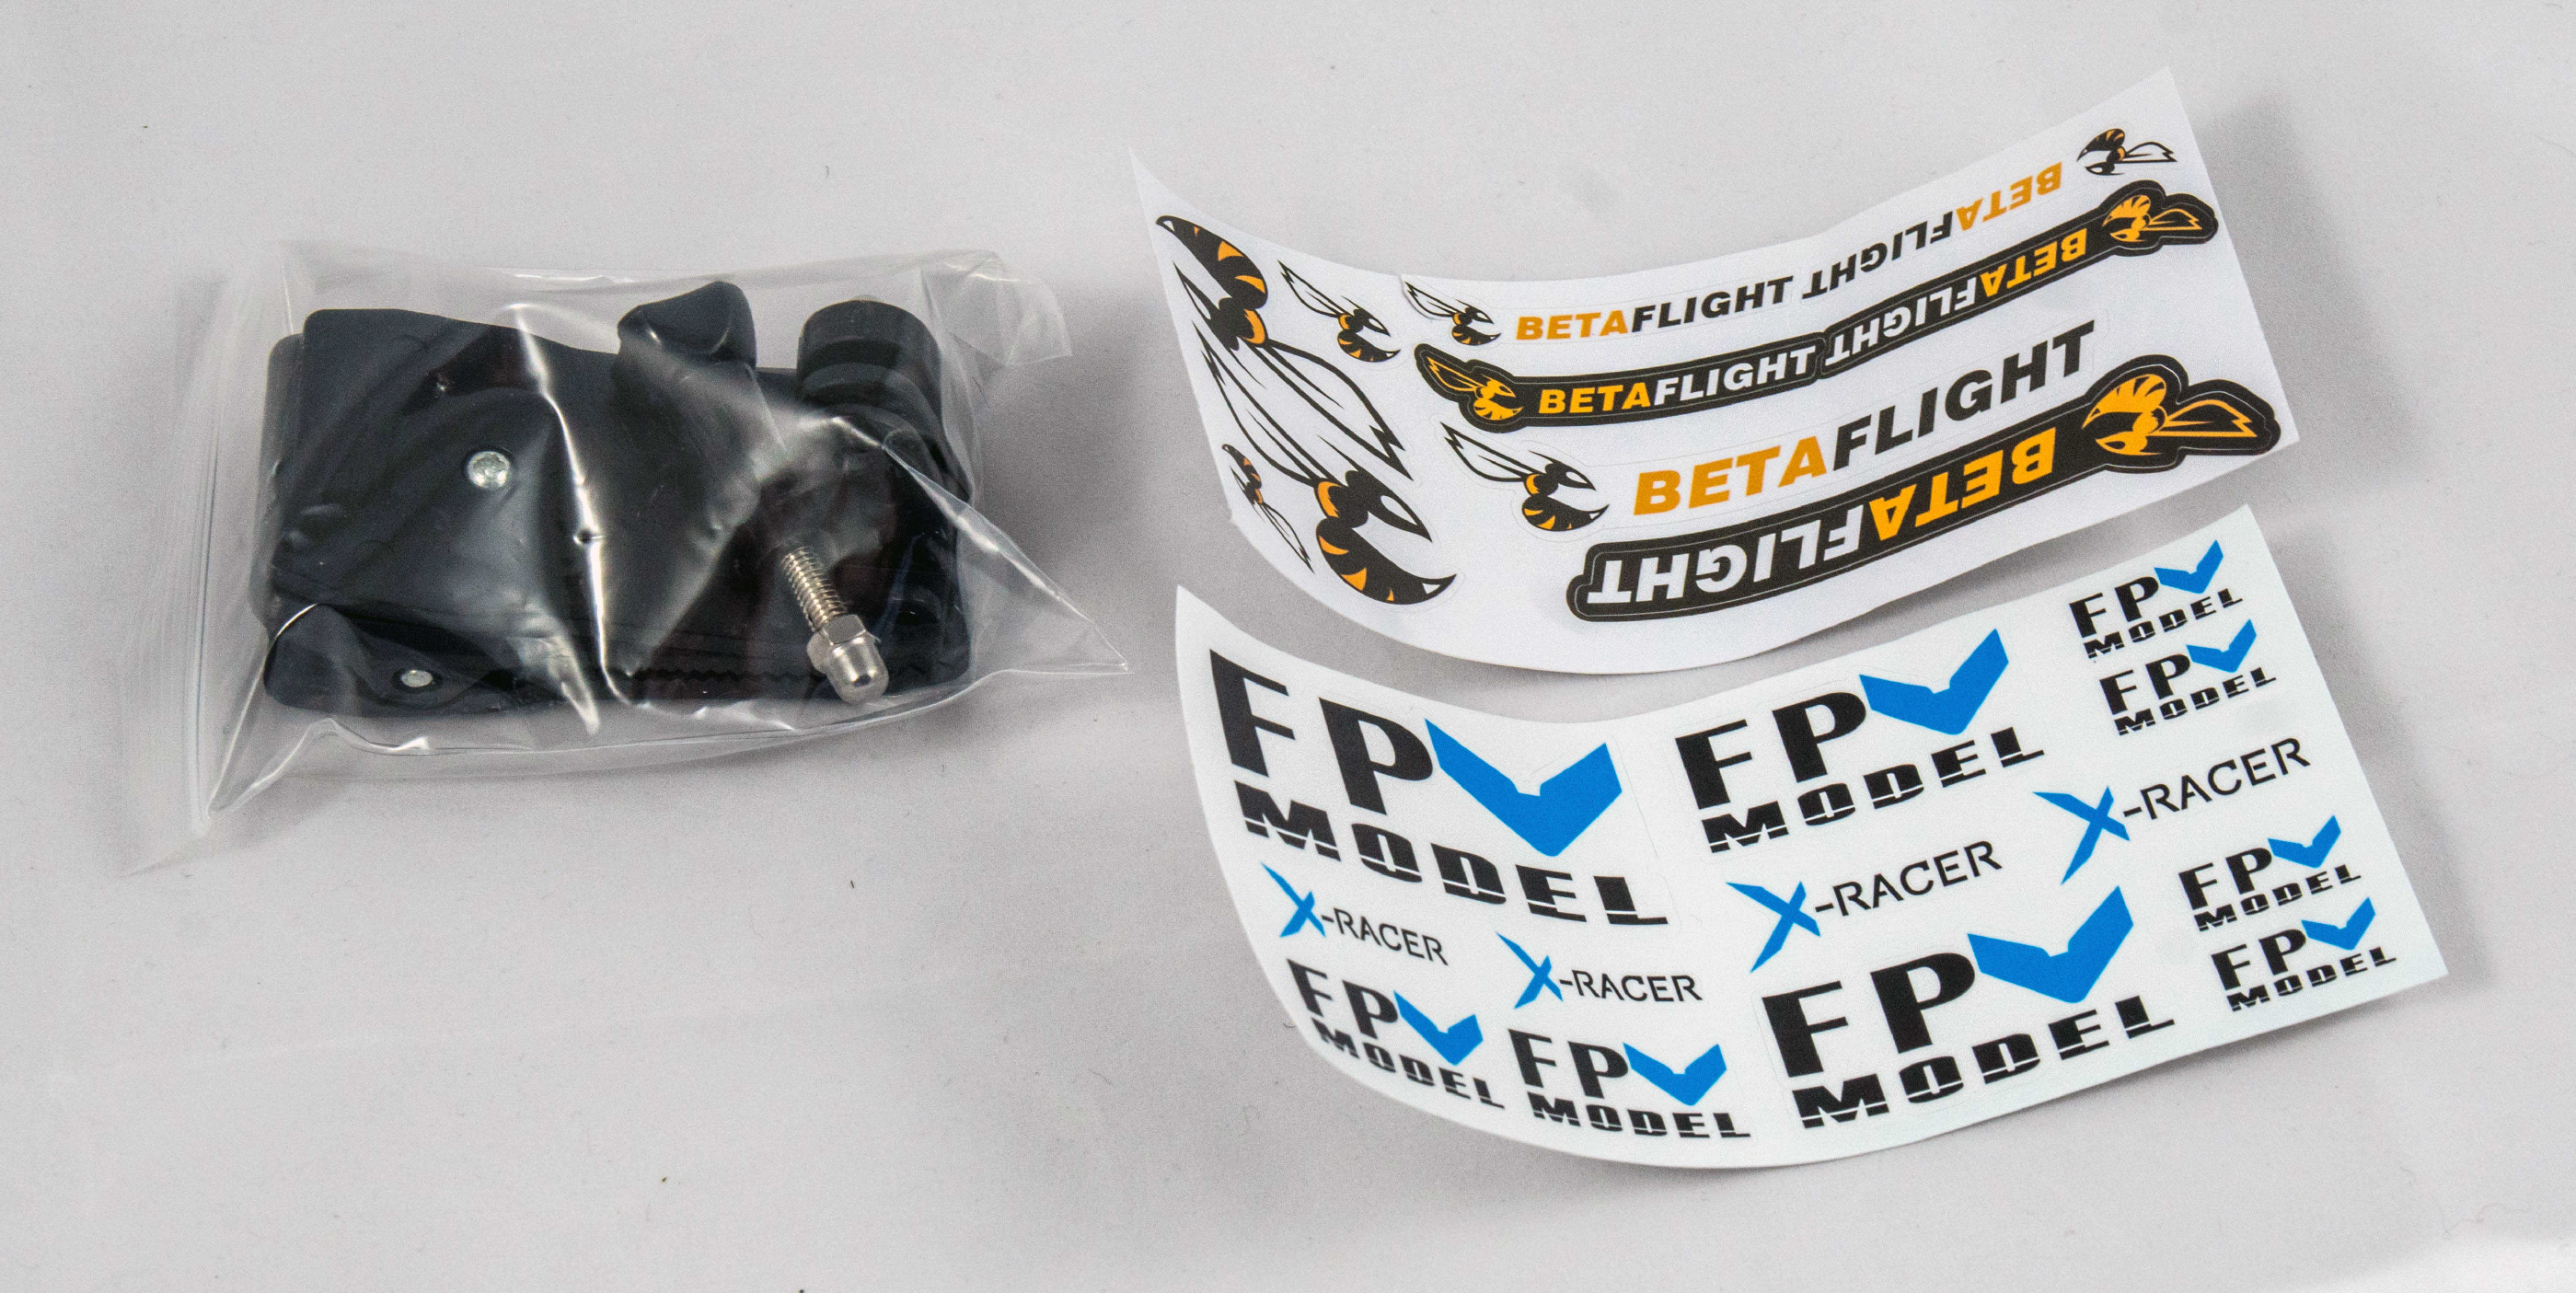
Included as extras are a selection of assorted stickers and the GoPro mount - using the standard GoPro system. This simply just clips onto your backpack strap on the front, or alternatively if you want to get some other angles you can just clip it elsewhere.
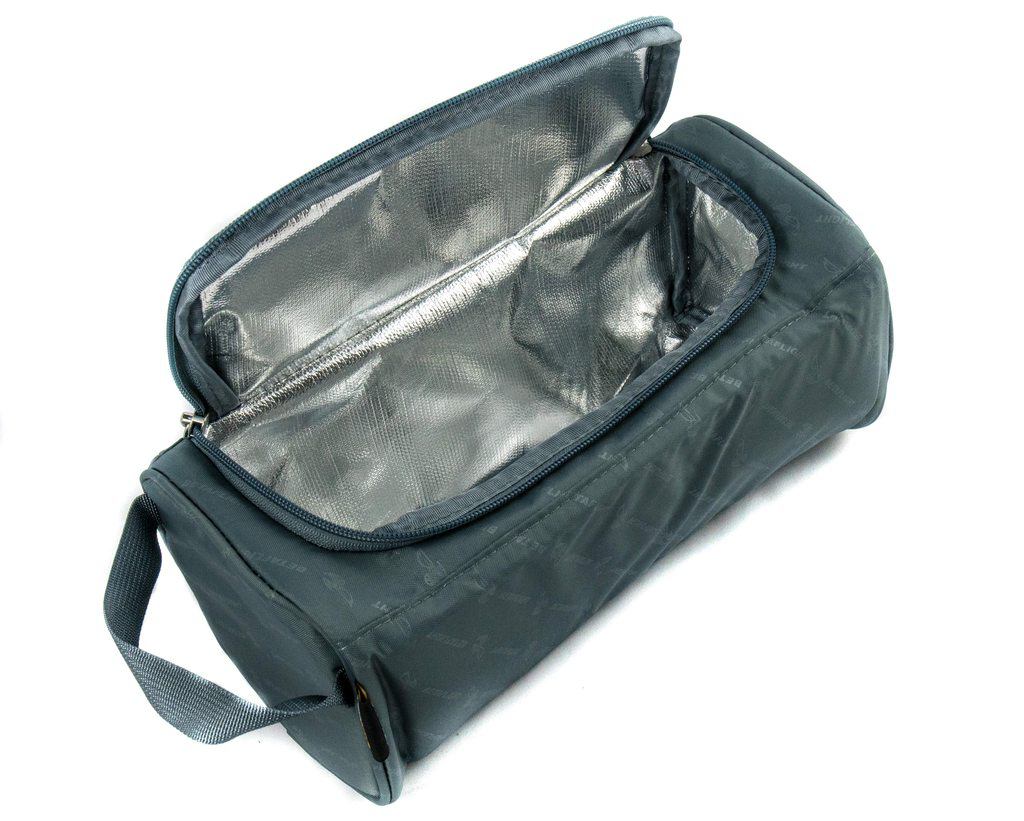
This is possibly my favorite part of the backpack, and it shows that careful consideration was taken for how and where to store all of your lipos. You can see right off the bat we’ve got some of the fire proof material normally used in lipo bags which is great. I’ve personally managed to fit around 24 lipos in here (Pulse 6s 1250mAh 75C), in a 3x6 configuration with some more resting on top. As you can also see it is completely removable from the backpack so you can keep them separate during your flying session or if you do not want to use the bag at all (or even carry it separately), it opens up the backpack to even more storage in the bottom. On the underside of this bag is also sets of velcro to help keep it secure in your backpack, not that it will be moving anywhere! What I also like about this part of the backpack is that thought was put into where this goes - if it was at the top you’d probably find it strains your back more, and will eventually rip down into the pockets, where as now you have the heaviest item at the bottom of the backpack there is nowhere for it to go.
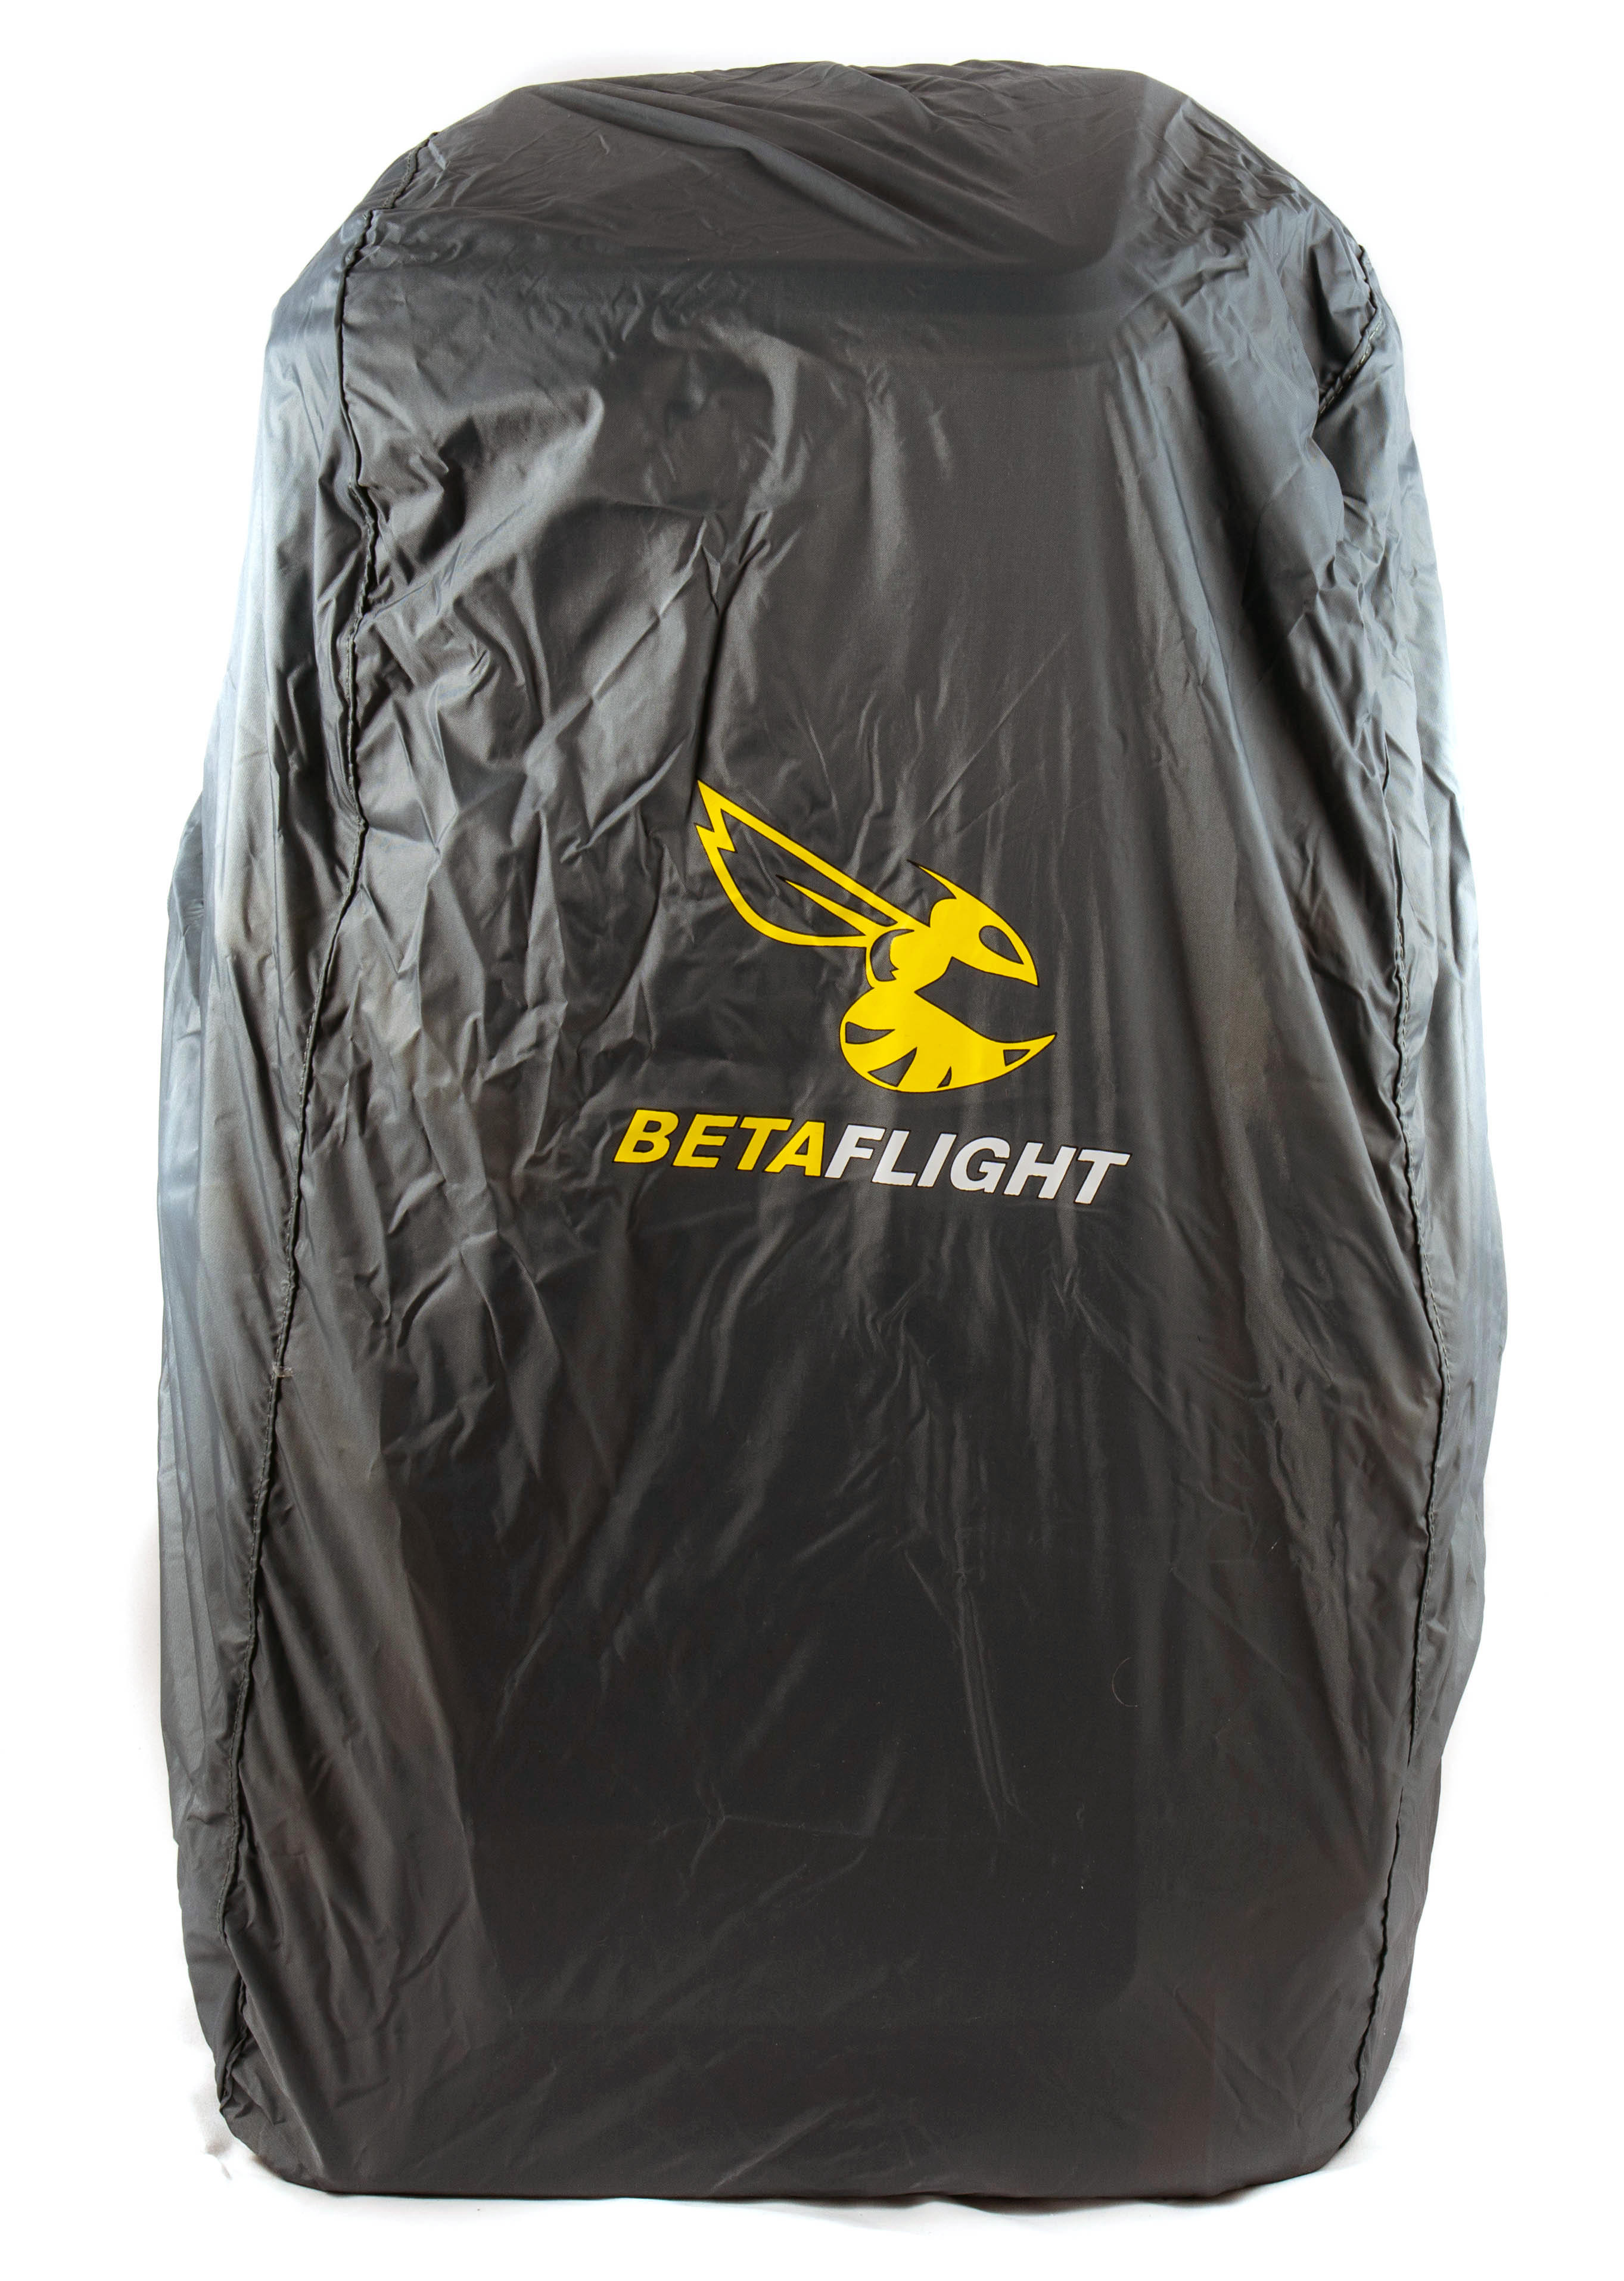
Also included at the bottom of the backpack in a small storage pocket is the waterproof/rain cover. There IS enough room for it to go over your backpack with a couple of quads on the back - I would be wary as to whether or not it would fit if you loaded the backpack with a load of them, but you maybe able to get away with it as long as they’re on the back rather than the sides.
Product Usage
So with all the usual stuff out of the way, how have I been using it and how have I been finding it? Well I like to really test any backpack I review, and so I’ve been using this as my primary backpack for the past couple of months. I’ve been to the British Championships, KillaKwads race, as well as at least 6 or 7 other big practice sessions - two involving an entire weekend, so I’ve basically been using it non-stop.
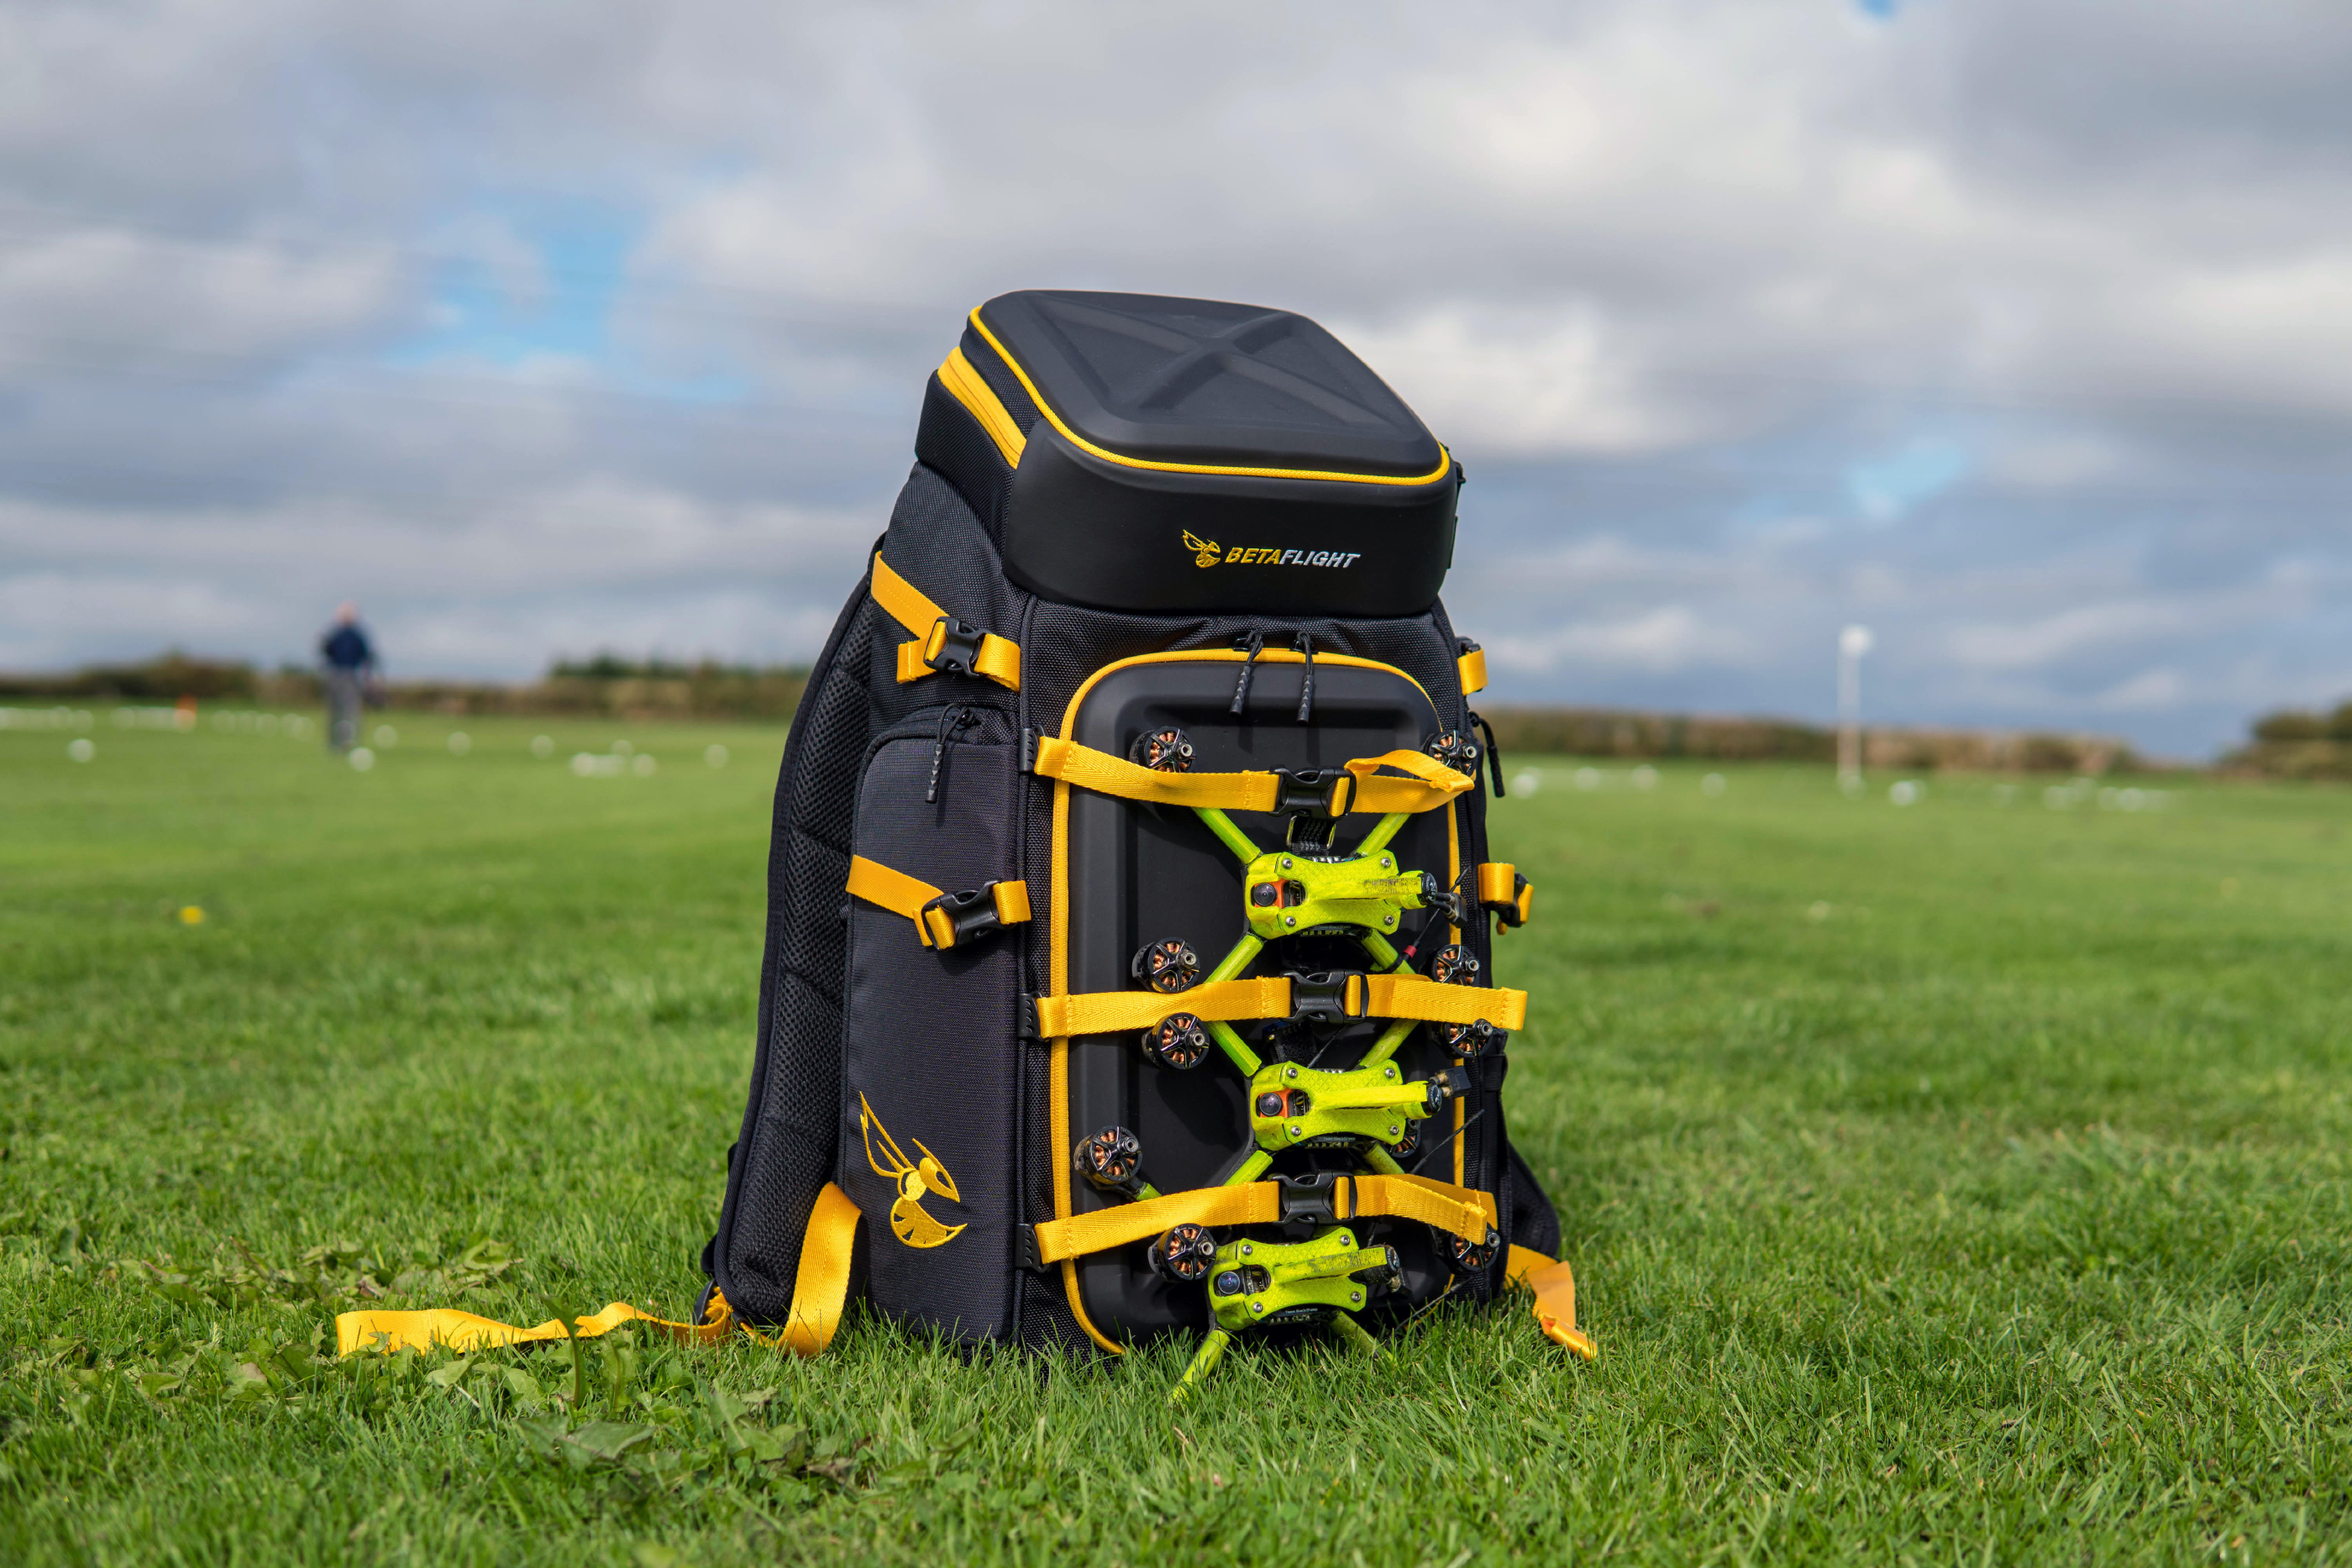
Here’s the Hive backpack in all it’s glory at a Delta Hawks practice session. Props are off on the quads ready for failsafe checking.
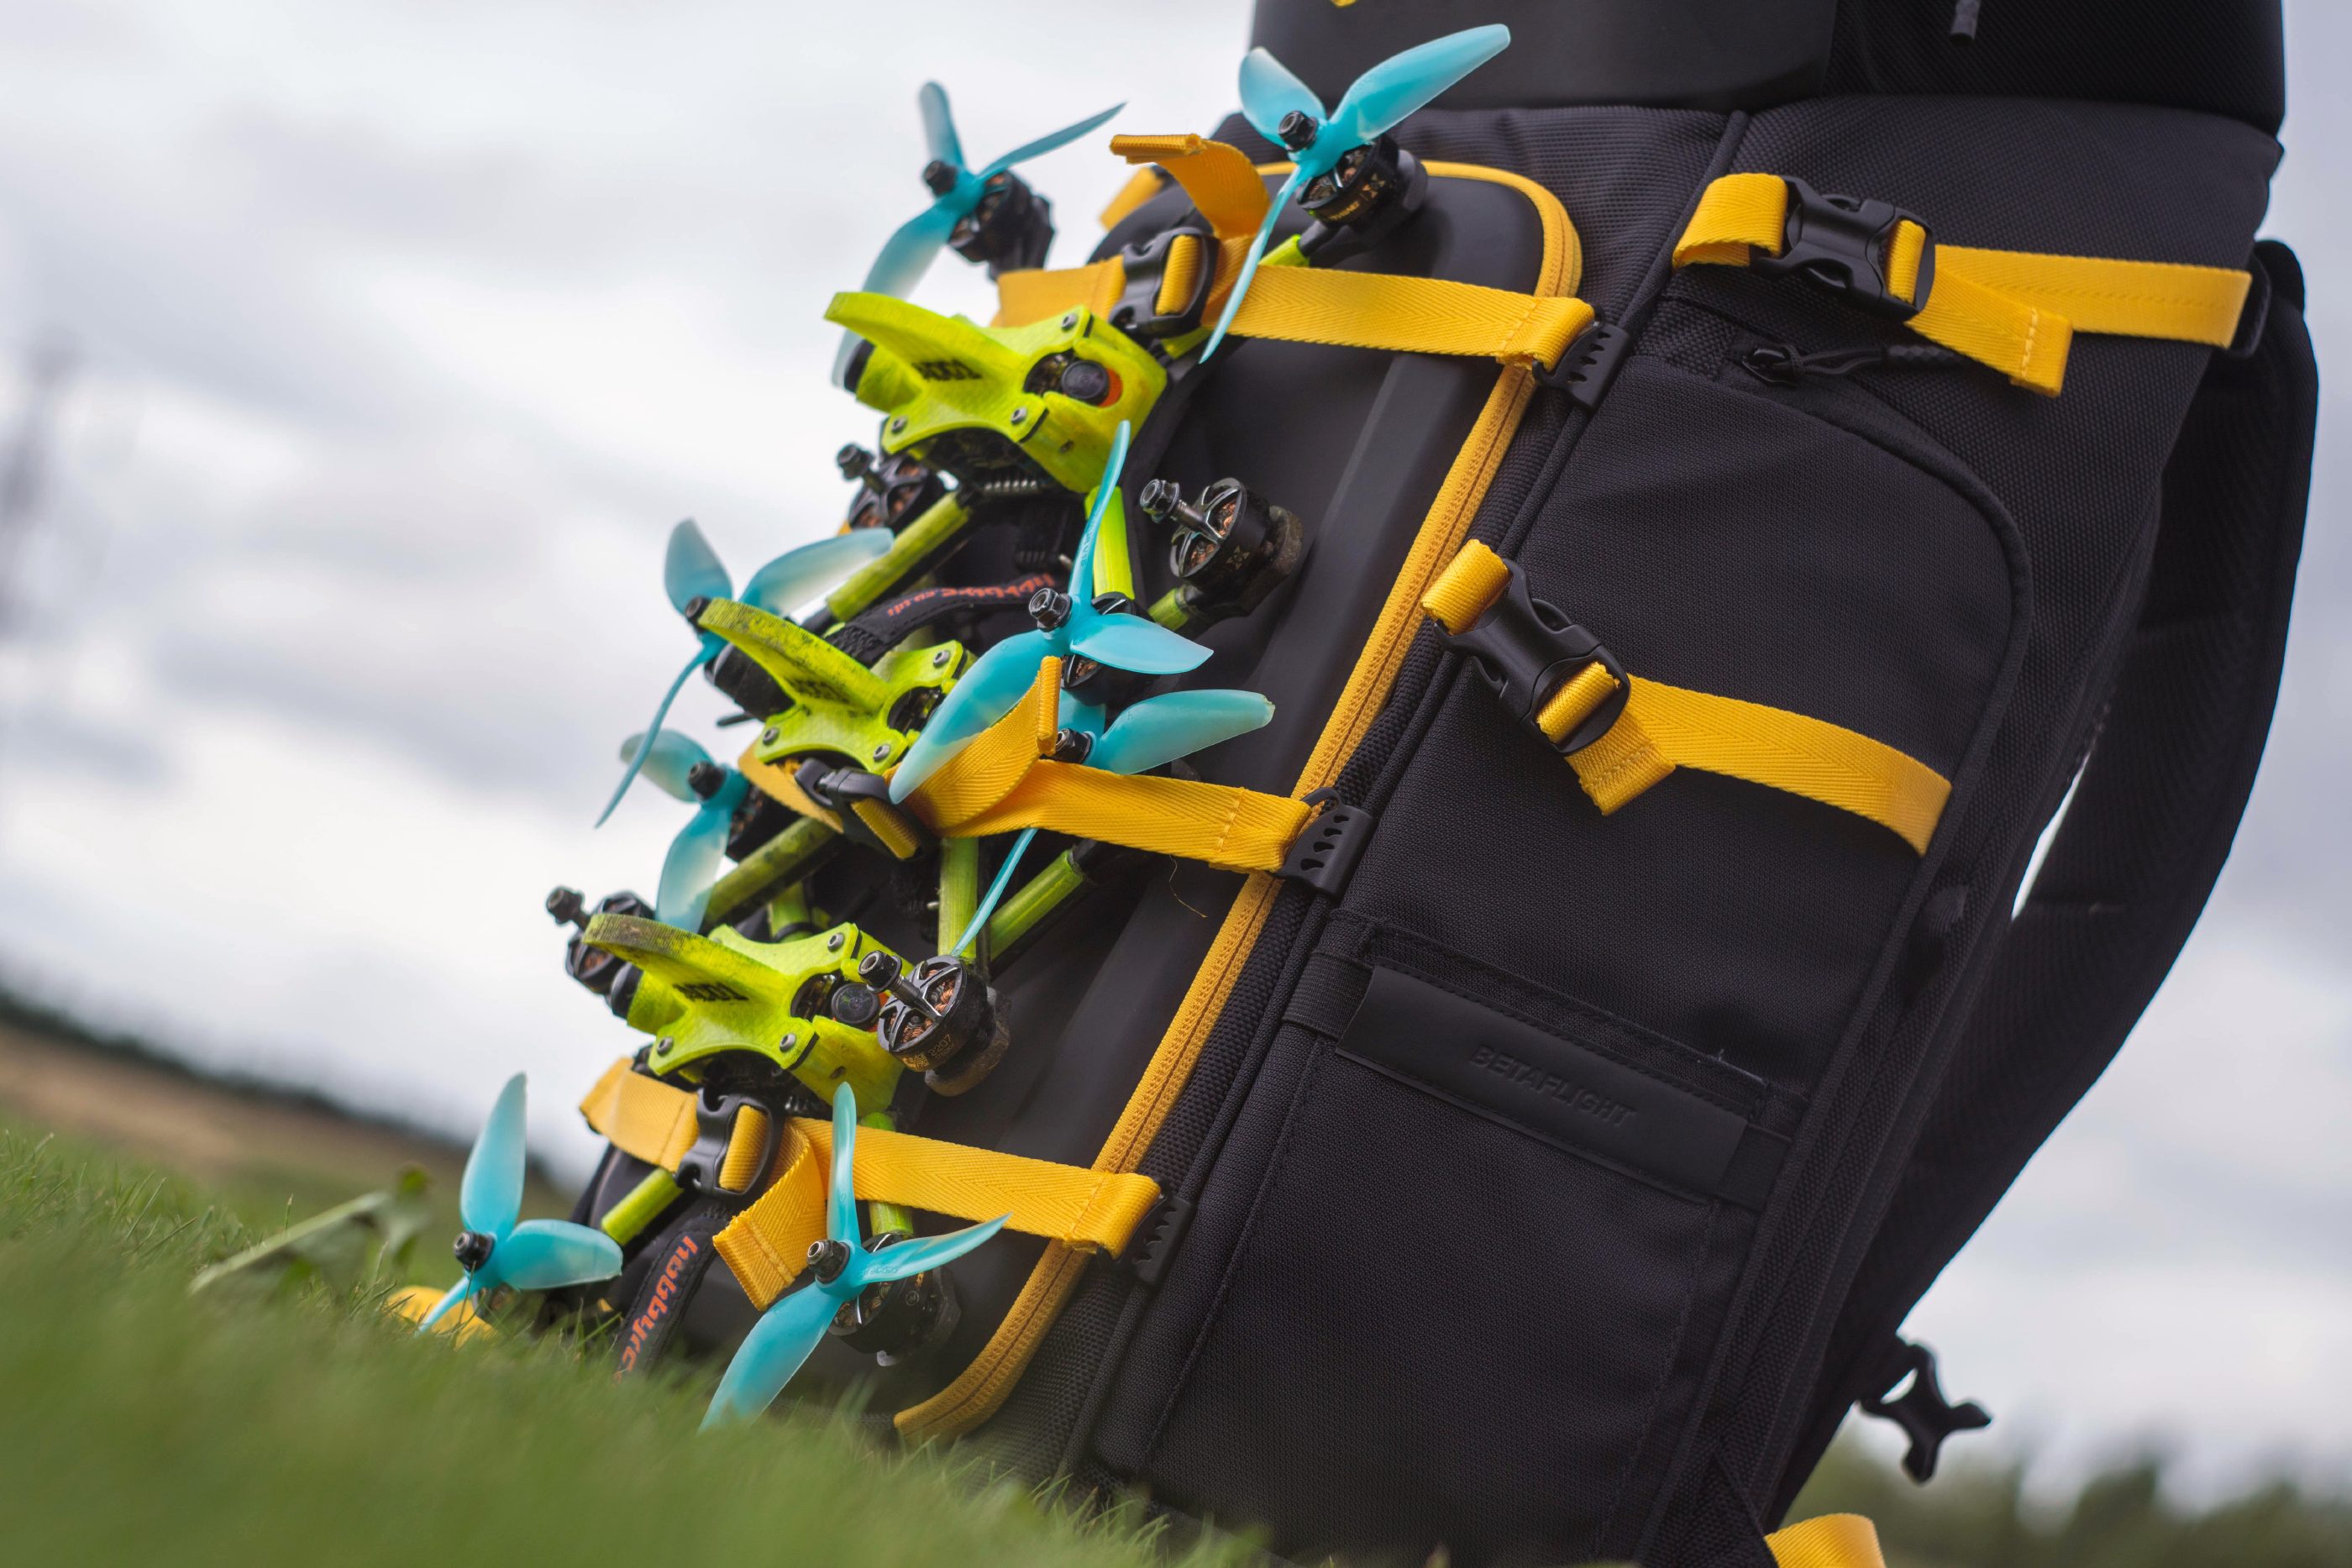
You’ll notice here that it is possible to stack the quads to get even more on the front of the backpack - though adding propellers does make it increasingly difficult.
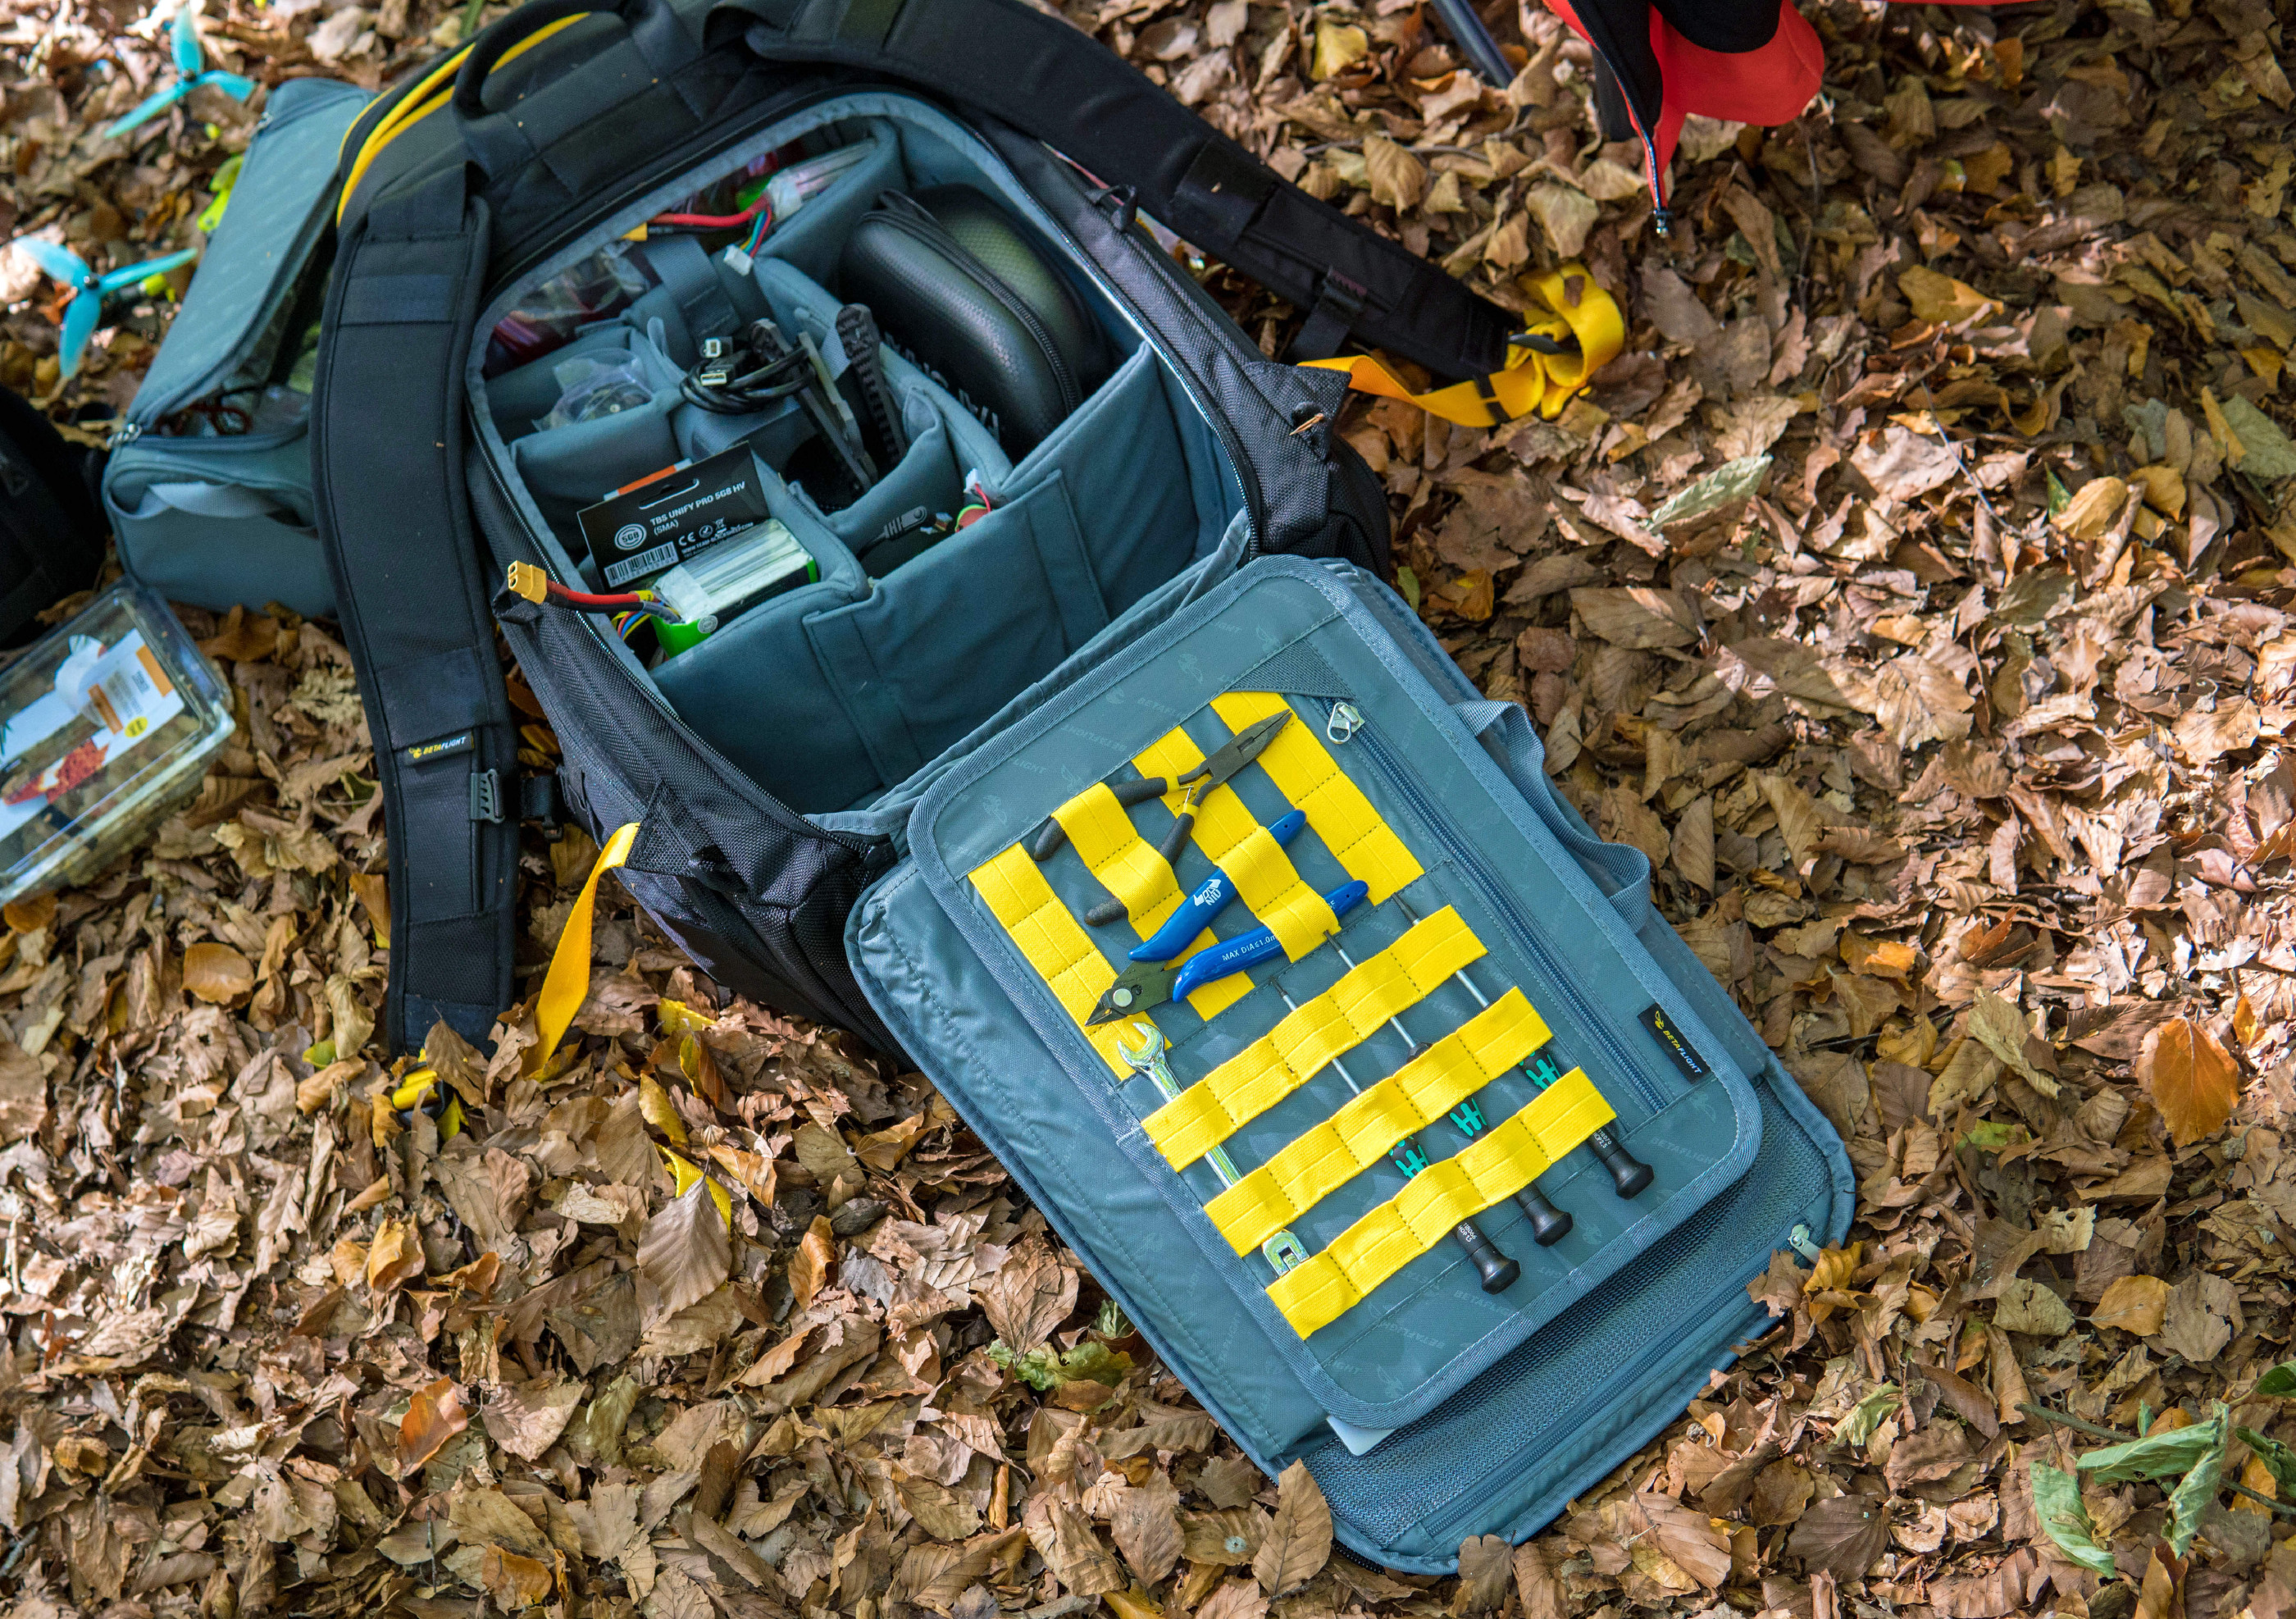
In the woods in one of the final sessions you can see I’ve tried to make full use of all of the pockets and tool areas that we have available to us. I’ve actually filled up the tool slots even more but they’re not visible here as I was actively using them!
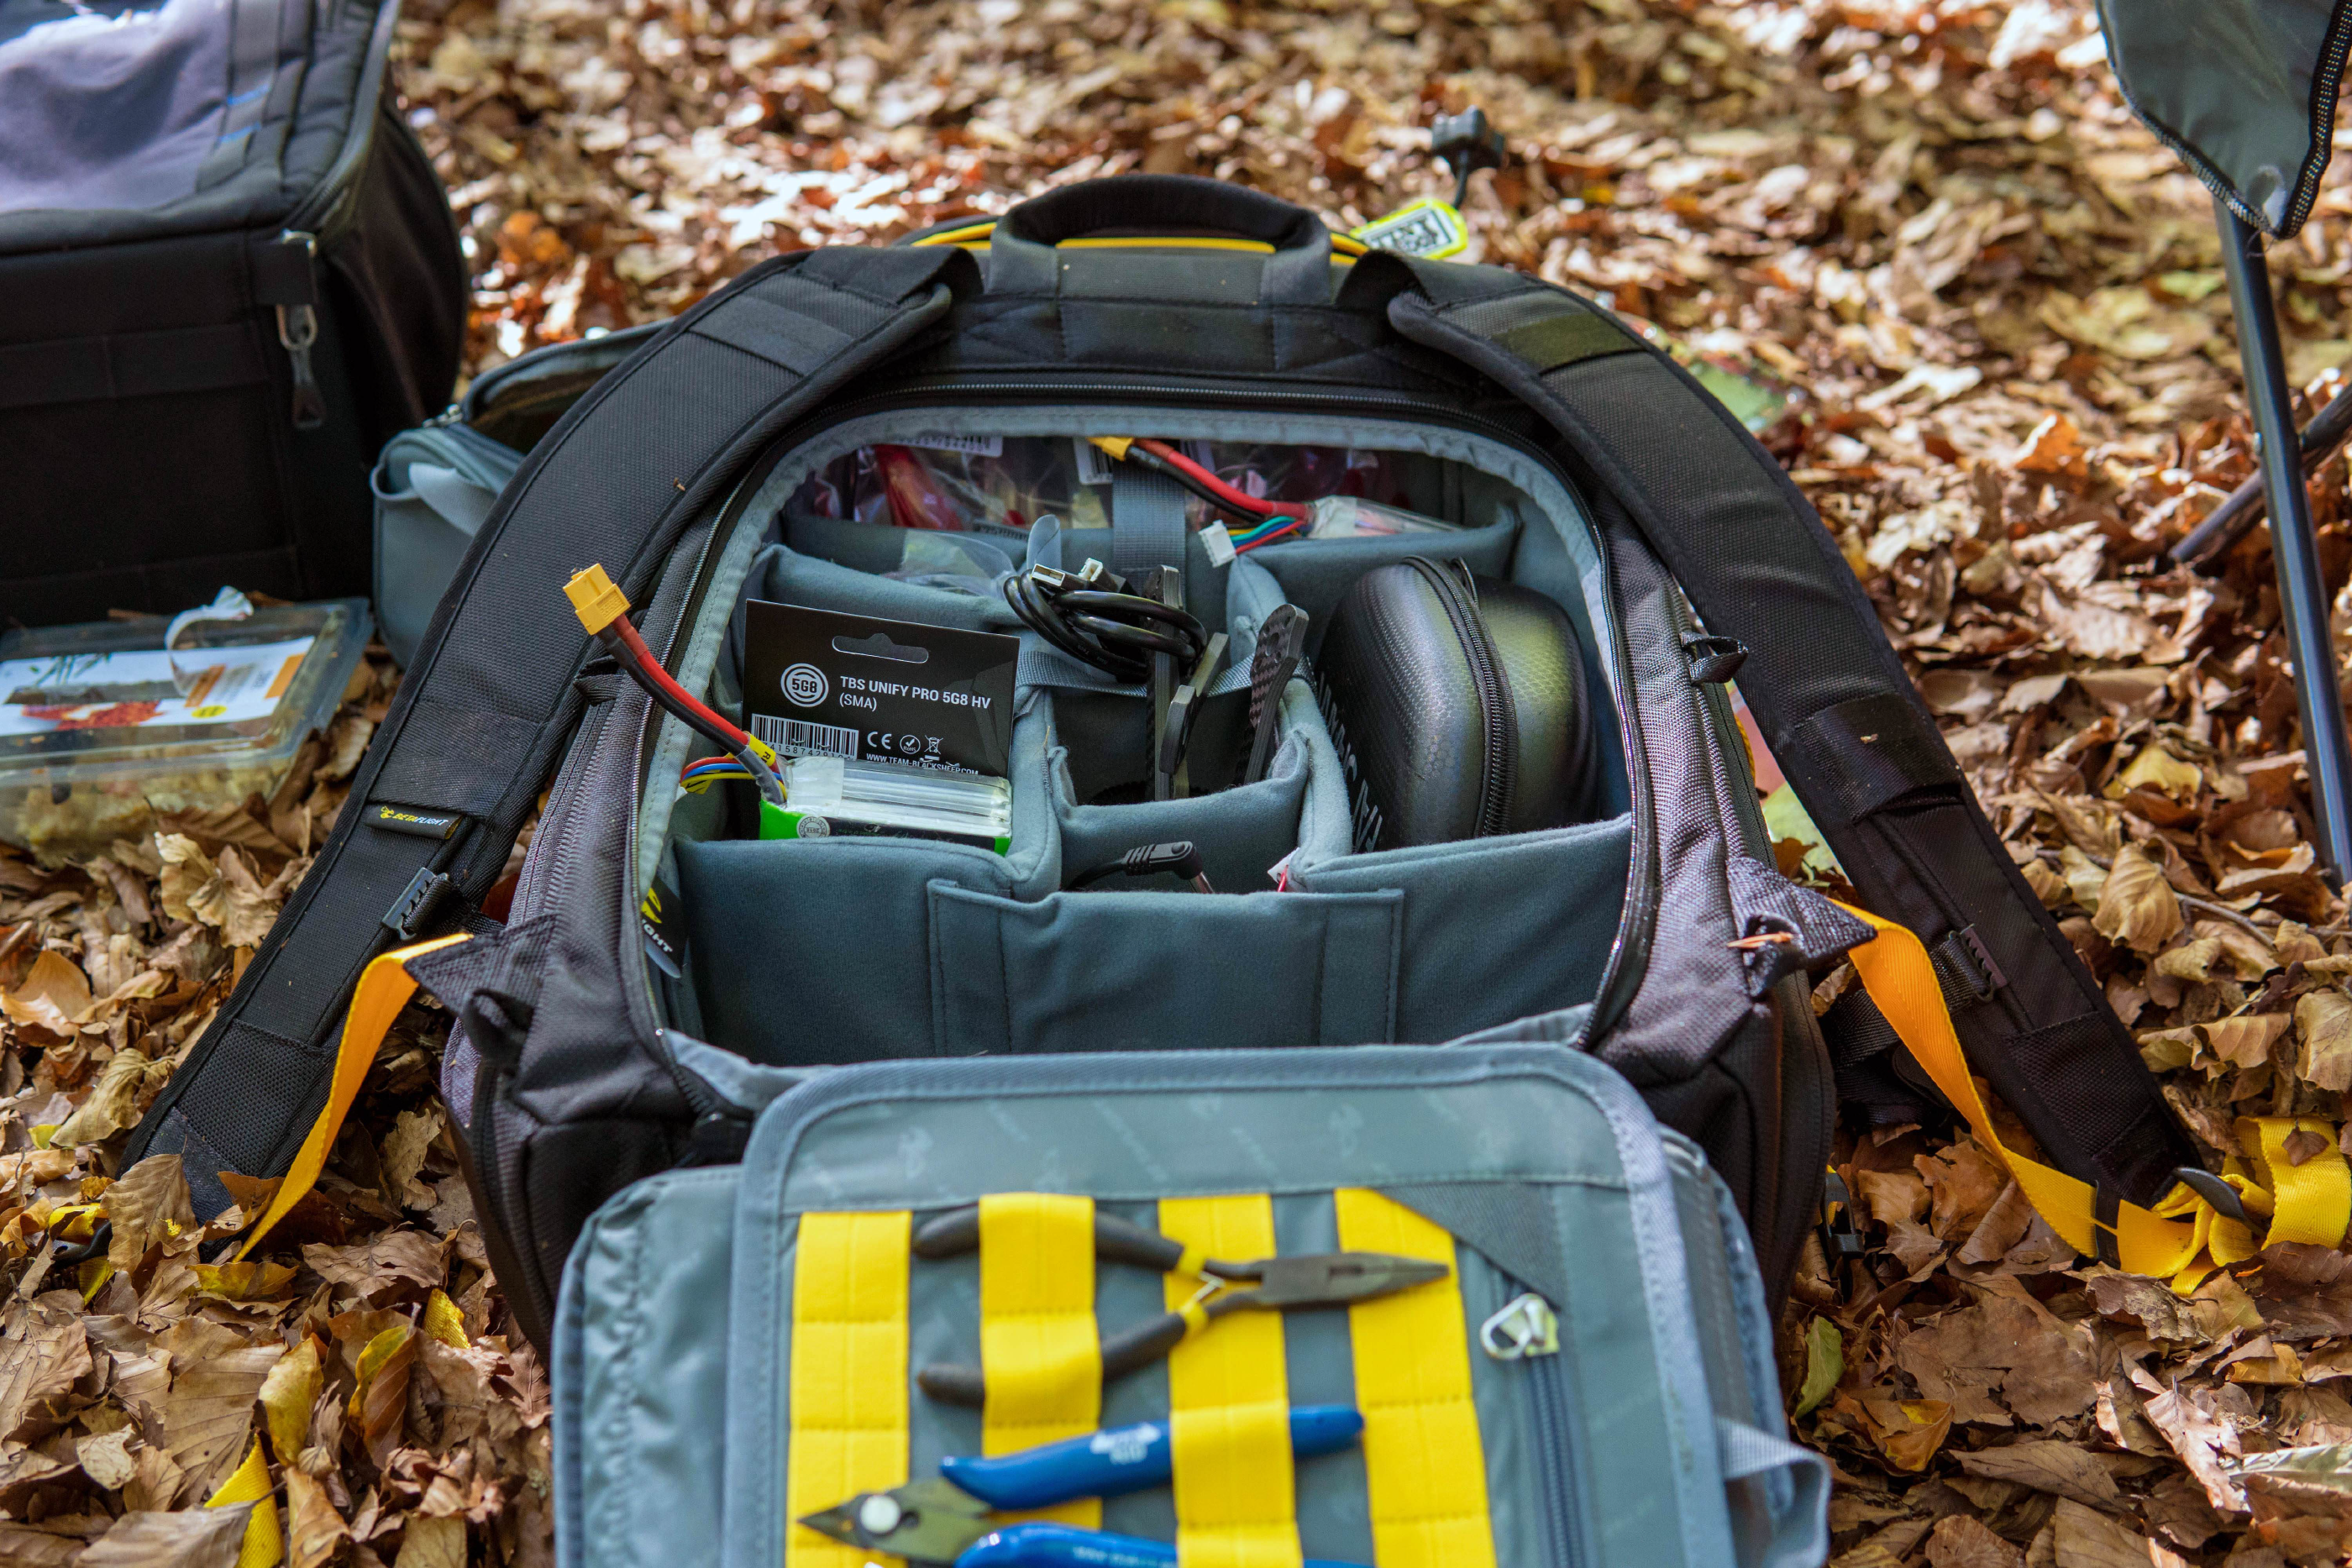
I was actually pretty overwhelmed with how much storage there actually is when trying to initially work out where to put everything. Comparing the backpack to my ThinkTank FPV Session, aside from the 2/3 of space taken up by batteries (I used to carry roughly the same amount of batteries), there was very little space left and so I never really bothered bringing any tools aside from a prop spanner. Here, there’s so much space I actually struggled to fill it - but I don’t see this as a bad thing. Each session I have I’m now finding extra things I can bring, and while that makes it heavier for those sessions where you’re just ripping a couple of packs and moving on, if you do break anything you have everything required to fix it.
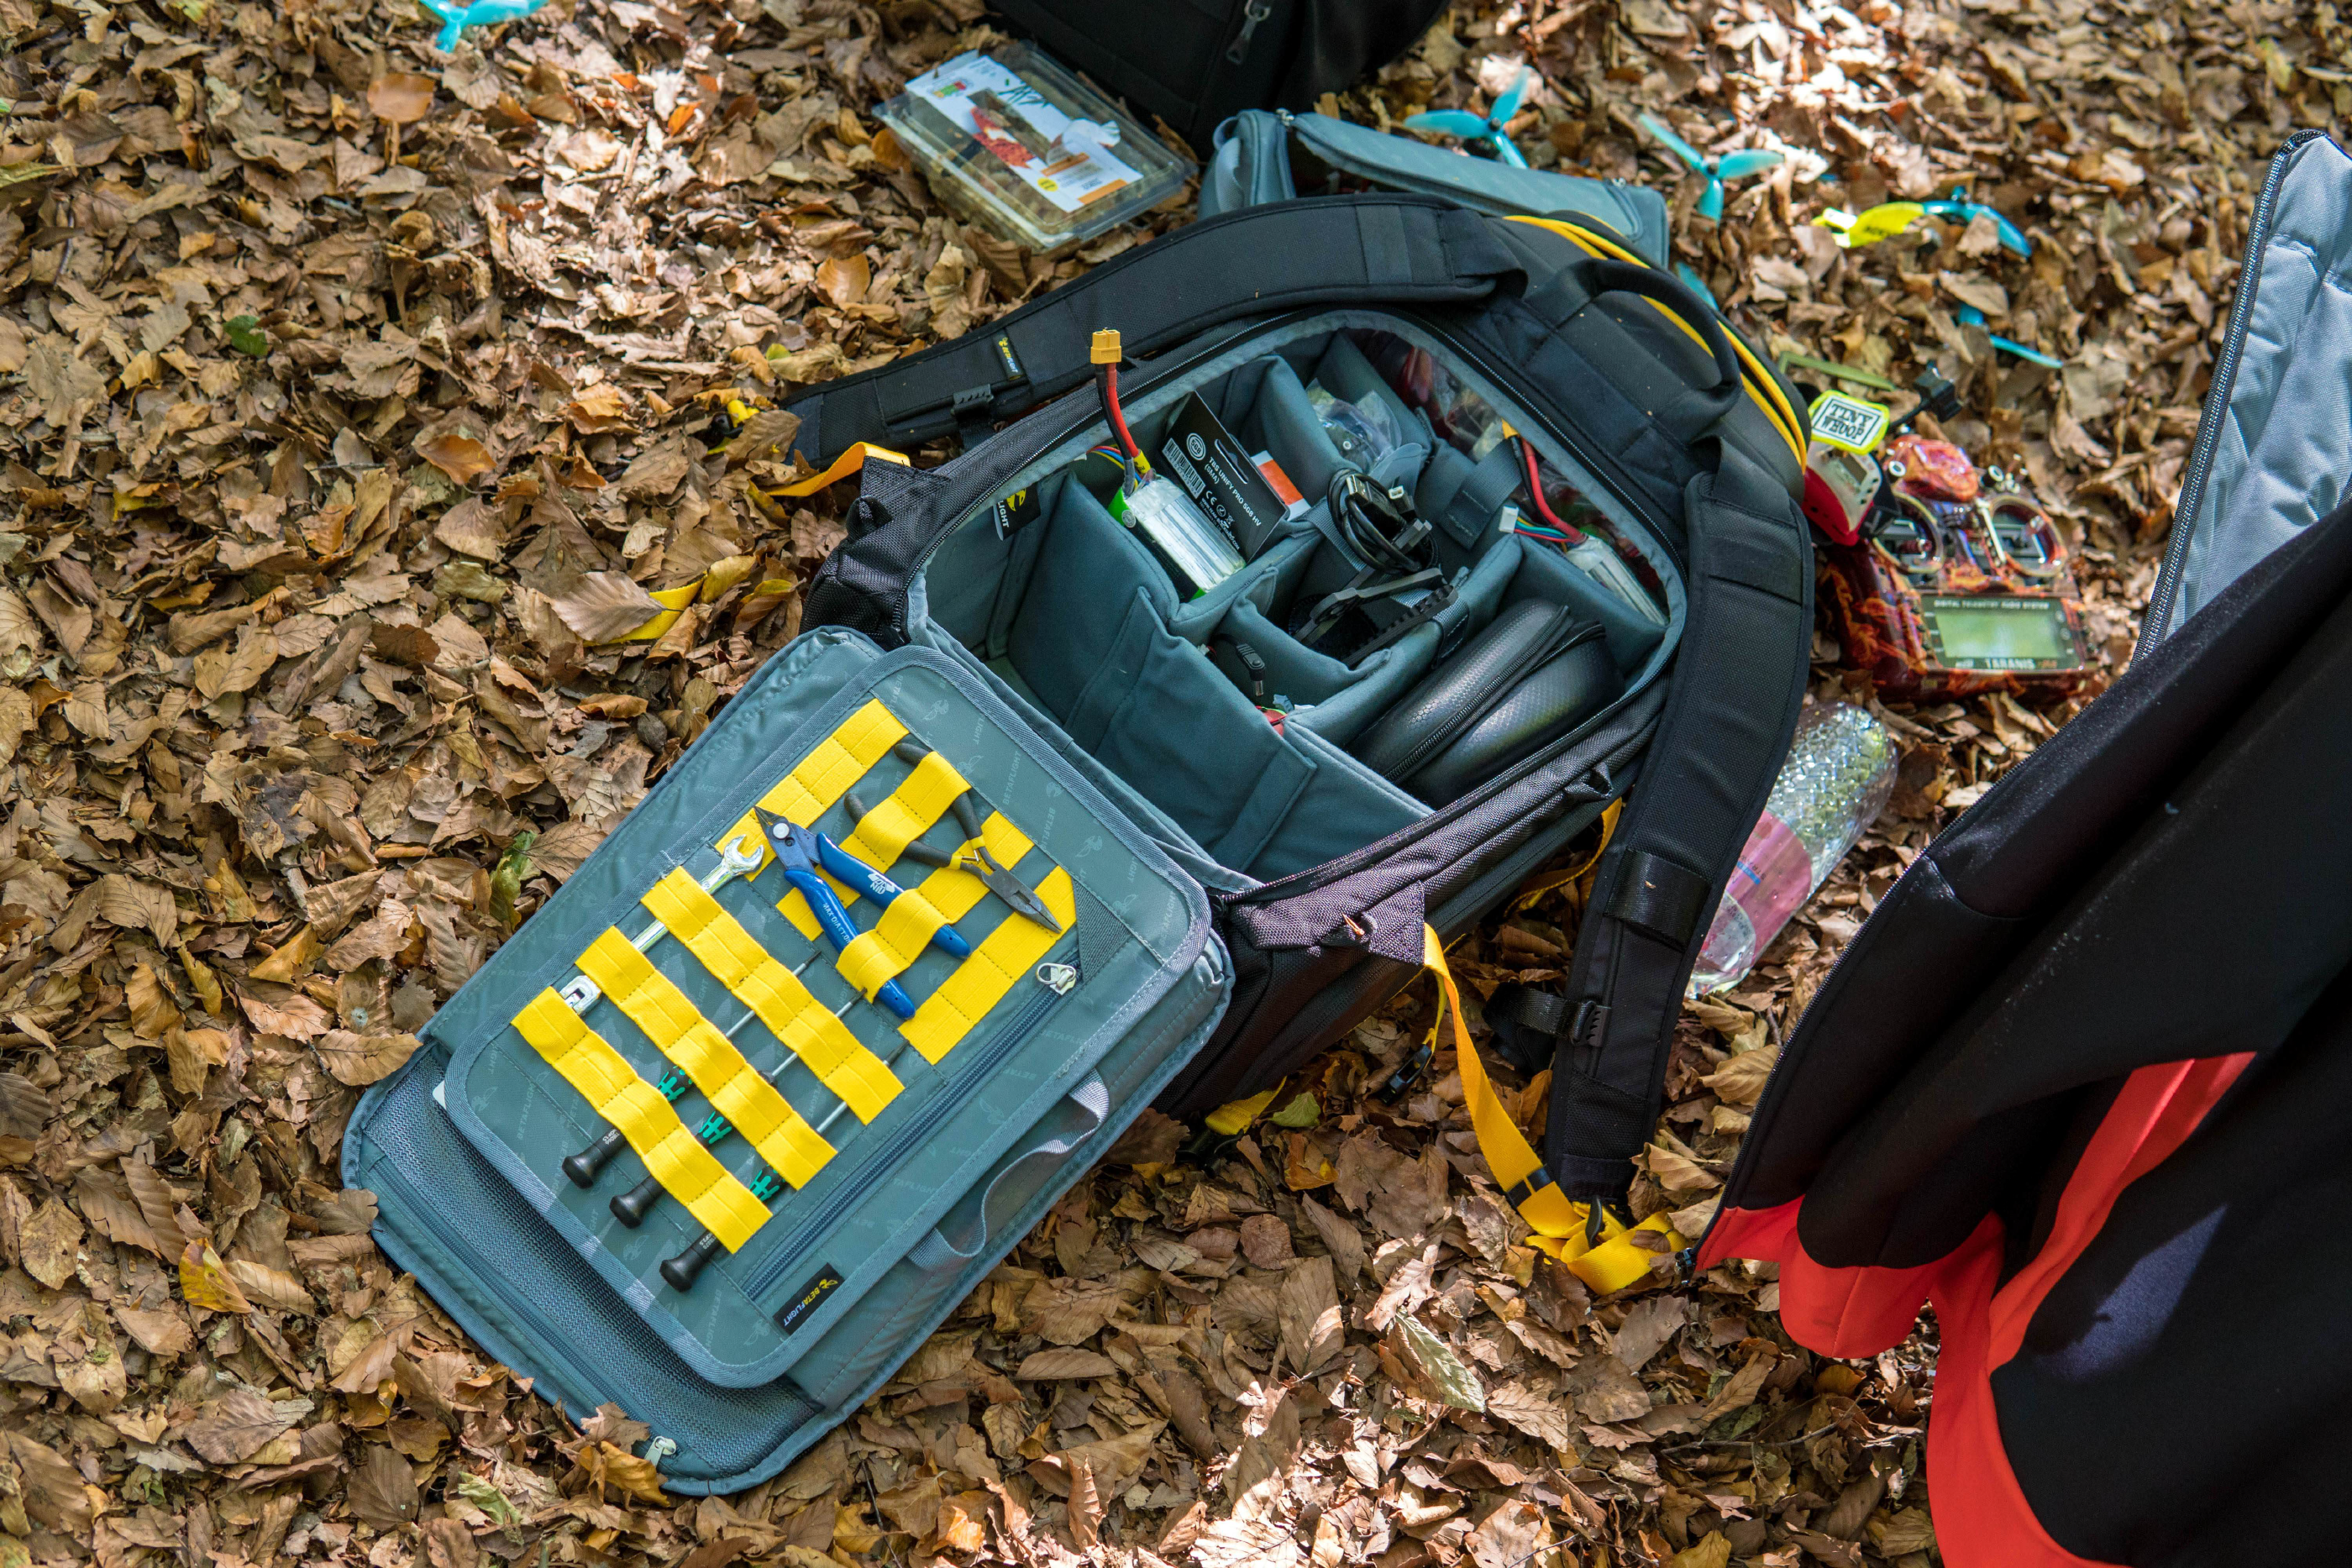
I’ve slowly began using the side pockets more - one side pocket contains all of my antennas - for Crossfire (I have spares), as well as spare video antennas. I also bring a spare pair of headphones, cable-ties and some quickfix tools that you’d usually expect to bring. The other side is still pretty much completely empty apart from my SpeedyBee USB->Bluetooth adapter, as I haven’t found anything else I need to bring with me yet.
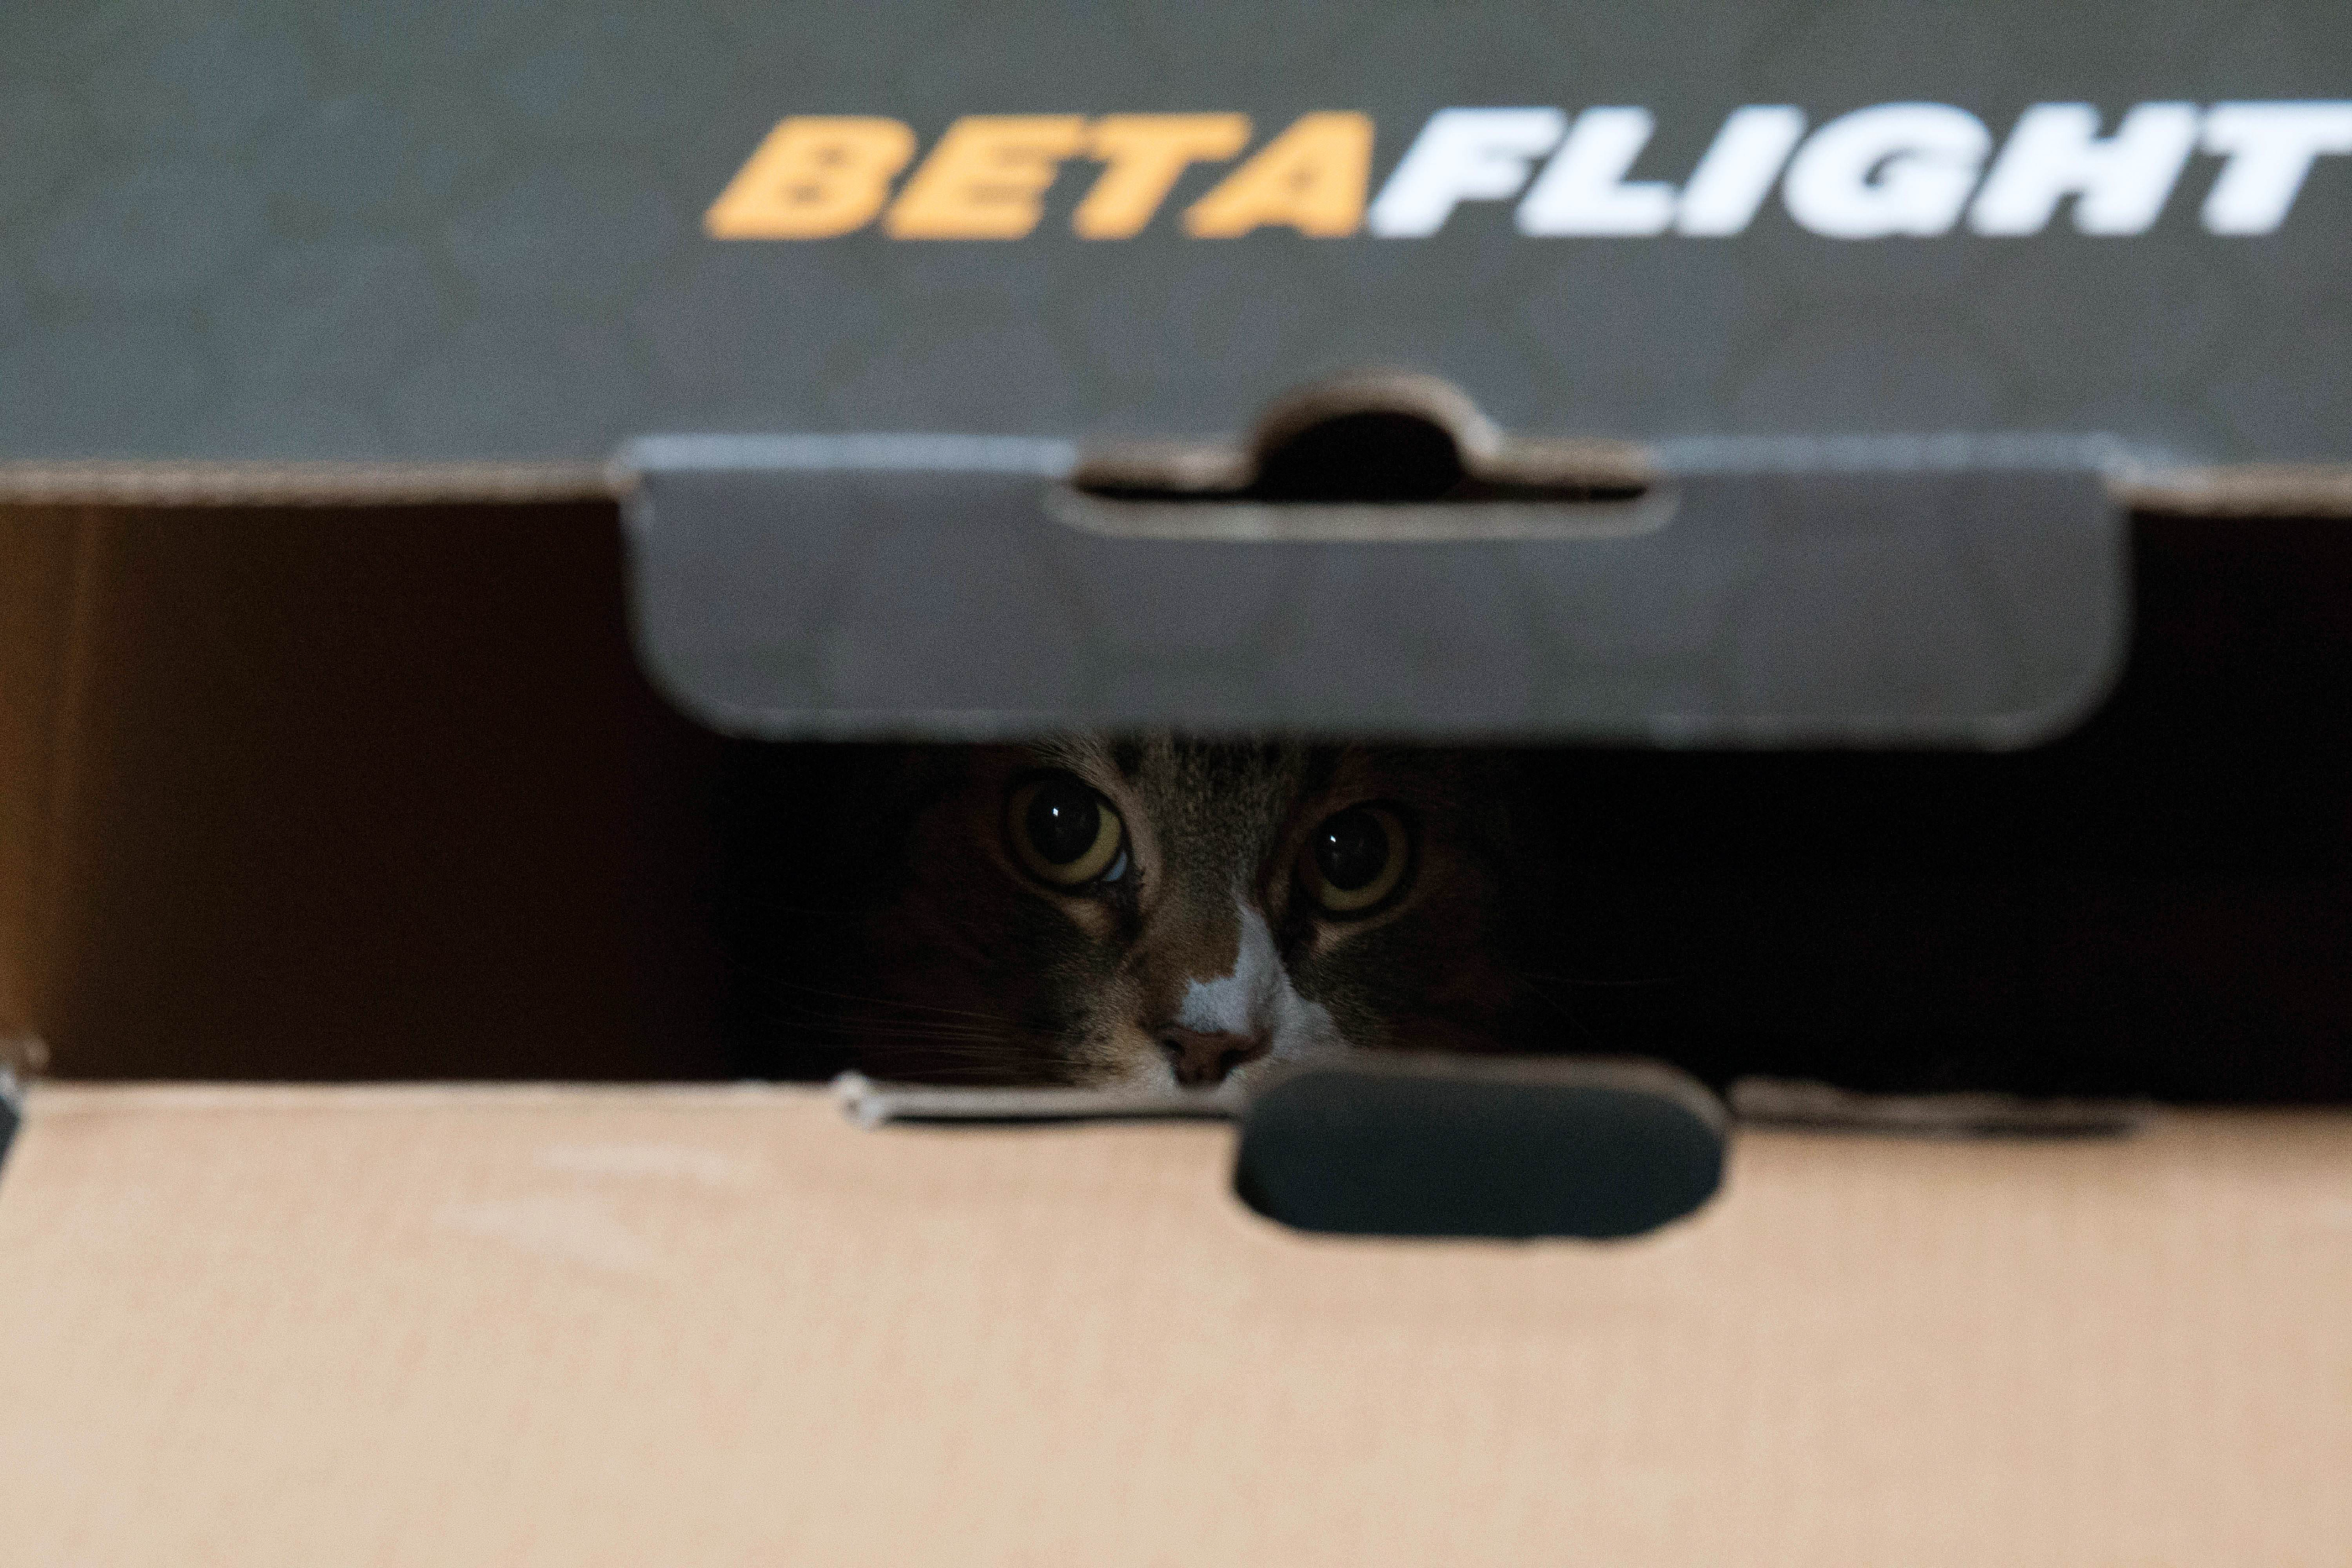
It’s always a win if Boris takes a shine to it, the box remained sat around in various places around the house for a good few weeks.
Final Thoughts & Conclusions
Overall I really like the backpack, it’s impressed me with the quality of materials used, and how much space and functionality it has throughout. It feels rugged enough that it would last me for years, and while it is heavier than some of the competition, I don’t think that is a bad thing. It’s kind of taken me by surprise so far and I’m happy to say that at least for the medium-term, it will now be my primary backpack. While the main rear-opening infuriates me to no end, it’s just one of those things that I’ll live with as the rest of the backpack provides a better experience than the rivals for me.
Now, a lot of you will also probably say “What!? 40, what gives!?” - well I stopped thinking this a long time ago when I actually got my first dedicated backpack. Spending a few hundred $ to protect your thousands of dollars (or pounds) worth of gear goes a long way, and if you do a lot of traveling or like to fly in all different kinds of spots then you’ll soon see how worthwhile they are once you actually experience one. I used to be that person, I had a cheap backpack with loads of tupperware boxes - don’t get me wrong it worked, but it’s not as elegant or practical as this, and it’s certainly not as hard-wearing.
Positives
- Absolutely tons of storage pockets, tool holders and general pockets that you’ll probably spend a few minutes trying to find where you put everything
- High quality materials throughout that should provide a very long-lasting backpack.
- Customization - all of the main dividers can be moved around, all of the main exterior straps can be moved around allowing you to really put everything how and where you want to without compromise.
- The waterproof cover will actually fit the backpack with quads on - there’s other backpacks out there have waterproof covers, but will not actually fit when quads are fitted to the outside.
Negatives
- The main rear-opening may annoy some people due to having to realistically remove the quads from the front of the backpack for access.
- While the yellow is a great offset to the black/grey colour scheme, I suspect this will get dirty fast and it will be a nightmare to clean.
- Weight - while there are a load of features in this backpack, you also have to consider the weight. Without anything in it is one of the heaviest backpacks around so if you are small or expecting to travel extremely long distances this needs to be a serious consideration.
Now, some of the review you may not agree with - or you may use it entirely differently to me, so I just want to say that hopefully the review & information on the backpack are useful and it work out if the backpack matches your own requirements. Everyone is different, but for me I’ve found the new go-to backpack!
If you would like to purchase the Betaflight Hive Backpack then you can use the coupon code “add1” which will give you 200 retail price available HERE. Buying direct from FPVModel in the EU and US will not face any customs as they have local warehouses.
Note: as per the product description, if you are currently buying it and you live in the EU, select China and they will ship from the EU warehouse - the site is not currently finished for the EU, but they guaruntee they will ship from the EU when this method is chosen.