Reviews
AstroX X5 Build Log & Review
Posted on September 7, 2016 • 17 min read • 3,571 words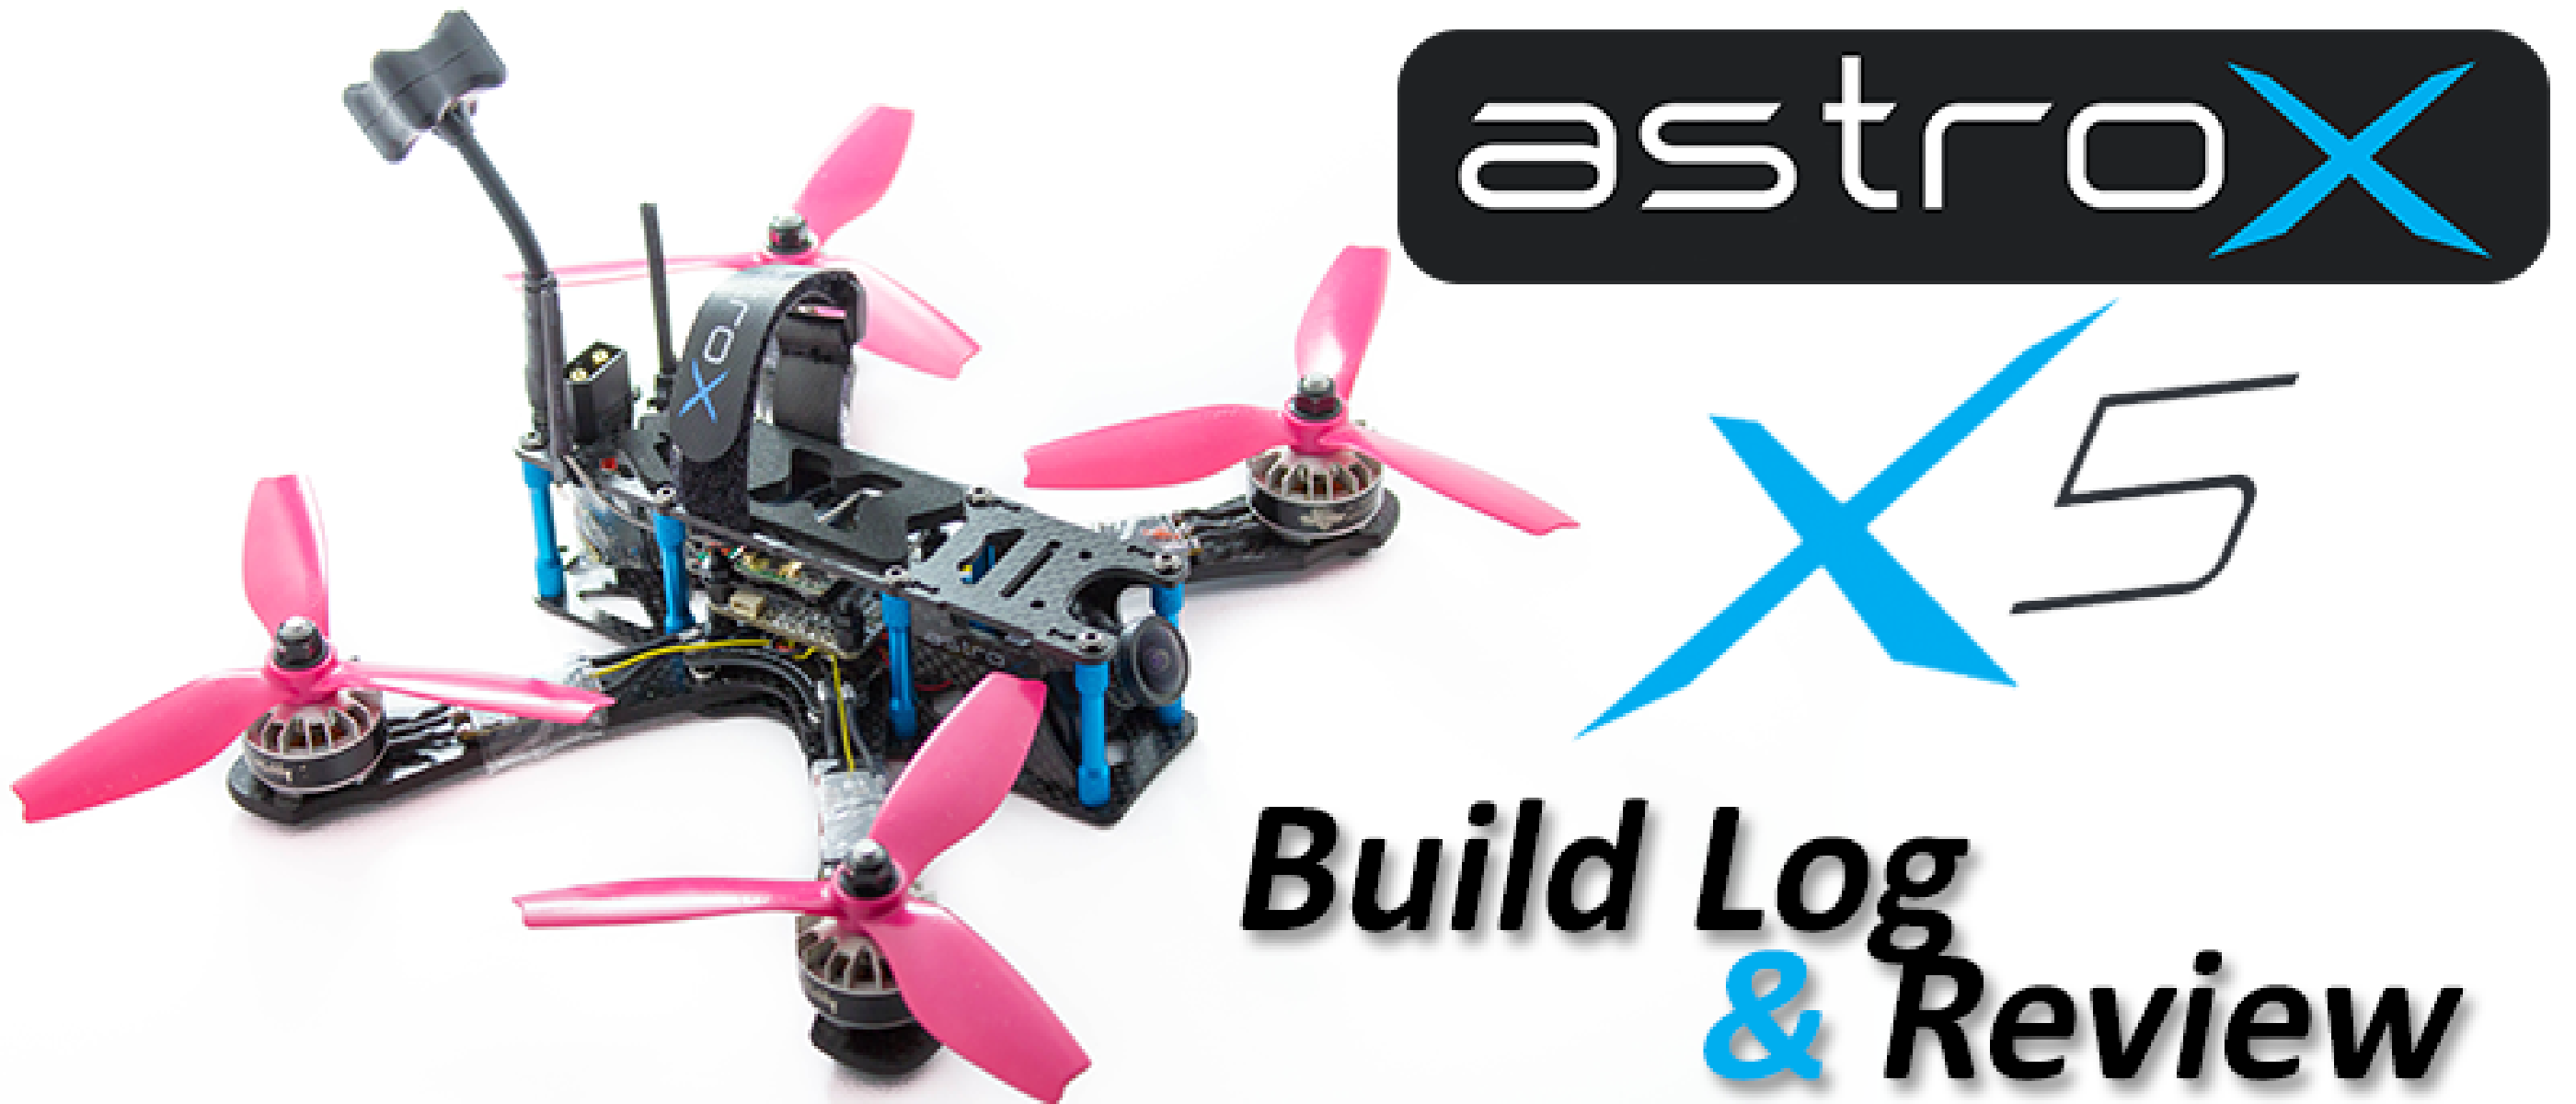
What? AstroX X5 200 Frame! Why? A well thought out design in 3K Japanese carbon. When? Now!
Ever since I first saw the frame from it’s initial release I’ve been keeping an eye on it. Those who have seen it around will likely see similarities to other frames used predominantly in freestyle such as the Alien. I won’t go into great detail but I’ve never been a lover of the Alien, so it really never crossed my mind to either review or obtain one to fly myself for personal reasons as it really just never clicked with me. Anyway, back to this frame… :) I had seen it very early on and something about it just drew me to it. The pictures take from the guys at AstroX showed a really nice thought out frame with some extra parts I’d not seen on other frames, but at the same time implementing features from other frames that make them good.
Anyway, let’s get on with the review.. :) I felt my Shrike V2 200 review was really a little rushed under the deadlines I had to actually construct the quad and writing it up some 2 weeks later, I had missed out things such as bare frame weights which imo are not great. This will be a pretty in depth view featuring both the frame itself, a build, and any extra information alongside that!
What’s in the Box
So what do we get for our money? The frame is priced what I would say EXTREMELY well (around $95 at current prices) considering what you get inside the box. I didn’t really read the description when I had looked at getting the frame initially, just kinda stared at the pictures as you do but the stuff they pack in this kit is really great.
A full list of parts looks like this:
Carbon parts
- 4x 4mm round cut finish Arms
- 1x 2mm top plate
- 1x 2mm Bottom Plate
- 2x 1.5mm Cam mount
- 1x 1.5mm VTX mount
- 1x 1.5mm RX carrier
- 1x 1.5mm X-reinforce plate
Hardware
- 8x Astro blue Standoff
- 8x insert nut 8pcs
- 4x Easy-damper landing gear
- 1x Set of black Nickel plating 12.9 grade carbon steel screws
- 1x Set of Nylon Standoff and nut.
PDB parts
- 1x AstroX V2 PDB
- 2x 4pin Signal pins
- 1x Black XT-60,
- 1x 14AWG power cable(red, black)
- 1x XT-60 mount plate.
Accessory
- 1x 5V buzzer
- 2x AstroX lipo strap
- 1x AstroX logo sticker
- 1x 2mm Lipo Pad
That sounds like a LOT of stuff, so let’s get on and see what it shapes up to be.
First off, we get a box! To no surprise here.. ;)
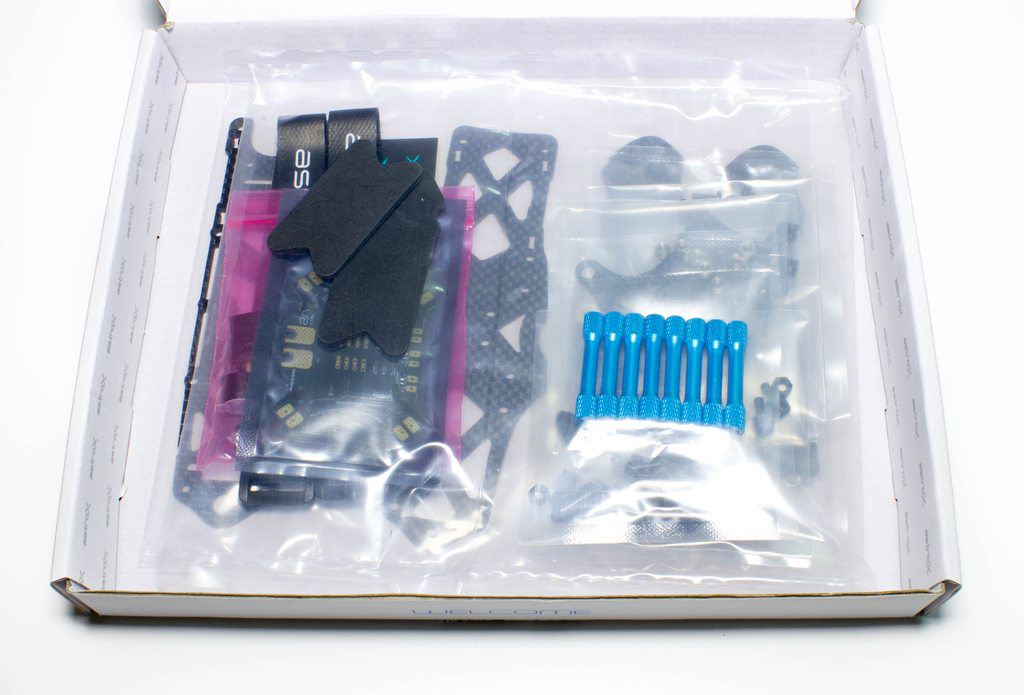
In the box we have what looks to be a lot of individually wrapped items. A nice touch that will prevent scratches on the carbon etc while in transport.
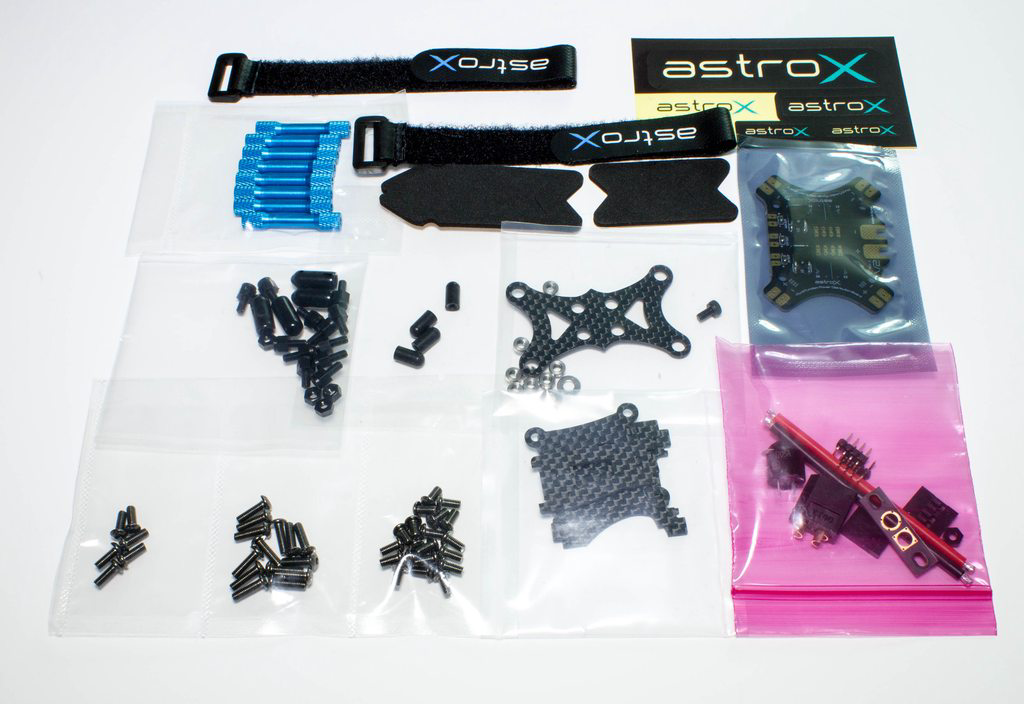
Starting with the top items in the box we have all of the “main” non-carbon items. We can already see here there’s a LOT of stuff. We get a good amount of battery straps, foam padding for the top plate to secure a lipo, the PDB, standoffs, screws and arm mounting mechanism. As well as those usual items we have some frame “legs”, but most impressively we have an XT60 with appropriate 14AWG wires, a buzzer for low-voltage warnings (which will fit nicely in the camera bracket), and various pin headers as well as pin header holders. This is probably the first frame I’ve seen offer such a great amount of accessories as standard and is really impressive. If this was your first frame you’d be doing so well as most of the “accessories” you normally need are already included, making it such a simple quad to put together.
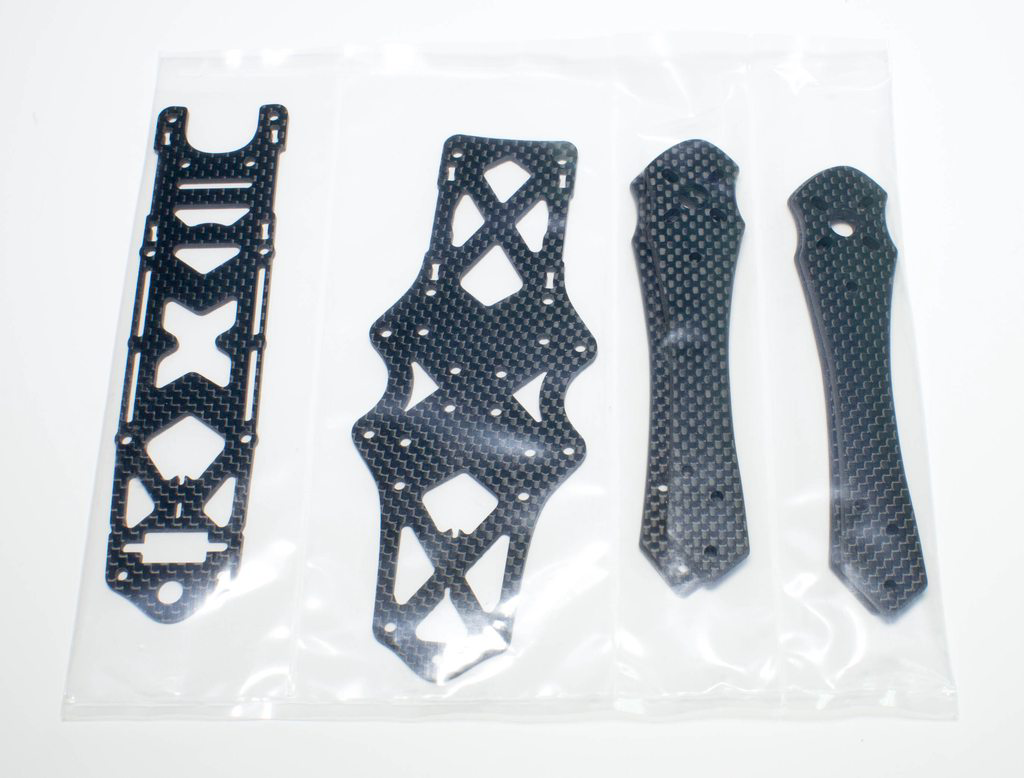
Underneath all the extras we get we have the main Carbon plates and arms. The arms are 4mm and have a nice unique design but a great selling point to me is the edges are rounded, which is both aesthetically pleasing but should also actually help against delaminations.
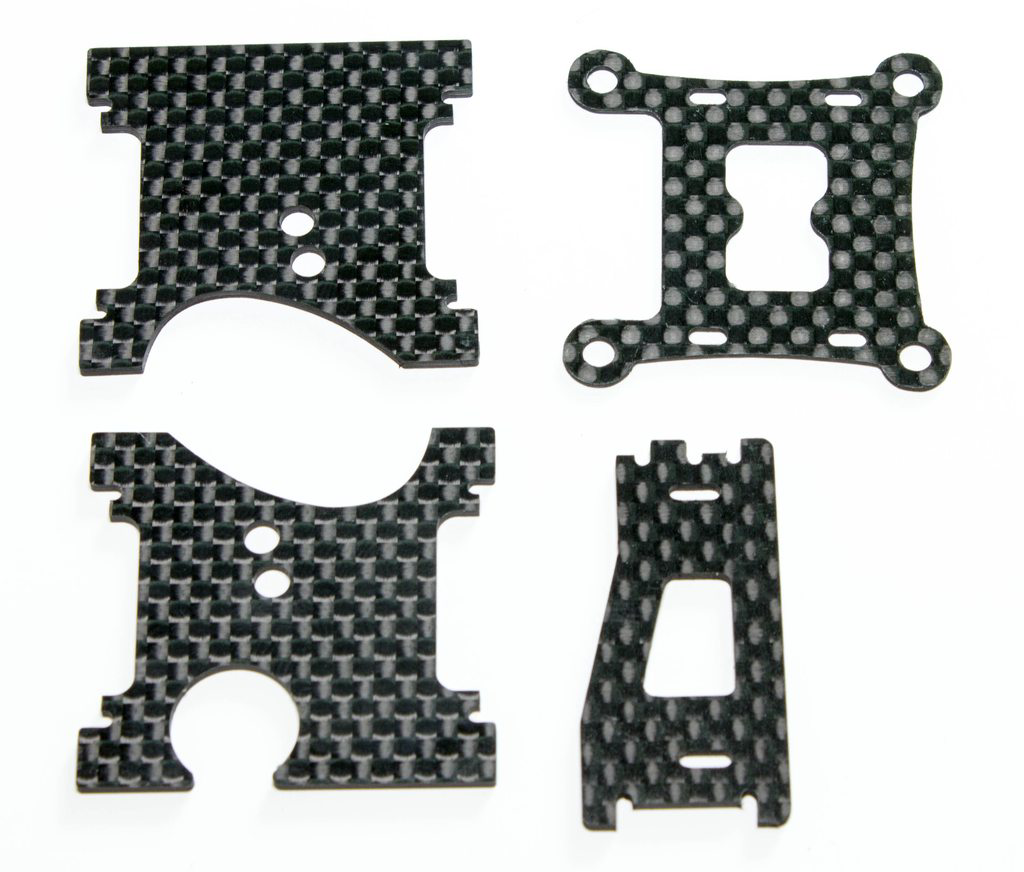
As well as the main carbon plates we also have 2 plates (one for each side), to mount the HS1177 and buzzer, as well as what I believe to be a radio receiver mounting plate. At the bottom right of the picture we have a vertical plate that sits in the back of the frame and allows you to neatly attach your video transmitter or other equipment that you need to be easily accessible.
Close-ups
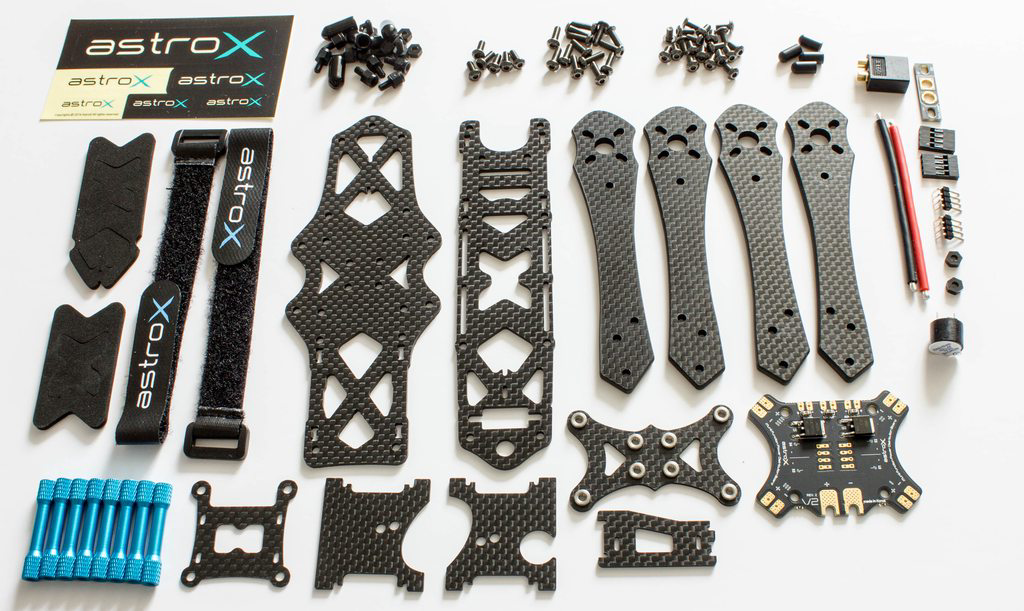
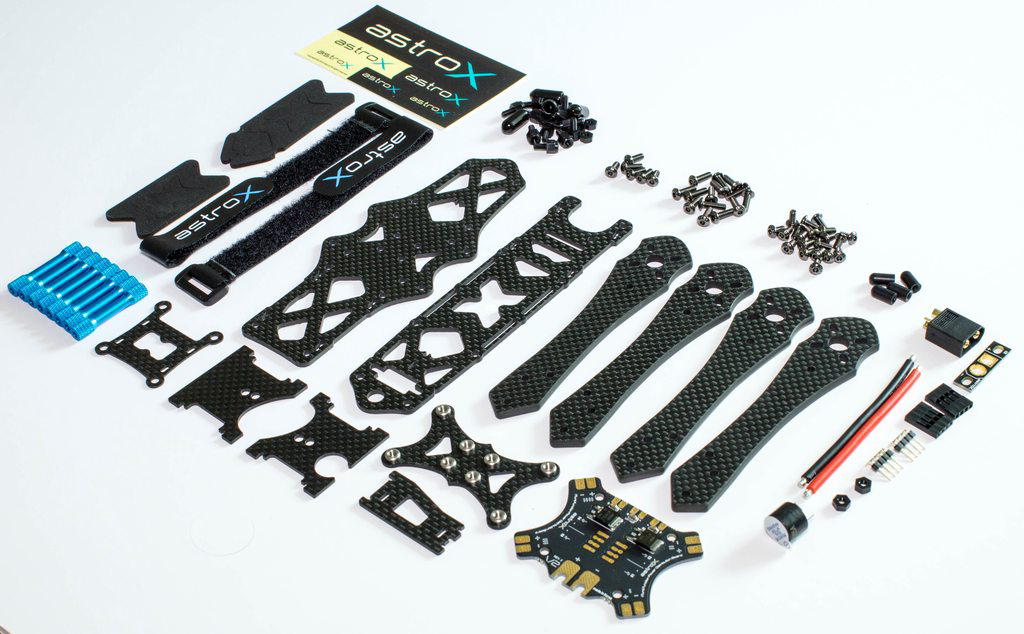
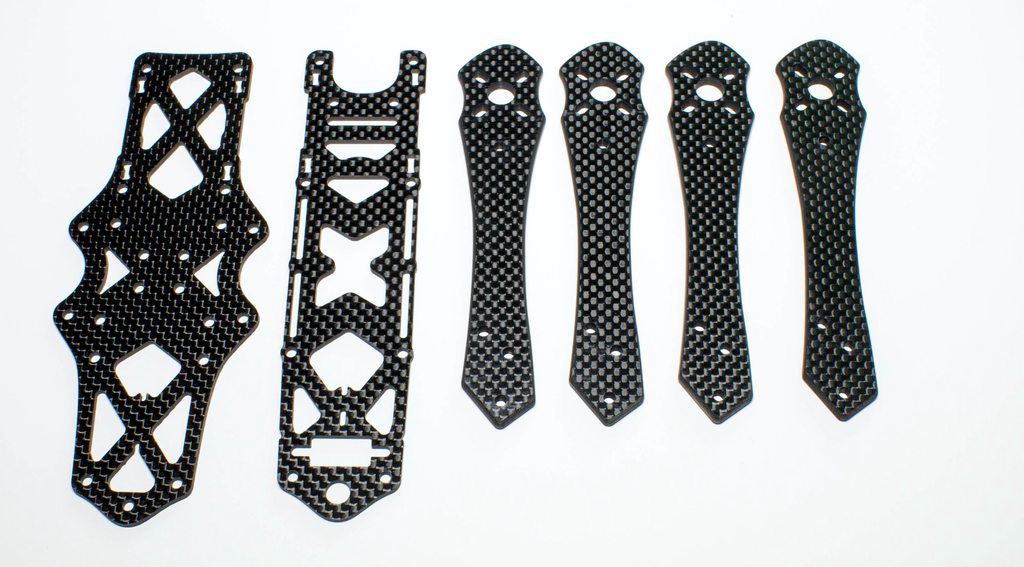
The carbon looks to be of real nice quality, with 2mm top and bottom plates, and 4mm arms I think it should hold up well in crashes.
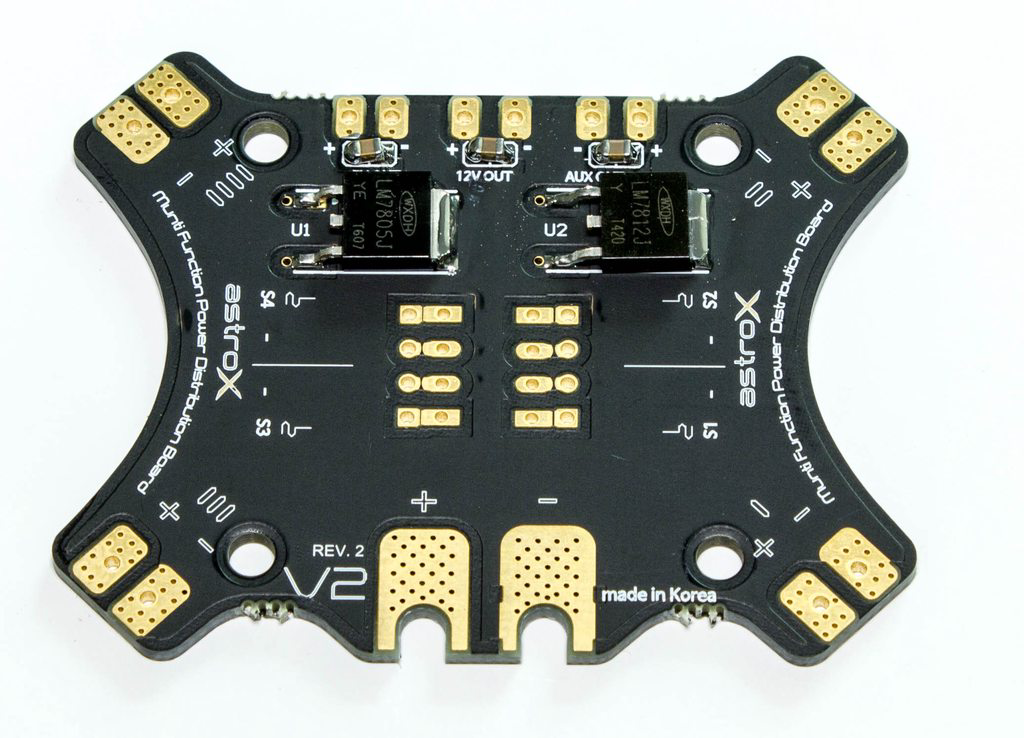
Also inside the box and worth a mention is the PDB. It has a similar design to pretty much any X-Frame included PDB like you would expect, but it also features a few things which I think make it stand out. It has nice and simple linear regulators which while get a little warm, provide good power without the need for large filtering components. They’ve also been provided with capacitors to help smooth the power into said regulators which is always a good thing. In the middle we have an interesting set of pins that indicate S1, S2, S3 and S4. These are for the motor signal and ground wires, with the intention being you solder the pin heads to the outside facing outwards (90 degree headers are supplied). This means you can easily hotswap your ESC’s by simpling unplugging the wires (I believe there was also some connectors that can fit onto the power pads which make it fully plug and play). The inner holes would then connect to your flight controller, either via some more headers for modularity or simple just direct soldered.
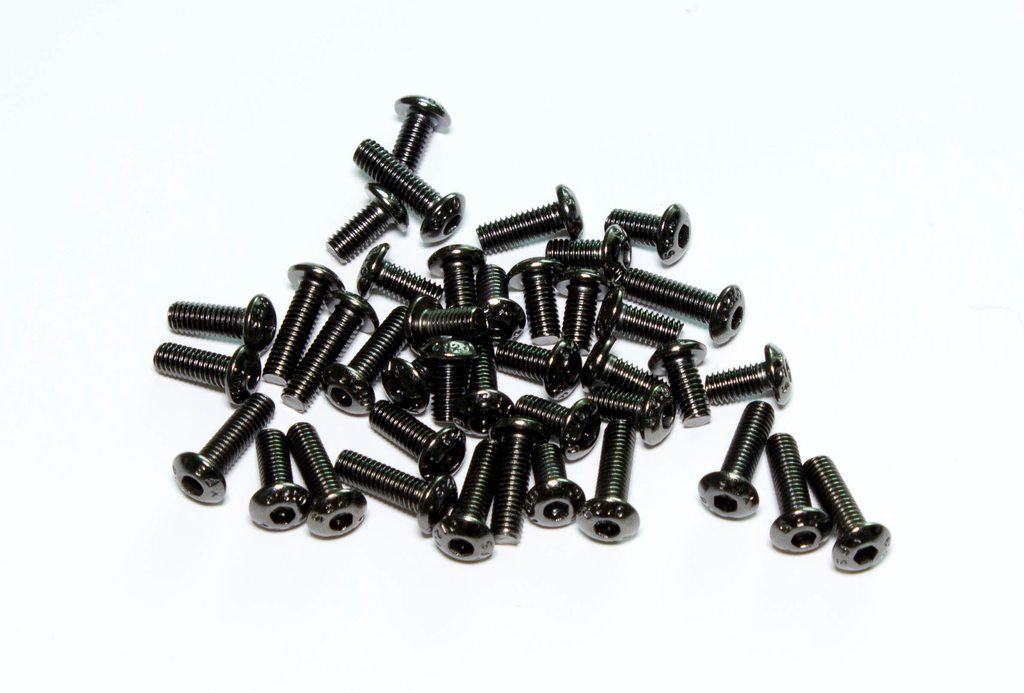
What I think also needs a mention before we go through the build is the quality of the screws provided. These are easily the best quality screws I have seen in any frame that I have ever seen or purchased. The Black Nickel plating 12.9 grade carbon steel screws are a great addition to what so far looks to be a really thought out frame. I have tested the fitment to my tools and there is no slop whatsoever so these are of great quality, and should be extremely strong too. I know “cheese” screws have been an issue in some frames (even some I’ve had), but worry not with this one.
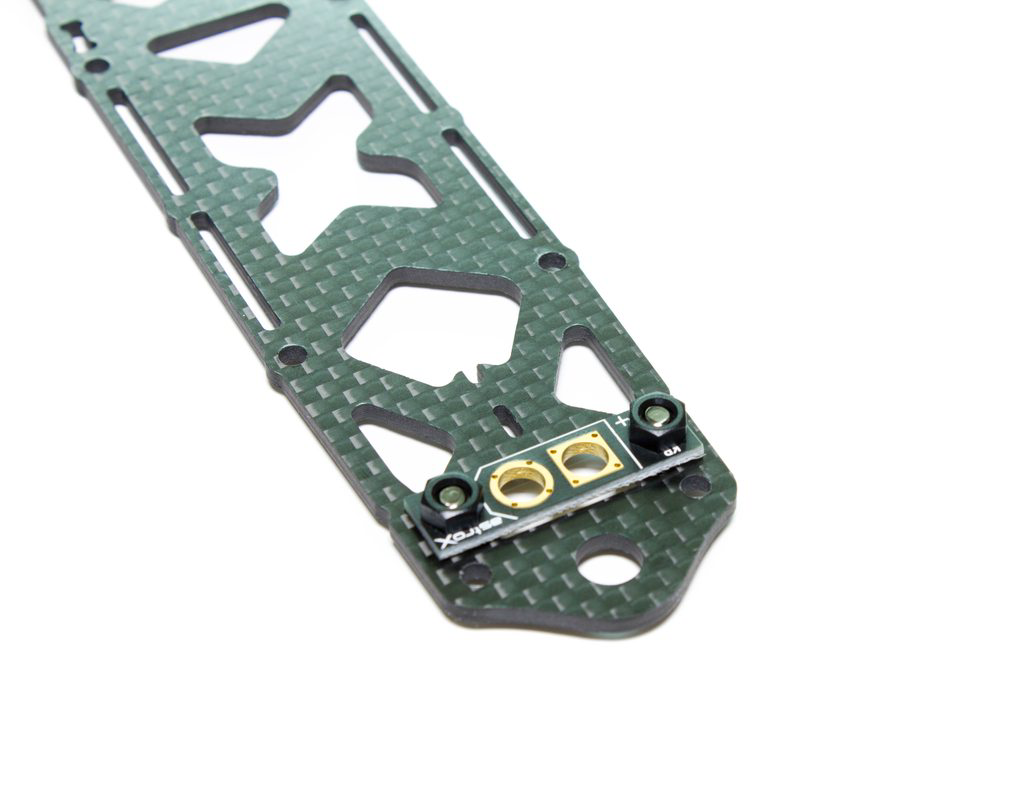
And the final mention I think has to go to the “XT60 holder” that is built into the top plate (but also removable or not required to be used). There’s a very simple PCB which essentially seats an XT60 and can be soldered directly to and has screw holes ready to fit straight onto the top plate of the frame. My intentions are to run this frame as it was designed so I will indeed be running with a Lipo on the top plate, so having the XT60 in such close proximity, but also well protected is a big help.
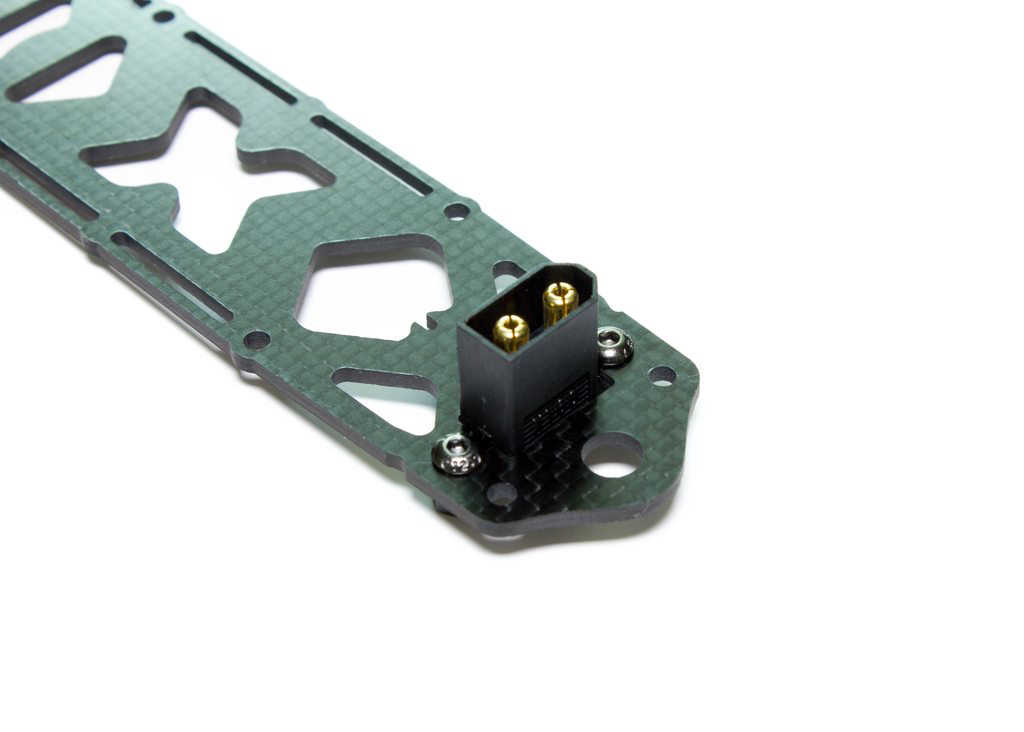
Here’s another shot of the XT60 but from the top view. It looks super clean.
Dry build
So let’s go about putting the frame together in basic form and see what it looks like.
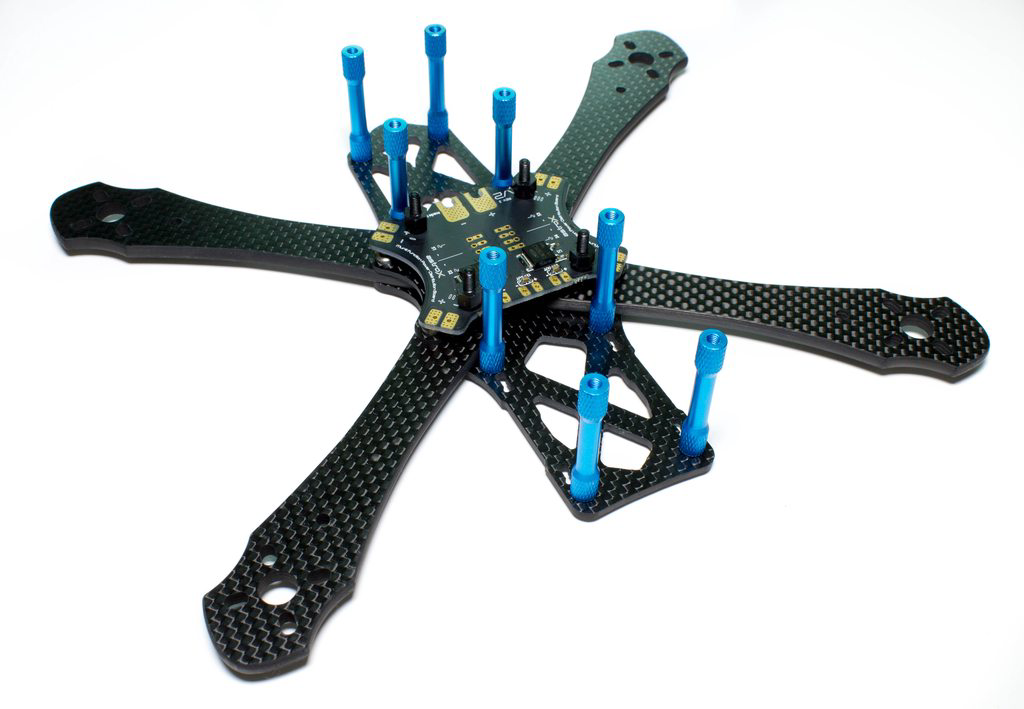
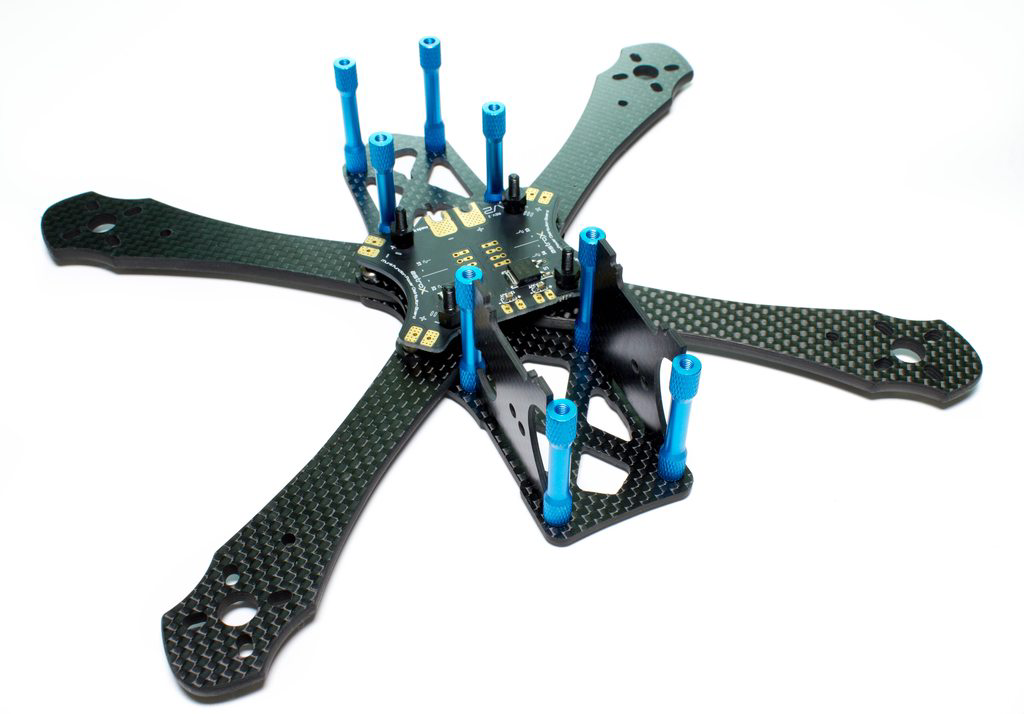
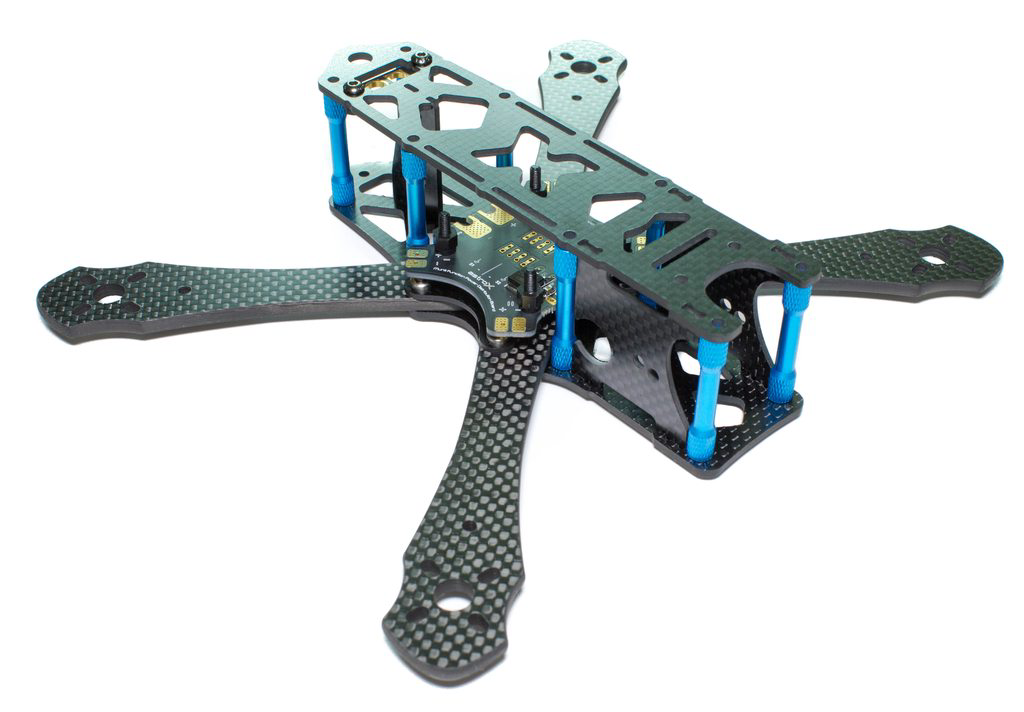
The blue is a great contrast to what is otherwise a very dark colour scheme, and complements the frame.
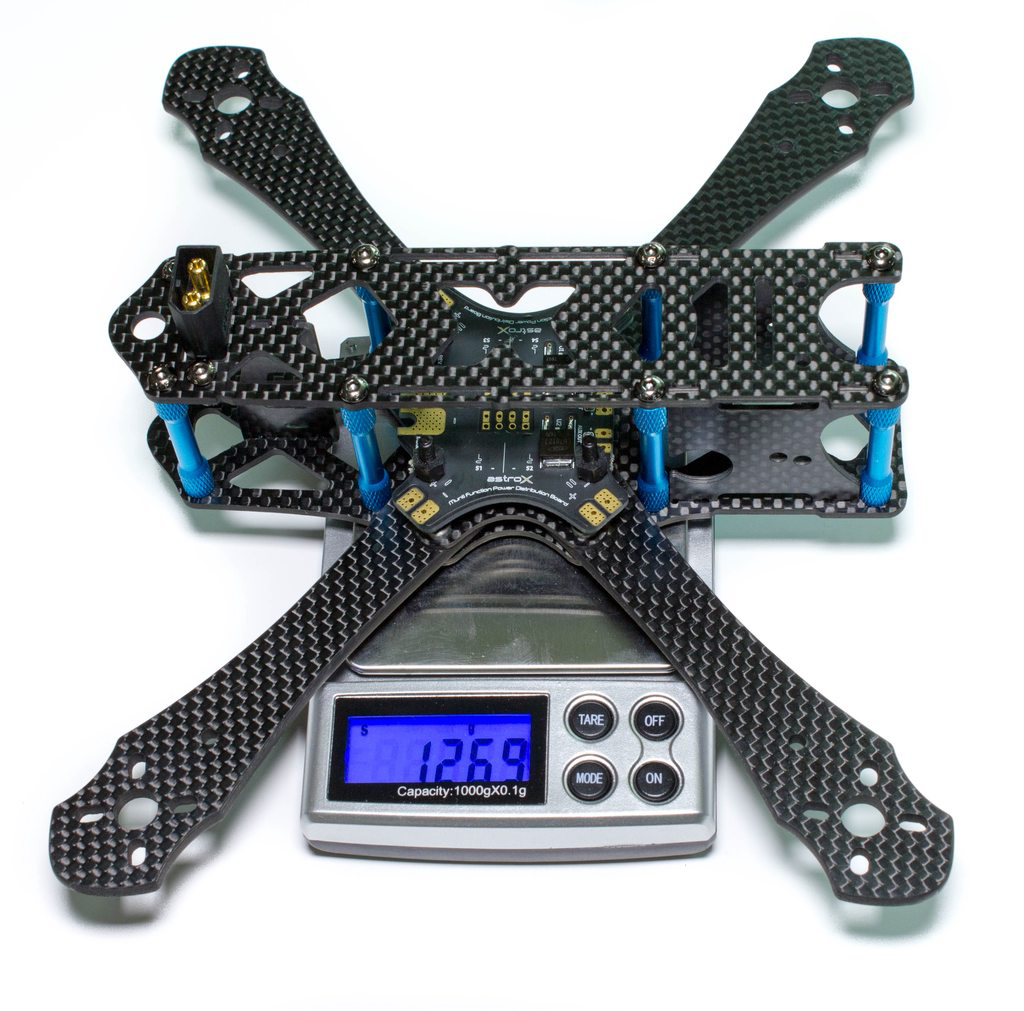
So how much does it weigh? With all of the hardware in (minus the buzzer and XT60 wiring), we are up to 126.9g for the frame as it stands. This is around a middle of the road weight for a quad frame nowadays, especially when you consider freestyle. I am not too concerned by the weight of this build as my intention is actually freestyle, and it can definitely be said that having a heavier quad seems to help with momentum when you are doing high power manoeuvres followed by 0 power manoeuvres as the quad just “keeps going”. With that being said with all the features packed into the frame the weight is decent, and you would have no trouble racing with it as well.
The Build
So with the drooling over lets get on with actually installing some components so we can go out and rip up the skies. With the build we’re going to be using the following components:
- OpenPilot Revo F4
- BrotherHobby BH2205 2300kv motors
- XM20A ESC’s
- FrSky X4R-SB Receiver
- HS1177 with 2.5mm GoPro 2 Lens
- TBS Unify Pro 5G8 HV - part of an upcoming review…!! This will be a separate review coming very soon.. :)
- HQProp PC5x4x3 - Polycarbonate. I may switch to less stiff props for freestyle depending how the footage comes out.
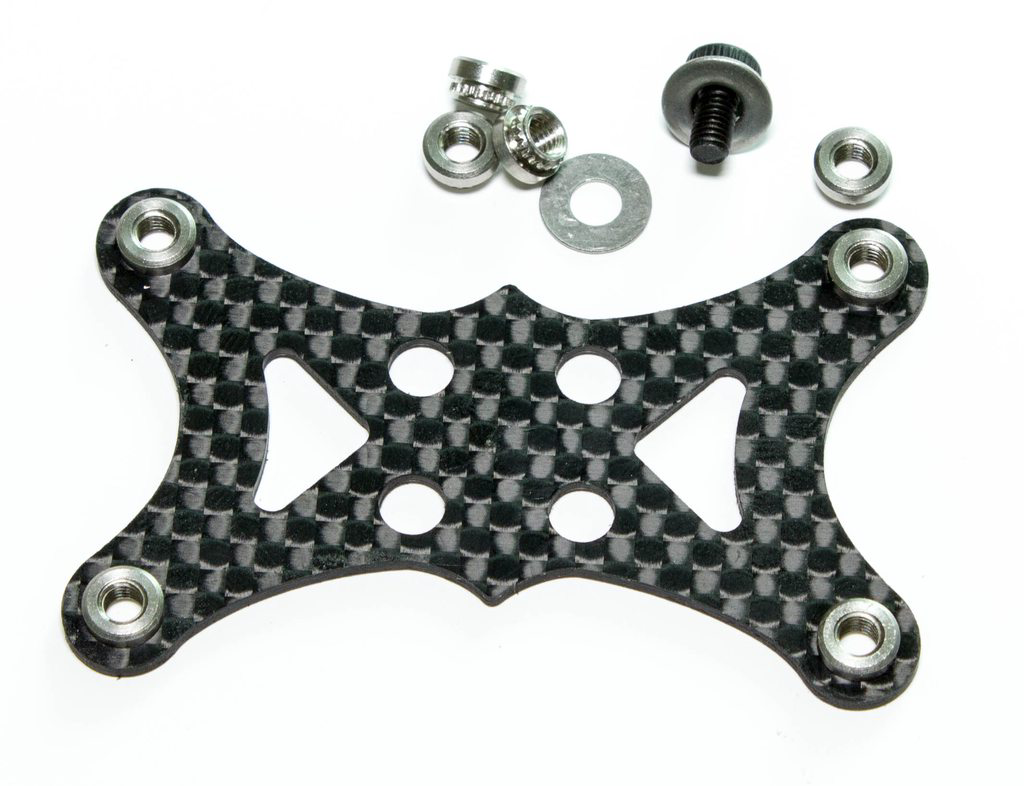
The first steps is to install the self-seating nuts to the arm brace. I’ve seen these on a few frames now but they just looks so nice aesthetically when you look at them, and they should be pretty strong too! A screw and some washers are provided to tighten up the screw which will force the nut to seat itself in the carbon and put the force onto the washer. This is nice as it stops that being done on the arms and obviously more importantly it saves scratching the arms.
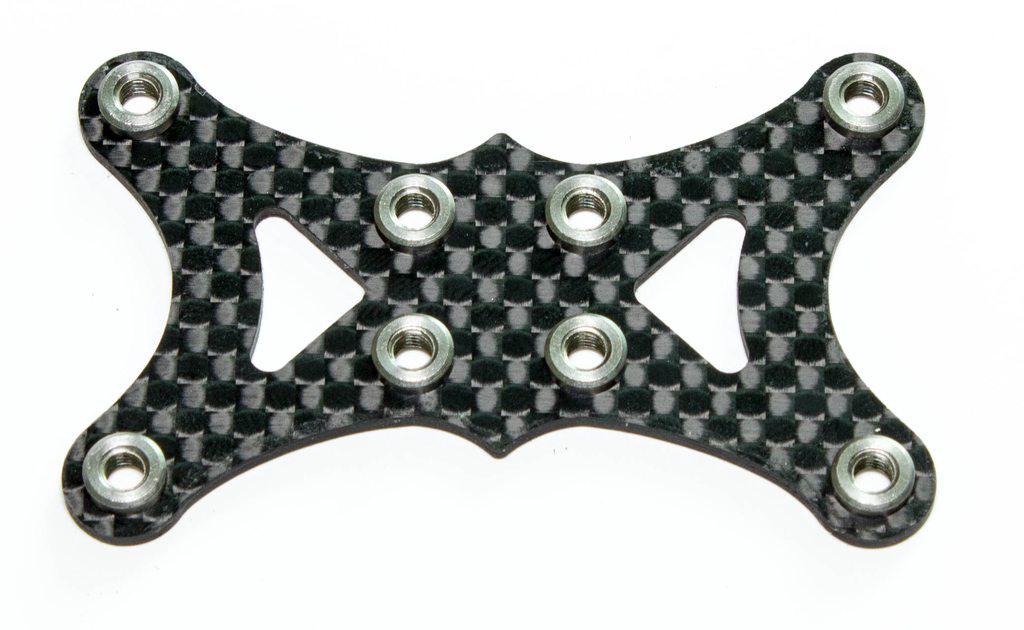
Once we’ve done the first 4 we can move onto the inner ones. Unfortunately there were no instructions I could find for the actual construction of the frame so I was a little apprehensive about starting this section as it’s not really something you can “undo” without weakening the carbon. Luckily after working out exactly where everything went I started, rather than just putting things together and hoping it was right :)
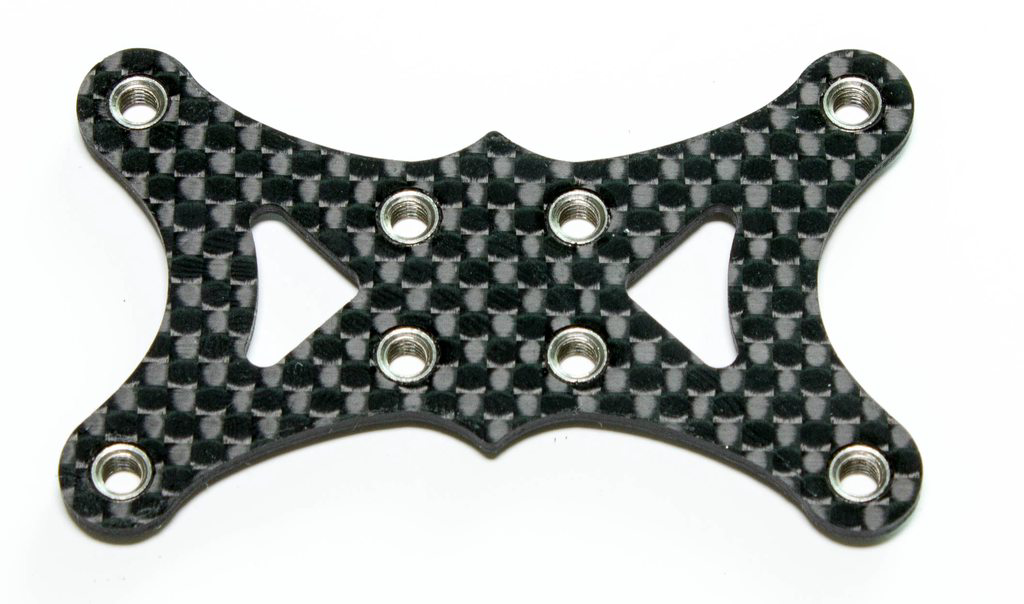
With all of them installed we can see how they sit from the underside. The metal part should sit flush with the carbon once screwed in properly and it has fully seated, meaning that the torque forces should be on the metal rather than on the carbon.
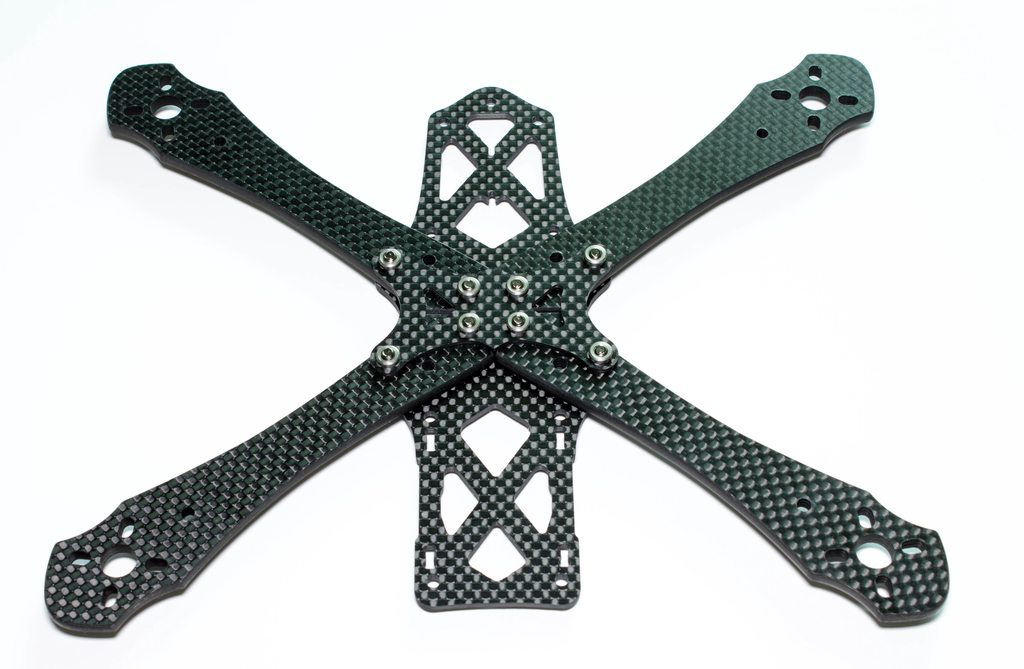
With the arm brace ready we can install the screws for the carbon into the bottom plate, and then throw the arms on top. There’s only one way you can install the arms so that they all fit so this is pretty self-explanatory. All of the screws are the same length here so it was relatively easy to work out which of the many screws you get in the kit were for the arms. I didn’t get any individual photos of building up the arm stack as it’s quite difficult to actually put all the arms on first without all of the screws falling out. I instead worked on one arm at a time and only screwed them into the top plate partially, enough to slide in the other arms.
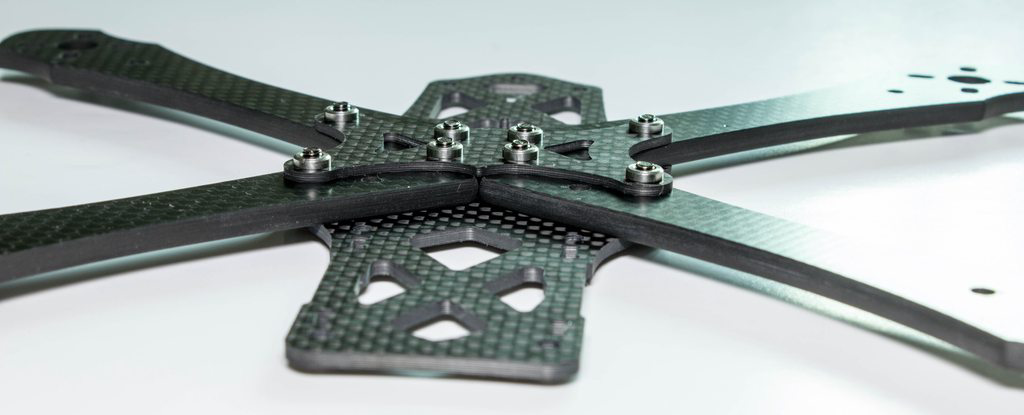
I love this shot, it looks like such a clean design for the arms. I’d still argue you could probably scrap this plate and run the top plate as a PDB, but I like the idea that if you crash that hard you break an arm at the brace point, then the nylon screws for the PDB will at least push the PDB out of the way to stop any damage.
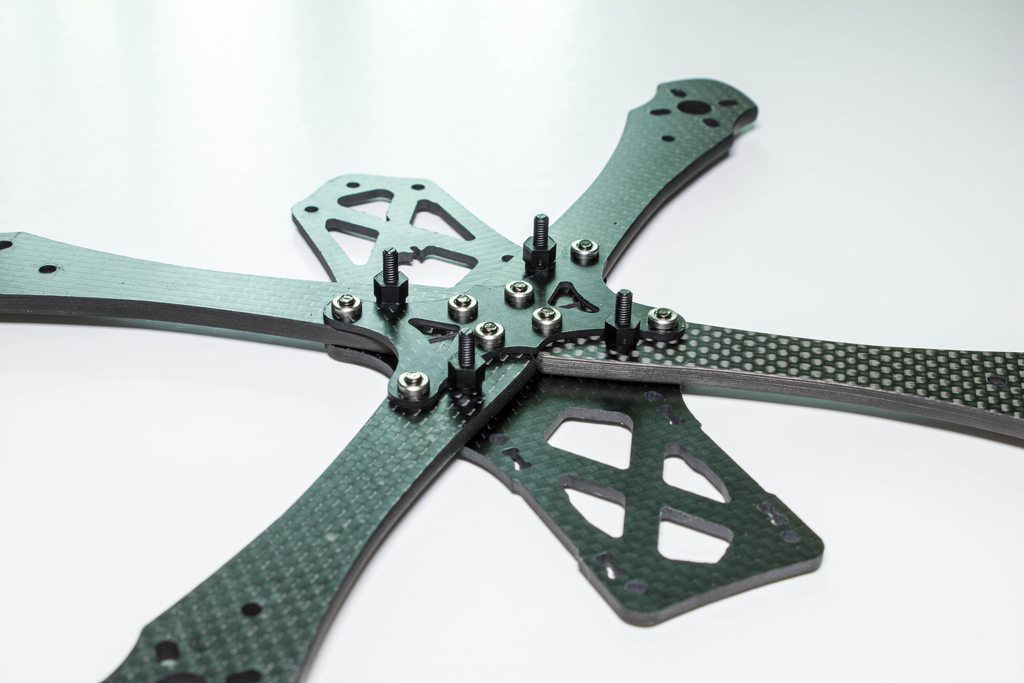
Once we’ve done all that we can add in the remaining screws and add in the nylon items which are a screw and standoff built in, which perfectly offset the PDB from the screws below it.
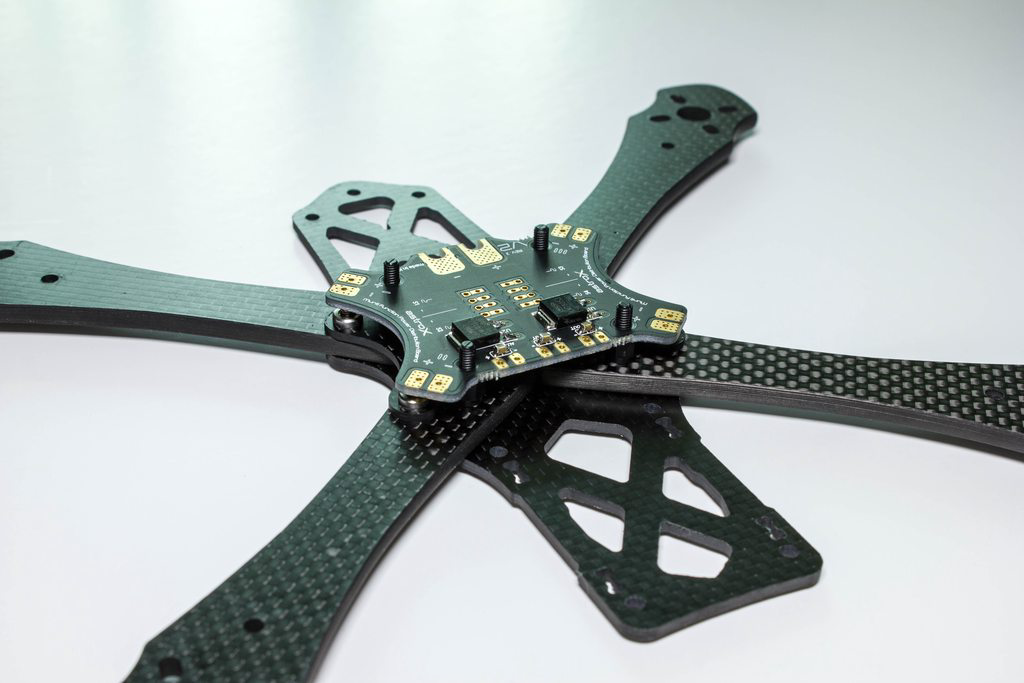
Once that is done we can add in the PDB, it slides over easily without any binding due to good tolerances in the carbon cutting.
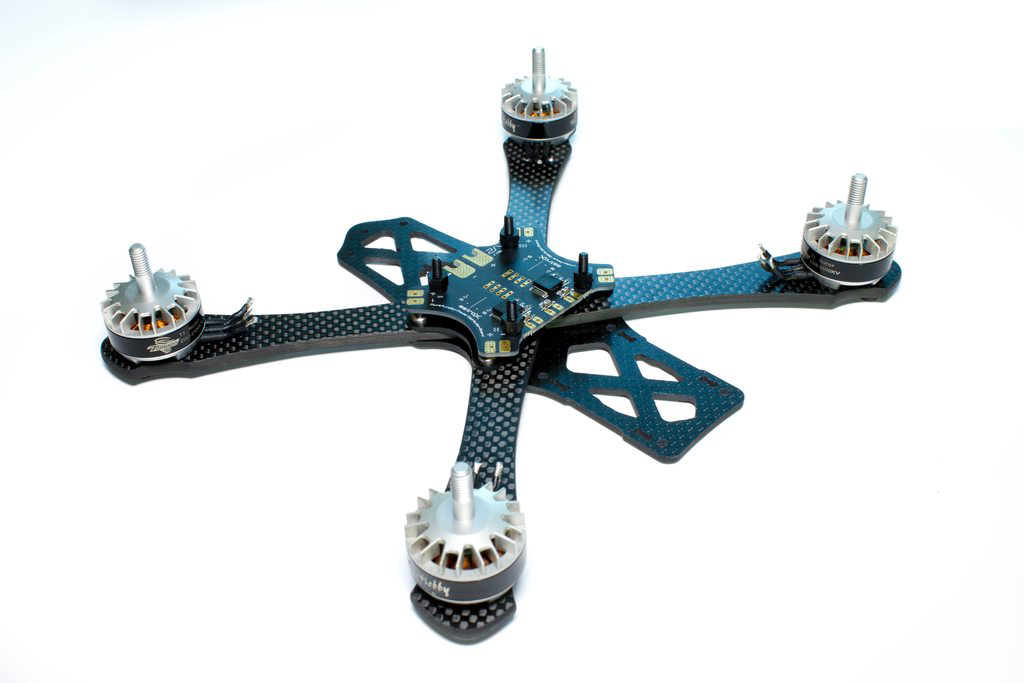
With only the frame assembled so far we can now add in some other components. I’ve added the motors first because these have already been used in a previous build, and so wire lengths to the ESC are crucial, and very much fixed. On a fresh build you can start from the ESC’s and work outwards towards the end of the arm, connecting the ESC’s as closely to the center of the frame as possible to help reduce the weight from outside the center of gravity.
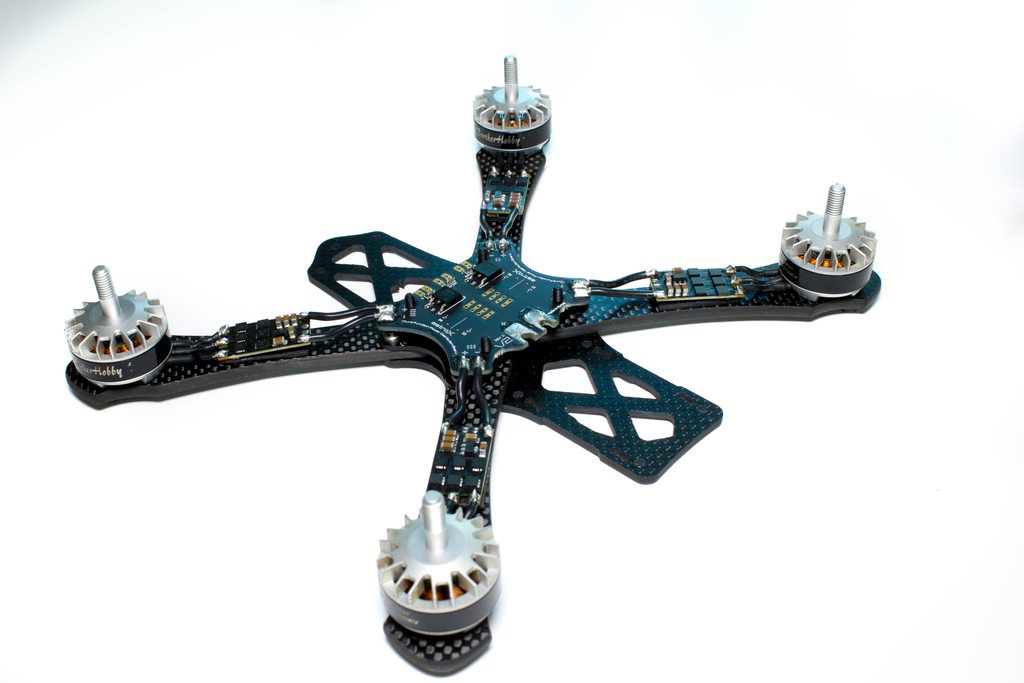
Now we can add in the XM20A’s and sort out the power wiring to the PDB. I did considering using KISS or some BLHeli-S esc’s but in all honesty the XM20A’s just work, there’s no faffing around to stop random desync issues or anything, so they were an easy choice. If I had to buy some fresh ESC’s I would probably have purchased some BLHeli-S ones, but it does not bother me enough to spend the extra compared to these.
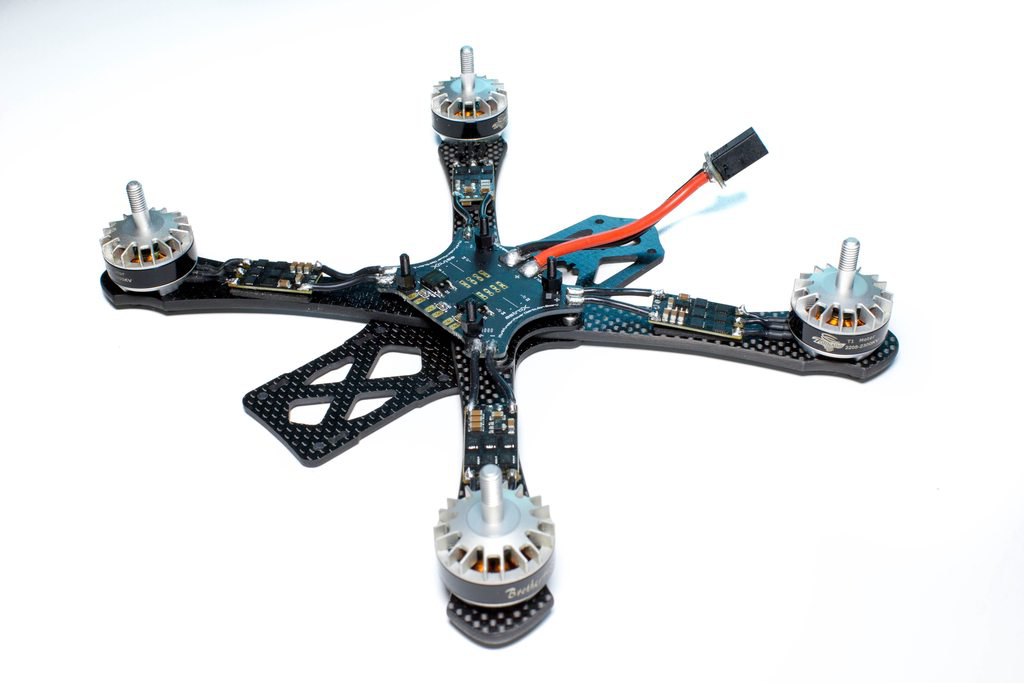
The main “power plant” is now installed so it’s wise to install the provided XT60 and wiring onto the PDB. I’d very much recommend installing the XT60 onto the PCB first, adding solder around the hole, and then adding the wire inside said holes once you have done that. This seats the PCB perfectly on the XT60 but also means it shouldn’t move when adding the wire in. We can now do a quick power up to sanity check that we haven’t reversed any polarities. If you are brave you can power it directly from the Lipo, or if you are not feeling so risky you can add in a “SmokeStopper”. This cheap little tool should prevent any fires or component burns long before they should happen if you do get the polarity wrong, and will instead just blow the bulb. Very useful if you are in a rush or tend to make mistakes and cross your wires up.
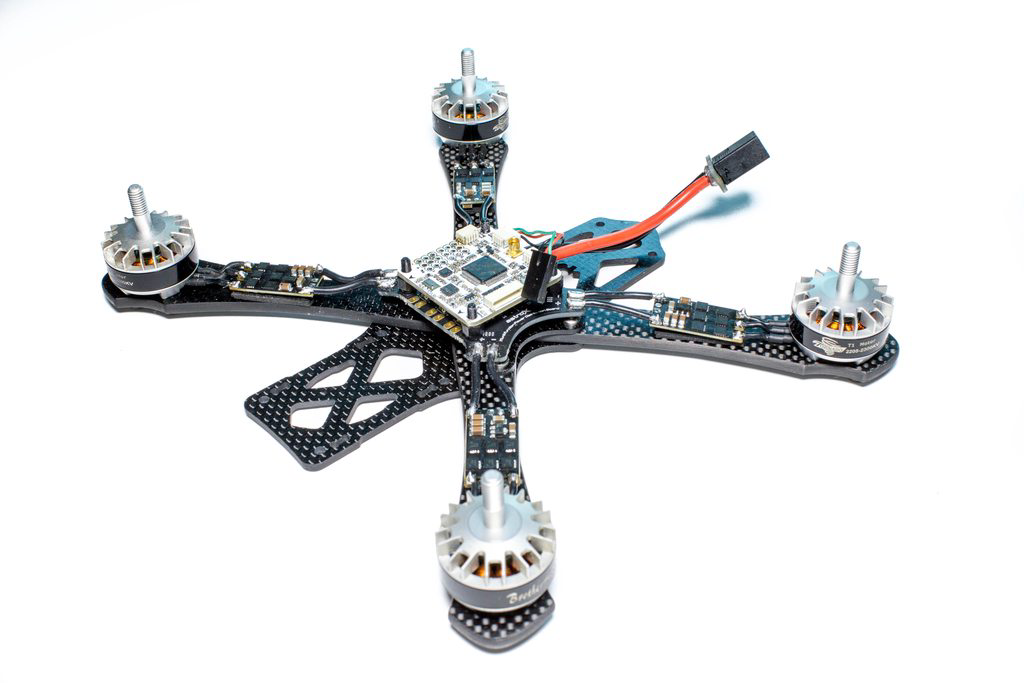
The next step is to add in the flight controller. I could not resist hard-wiring my ESC wires and so have done the same as I do on all my builds. While I love the idea of a modular system, I do not really crash enough to warrant it, plus I prefer doing things how I am used to doing them, and so this build will be no different in that respect. We’ve also now made use of the 5v regulator on the PDB to power the flight controller.
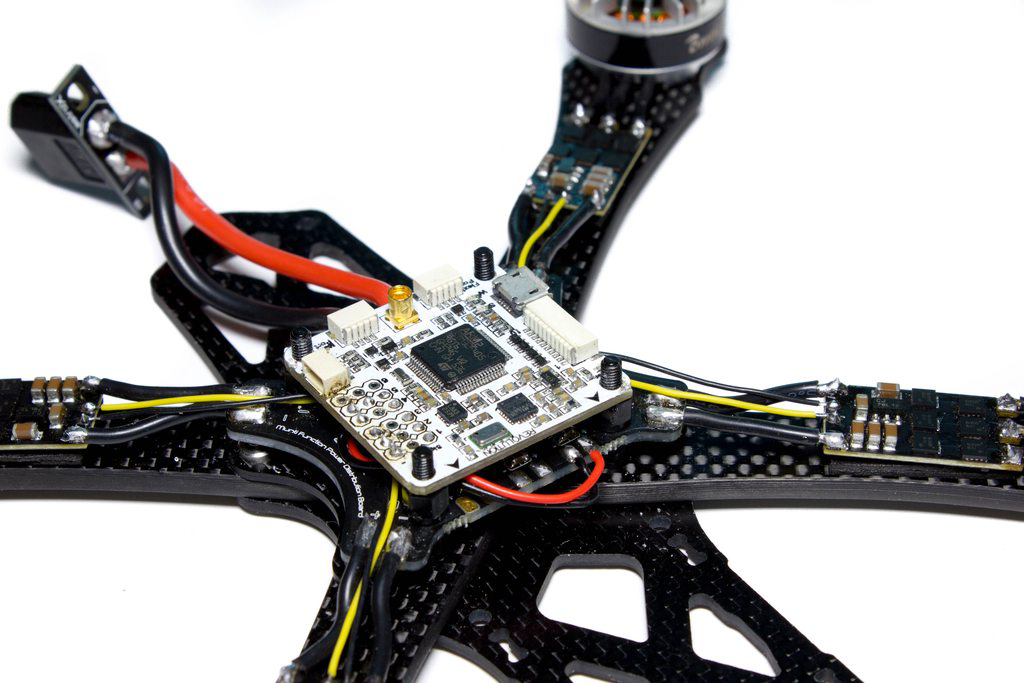
The OpenPilot Revo F4 is a great board that was really way way ahead of it’s time. It was released a few years ago and has an awesome F4 based cpu on it which is lightning fast, a favourite amongst the racers and people looking for that ultimate smoothness. The nice thing about these boards is you can run a multitude of firmwares on them now. You used to just be able to run the OpenPilot software, but now RaceFlight is supported, and as of BetaFlight version 3.0, even BetaFlight!
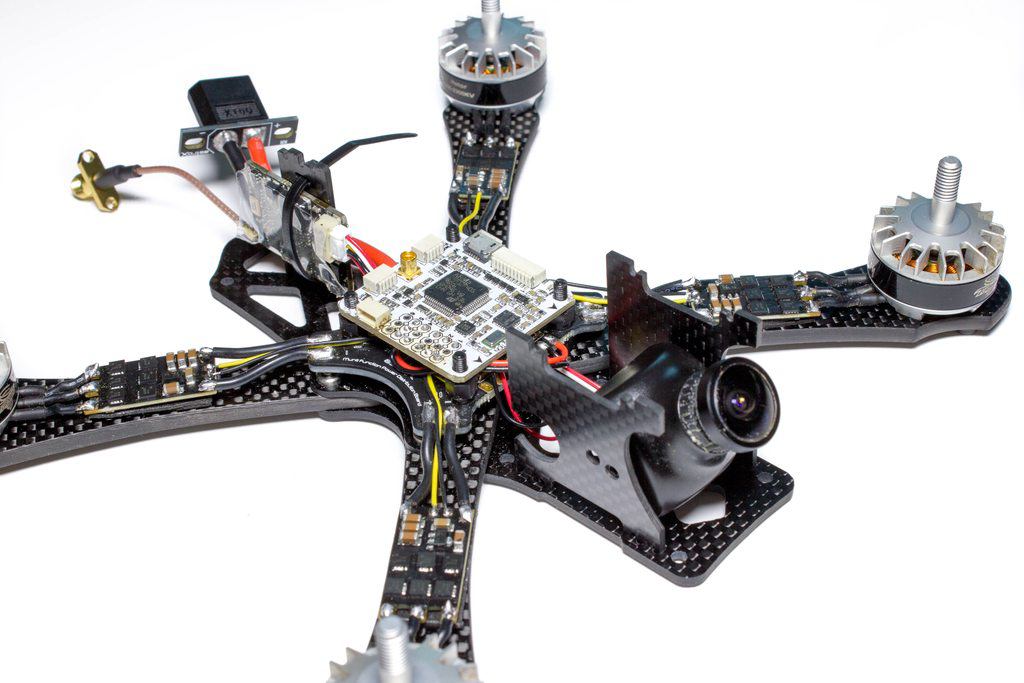
We’ve moved on a few steps and installed all of our FPV gear but the wiring was actually very simple. The TBS Unify Pro 5G8 HV only requires power wires itself, and powers the camera from an internal 5v regulator. Again, standard to my normal builds I have put this on the 12v regulator on the PDB, I’m a great believer that having a solid and constant voltage for these kinds of components can do nothing but good, so it makes sense to do it here if we have that. It’s worth noting here if you do use the TBS Unify that you WILL need to re-arrange the orders of the wires in the connector for the camera. I did not realise this and plugged it in with a completely backwards wiring order. Luckily, I did not burn anything, and the camera still works completely fine, but there are likely to be those people who are not so fortunate when doing it.
Adding the camera onto the plates proved to be a little troublesome because the camera had already been used in a previous build. When you use the screws for the HS1177 it seems to “flatten” the very outer plastic where it screws into meaning you need to “re-mould” it with a pair of pliars so that it will fit into the carbon holes. It was easy enough to do but something to bear in mind if you are using used components like me. I have decided to use the more forward and lower holes because you can get slightly more camera angle from this position. It also means the camera is seated lower in the frame which is something I’m quite used to so it should fly more like my other frames. I believe the actual intention was for 26mm cameras.
The fitting of the camera plates and vertical back plate was extremely tight and required me to enlarge the holes in the frame slightly to accommodate the plates. While this is slightly annoying, I’m glad they’re too small rather than too big because you cannot fix too big without it being an ugly fix such as adding tape etc. With 5 minutes of your time and a file, you will have the plates fitting nicely, if required at all.
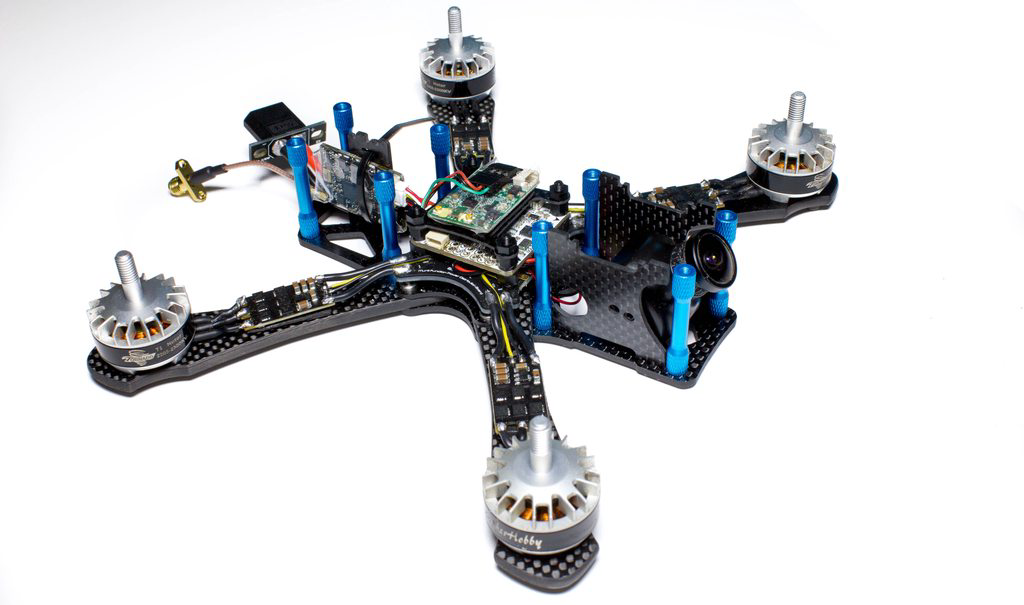
With that part all done we can now add in the standoffs. These look great with the outer sections being knurled and the inner sections being slightly lower diameter and a smooth finish. It’s the little things that stand out to me in a frame and this is one of those things.
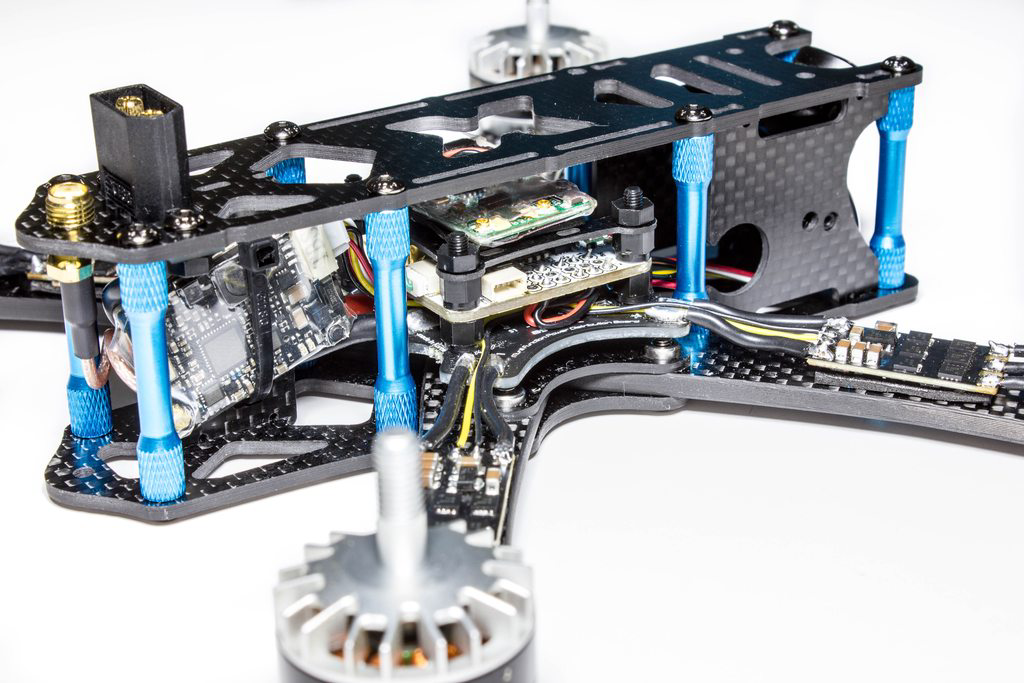
All that’s left now is to add the top plate on! I started by screwing the XT60 holder in first as that made the nylon nuts easier to access and tighten while it is still outside of the frame. After, that, add the remaining 8 screws and we are mostly done!
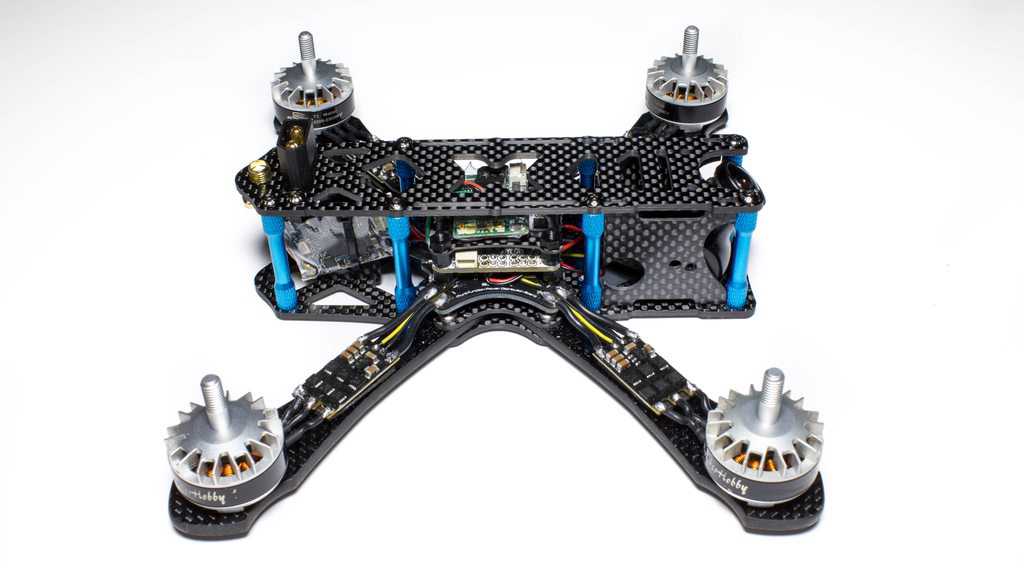
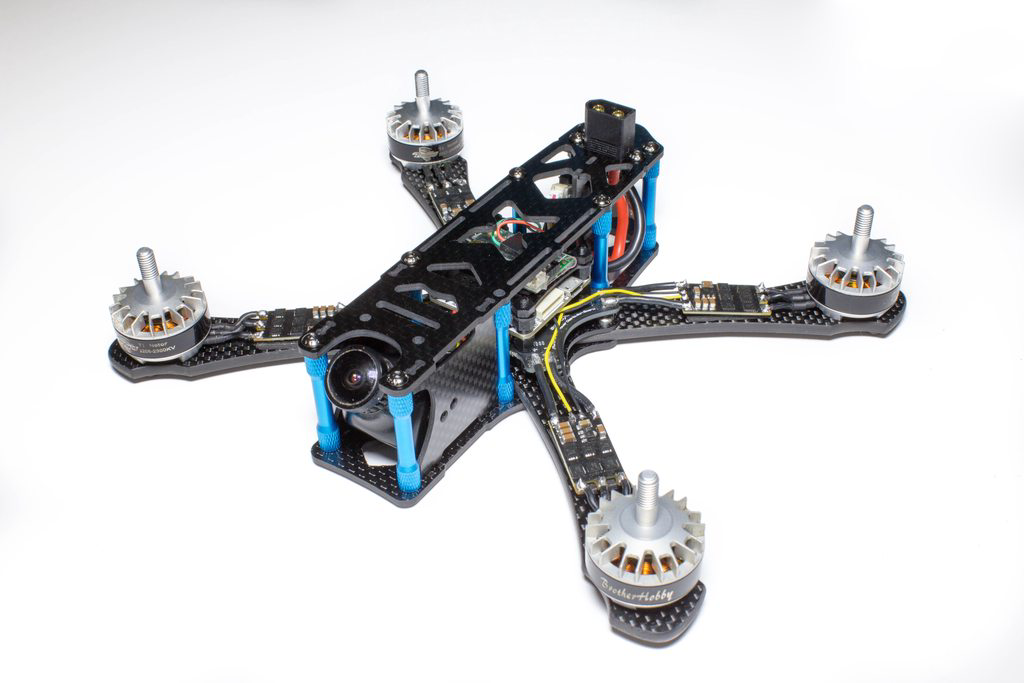
From the side this frame looks like a bit of a tank, it’s impressive to see so much carbon when the weight of it is not too heavy!
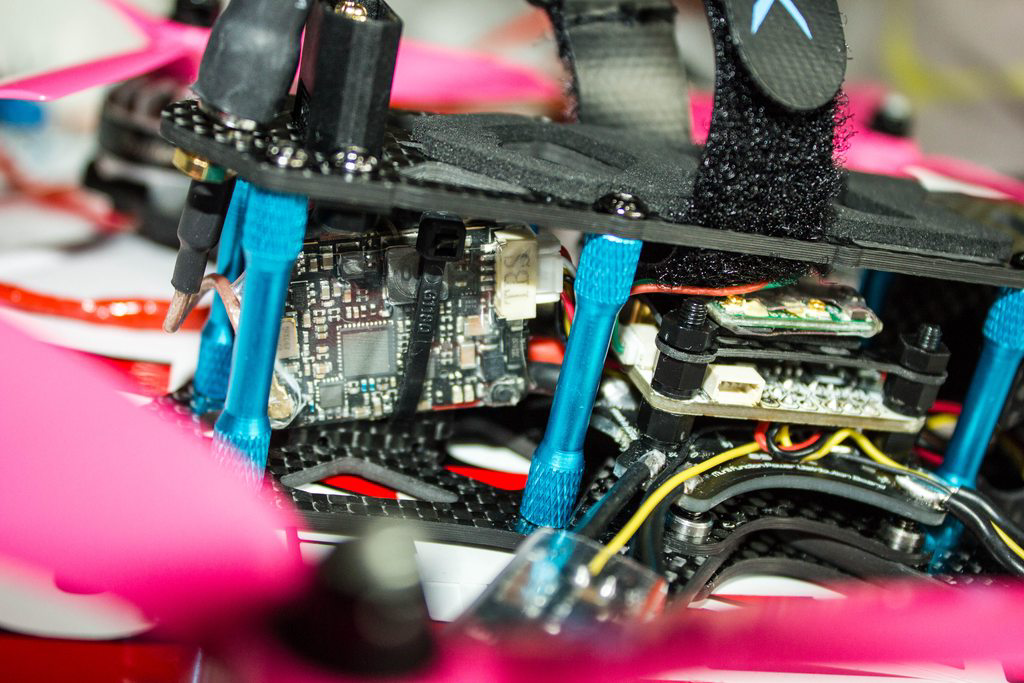
Here’s a little spy shot of the TBS Unify Pro, we can easily access the button to change all the stuff we need to. I could have mounted it on the other side of the plate so the button was at the top to make it even easier, but I had made the positive wire on my XT60 harness shorter so it curved around the plate better. Because of that the wiring would not really fit properly if I reverse it, oops!
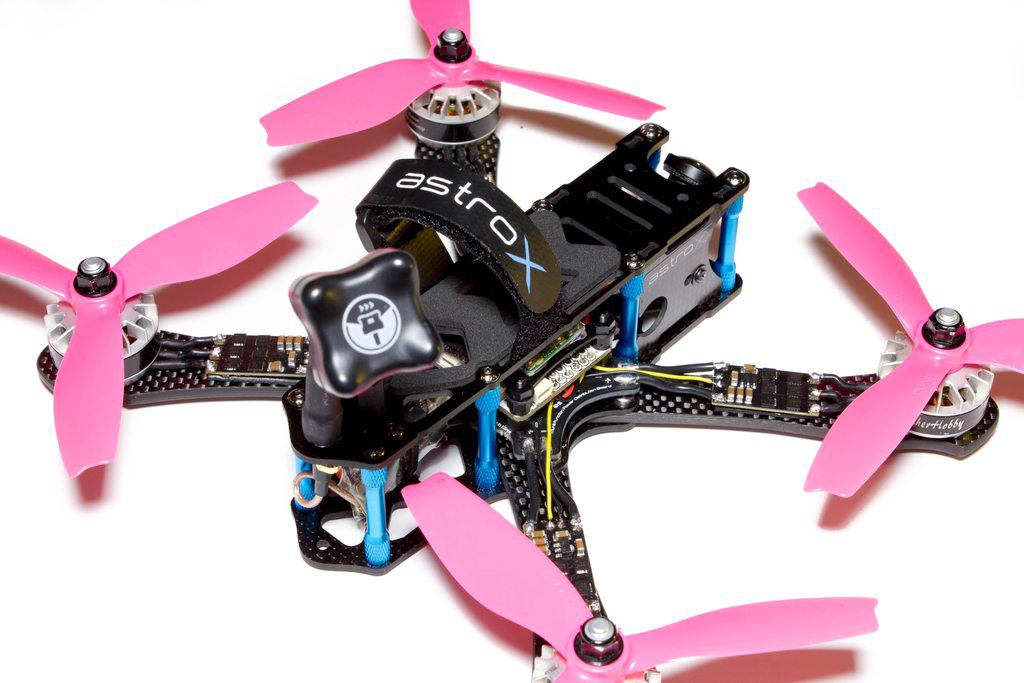
With some propellors on (sneak peak here of some new HQProps!), our antenna, battery strap and lipo foam it’s really taking shape.
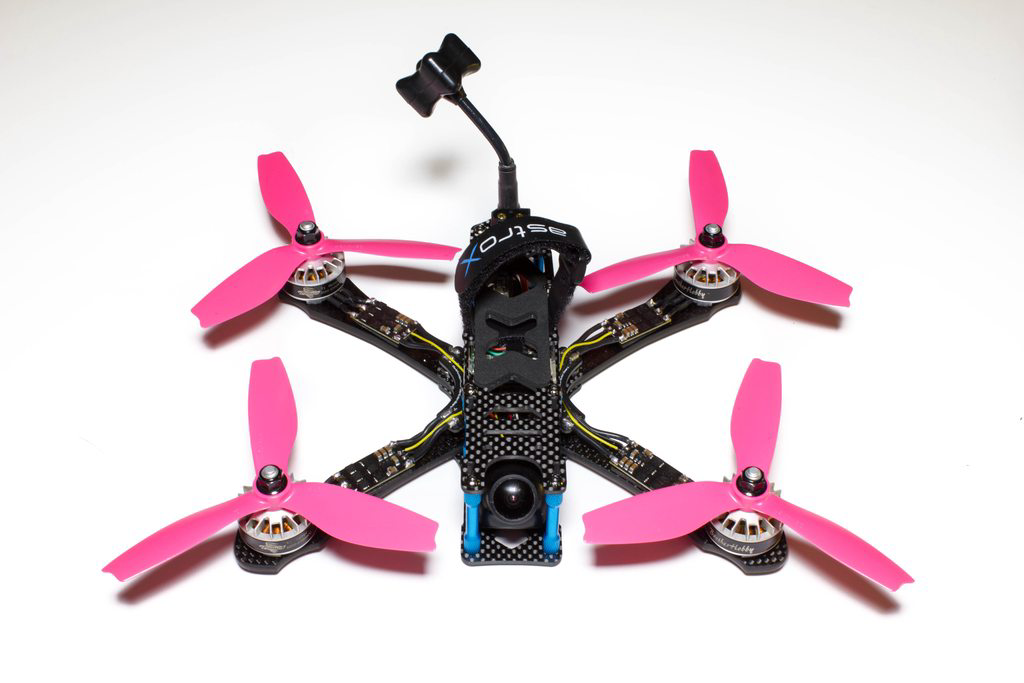
From the front this is looking to be a smart frame! I wish I had changed my wiring and got rid of that yellow though, it clashes too much with the pink and blue.. :)
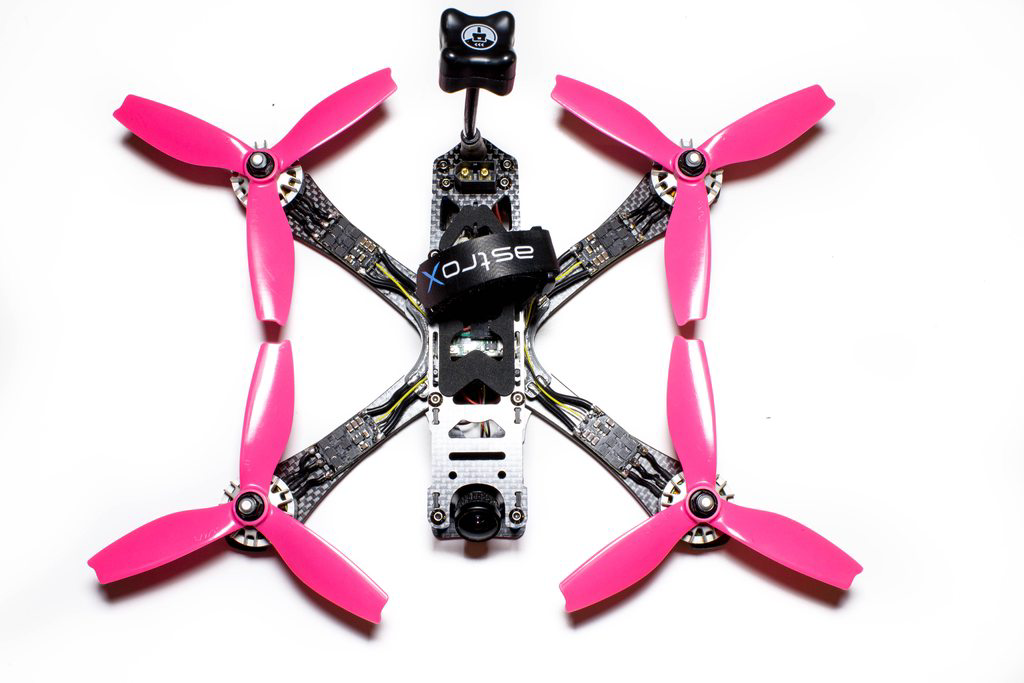
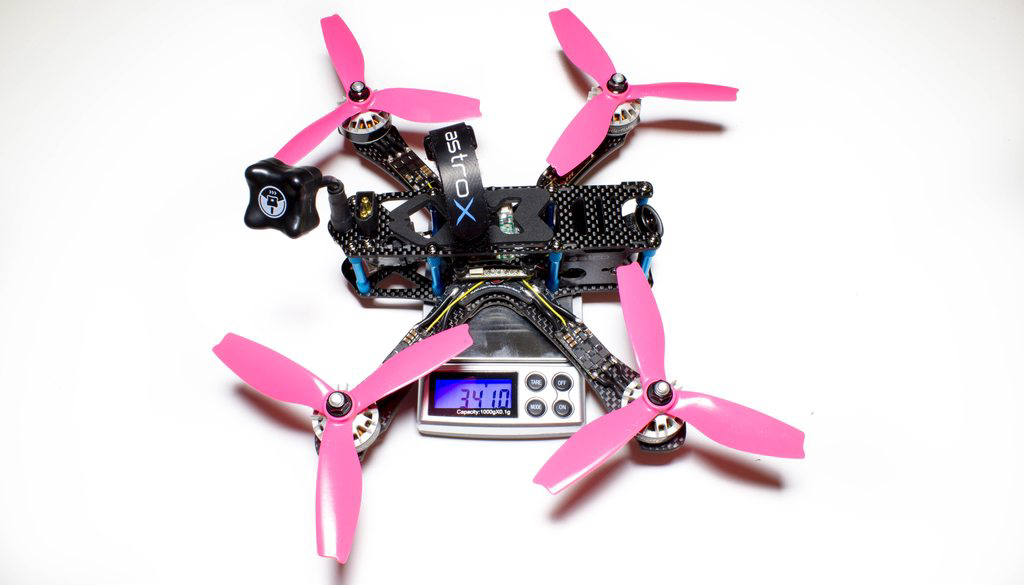
With the final weight of 341g on the nose this is a pretty good weighing quad, with a lot of features and accessories as standard. It’s around 40g heavier than my racing quads so not particularly that much, and I bet on the courses where having a bit of weight helps it would probably get faster lap times!
Flying
I sadly have no current flying footage as my GoPro is in for a warranty repair that was long overdue from a collision with a wooden post a few months back, but just never got around to handing it in as only the screen was broken and we had constant events! However, I have been flying it and so far it’s great fun, I can’t wait to get some videos out on it over the coming months. I am hoping to squeeze it in with me on my journeys over to Ibiza and Hawaii for the European and World championships so hopefully I can get some insane footage :)
Thoughts & Conclusion.
For me, it’s definitely a very positive review regarding the frame. It comes with a crazy amount of accessories at a hugely competitive price and they’re all great quality components at that! The lack of instructions I personally found annoying and I’ve been around the block a few times when it comes to building quads, so I think a newcomer into building their first quad and picking this frame would greatly benefit from them and could perhaps otherwise be put off from even starting it. With that being said, I did work it all out once I sat back, so I can’t really criticise too much here. The rounded arms look great and feel really nice to hold, as does all of the carbon and has a very well thought out design with some features some people would probably miss. For example, on the back of the top plate towards the XT60 there are some slight notches in the top plate that seem to be to allow cable-ties to “grip” onto - presumably for receiver antennas. It’s nice little thought out ideas like that that sell a frame to me, and this has many of them all packed into a good price.