Reviews
AstroX Q130 - Build Log & Review
Posted on July 11, 2017 • 10 min read • 2,015 words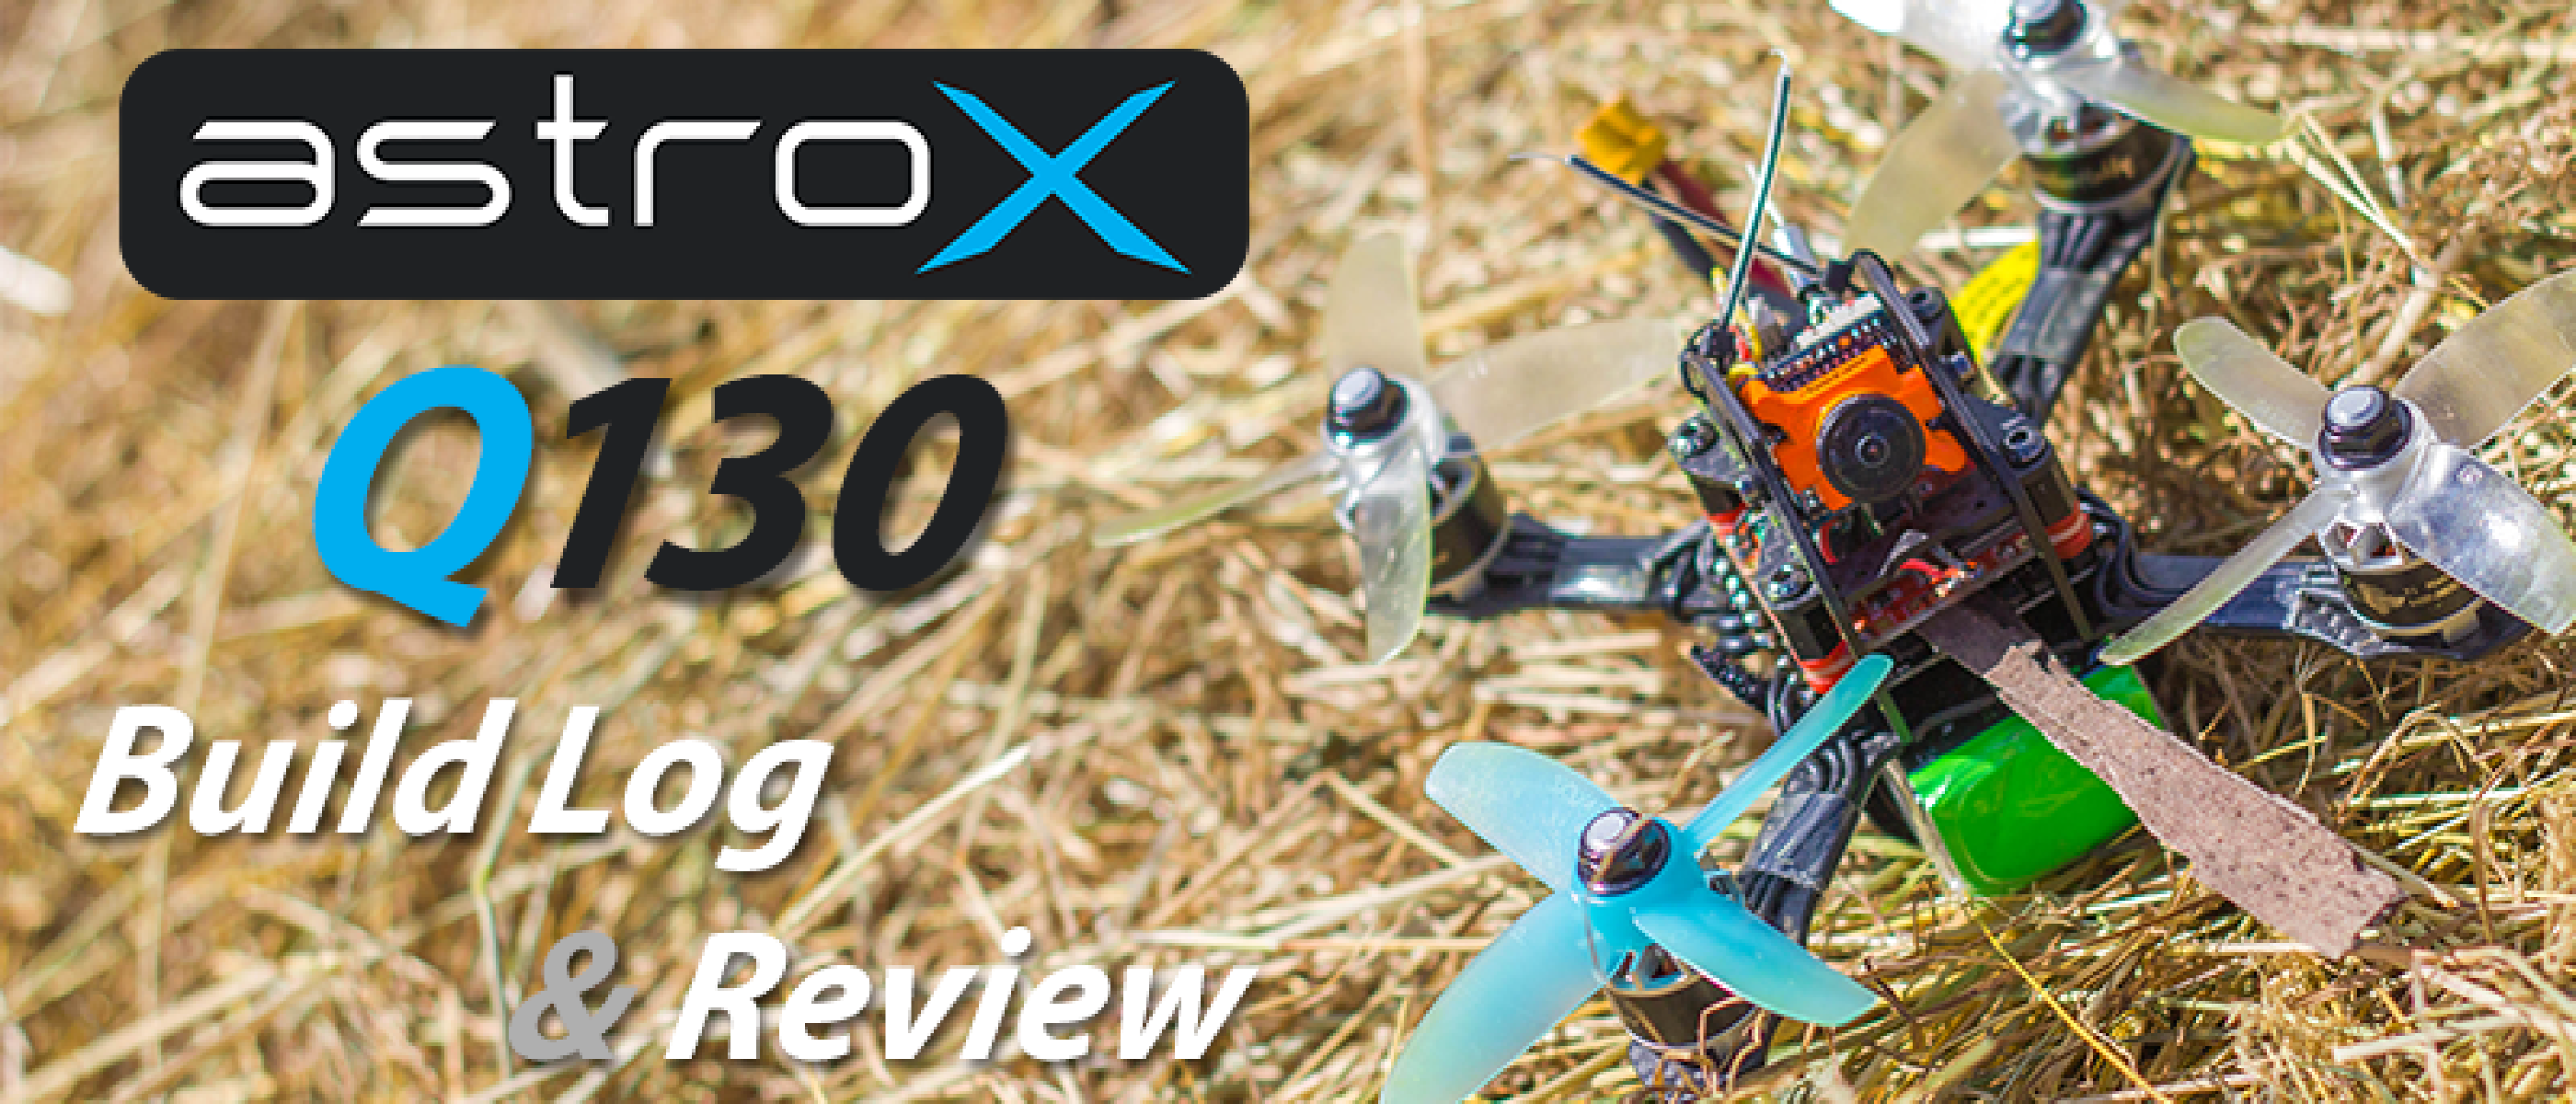
The AstroX Q130 Frame is available direct here.
Having had my Falcon Multirotors Rasvelg 3" quad for a while now I have found a soft spot for these micro racer I have always wanted to build one that’s a little bit lighter to get that extra last bit of power out of it - and that is exactly what it looks like AstroX have done, so I just had to review one. In this review we’ll be covering both a 2mm and 2.5mm Q130 (the bottom plate thickness). The AstroX line of products has always amazed me with their superior quality over any other manufacturer, so to say I’m looking forward to to this is an understatement!
Specs
So what does the product page say about the frame? Well…
- Full 3K Carbon Fiber airframe (Base plate 2.5T / Round cut).
- AstroX Silky finish coated (All carbon parts - Carbon dust free).
- Frame size for 3" propellers, 130mm motor to motor.
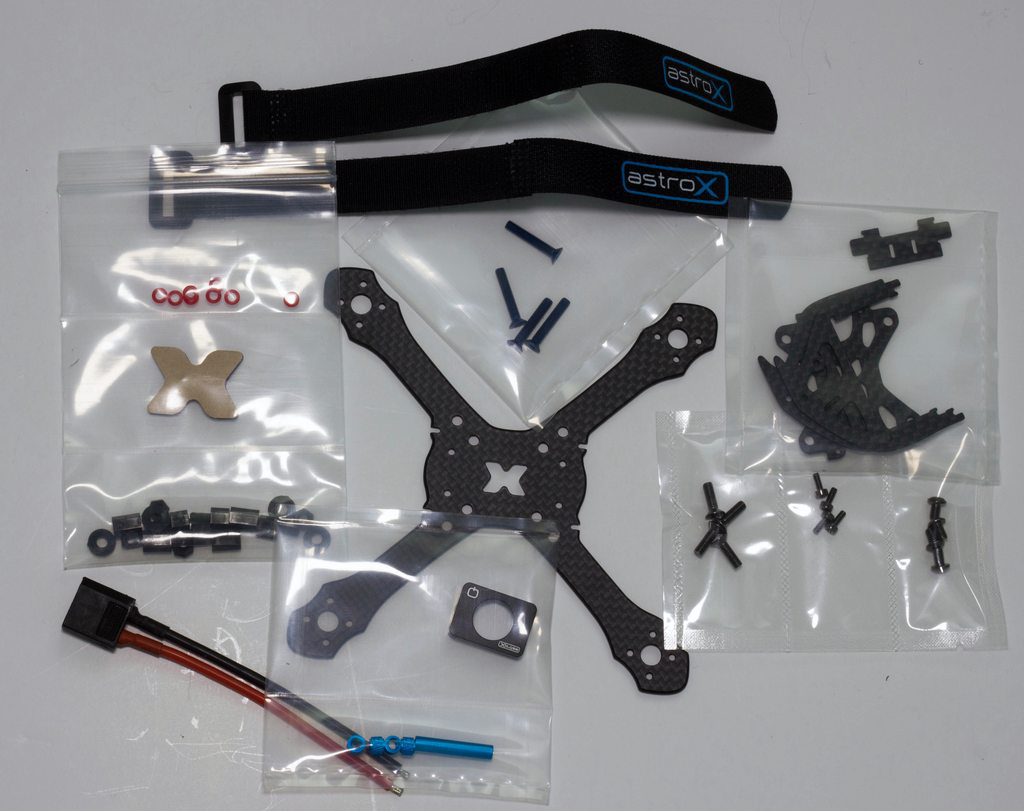
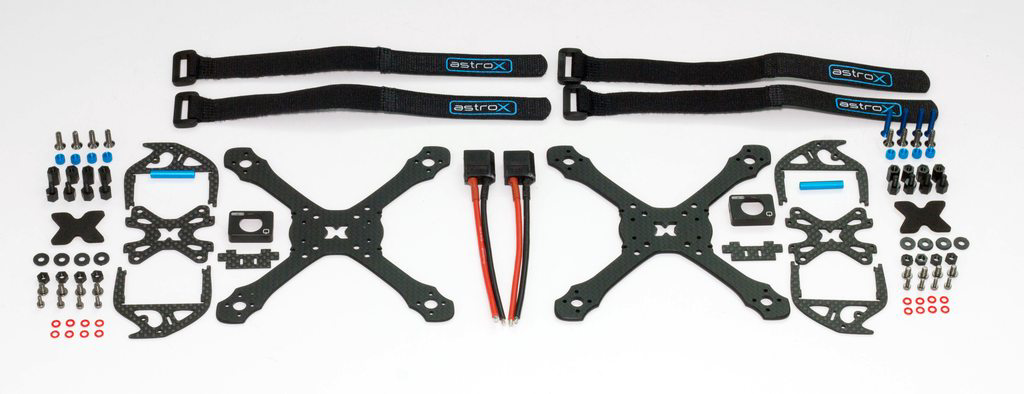
- New 20mm Alu 6061 T6 standoff 4pcs and 22mm 1pcs.
- 12.9 Carbon Steel M3 screws (Black nickel plated).
- M3*6mm Nylon Standoff, nut and washer.
- New Silicone ring for FC
- Lipo strap small 190mm (2pcs).
- Designed under 22mm size cams (recommend camera : 14mm W x 14mm H size micro camera).
- Alu 6061 T6 camera mount for14mm x 14mm camera ( wide FPV camera angle )
- Super light weight and super rigid for racing
- Speed around : 130km/H (4s)
- Frame full setup weight : under 130g (Frame,FC,ESC,Motor,Reciever,Camera,VTX,Velcro strap,Ant)
- Frame size : 130mm
Whats in the box
So with all that in mind let’s get down to the bees knees and build these babies up!
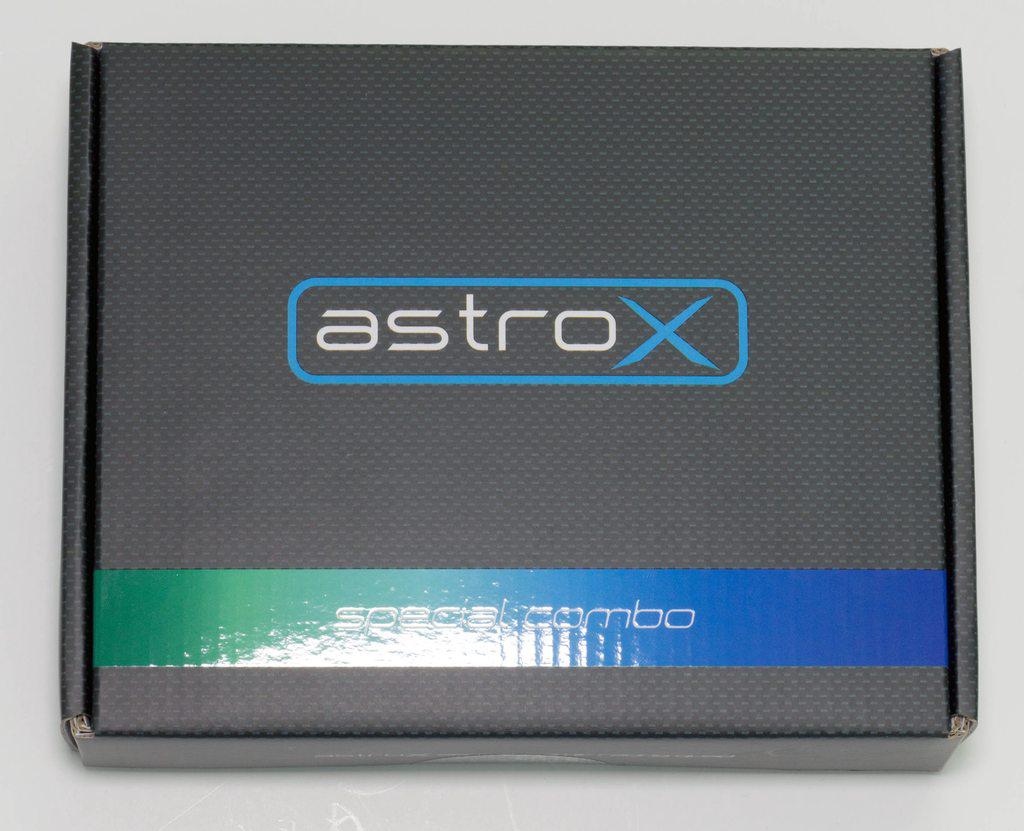
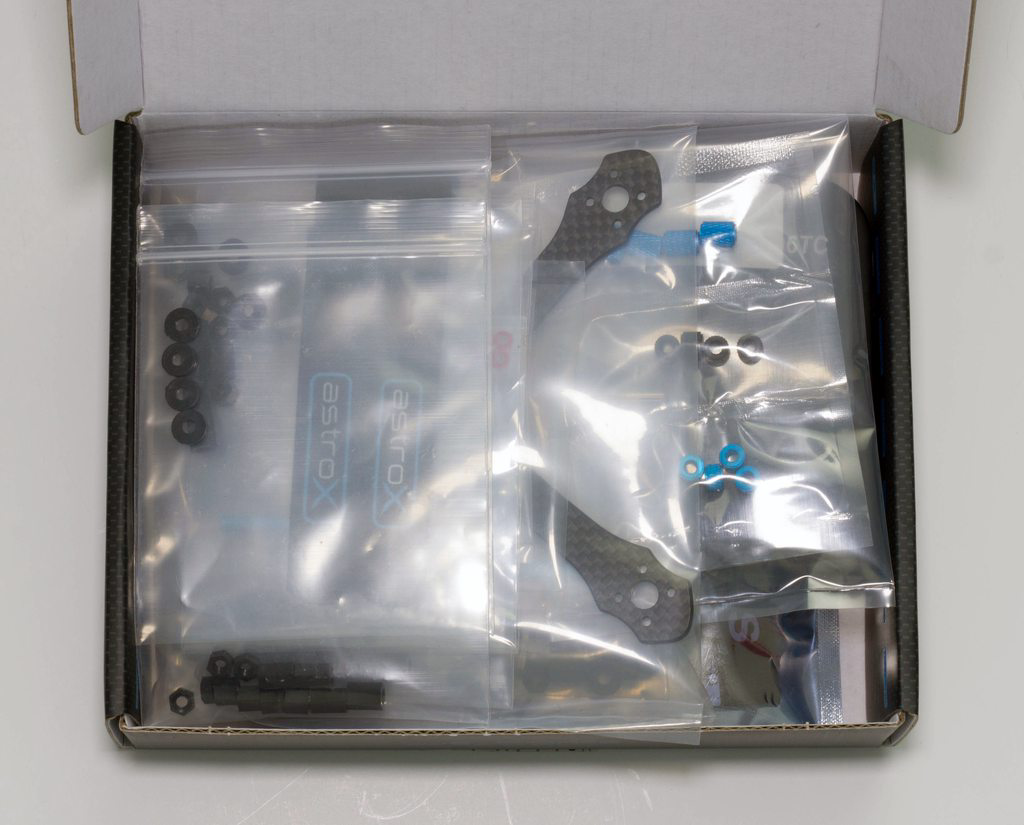
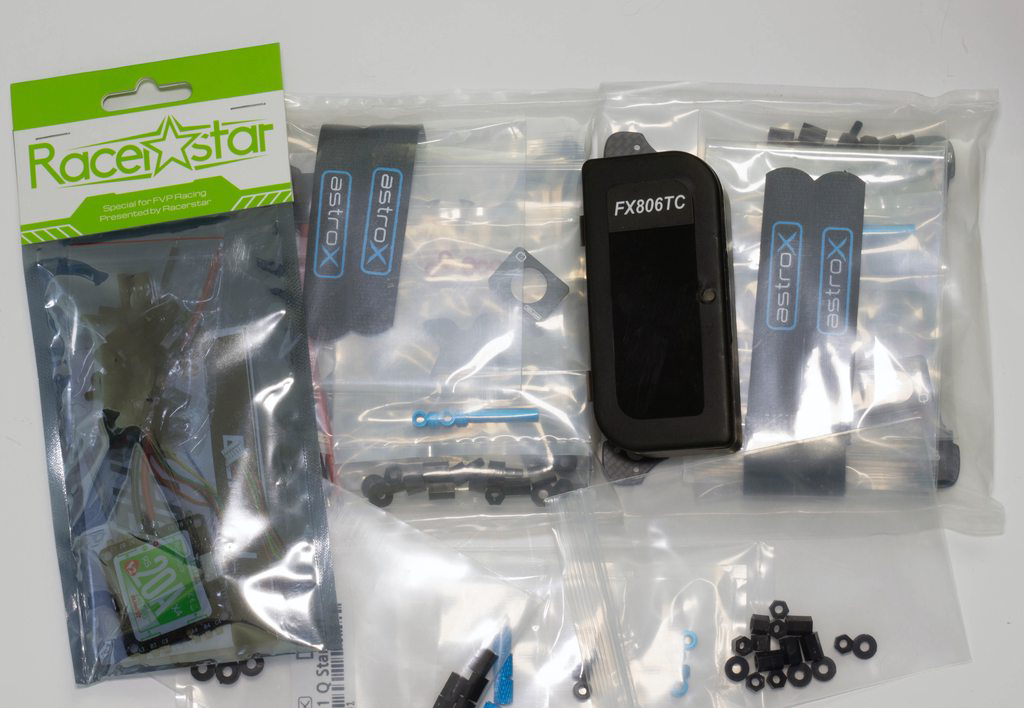
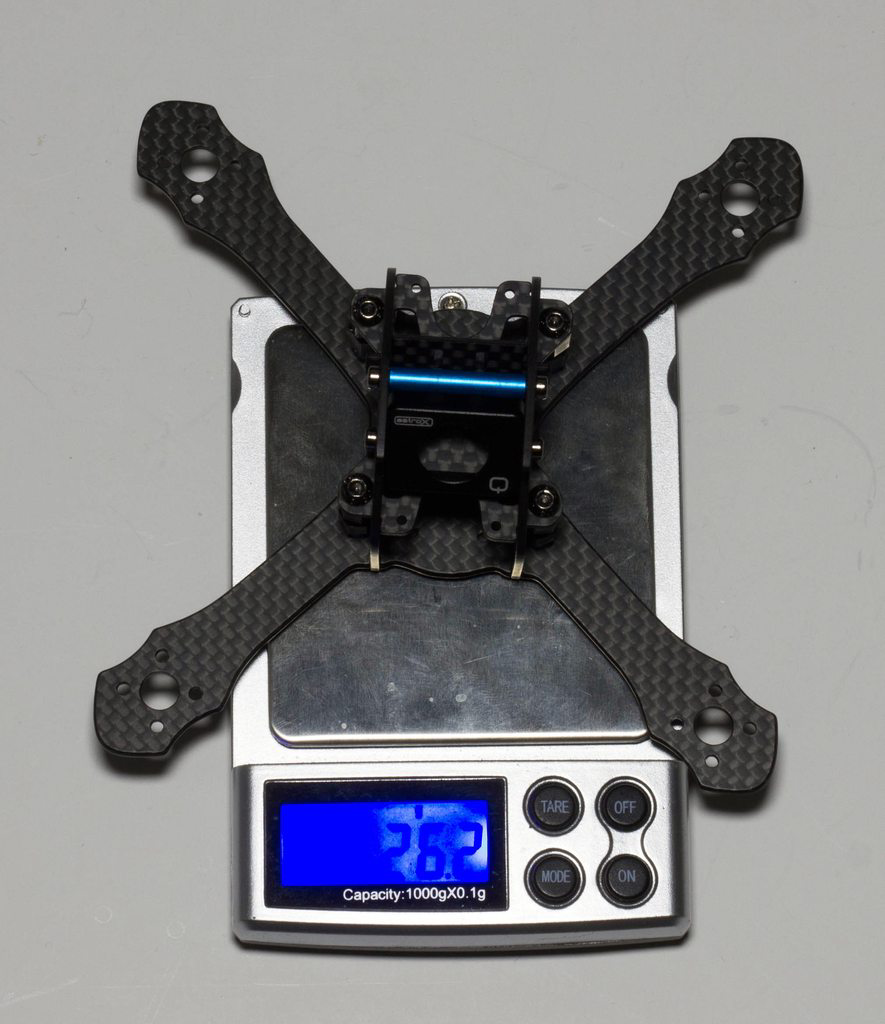
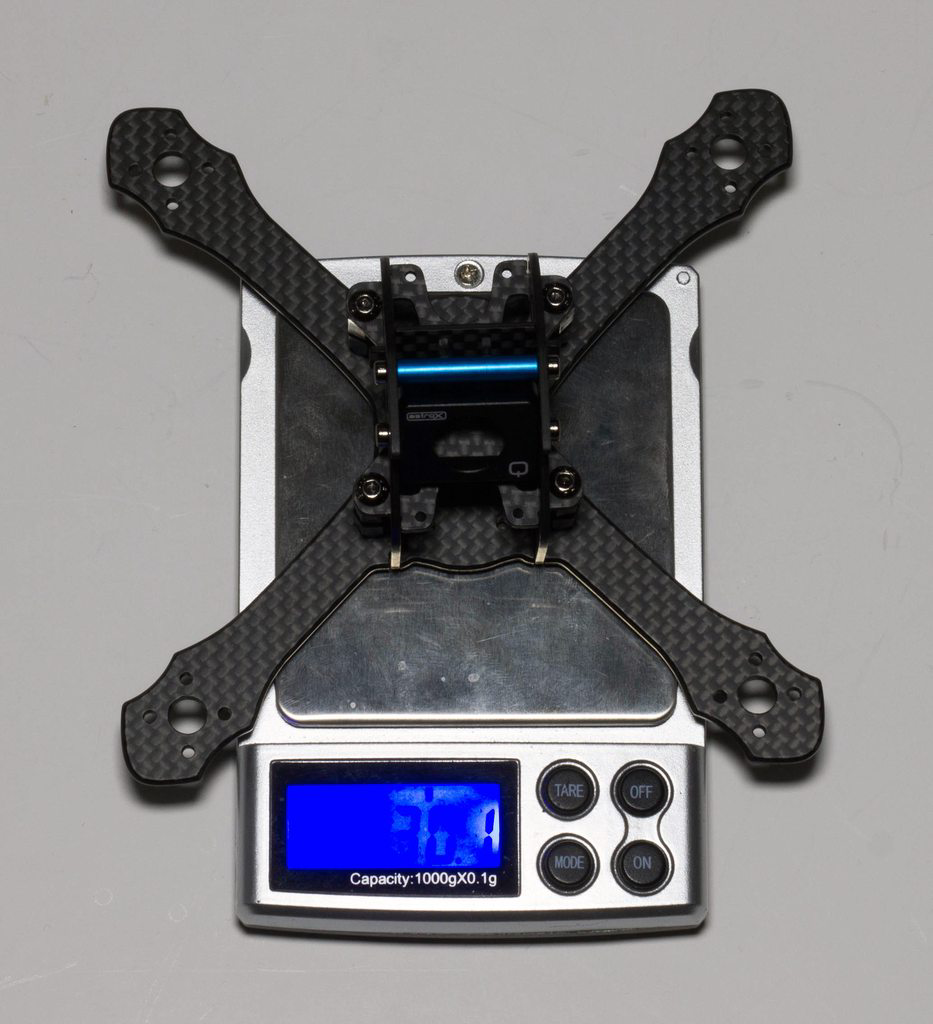
The 2.5mm weighs in a little bit heavier at 30.1g, but is still far lighter than any other 3" frame I’ve built thus far, so I am intrigued to see how it differs.
The build
For these builds we’re going to build them identical to one another - I don’t want component differences to be any factor in seeing if weight differences like this make all that much difference, so with that in mind here’s our spec:
- Brotherhobby 1407 3600kv motors
- Racerstar 20A 4-in-1 ESC
- Raceflight Revolt
- FrSky XM+ Receiver
- FX806TC Video Transmitter & camera combo
- HQProp 3x3x4
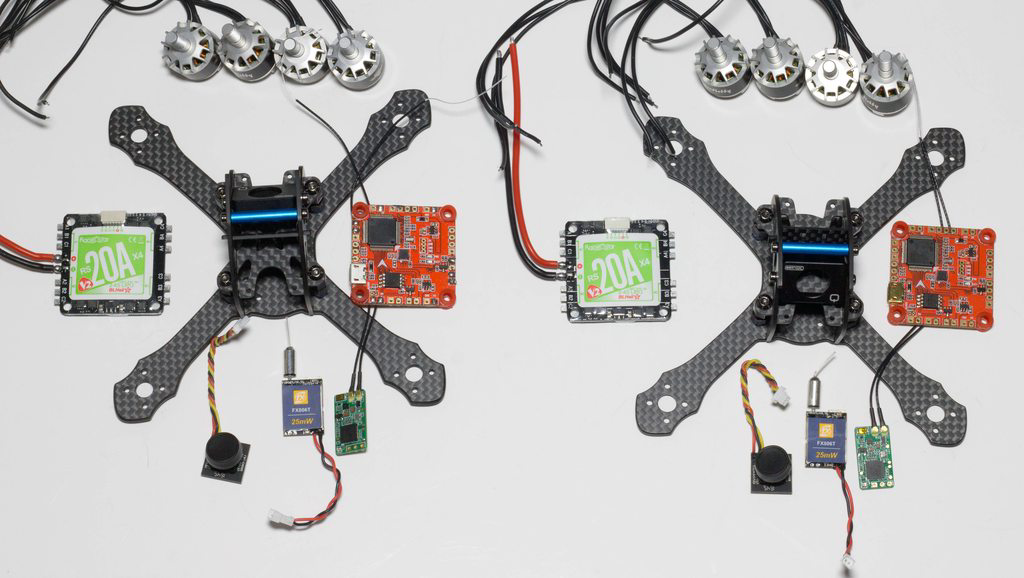
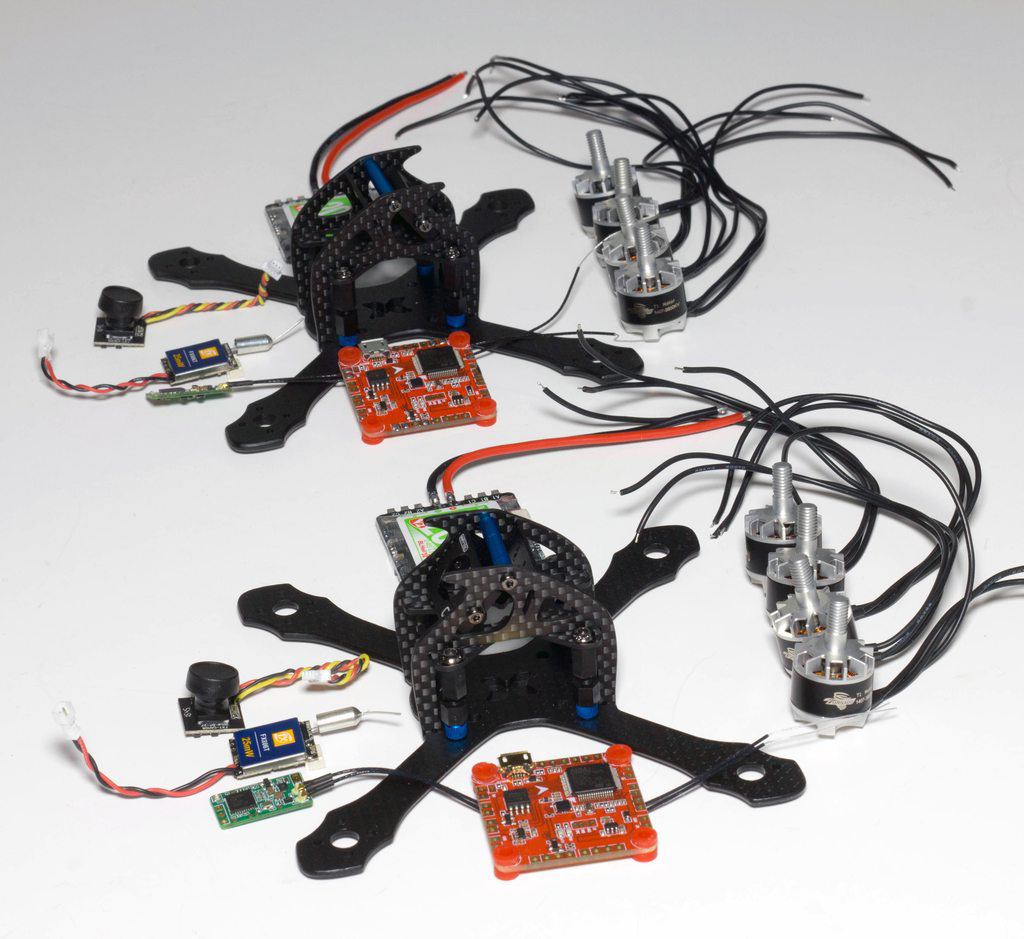
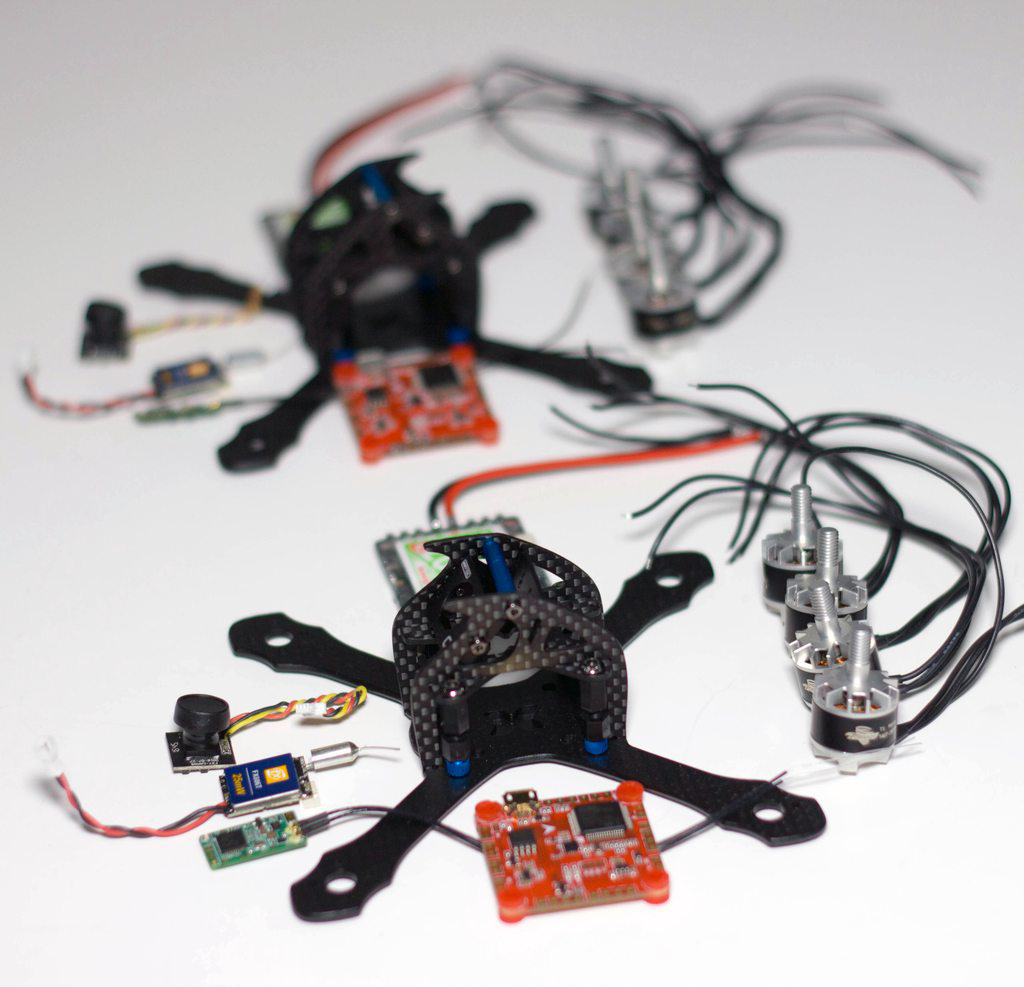
With that in mind, let’s get on with the build!
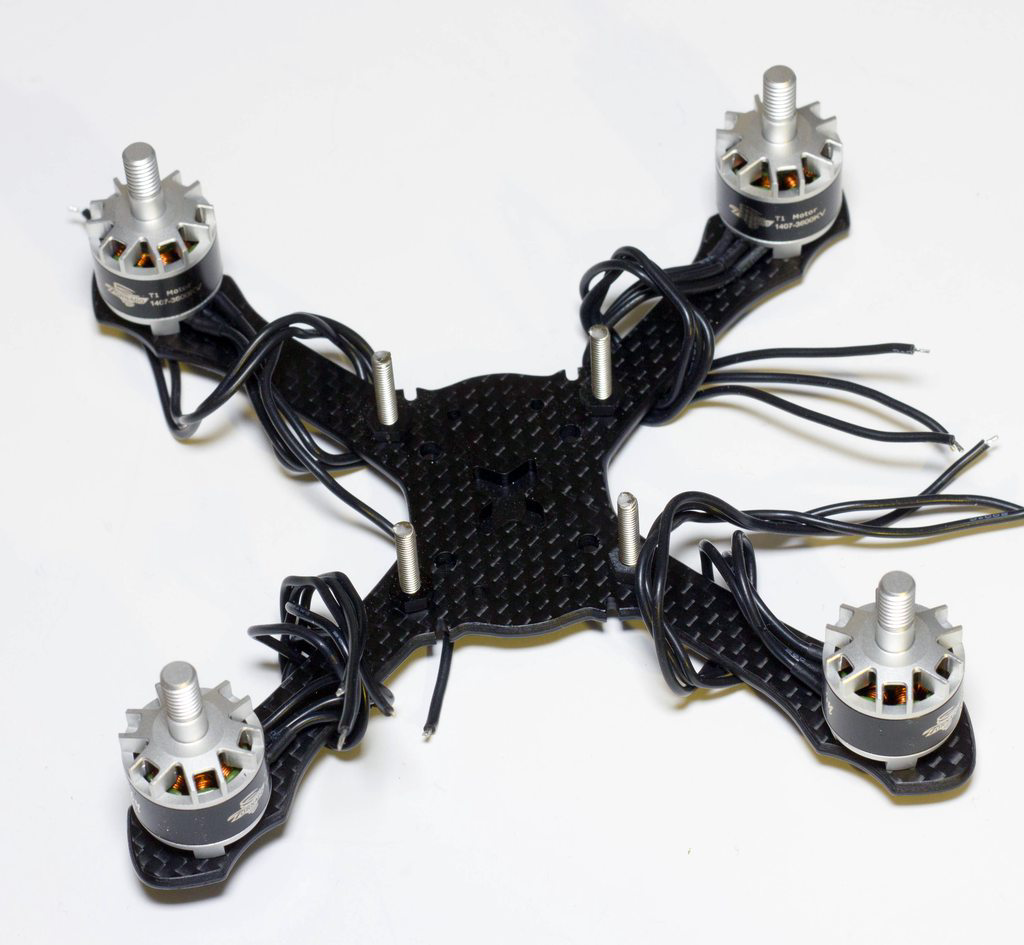
Firstly we’re adding the motors - one thing to note here is that you’ll need to either cut down the screws that come with the motors, or you need to buy some new screws to fit the plate. The screws that come with the Brotherhobby motors seem to be designed for 3mm thick bottom plates - so that extra 1mm means you’ll be screwing into windings if you do not shorten them.
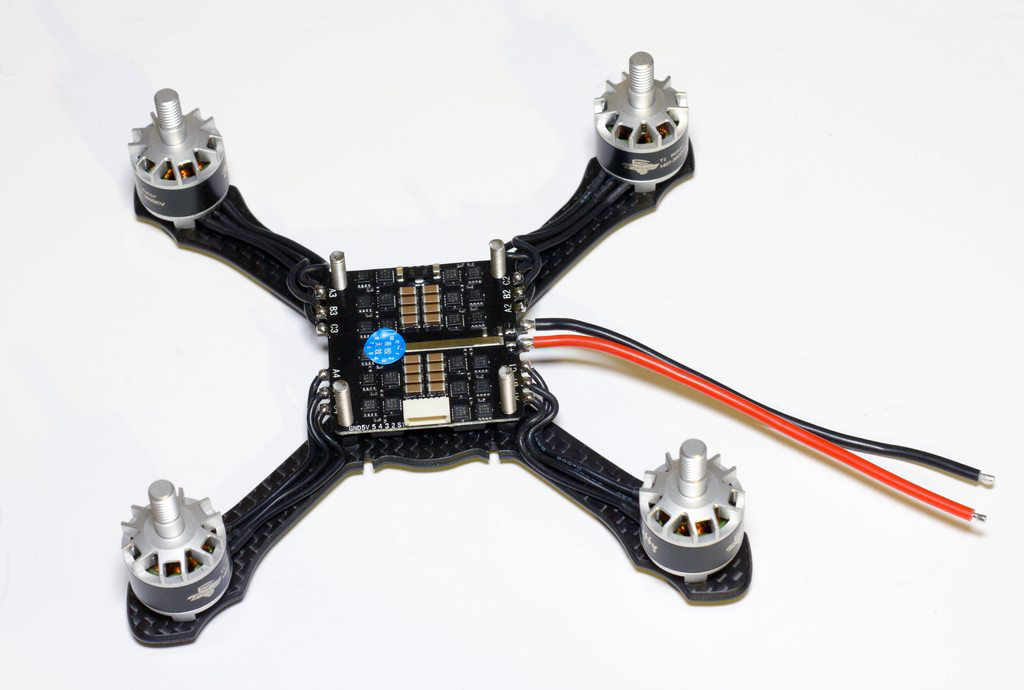
Next up we slide the ESC onto the stack and solder the motor wires up - I’ve left them a little bit longer here so that we can neatly hide all of the exposed wires once the top plate is on.
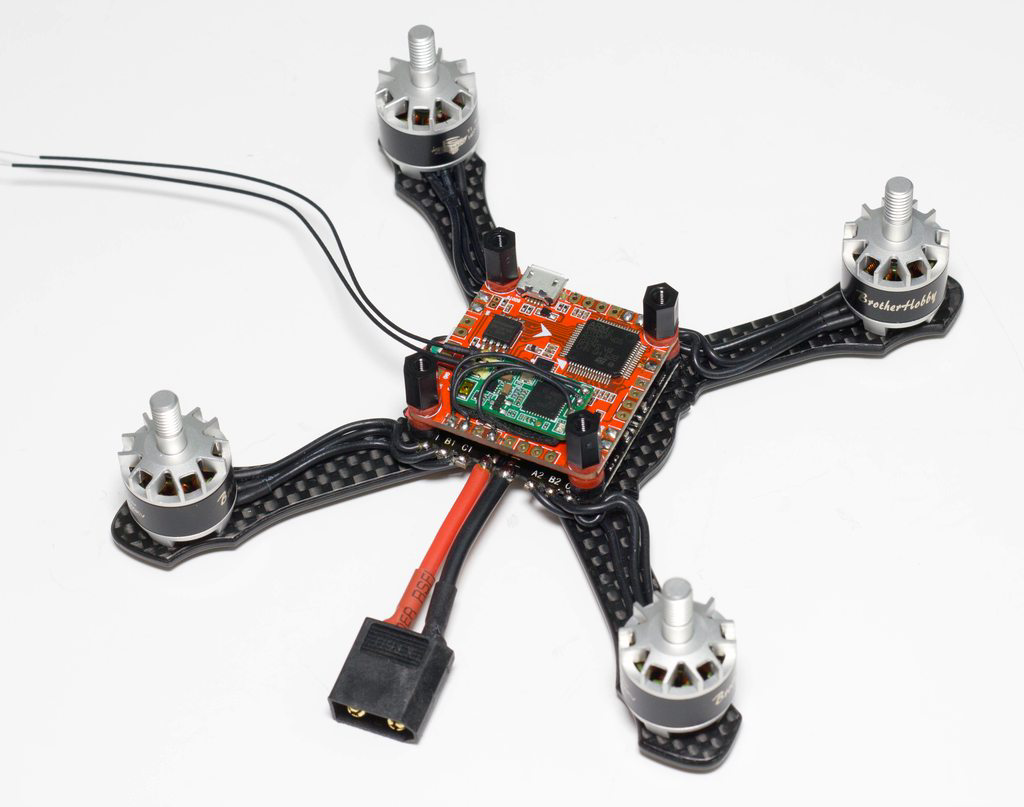
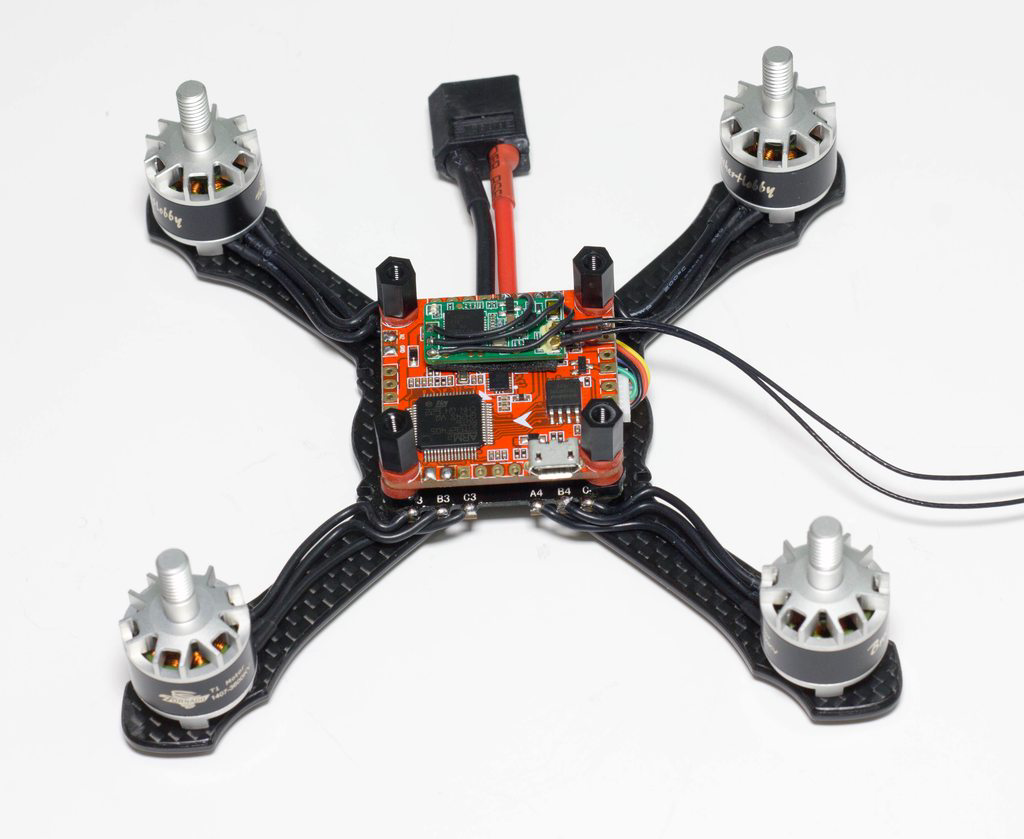
Next up we can add the Raceflight Revolt - note here that while I have standoffs above and below the stack - they are screwed on very lightly so as to not remove the point of the dampened washers on the flight controller. This gyro is pretty sensitive to noise so it must remain isolated without squashing the gummies. The receiver is simply double-sided foam taped onto the flight controller, but note that it is not stuck to the gyro located on the middle of the flight controller - doing this would also add noise!
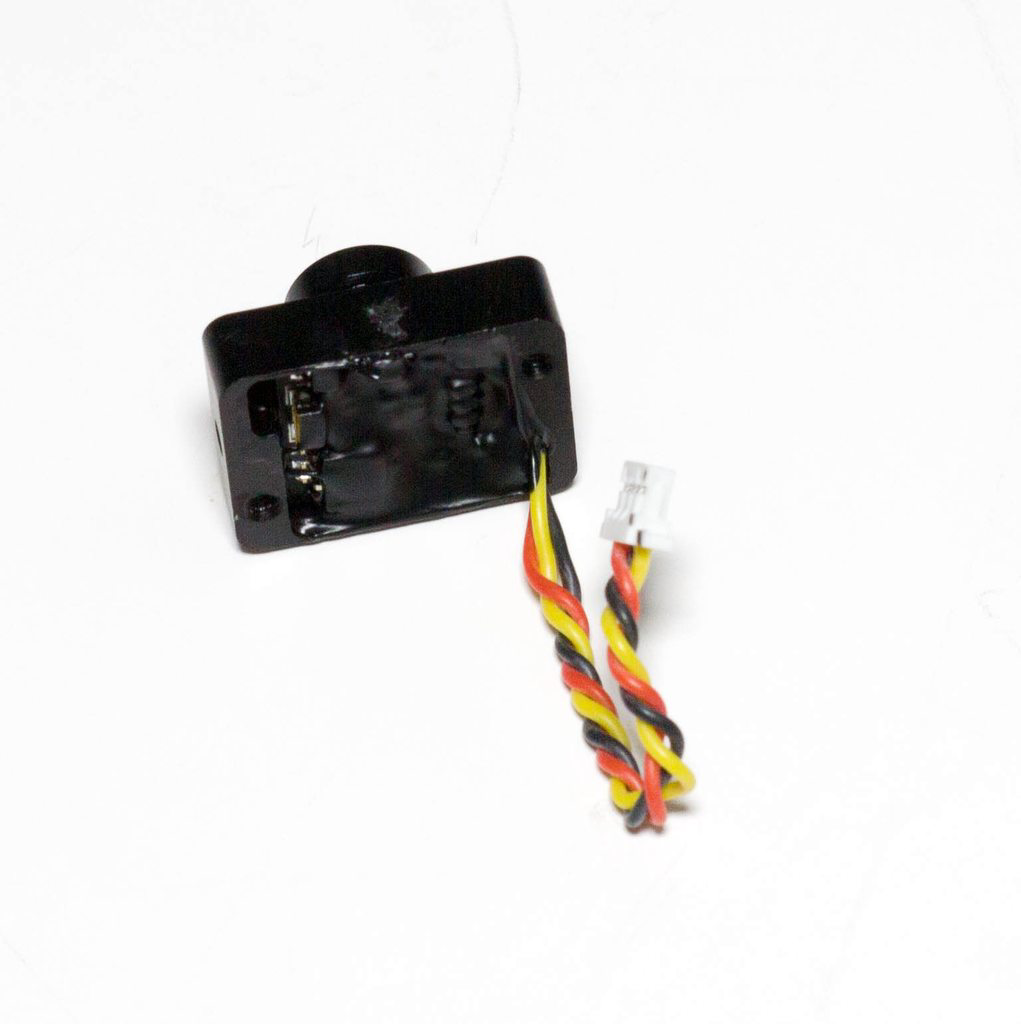
The next stage in the build is to add the camera into the provided metal bracket that fits into the frame. You’ll notice it slides in perfectly but there is not actually any mounting mechanism to keep it secure - and you of course want to also isolate it from the case itself due to it being metal.
What I’ve decided to do here is use liquid electrical tape - I simply put some inside the of the camera bracket, and then placed the camera inside of that. Once it was sat on the liquid electrical tape I also added some to the rear to make sure it was really secure. Once you have held it in place and it is dry it makes a great but also removable mounting mechanism.
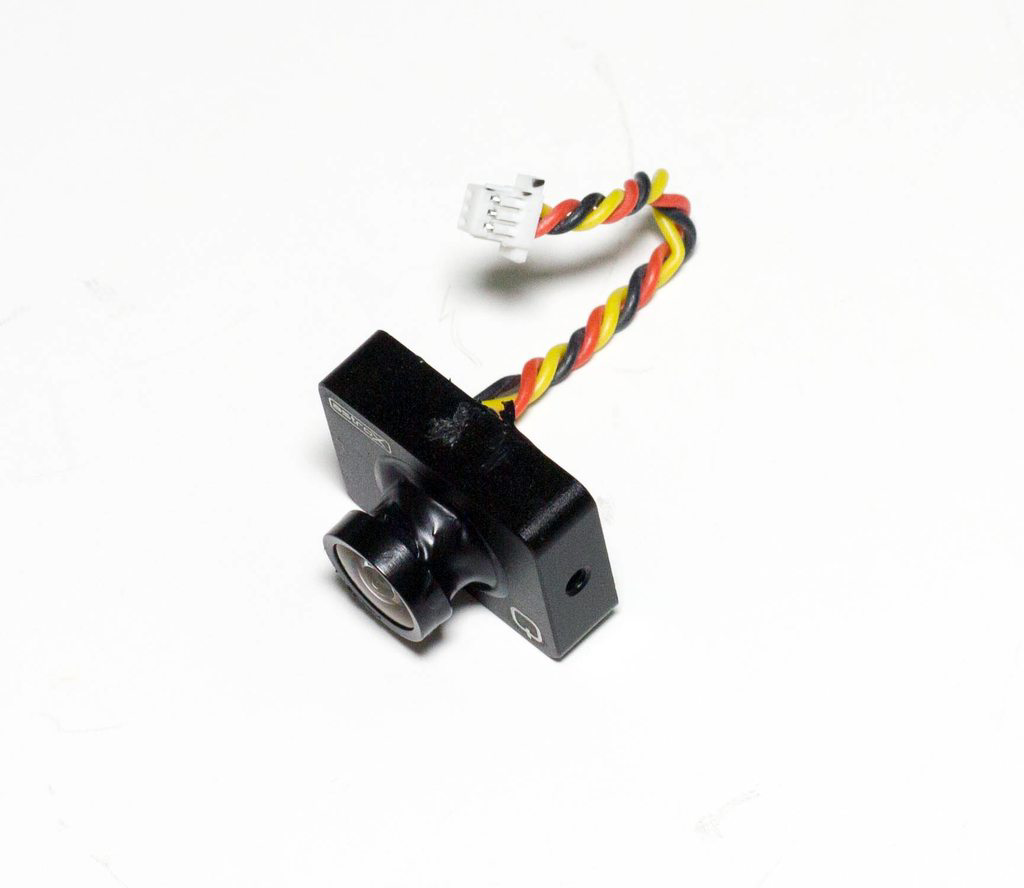
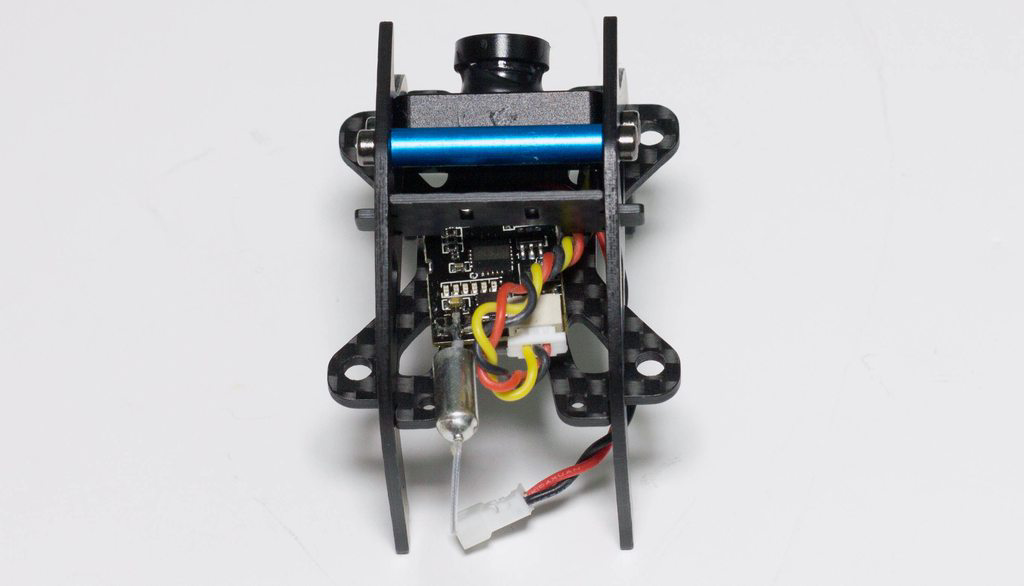
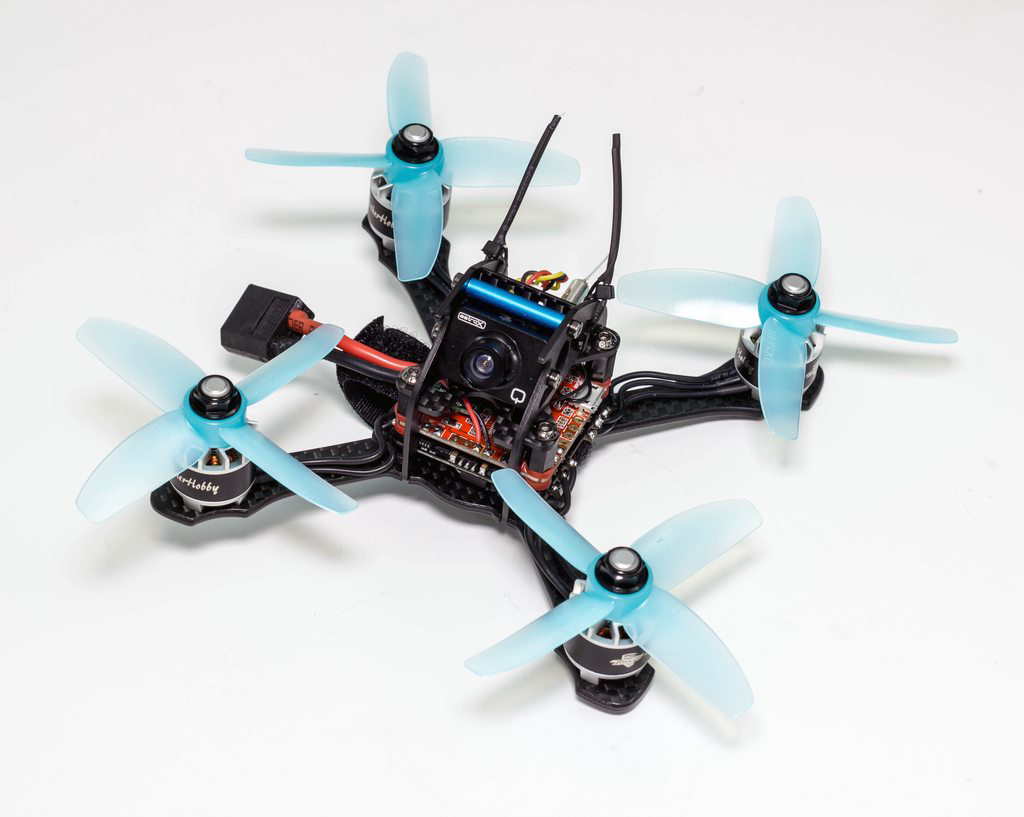
Once that is done the only thing left to do is to add the 4 remaining screws to secure the top plate to the rest of the frame, and add some propellers! I’ve also secured the receiver antennas to the top of the frame by using cable-ties and some heat-shrink.
This completes the super simple build, now that 20x20mm and 16x16mm flight controllers and esc’s are out - you could also make this even smaller and lighter of a build with no drawbacks!
Final Pics
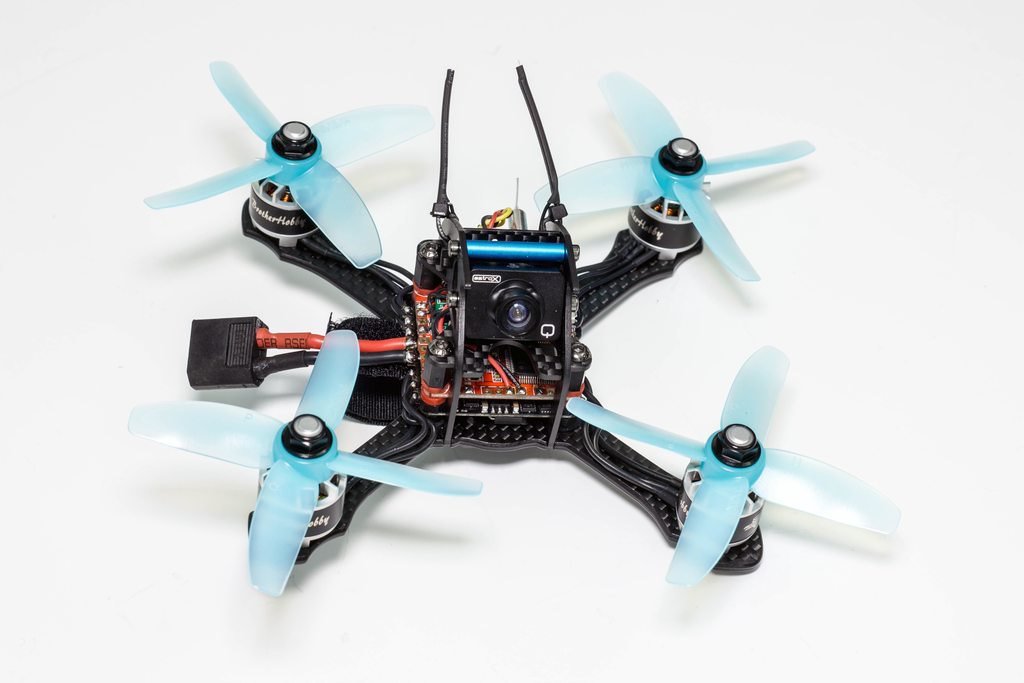
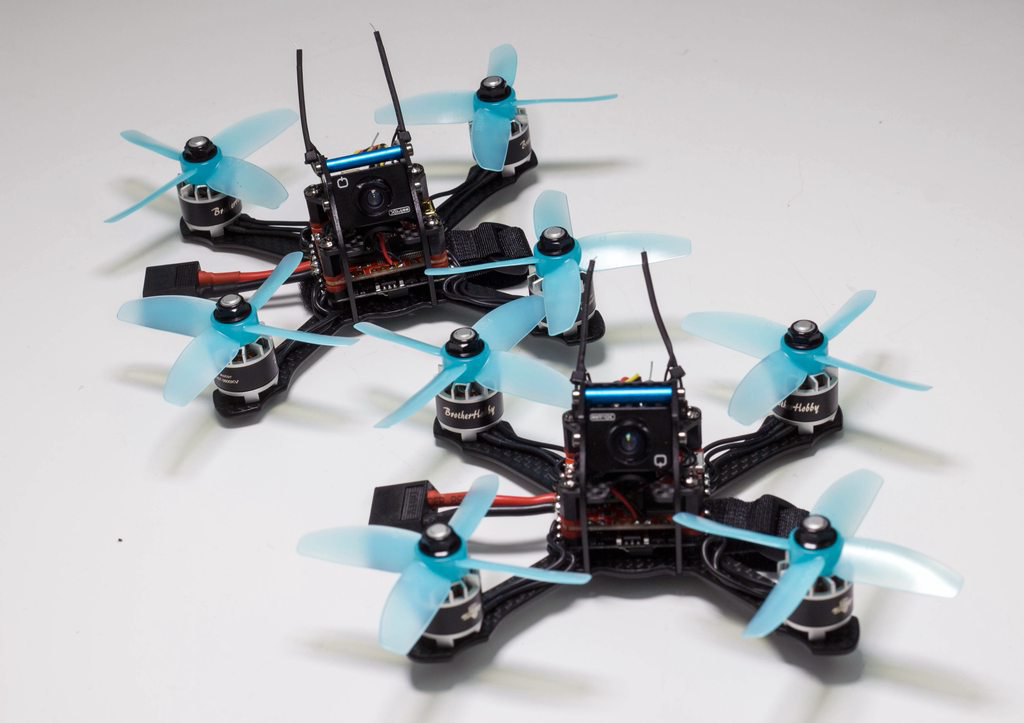
With both quads now built we can get testing them both and see how they fly!
Flying
So overall you can see this thing looks pretty damn quick! There is a bit of an illusion with how quick it is due to the huge FoV of the camera (it’s like a Tiny Whoop camera), and actually this makes it a bit of a negative for me - with this camera it is basically (in my opinion) not possible to race it - the camera FoV is so wide it makes it really hard to see where the gates are at a distance and is not a nice feeling flying. For general messing around it’s great still, as it is also for freestyle.
The Update
HOWEVER, the quad gods must have been listening because very shortly after I was going to finish this review, the Runcam Micro Swift was announced and I had gotten word that Boohwan had planned to support this as soon as it was out! So, the review was delayed until I could get my hands on one, and the necessary plates to perform the change as for me in current state while I love how it flies and how light it is, it defeats the point of its purpose with it not being able to be raced.
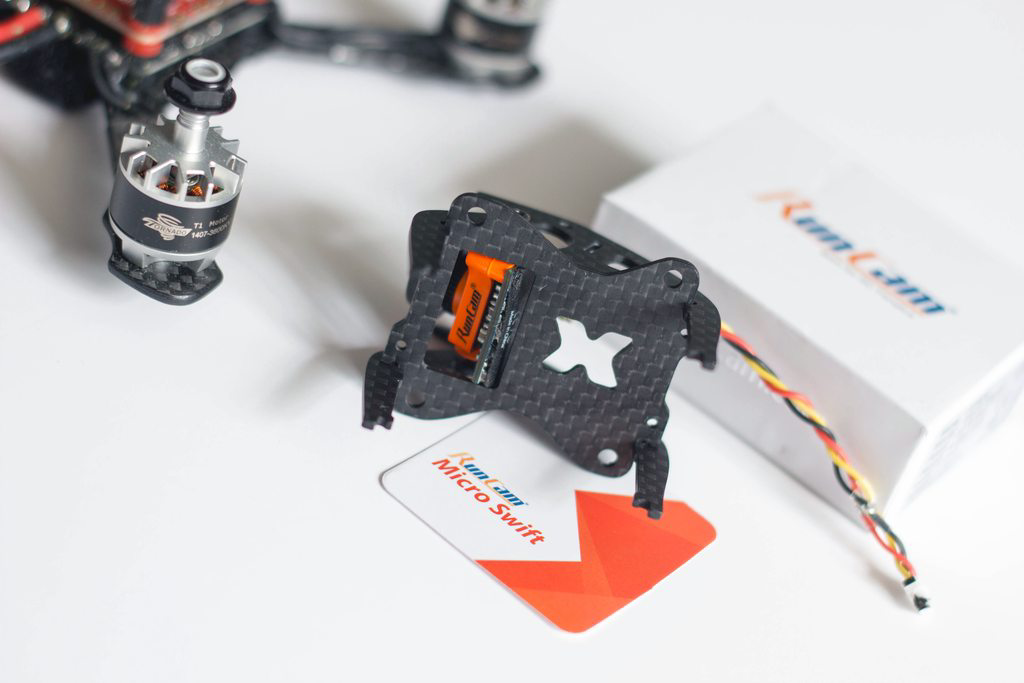
Fast forward a few weeks later and something came in the mail - Thank you Runcam!! Let me just start by saying this camera is tiny - if it packs any sort of a punch as we are expecting then I am fully prepared to be blown out of the water - you CANNOT beat CCD camera performance for FPV racing whatsoever, so with this addition it should be fantastic.
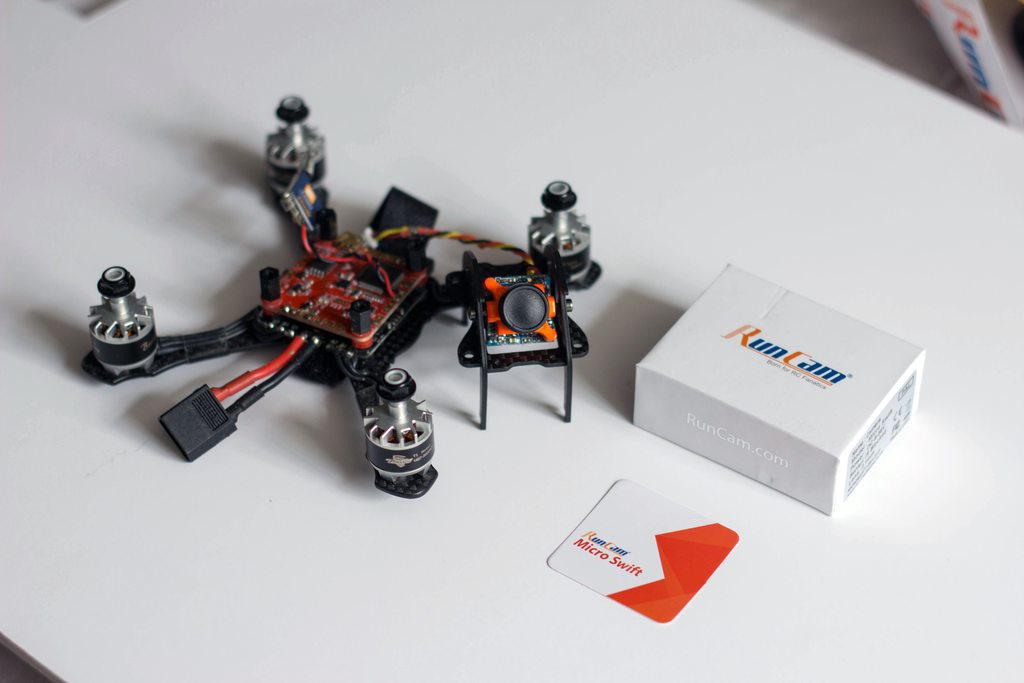
The plates themselves for the top section of the Q130 is actually very similar, it just now has a larger cutout that fits the bottom of the Micro Swift better. You can modify the stock plates but there is very little carbon left in places so I would not recommend it.
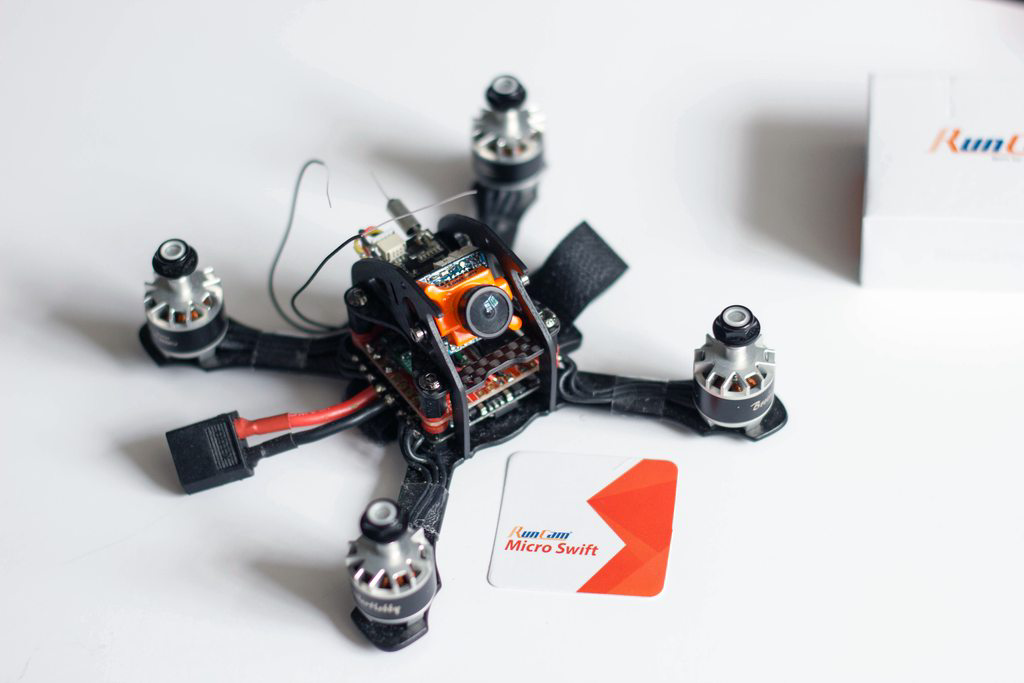
With the Micro Swift added, the frame looks to me to be complete - the camera sticks out a little so I’d be a little worried about damaging it in a crash but I guess you could call that racing.
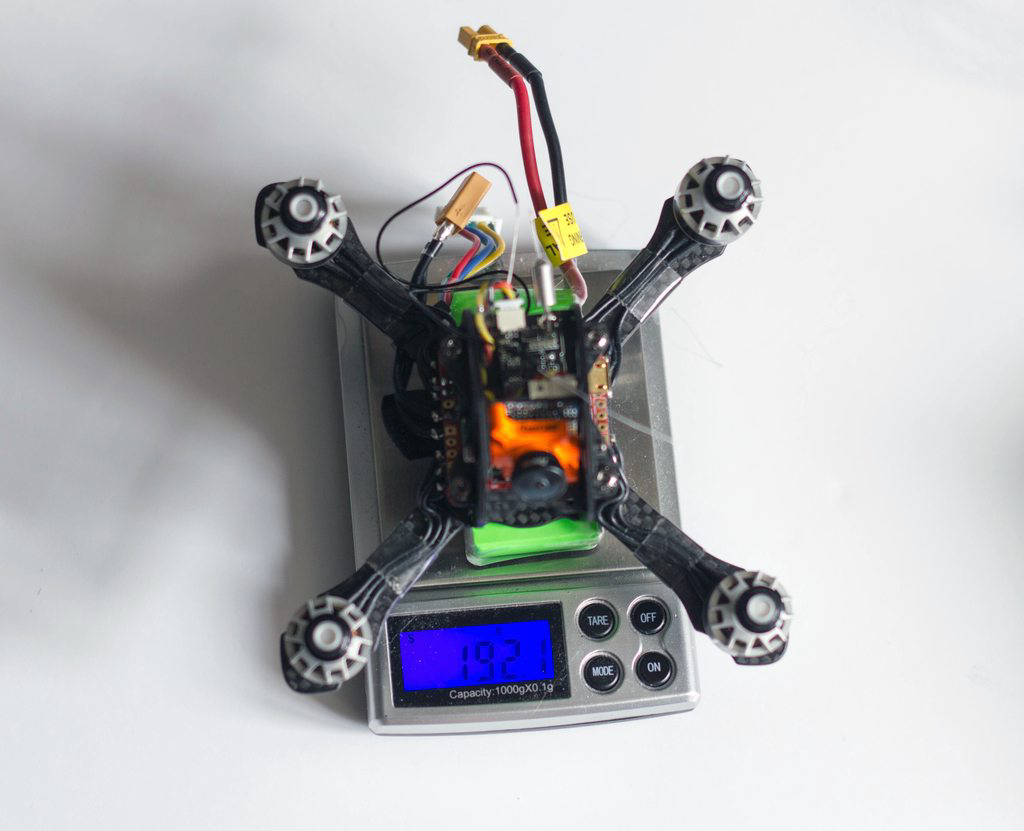
In terms of weight difference the camera is only 1.2g heavier than its counterpart original camera with bracket, so we’re really not seeing any substantial weight increase for what could be an absolutely ideal upgrade.
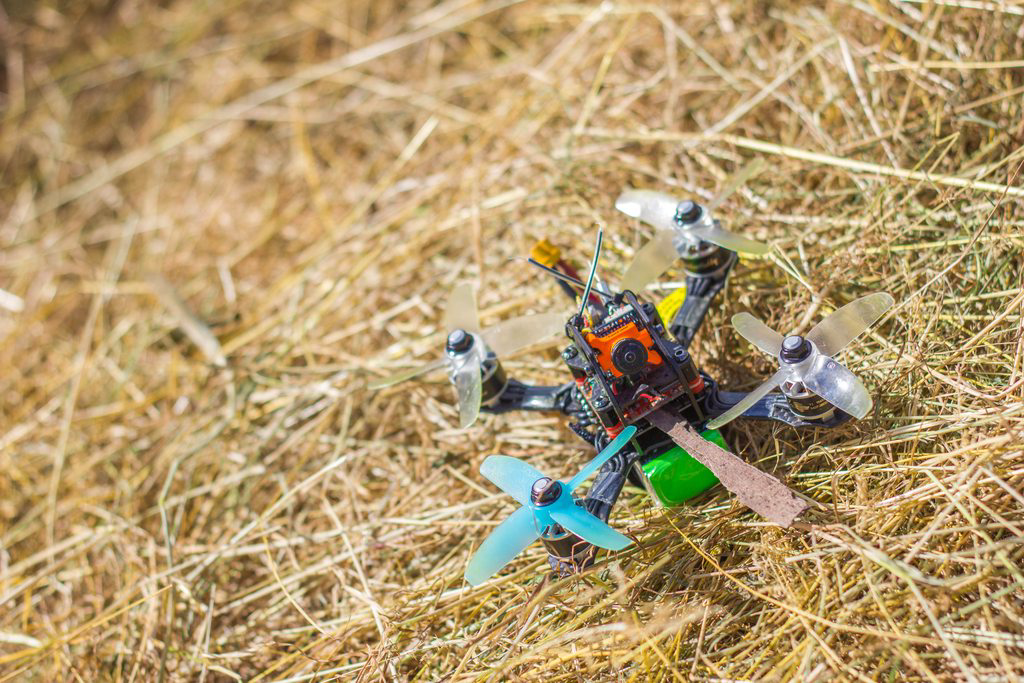
Out in the field this quad looks great, so let’s see how it flies… :)
Final Thoughts
With the frame now flown through many many packs, having upgrades, component switches and all sorts of other flights in between let’s see what I think of it overall now that I’ve been flying it for a couple of months.
Positives
- Super light frame that is really strong - yet to break anything.
- Easy build and quality components
- Supports Runcam Micro Swift - the new best fpv camera in the market for lightweight or small builds
- Supports normal and mini stack flight controllers + escs.
Negatives
- Haven’t broken it yet but I have now broken my 3mm Rasvelg - something to consider when flying this like a 5" racer.
- Runcam Micro Swift is a little exposed and while I haven’t broken it yet, there is a very real possibility.
Overall this is a great little 3" quad that has initially shocked me on quality, left me a little disappointed with my initial flights, and then totally redeemed itself with the support of the Micro Swift. For me this is now my go to 3" frame, it’s light, strong and supports a whole host of components as well as being the best carbon quality out there, I have no hesitations in flying it like I stole it!
The AstroX Q130 Frame is available direct here.