Posts
Blade Inductrix - Build Log + Parts List
Posted on April 29, 2016 • 12 min read • 2,379 words
What? Blade Inductrix - Micro Indoor (and outdoor) FPV!! Why? British Weather!!
If you’ve been following the mini quad scene at all you’ll have probably heard of Team Big Whoop - consisting of a few well known pilots in the US such as Zachry Thayer and Jesse Perkins (and others!!). They have been at all of the major US tournaments, competing in the Lightrax events and Drone Racing League (DRL), as well as competing in the Dubai Drone Prix a few months back too!
Anyway, 2 weeks ago (April 11th), Team TINY WHOOP was formed - a YouTube Channel dedicated to Micro FPV quads! They’ve put some epic videos out so far flying in some places you’d never think to fly, or if you did think - would never be possible on normal size quadcopters. This is where the Blade Inductrix was born - the quad has been around for a while now and is quite a popular mini quad compatible with Spektrum (being a Blade product) so comes in Bind-N-Fly as well as Ready-To-Fly variations.
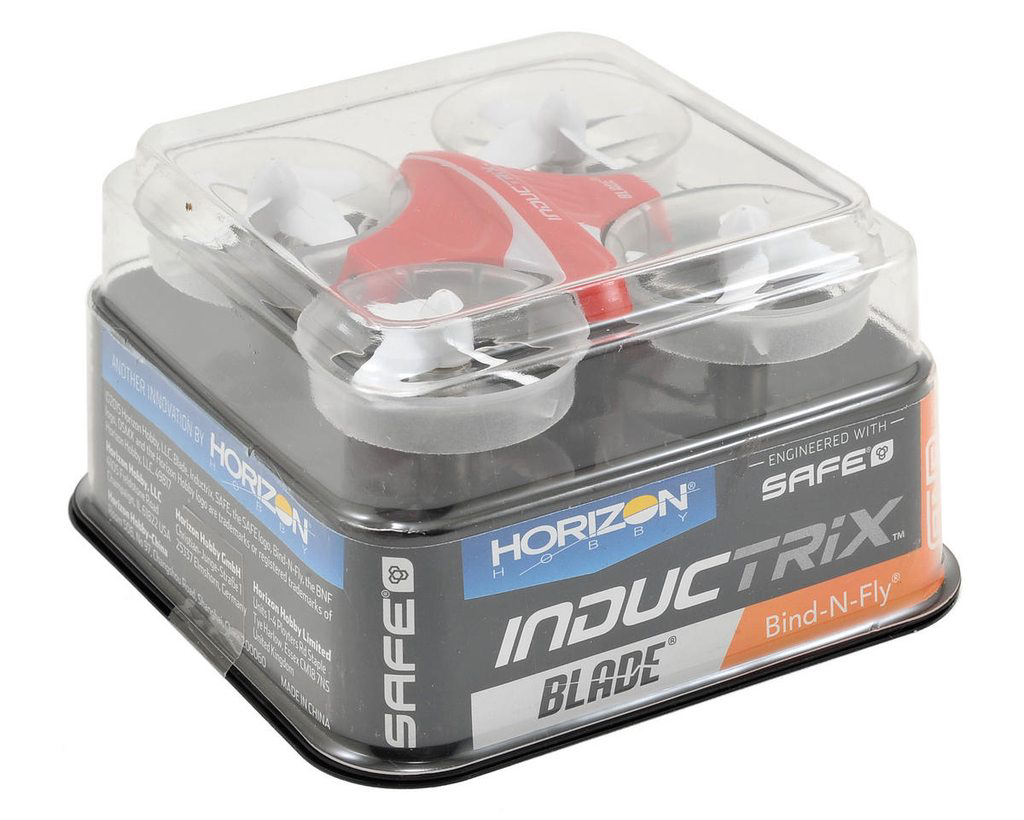
However, as you can see from the picture, there is no video camera or transmitter in sight! Well of course it didn’t take long for someone to add one in themselves - there are a few very similar micro/nano transmitter and camera combos - most of them look to be the same hardware underneath so it all depends which brand or price tag fits your requirements:
I personally have the Quanum one - being the cheapest and supports all 40 channels (the Spektrum one supports only the 7 Fatshark channels).
What to buy?
Now, there are a few ways you can do this depending how you want to get stuck in to building your own - and they tend to vary based on what Transmitter you currently use (if any). If you have no RC experience at all then please drop straight down to the “Other” heading for a full list of parts to get you going.
*** Disclaimer: **** I’ve heard a report that the newer DSMX/DSM2 OrangeRX module is having issues binding with the Inductrix - I will update this thread accordingly. There are other DSMX/2 JR modules out there but I have 0 experience with them. I can’t find anything to validate it but just out of my respect to readers I’d like to point this out just in case :)
Update 2016/05/02 - Apparently all of the newer OrangeRX modules will not bind with it - you will need to run an old version, or try another module. Seeing as I don’t have a new module or recommendations, proceed with that side at your own risk. To get in the air I’d probably recommend getting the RTF if you don’t run Spektrum.#
Update 2016/05/18 - Hobbyking have a new “V1.2” module released here. It looks like it may now work again but not 100% confirmed until someone gets their order :).
Update 2016/05/21 - New V1.2 module works with specific settings, see my blog post here
Spektrum Transmitter
If you have a Spektrum based (or any DSMX/DSM2 compatible) transmitter already then you have the easiest option of them all because you already have the means to connect to the Inductrix.
Your parts list will be as follows:
- Blade Inductrix BNF - you can get this from most local model shops so therefore have not included a link.
- Upgraded Motors (cl-0615-14)
- Upgraded Motors (cl-0615-14) - UK
- Upgraded Lipos (US/AUS)
- Upgraded Lipos (EU)
- Upgraded Lipos (UK)
Taranis (or other with JR module bay)
If like most other quadcopter pilots you have a Taranis then you still have it pretty straight forward, but you likely need to step into new terroritory with your first JR module. It probably sounds a little scary but actually it’s very simple - the modules come in self-contained units and slot into the back of the Taranis - there are tons of guides on YouTube how to get this working and bound to your quadcopter so I will skip this step. I also have a super old version of the module which is why I’m not doing my own video - as the steps have changed so will not help most people.
You will need the following parts:
- Blade Inductrix BNF - again available from any local Blade/Horizon Hobby/Spektrum dealer.
- OrangeRX 2.4Ghz DSMX/DSM2 Module
- Upgraded Motors (cl-0615-14)
- Upgraded Motors (cl-0615-14) - UK
- Upgraded Lipos (US/AUS)
- Upgraded Lipos (EU)
- Upgraded Lipos (UK)
Other
If you have a Transmitter that does not have a JR module, or you are fresh into the hobby then I would say it makes sense to get the “Ready-To-Fly” version - it’s around £10 more than the Bind-N-Fly version but comes with a Transmitter to control the quadcopter. It won’t be the most sophisticated transmitter in the world, but it will certainly do the job nicely.
- Blade Inductrix RTF - again, available from your local Spektrum/Blade/Horizon Hobby dealer.
- Upgraded Motors (cl-0615-14)
- Upgraded Motors (cl-0615-14) - UK
- Upgraded Lipos (US/AUS)
- Upgraded Lipos (EU)
- Upgraded Lipos (UK)
I haven’t covered video goggles or screens in this article so if you are completely new to remote control and FPV in general then I recommend looking for help on RCGroups or Slack.
Do I really need to Upgrade parts?
This is a very common question I get so I feel it needs answering. The Blade Inductrix (for me) came with a 150mAh 25c Lipo and some people I have spoken to received 150mAh 45c versions with theirs. For me initially, flights on the FPV setup were lasting for around 3 minutes 30 seconds before the quad starts to flash and cuts power. That’s quite a good amount of time and certainly more than my main quads - however as I got used to the setup the time has started dropping quite substantially as I fly faster and harder than originally. On my current setup (with upgraded motors), I am getting flights of around 2 minutes and 25 seconds. A lot of that time is spent flipping the quad back onto its correct side so I can take off again as I push the quad further and further, so I would heavily recommend that you at least upgrade the Lipos if you do not fancy anymore power.
I would actually say if you are just flying around casually and just having fun - you probably don’t need the motor upgrade. I of course haven’t tested stock motors with 205mAh (it is going to be heavier), but on the stock EFlite 150mAh it has enough power to just fly around as you’d expect. I’m currently using just the stock lipo while I wait for the new upgraded ones to arrive and I can say you definitely want more than one, its a little frustrating waiting for it to recharge before I can fly again.
In terms of buying different upgrades - this goes past my own knowledge. All of the current specs are from Jesse at TINY WHOOP and I know he has extensively tested different combinations to find the best performing setup but with also good battery life. You can of course deviate from the current spec, but be aware of not only weight limits but size limits - there are some awkward sizes of 1s Lipos on Hobbyking - some are too big to fit due to being wider but shorter, but also weight is a key.
Installation
Installation is very straight forward, but for those new to it it can be daunting when initially looking at it.
FPV Setup
Installing the FPV setup is super simple and only requires a little solder skill and your usual parts from your mini quad spares box - double-sided foam tape, and an elastic band!
All you want to do here initially is test where you want to fit the camera combo - I prefer having mine sat on top but you can do something similar to FliteTest and mount the camera underneath.
Once you have that figured out cut the red and black wires to length so that they will reach to the 2 solder pads you see at the back - these are just where the lipo connector go through the PDB. The Quanum combo is powered on 1s so no regulators or anything are required. Once you’ve cut the wires to length you simply want to solder them onto where the current wires are. Check the picture for polarity, but if it’s too hard to see then just match the black to black, and the red to white for the wires. You could put a dab of hot glue over these wires once done to keep them secure but I’m not sure it’s needed in all honesty.
With the wires soldered in place you can apply the double-sided foam tape to the bottom of the camera combo and stick it onto the front of your quad. If you have a keen eye you will notice the Quanum camera is ever so slightly off-center and so try and make sure this is as centered as possible. When sticking it I made sure the camera was as far forward as possible - touching the transparent EDF propeller ducts.
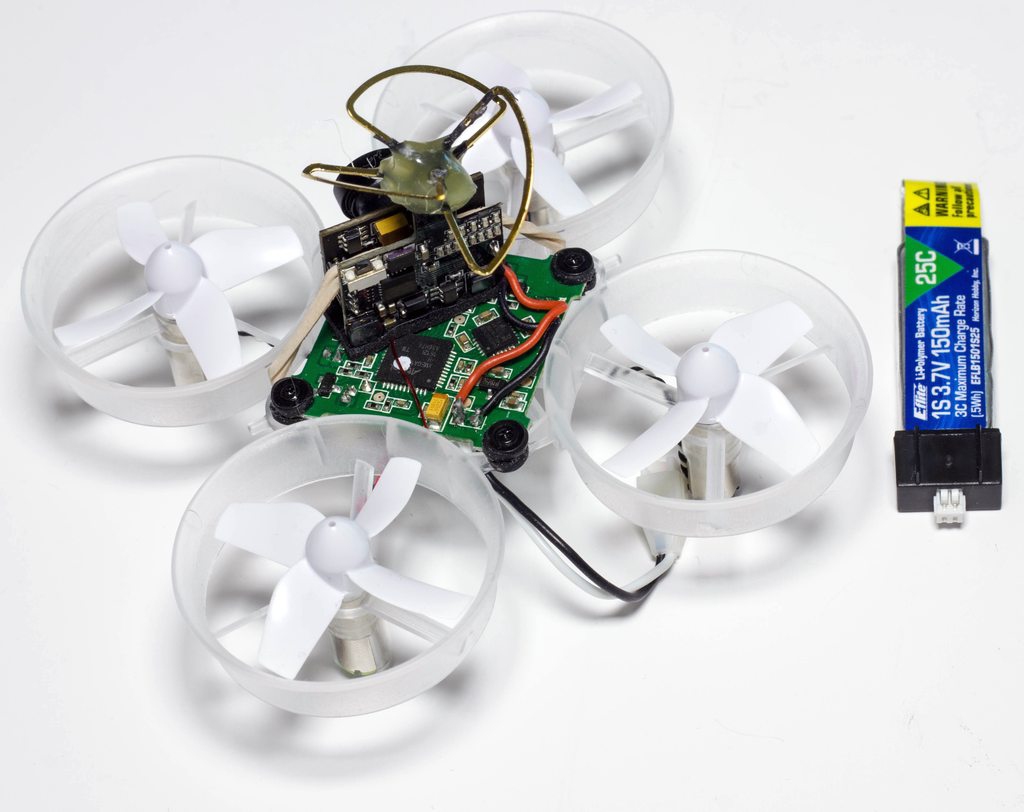
If, like me you run the camera combo without the case - simply add a small elastic band (or fishing line) around the camera and the quadcopter. It should fit nicely and just secure it that much better. If you are keeping the case on your FPV setup you can run an elastic band from front to back, just position the elastic band out of the way of the front of the lens.
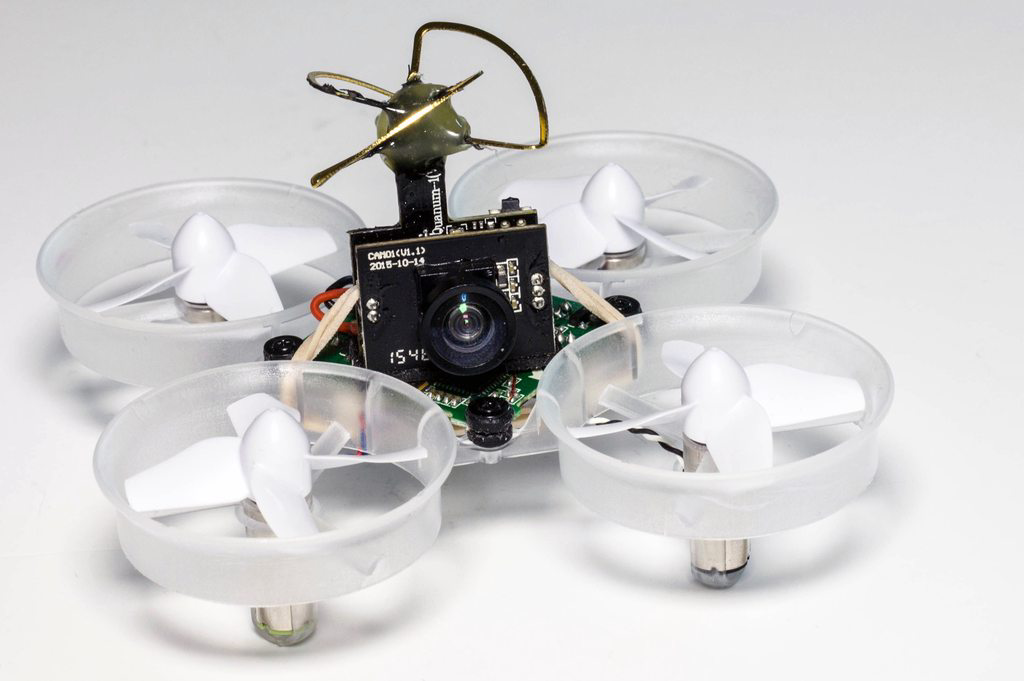
You will notice on this picture that I’m missing the front case for the Quanum combo - this is purely just a tiny weight saving exercise - you can leave this in place and in reality it will be fine with it still intact - or if you want to keep it as light as possible then give it a go at removing it. There are 2 clips on the sides of the case, and then it just slides out the front over the lens.
Motors
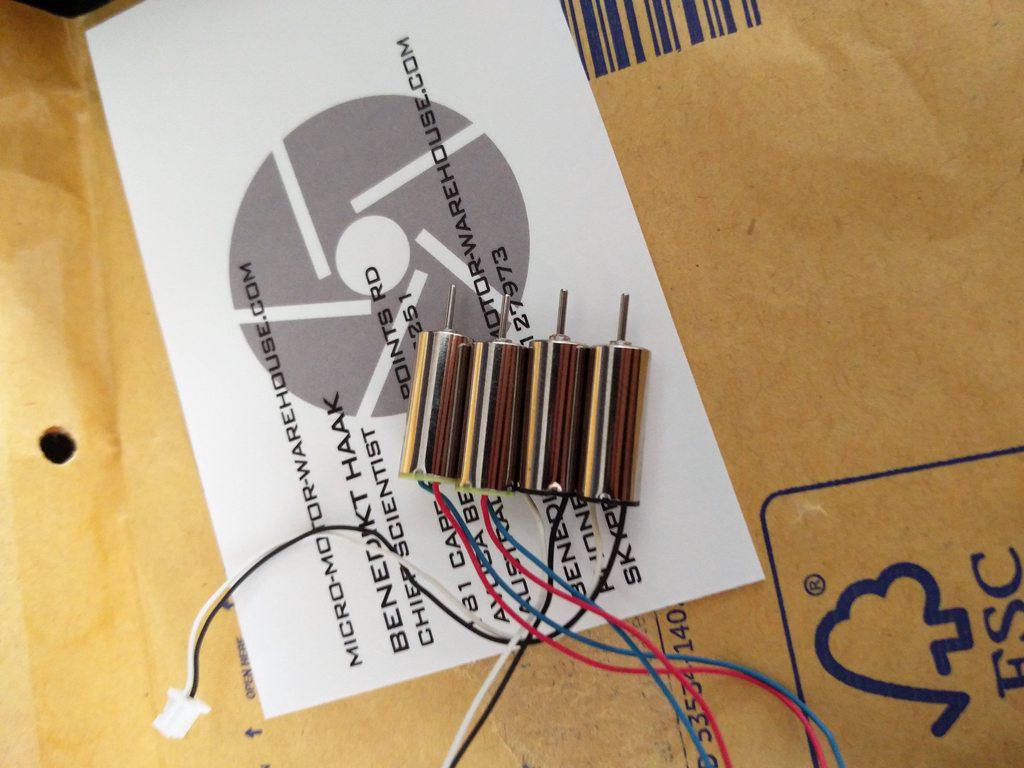
There is a nice thing about the Inductrix when it comes to upgrading motors - they come with connectors! This means changing the motors whether stock or upgraded is a very easy process as there’s no tiny wires to solder onto a tiny board.
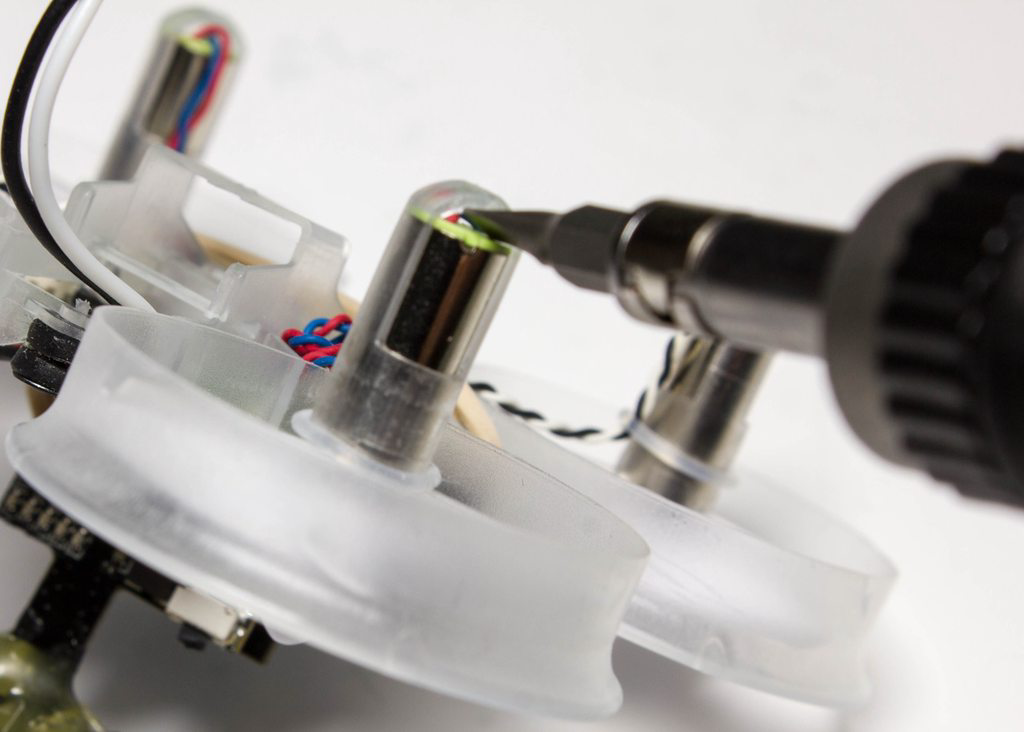
The first step you want to do is push the motor down so you can access it easier. What I do is use a small flathead screwdriver and twist it on the motor and the bottom protector plastic - this pushes the motor down a good amount. While you are doing this you can unplug the motor connector and put the rubber o-ring to one side.
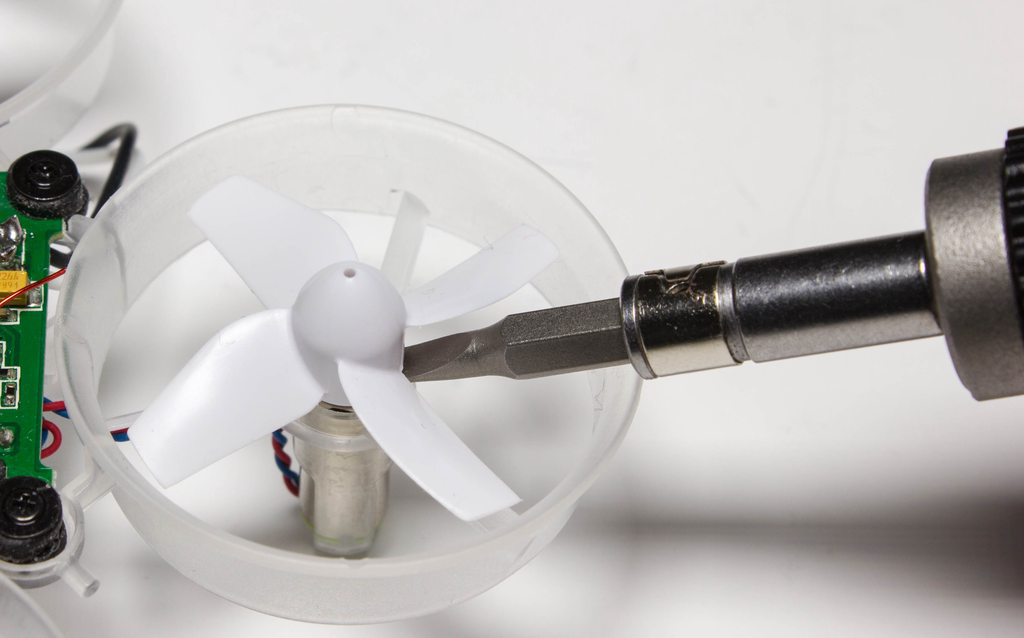
The next step is far easier with the propeller removed - now you’ve pushed the motor upwards a little you should be able to access the underside of the propeller easier and you can do exactly the same here - put the flathead in the gap slightly and twist. If it doesn’t work first time then rotate the propeller a little and repeat.
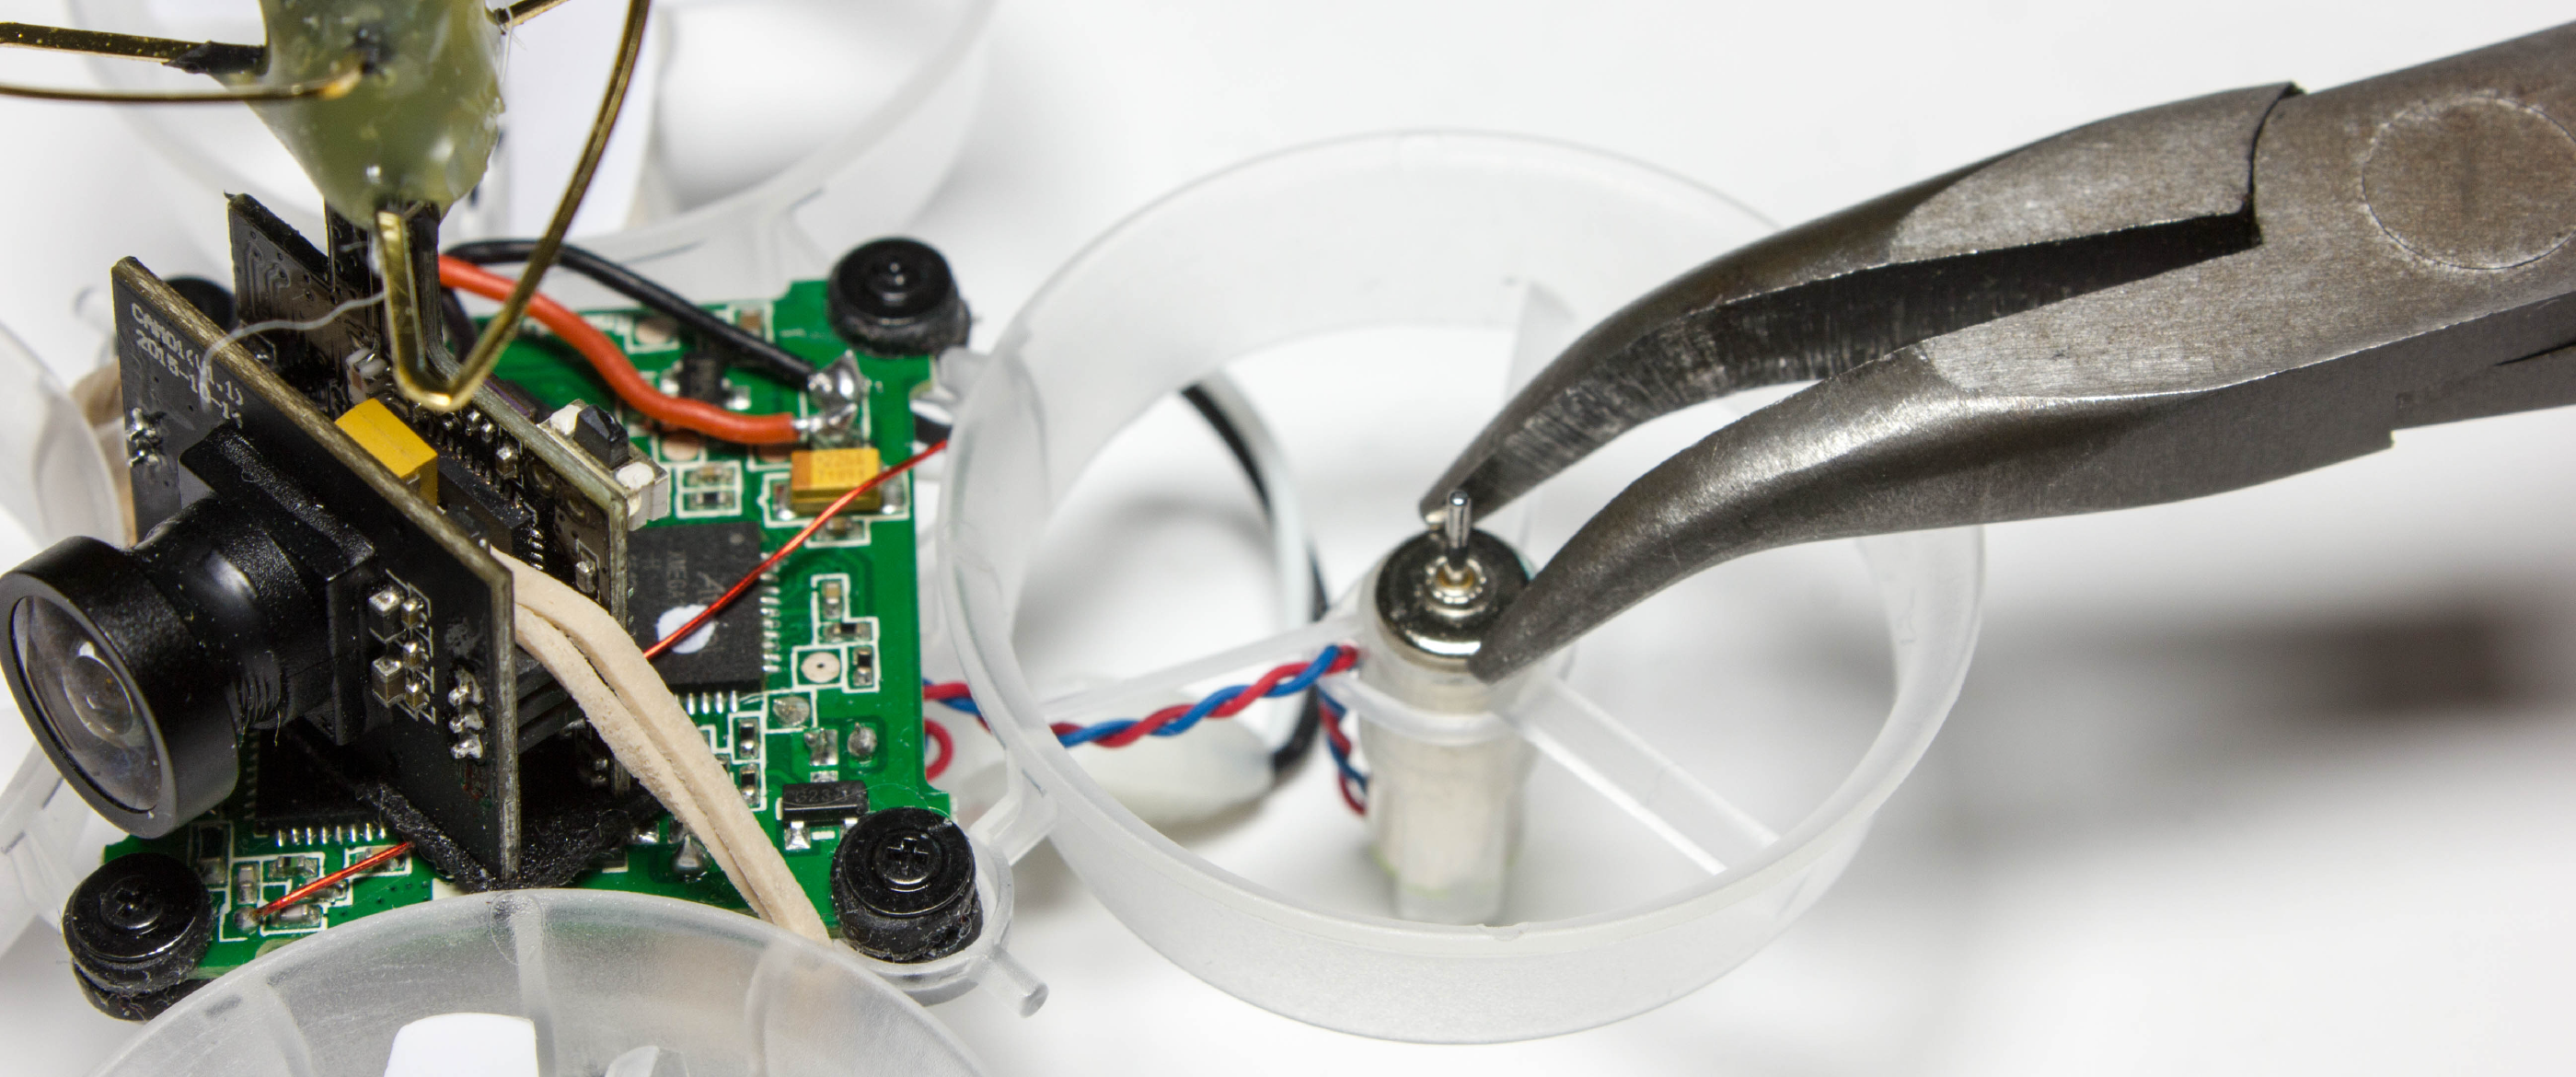
With the propeller off you can now access the motor very easily - you’ll also notice how thin the plastic is connecting the motor seat to the rest of the quad. The next bit is a little tricky but once you’ve done it the first time it becomes a whole lot easier. For this stage I use pliers and grip the motor as loosely as possible (so that you don’t damage it - you may want to use it again yet!!), and you want to twist the motor slowly while pulling up. It may be quite tight for the first initial twist, but after that it gets much easier as moves upwards. Once you have the motor free, feed the connector through (assuming you have unplugged it), and repeat for the other 3 motors :)
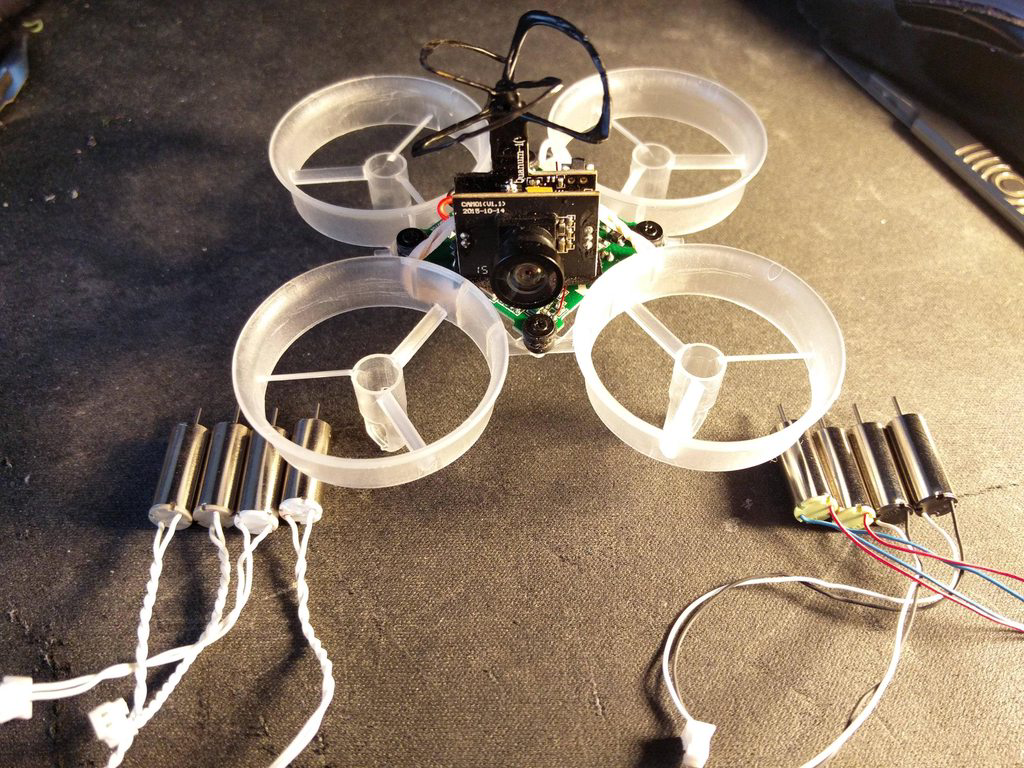
Once you have them all off, it’s now time to do the same in reverse!
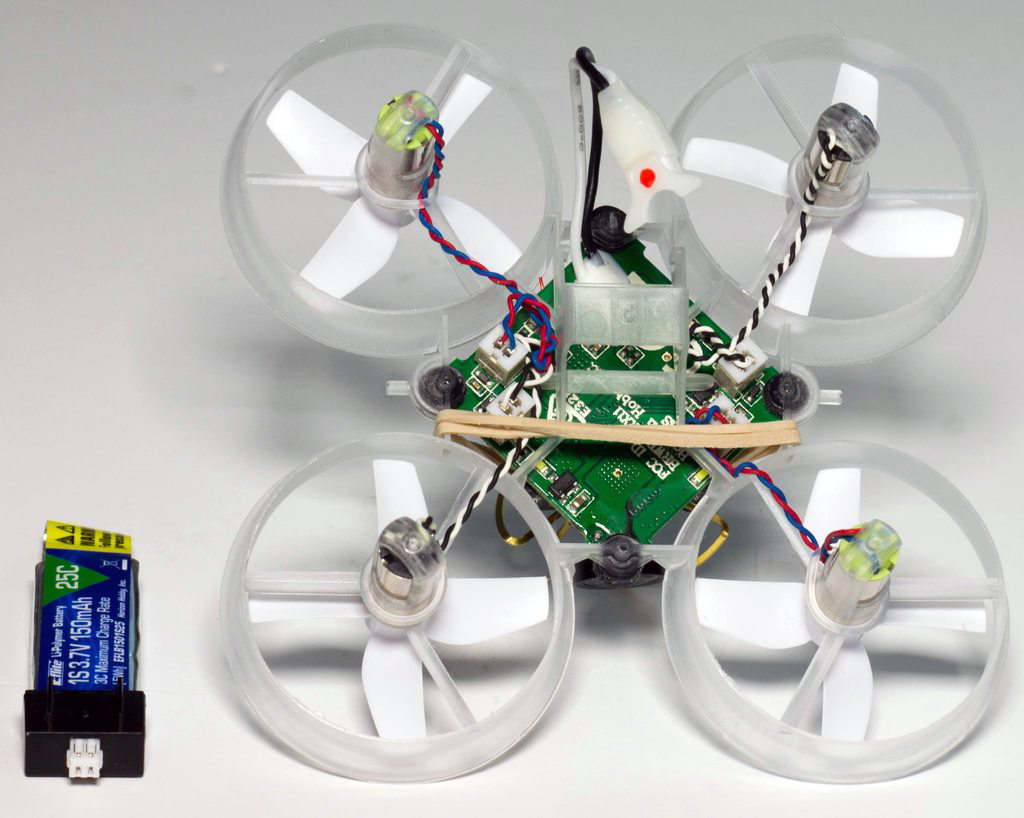
Feed the cable and connector through the bottom and simply push the motor into the slot. There’s much less force on the frame inserting motors as you can take the brunt of the force on the bottom where the motor sits. Once that’s done just slide the propeller back on, plug the motor wire in (it’s worth twisting the wires to make them shorter). Don’t forget to reapply the rubber o-rings which stop the motor wires from getting stuck in the propeller but also removes any vibration on the connectors into the motor and stops the wires snapping off.
Lipo
Smaller instructions for this section - install it and plug the connector in.. :) and seeing as I haven’t got my replacement lipos yet, not much to see here!
So how does it fly??
In one word: EPIC. For anyone wondering , it defaults to self-level mode but you can actually enable an “Agility Mode” (channel 6 using normal transmitters), which will put it into Acro mode :) I’m still playing around with rates and expo currently but 60% rates and 60% expo feels pretty nice so far. I must admit though I am preferring self-level as it’s just more fun to fly. You will also notice all of TINY WHOOPS videos are also currently all done in self-level mode also.
I haven’t got much footage yet, just a few short videos on Instagram and a single YouTube video, but I will be making a ton more so if you like what you see then please subscribe!
I’ve also got some plans for miniature airgates, flags and other great obstacles which I will post up when I get time to make them, currently waiting on the materials to arrive.. :)
I hope the blog post has been useful if you are looking at getting your own setup!